Introduction
Welcome to this comprehensive guide on how to check the RAM on your Mac. RAM, which stands for Random Access Memory, is an essential component of your computer’s hardware. It plays a crucial role in determining the performance and responsiveness of your Mac by temporarily storing and accessing data that is actively used by the operating system and running applications.
Checking your Mac’s RAM is important for several reasons. Firstly, it allows you to determine the amount of RAM installed on your computer, which is useful for assessing whether your system has enough memory to handle the tasks you need it to perform. Insufficient RAM can lead to decreased performance, frequent application crashes, and overall sluggishness.
Knowing the amount of RAM on your Mac also helps you plan for any potential upgrades. If you’re experiencing performance issues and suspect that lack of RAM might be the cause, checking the current amount can guide you in deciding if adding more memory is necessary. Additionally, understanding your RAM configuration can be helpful when seeking technical support or troubleshooting any problems you may encounter.
In this guide, we will explore various methods to check the RAM on your Mac. Each method offers a slightly different approach, ranging from the built-in macOS applications to command line tools that provide detailed system information. By following these methods, you will have a clear picture of your Mac’s RAM configuration and be able to make informed decisions regarding any necessary upgrades or adjustments.
Now that we understand the importance of checking your Mac’s RAM, let’s dive into the different methods available to accomplish this task. Whether you’re a casual user or a seasoned professional, this guide will equip you with the knowledge you need to examine your Mac’s RAM and optimize its performance.
Why is it important to check RAM on your Mac?
Checking the RAM on your Mac is essential for ensuring optimal performance and avoiding potential issues. Here are several reasons why it is important to regularly monitor your Mac’s RAM:
1. Performance Optimization: RAM directly impacts the speed and responsiveness of your Mac. Insufficient RAM can lead to slow performance, lagging applications, and frequent system crashes. By checking your RAM, you can identify if your computer has enough memory to handle the tasks you regularly perform and take necessary measures to optimize its performance.
2. Troubleshooting: If you are experiencing frequent crashes or slowdowns, checking the RAM can help identify if insufficient memory is the root cause. By understanding the available RAM and how it’s being utilized, you can troubleshoot potential software conflicts or decide if upgrading the RAM is necessary to resolve performance issues.
3. Resource Management: When you have a clear idea of how much RAM your Mac has, you can make informed decisions about resource-intensive tasks or applications. This knowledge allows you to allocate resources efficiently, ensuring that demanding applications have sufficient memory to run smoothly without affecting other processes.
4. Compatibility: Checking your Mac’s RAM is crucial when considering hardware or software upgrades. Some applications or operating systems may require a minimum amount of RAM to function properly. By verifying your current RAM configuration, you can ensure that any updates or upgrades you make are compatible with your system’s memory requirements.
5. Future Planning: Monitoring your Mac’s RAM helps you plan for future needs. As technology advances and software becomes more resource-intensive, the demand for adequate RAM will increase. By regularly checking your Mac’s RAM, you can anticipate potential limitations and budget for future upgrades accordingly.
In summary, checking the RAM on your Mac is vital for maintaining optimal performance, troubleshooting issues, managing resources effectively, ensuring compatibility, and planning for the future. By understanding your Mac’s RAM configuration and monitoring its usage, you can make informed decisions to optimize your Mac’s performance and enhance your overall computing experience.
Method 1: Using Activity Monitor
Activity Monitor is a built-in application on macOS that provides a detailed overview of system resources, including RAM usage. Follow these steps to check your Mac’s RAM using Activity Monitor:
1. Launch Activity Monitor: Open the Finder, go to “Applications,” then “Utilities,” and double-click on “Activity Monitor” to launch the application.
2. Navigate to the Memory tab: Once Activity Monitor is open, click on the “Memory” tab at the top to view detailed information about your Mac’s RAM usage.
3. Check the RAM statistics: On the Memory tab, you will see several key statistics related to your RAM:
– “Memory Used”: This shows the amount of RAM currently in use by your Mac.
– “Cached Files”: This represents the amount of RAM being utilized by the system for caching data from disk.
– “Swap Used”: If your Mac is running low on RAM, it may use a portion of your hard drive as virtual memory, known as swap space. This statistic indicates the amount of virtual memory being used.
– “App Memory”: This displays the amount of RAM being used by currently running applications.
4. Monitor RAM usage: Watch the graphs and statistics to see how your Mac’s RAM usage changes over time. If you notice consistently high usage or frequent spikes, it may indicate that your Mac could benefit from additional RAM.
5. Identify memory-hungry applications: Activity Monitor allows you to identify which applications are consuming the most RAM. Click on the “Memory” column to sort the processes by memory usage, from highest to lowest. This information can help you identify resource-intensive applications or potential memory leaks.
Using Activity Monitor is a convenient and straightforward method to quickly check your Mac’s RAM usage. By monitoring the memory statistics regularly, you can gain insights into how your system utilizes RAM and identify potential performance issues that may require further investigation or an upgrade to your Mac’s memory configuration.
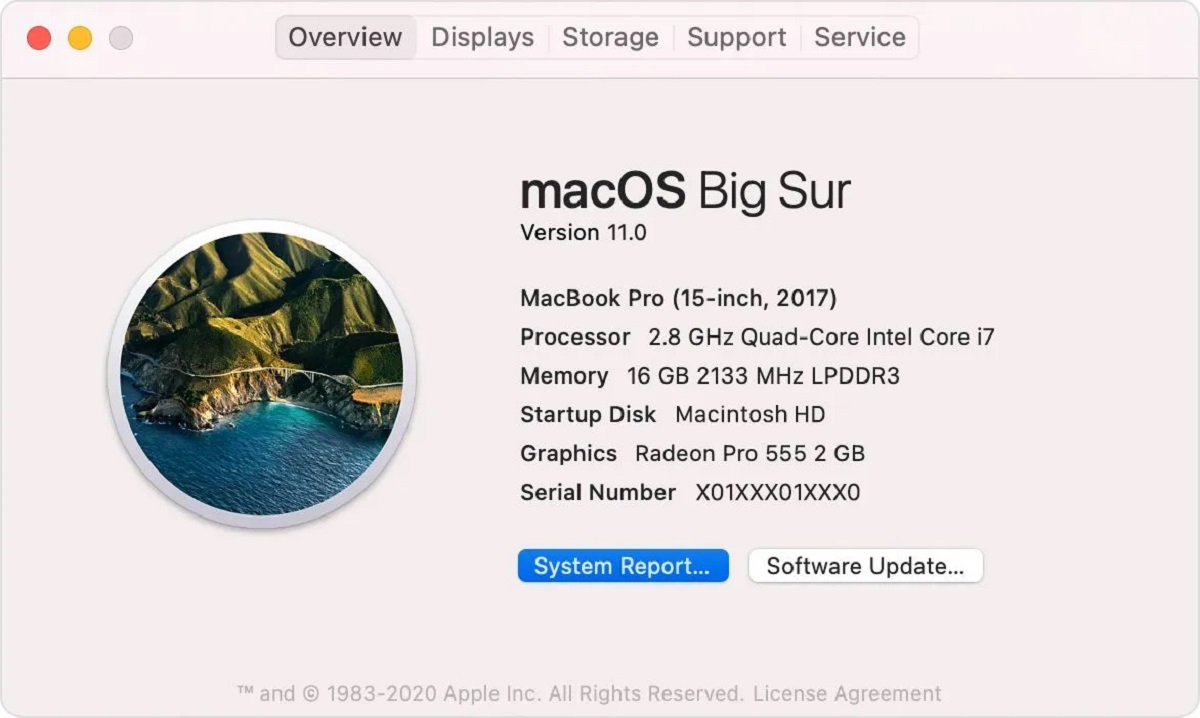
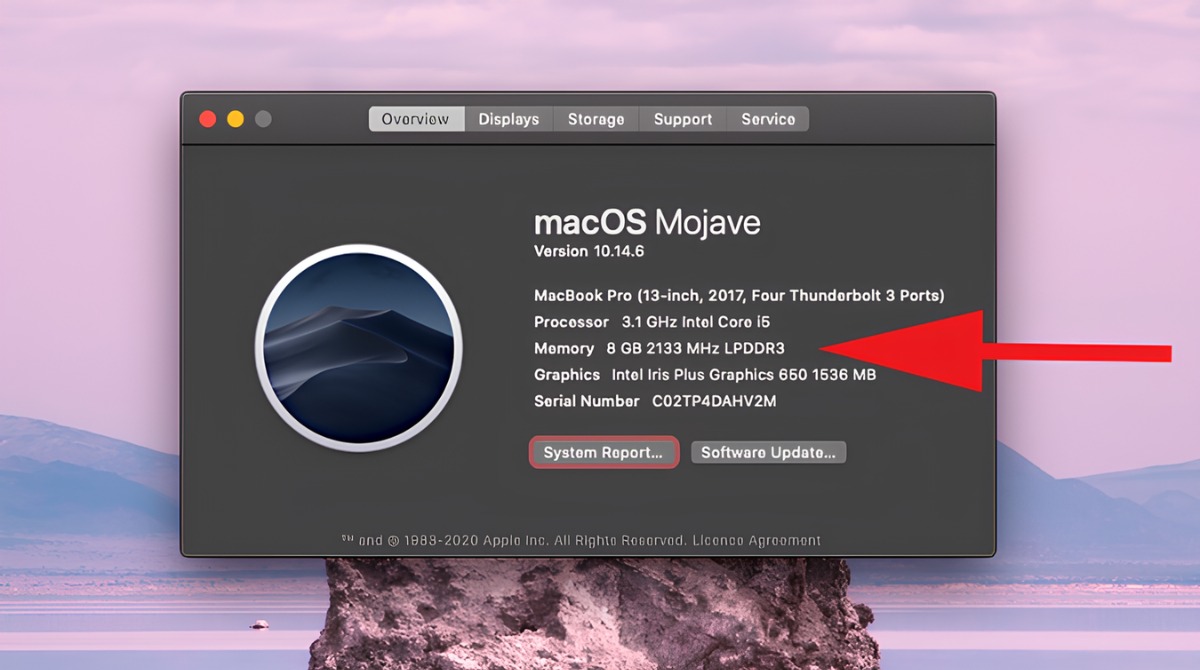
Method 2: Using About This Mac
The “About This Mac” feature on macOS provides a simple and easy way to check your Mac’s RAM without the need for any additional software. Here’s how you can use this method:
1. Open the Apple menu: Click on the Apple logo in the top-left corner of your screen to open the drop-down menu.
2. Choose “About This Mac”: From the drop-down menu, select “About This Mac.” This will open a new window displaying an overview of your Mac’s system information.
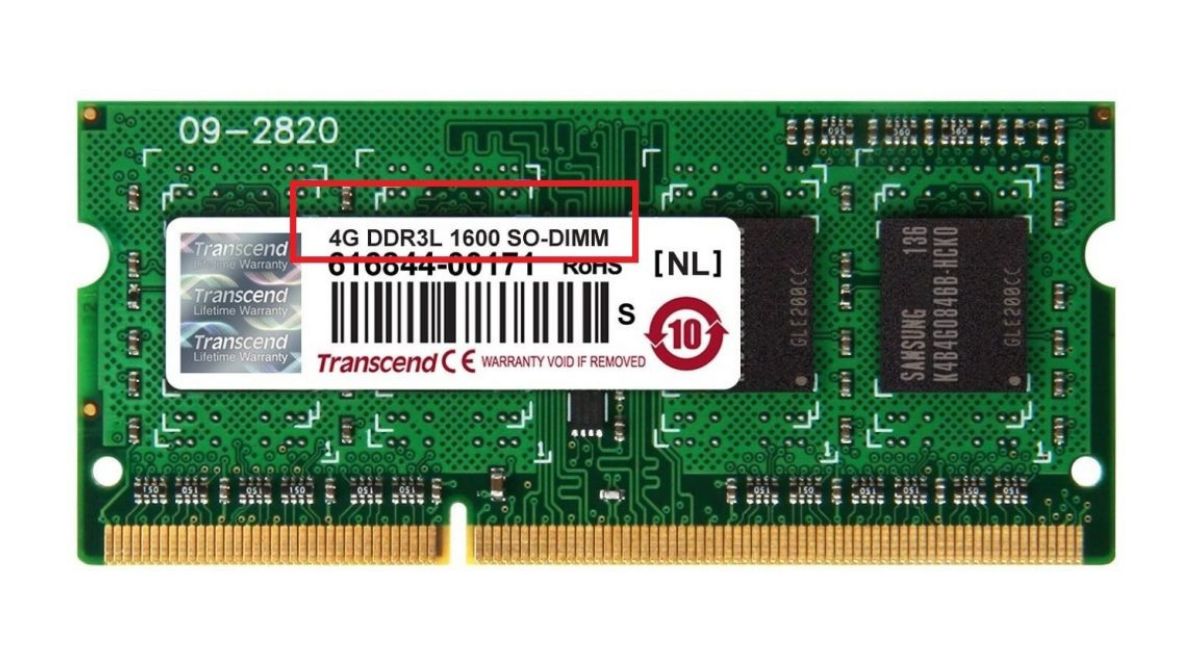
3. View the RAM information: In the “About This Mac” window, click on the “Memory” tab. Here, you will find details regarding the installed RAM on your Mac, including the total memory capacity and the memory type (e.g., DDR4).
4. Additional details: If you click on the “System Report” button, it will open the System Information utility, where you can find more specific information about your Mac’s RAM, such as the number of memory slots on your motherboard, the speed of the RAM modules, and their individual capacities.
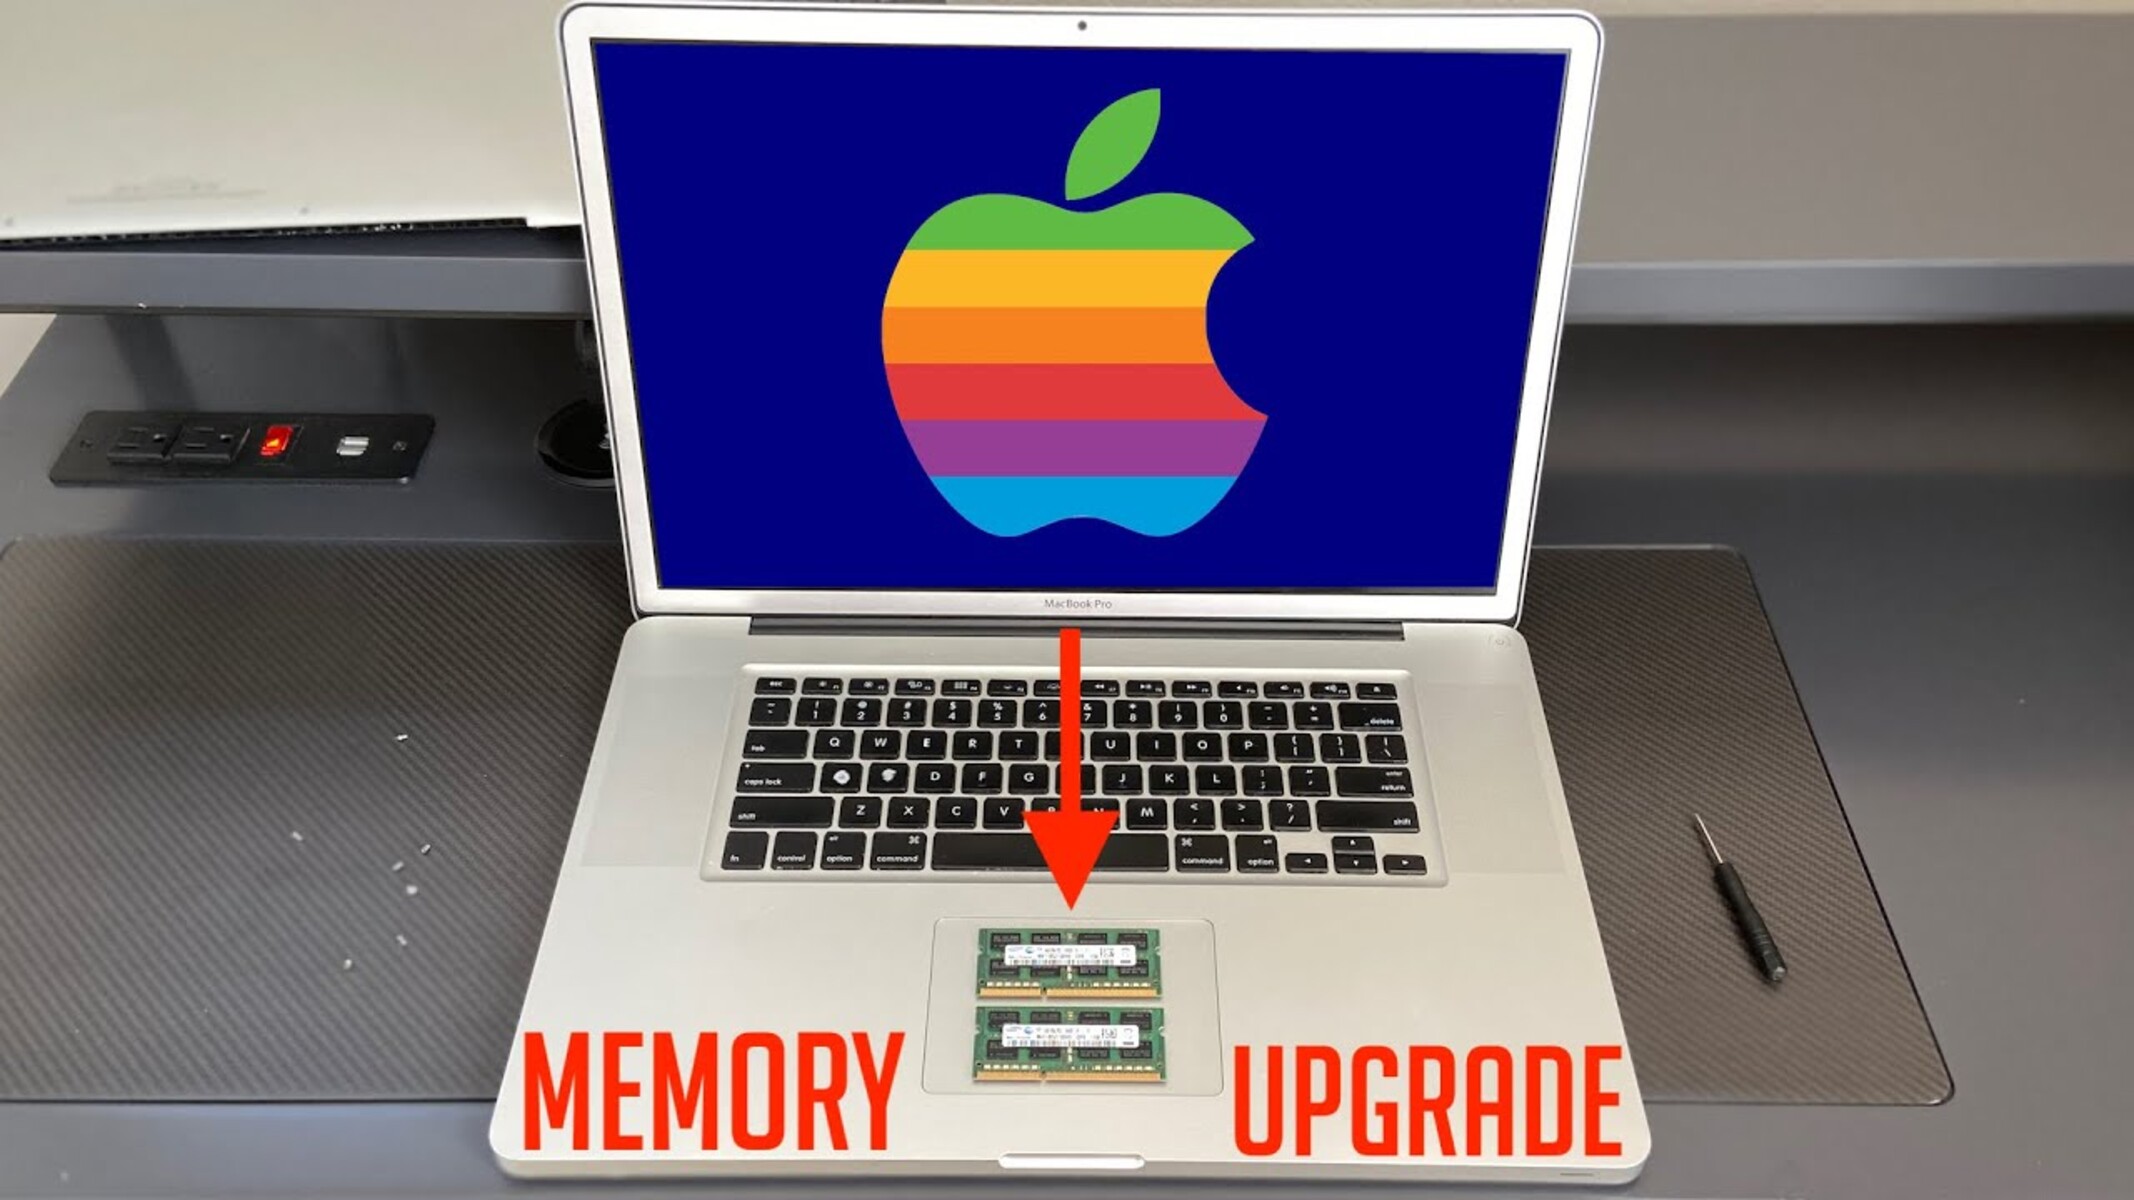
5. Upgrade options: If you are considering upgrading your Mac’s RAM, you can take note of the current memory configuration listed in the “About This Mac” window. This information will help you determine the maximum limit of RAM your Mac supports and what upgrades are compatible.
Using the “About This Mac” method provides a simple and quick way to check your Mac’s RAM configuration. It doesn’t require any additional software and provides essential information about your system’s memory capabilities. Whether you’re troubleshooting potential performance issues or planning to upgrade your Mac’s RAM, this method offers a convenient solution for checking your Mac’s memory status.
Method 3: Using Terminal
If you prefer using the command line interface, the Terminal application on macOS allows you to check your Mac’s RAM information with a few simple commands. Here’s how you can use Terminal to view your Mac’s RAM details:
1. Launch Terminal: Open the Finder, go to “Applications,” then “Utilities,” and double-click on “Terminal” to open the Terminal application.
2. Enter the command: In the Terminal window, type the following command and press Enter: system_profiler SPHardwareDataType | grep Memory
3. View the RAM information: The command will display information about your Mac’s hardware, specifically the memory. You will see details regarding the total installed RAM capacity, the type of memory modules installed, and their respective speeds.
4. Additional details: If you want more extensive information about your Mac’s RAM, you can use the system_profiler SPHardwareDataType command without the grep filter. This will provide a comprehensive report detailing various hardware information about your Mac, including RAM specifications.
Using Terminal to check your Mac’s RAM provides a command line alternative for those who prefer a more technical approach. It allows you to quickly access detailed information about your system’s memory configuration, including capacity and specifications. Terminal provides a lightweight and efficient method to check your Mac’s RAM and is particularly useful if you’re comfortable working with the command line interface.
Method 4: Using System Profiler
The System Profiler utility on macOS provides a thorough and detailed view of your Mac’s hardware, including the RAM configuration. Here’s how you can use System Profiler to check your Mac’s RAM:
1. Open System Profiler: Click on the Apple menu in the top-left corner of your screen, select “About This Mac,” and then click on the “System Report” button. This will open the System Information utility.
2. Navigate to Hardware information: In the System Information utility, click on “Hardware” in the sidebar to expand the section, and then select “Memory.” This will display detailed information about your Mac’s RAM.
3. View RAM details: The “Memory” section provides comprehensive information about your Mac’s RAM, including the total capacity, the number and type of memory modules installed, and the memory speed.
4. Additional details: Explore the different tabs under the “Memory” section to access more detailed information. For example, the “Memory Slots” tab displays the number of memory slots on your Mac motherboard and which slots are currently populated.
5. Plan for upgrades: If you are considering upgrading your Mac’s RAM, System Profiler can be a valuable resource. It provides information about the maximum RAM capacity supported by your Mac model, allowing you to determine the potential upgrade options available.
System Profiler offers a comprehensive overview of your Mac’s hardware configuration, including detailed information about your RAM. By using this method, you can access a wealth of data to understand your Mac’s current memory setup and make informed decisions regarding upgrades or troubleshooting. Whether you need to check specific RAM specifications or plan for future memory upgrades, System Profiler provides a convenient and user-friendly interface for accessing this essential information.
How to interpret the RAM information
Interpreting the RAM information on your Mac is essential to understand its current configuration and make informed decisions about performance optimization and potential upgrades. Here are some key factors to consider when interpreting the RAM information:
1. Total RAM Capacity: The total RAM capacity indicates the maximum amount of memory your Mac can support. It is important to compare this value with the RAM requirements of the applications you use and the tasks you perform to ensure your Mac has enough memory for optimal performance.
2. Currently Used RAM: The amount of RAM being currently used by your Mac indicates how much memory is actively in use by the operating system and running applications. It is normal for a portion of the RAM to be used, but excessively high usage may indicate that you need more memory to maintain smooth performance.
3. Cached Files: The cached files represent data that your Mac stores in RAM for quicker access. This data is not actively used by applications but is kept in memory to enhance system performance. Higher cached file values can indicate that your Mac efficiently manages frequently accessed data.
4. Swap Used: When your Mac runs low on physical RAM, it may utilize a portion of the hard drive as virtual memory, known as swap space. The swap used value indicates the amount of virtual memory being used. Excessive swap usage can slow down your system, as accessing data from the hard drive is slower than accessing it from RAM.
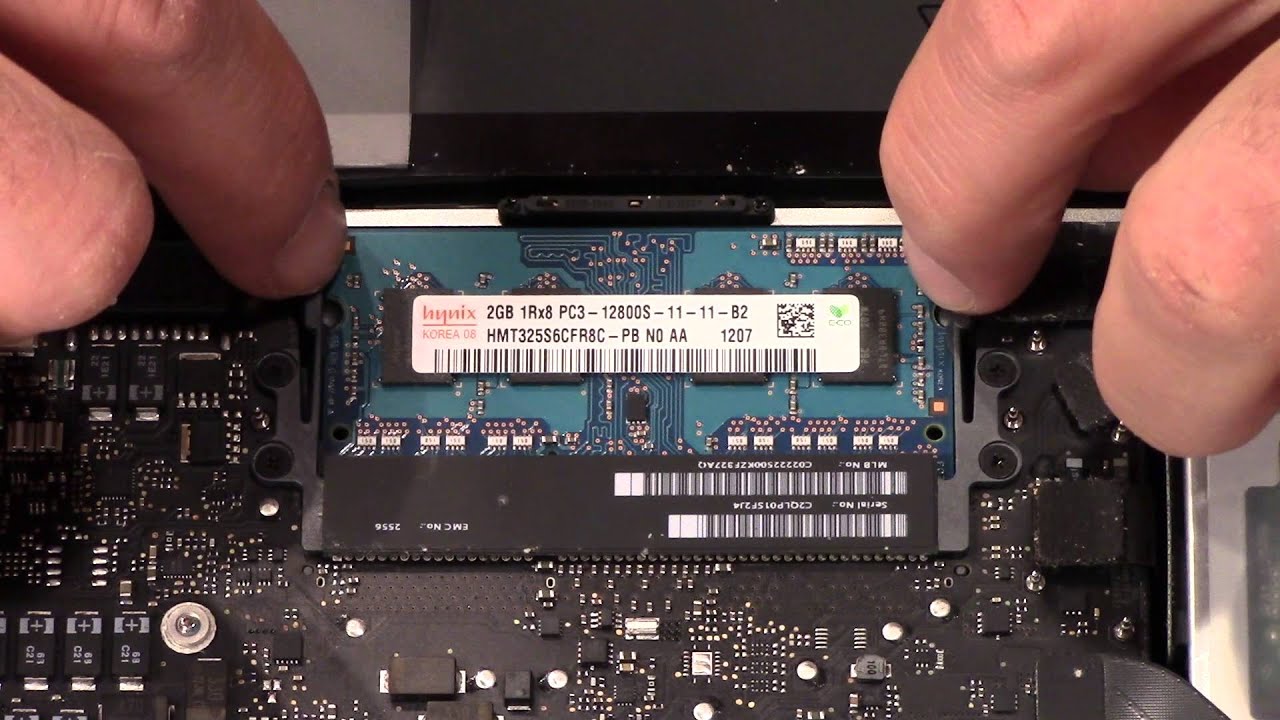
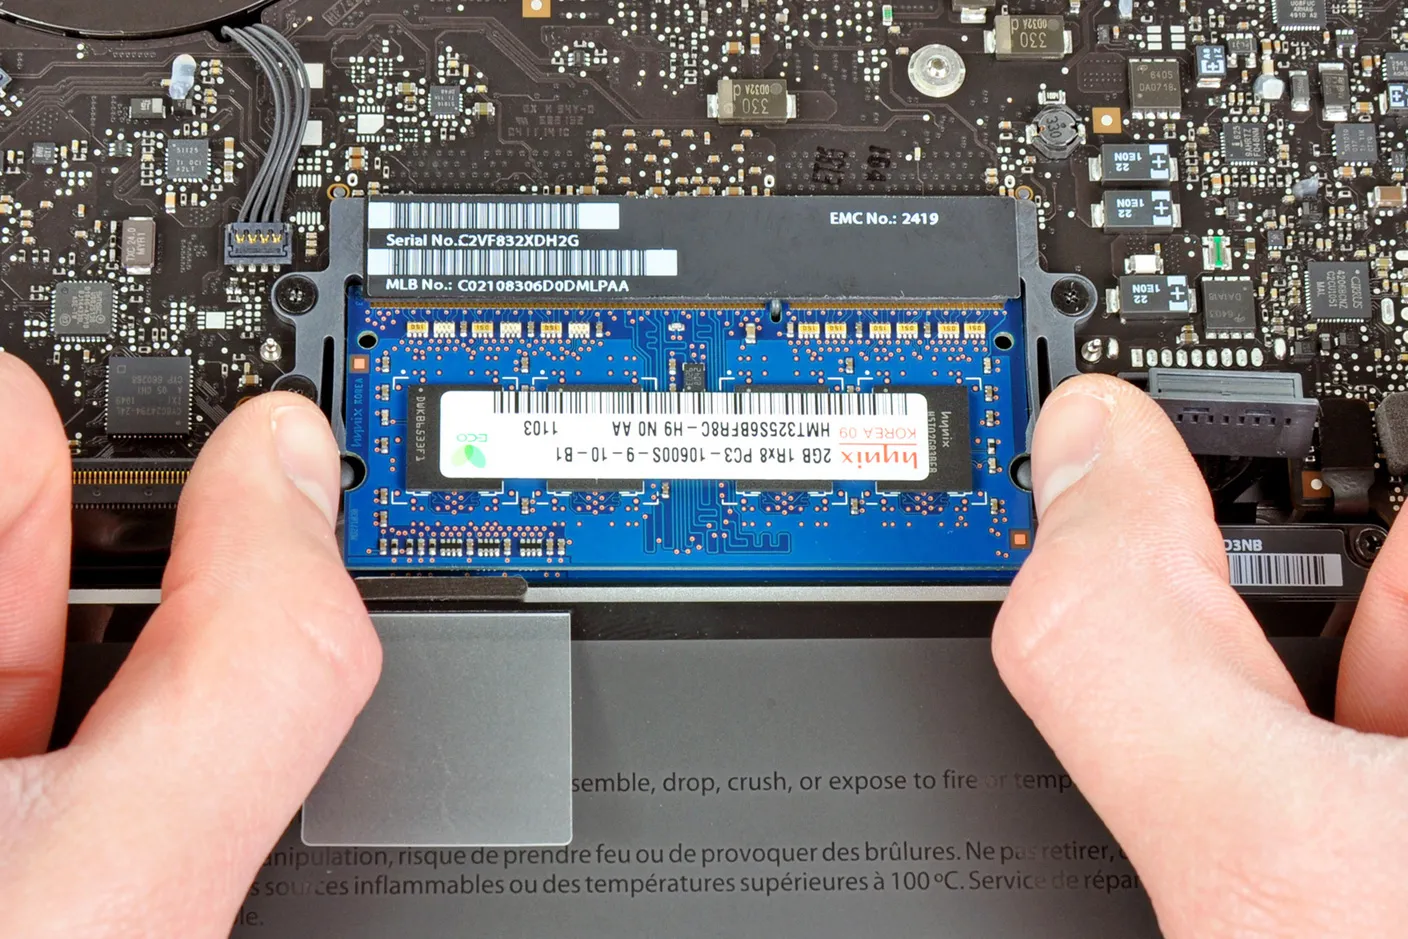
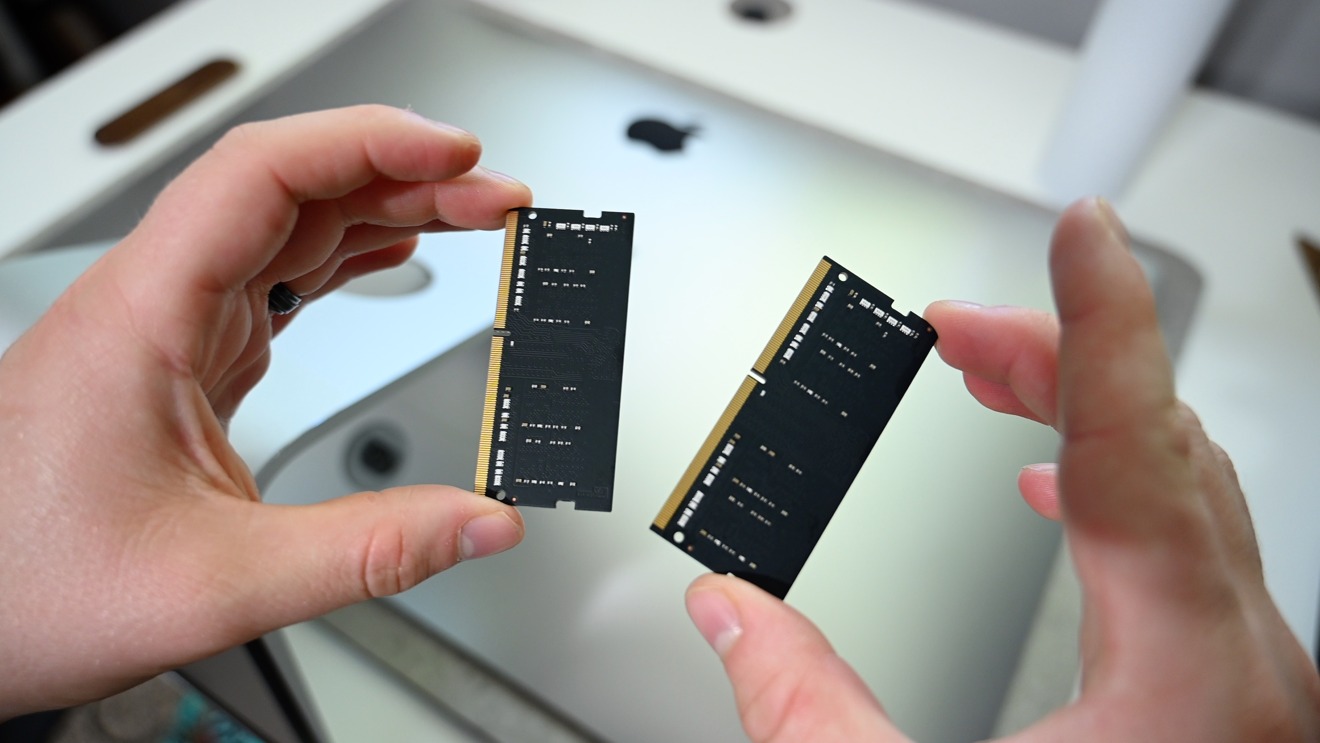
5. Memory Speed and Type: The RAM speed and type information reveal the specific characteristics of your Mac’s memory modules. These details are essential if you plan to upgrade your RAM as they determine the compatibility and performance capabilities of new modules.
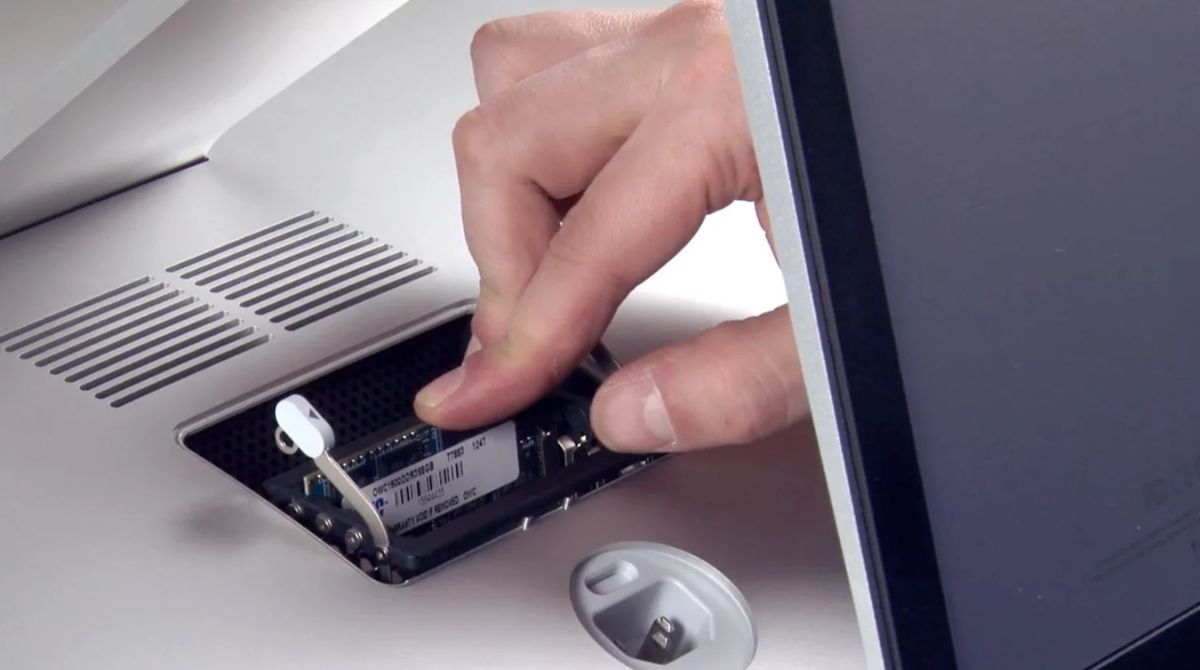
6. Memory Configuration: Understanding the memory configuration is crucial, particularly if you intend to upgrade your Mac’s RAM. Take note of the number of memory slots available and whether they are fully populated. This information will help you determine if there is room for adding more RAM modules or if you need to replace existing modules.
By interpreting the RAM information, you can assess whether your Mac has enough memory to handle your computing needs and identify potential issues related to performance or upgrade requirements. Use this knowledge to optimize your Mac’s performance and plan for any necessary adjustments to ensure a smooth and efficient computing experience.
Conclusion
Checking the RAM on your Mac is a crucial step in optimizing performance, troubleshooting issues, and planning for future upgrades. Whether you use the built-in applications like Activity Monitor and About This Mac or prefer command line tools such as Terminal and System Profiler, each method provides valuable insights into your Mac’s RAM configuration.
By regularly monitoring your Mac’s RAM, you can identify if your system has enough memory to handle your daily tasks and ensure smooth performance. If you notice consistently high RAM usage or frequent slowdowns, it may be an indication that your Mac could benefit from additional memory.
Understanding the RAM information allows you to make informed decisions regarding resource management and compatibility. By identifying memory-hungry applications and assessing your Mac’s memory configuration, you can allocate resources effectively and plan for any future upgrades or adjustments.
Remember to consider factors such as total RAM capacity, currently used RAM, cached files, and swap usage when interpreting the RAM information. This knowledge will help you optimize your Mac’s performance, troubleshoot any issues, and plan for any necessary upgrades or modifications.
Whether you’re a casual Mac user or a professional handling resource-intensive tasks, regularly checking your Mac’s RAM is essential to ensure optimal performance and a smooth computing experience. Armed with the knowledge gained from this guide, you can confidently examine your Mac’s RAM configuration and make informed decisions to enhance its overall efficiency and responsiveness.