Introduction
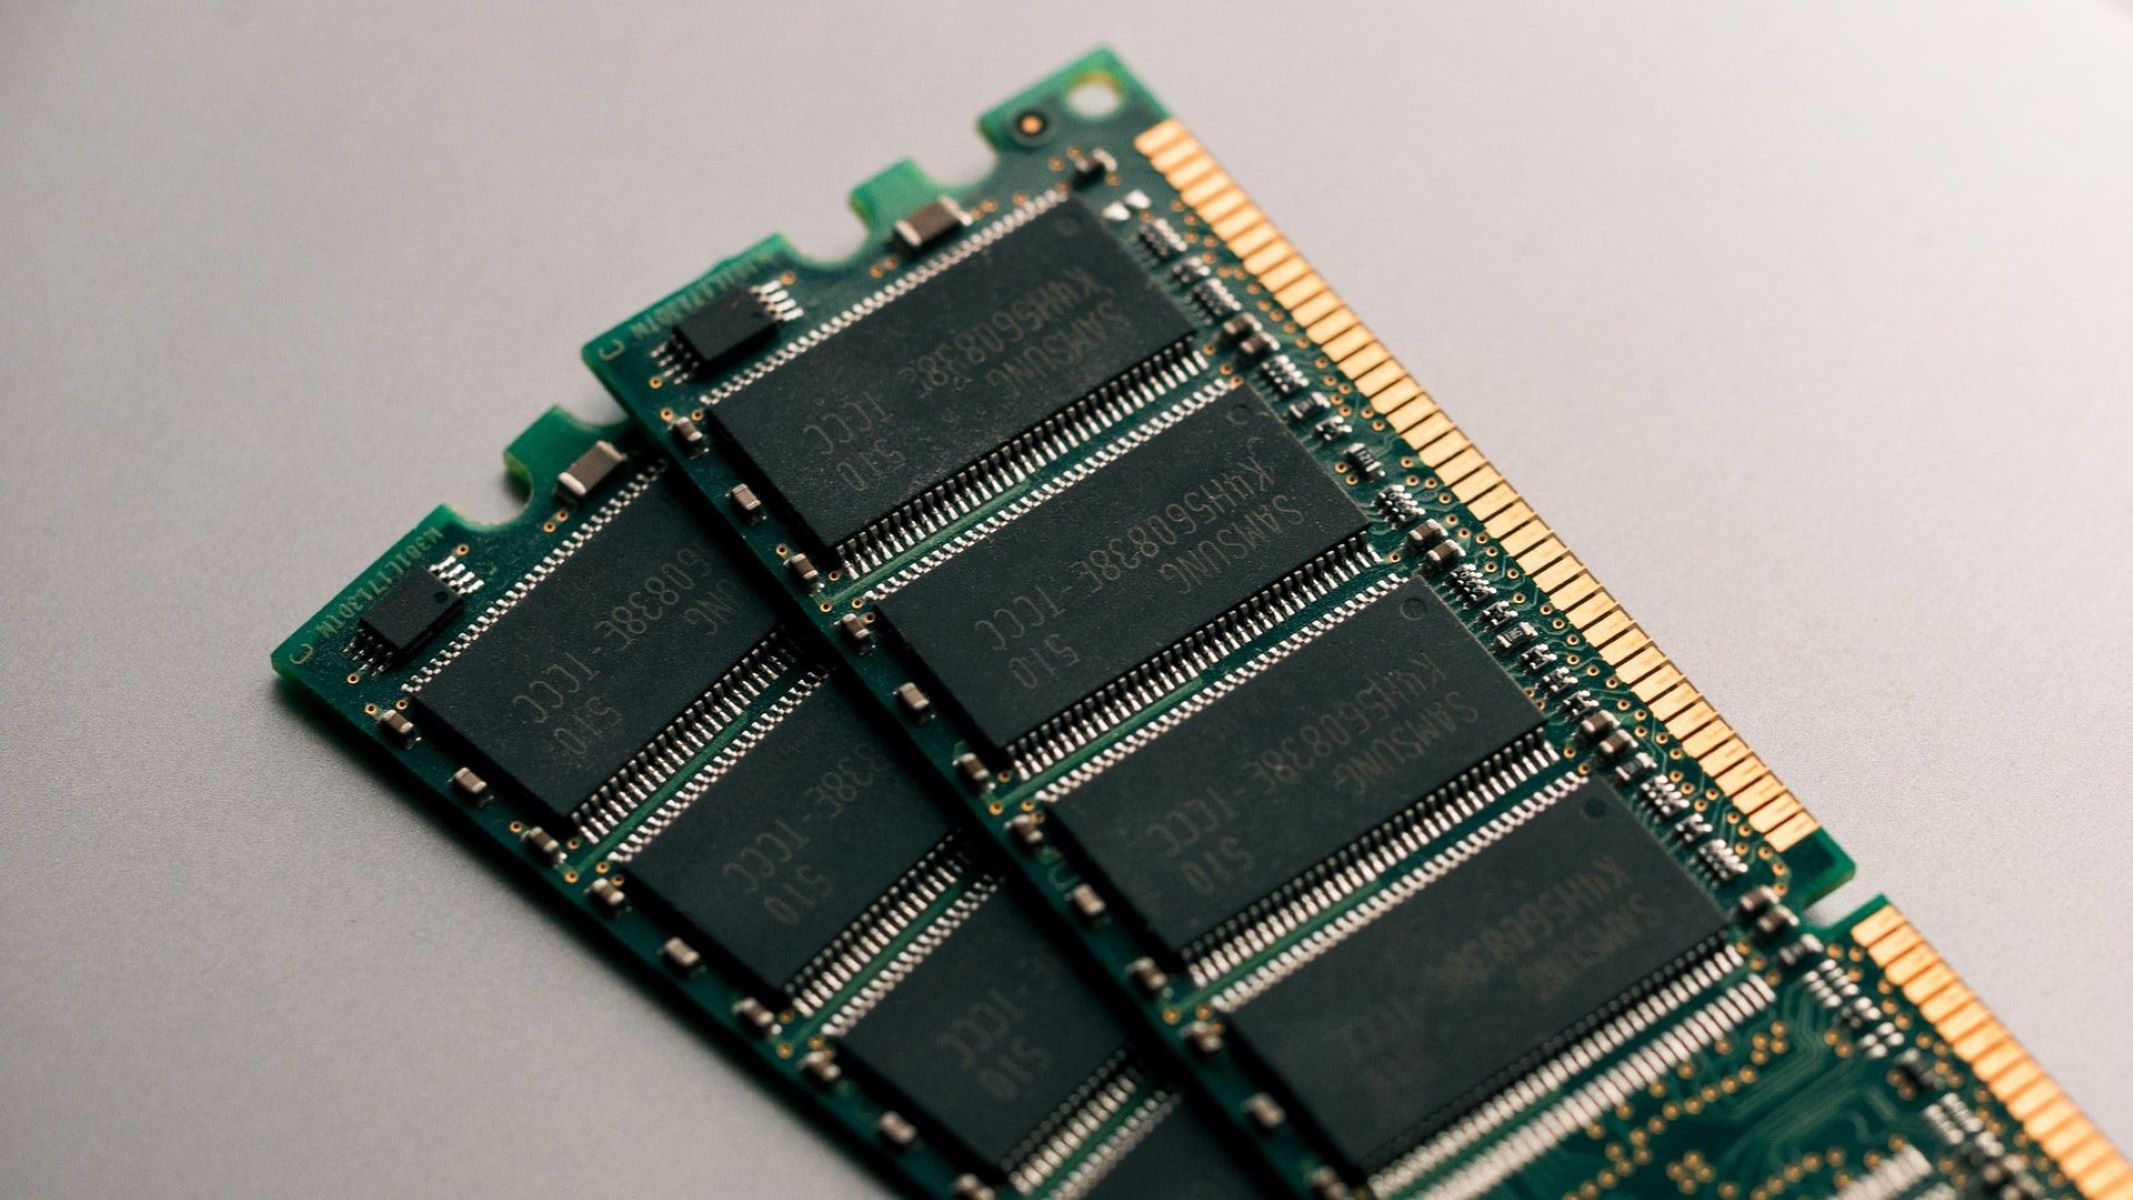
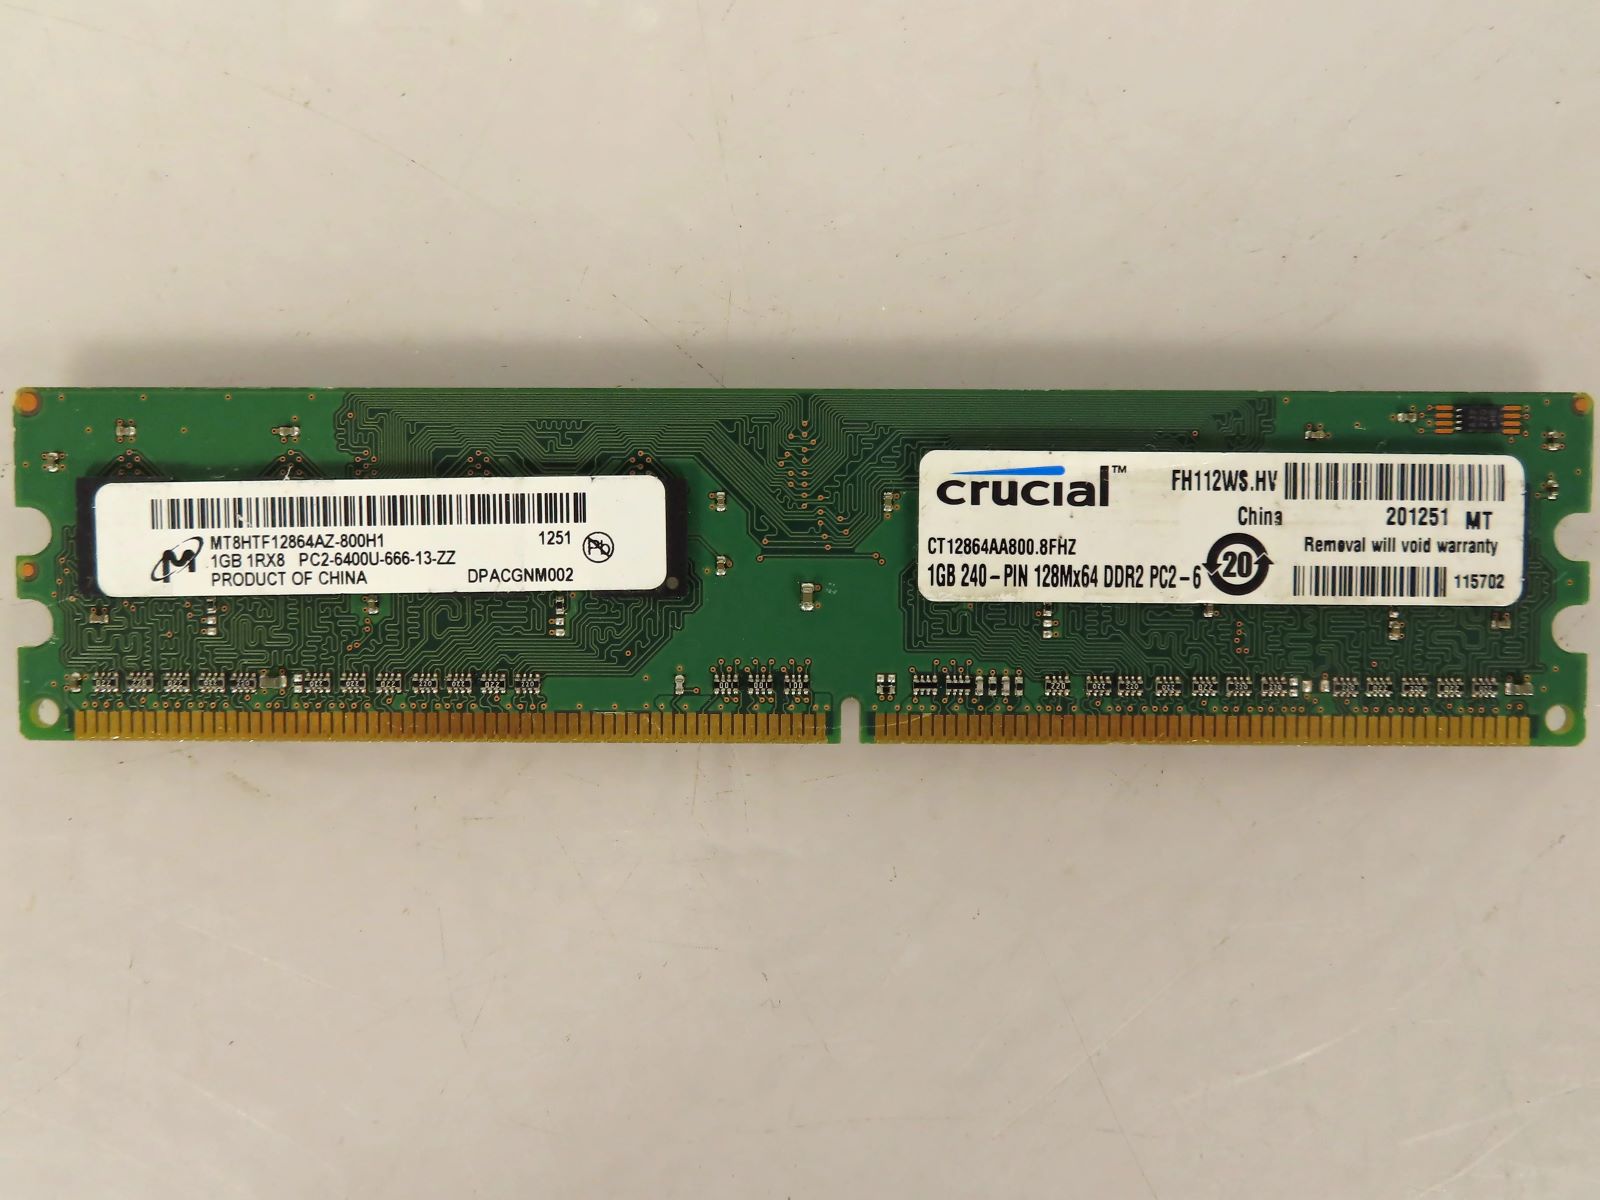
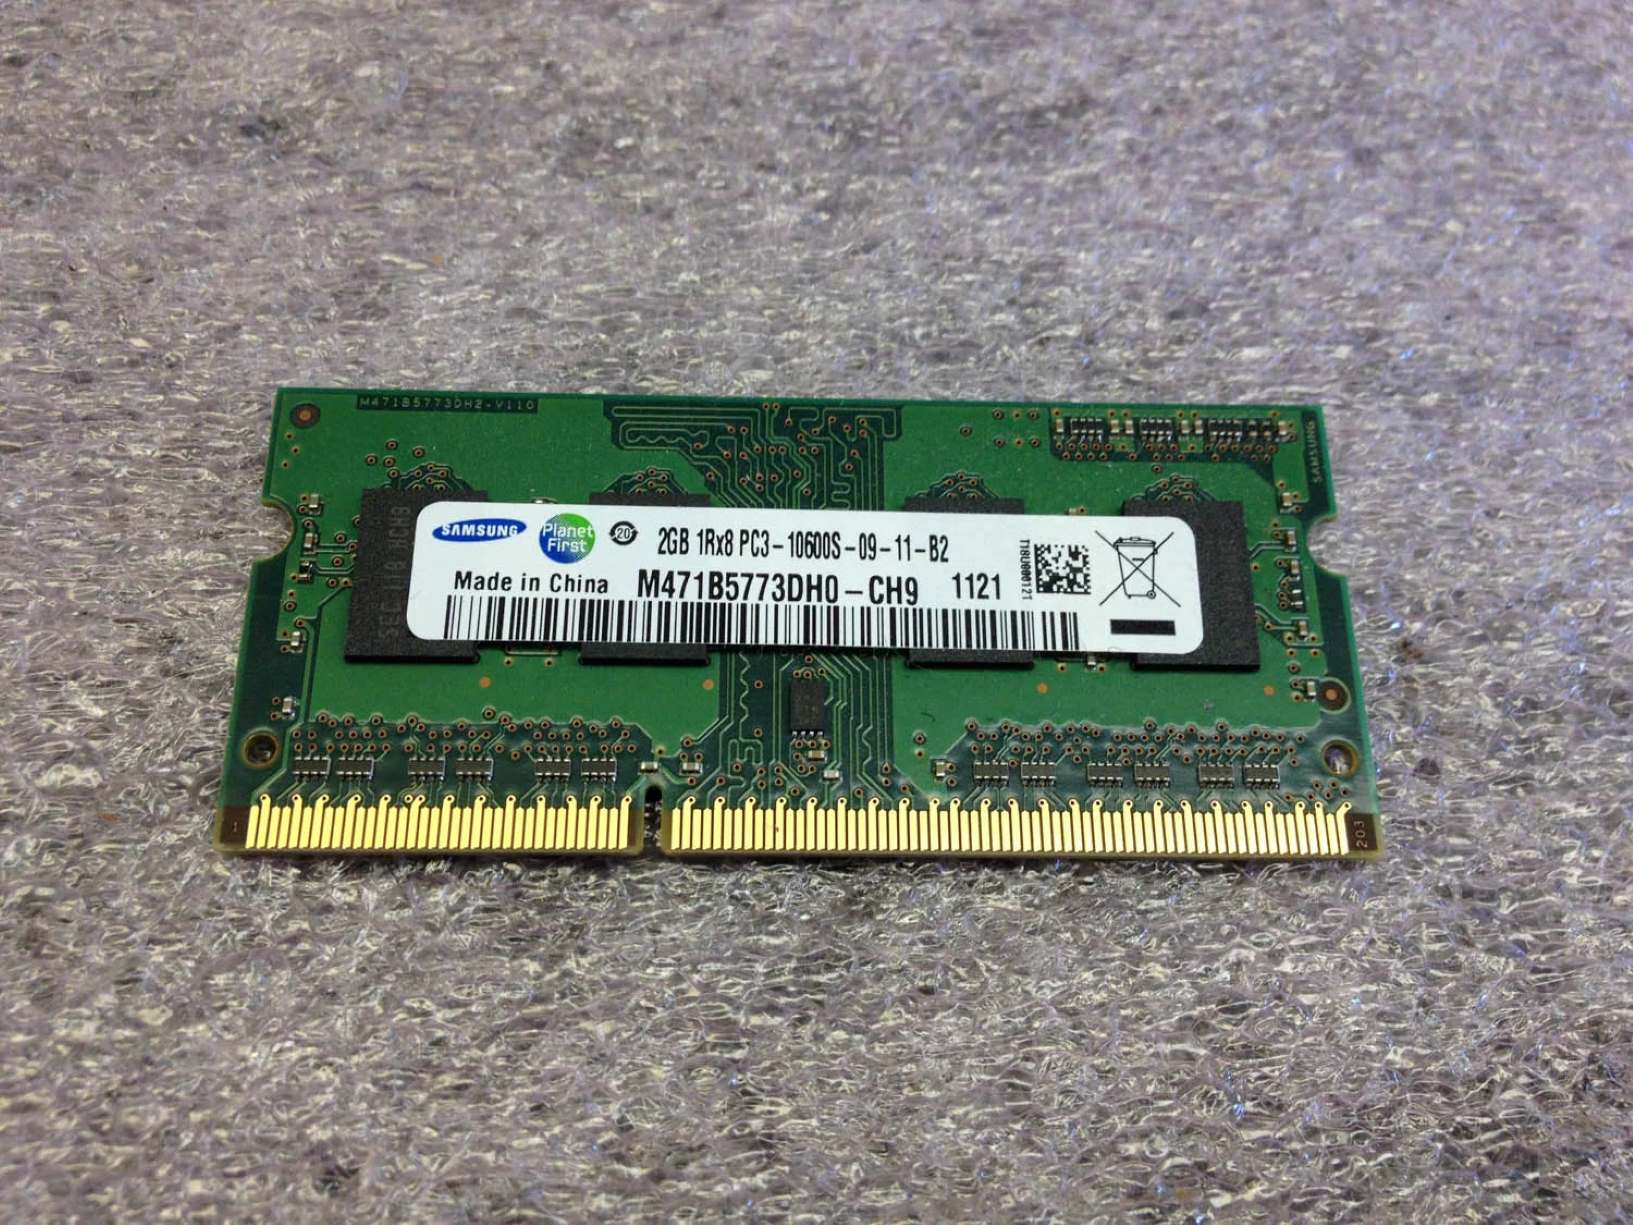
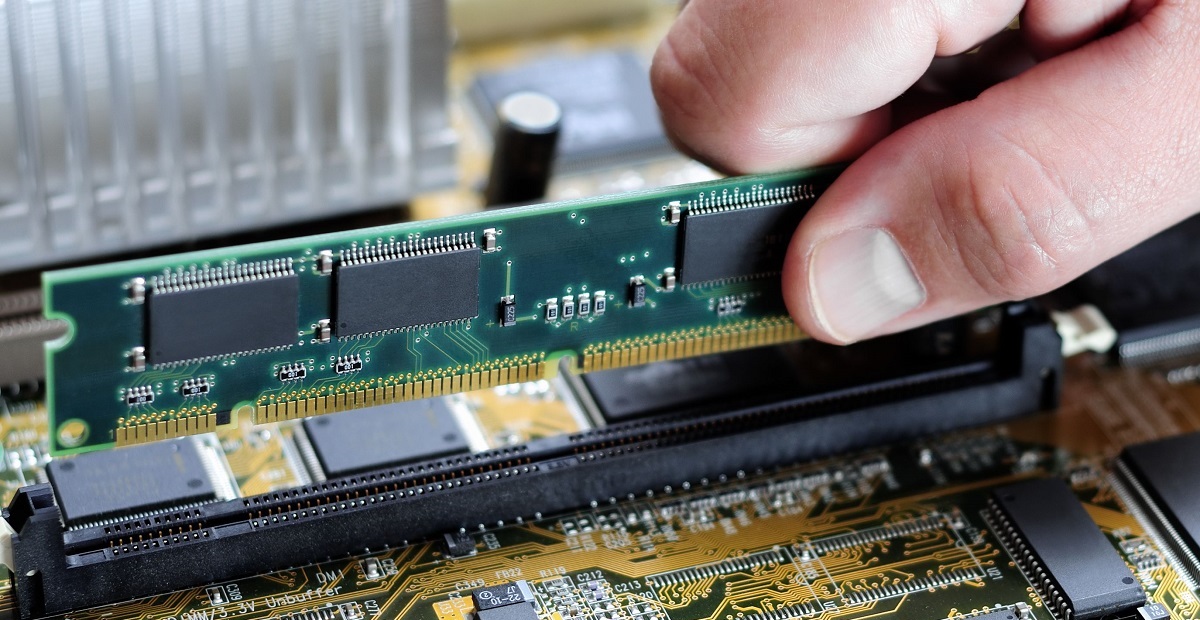
Welcome to our guide on how to check RAM speed on your PC. RAM (Random Access Memory) plays a crucial role in the overall performance of your computer. It acts as a temporary storage space for data and instructions that your computer needs to access quickly. The speed of your RAM can have a significant impact on system responsiveness and overall efficiency, making it essential to understand how to check its speed.
Knowing the RAM speed of your computer can be helpful in several scenarios. It can aid in troubleshooting performance issues, determining if an upgrade is necessary, or simply satisfying your curiosity about your system’s specifications. By checking your RAM speed, you can have a better understanding of your computer’s capabilities and make informed decisions about optimizing its performance.
In this guide, we will walk you through the process of checking RAM speed on both Windows and Mac operating systems. We will explore different methods that you can use to gather this information, including using specialized software like CPU-Z, executing commands in the Command Prompt, and utilizing the built-in Task Manager.
Whether you are a tech-savvy user looking to fine-tune your system or a casual computer user seeking to learn more about your device, this guide will provide you with the necessary knowledge to check your RAM speed. So, let’s dive in and uncover the secrets of your computer’s RAM performance!
Why Check RAM Speed?
RAM speed is a crucial factor that directly impacts the performance of your computer. Here’s why it’s important to check your RAM speed:
- System Performance: The speed at which your RAM operates can significantly influence the overall speed and responsiveness of your system. Faster RAM allows for quicker data transfer between the RAM and other components, resulting in smoother multitasking, faster application loading times, and improved overall system performance.
- Gaming Experience: If you’re a gamer, RAM speed becomes even more critical. Many modern games require high-speed RAM to run smoothly, especially those with complex graphics and large files. Checking your RAM speed ensures that your system meets the recommended specifications for gaming, providing you with a seamless and immersive gaming experience.
- Identifying Bottlenecks: In some cases, if you’re experiencing slow performance or lag, it might not be due to the lack of processing power from your CPU or GPU. Instead, it could be a result of slower RAM speeds. Checking your RAM speed can help you identify whether slow RAM is the root cause of performance issues and allow you to address the problem more effectively.
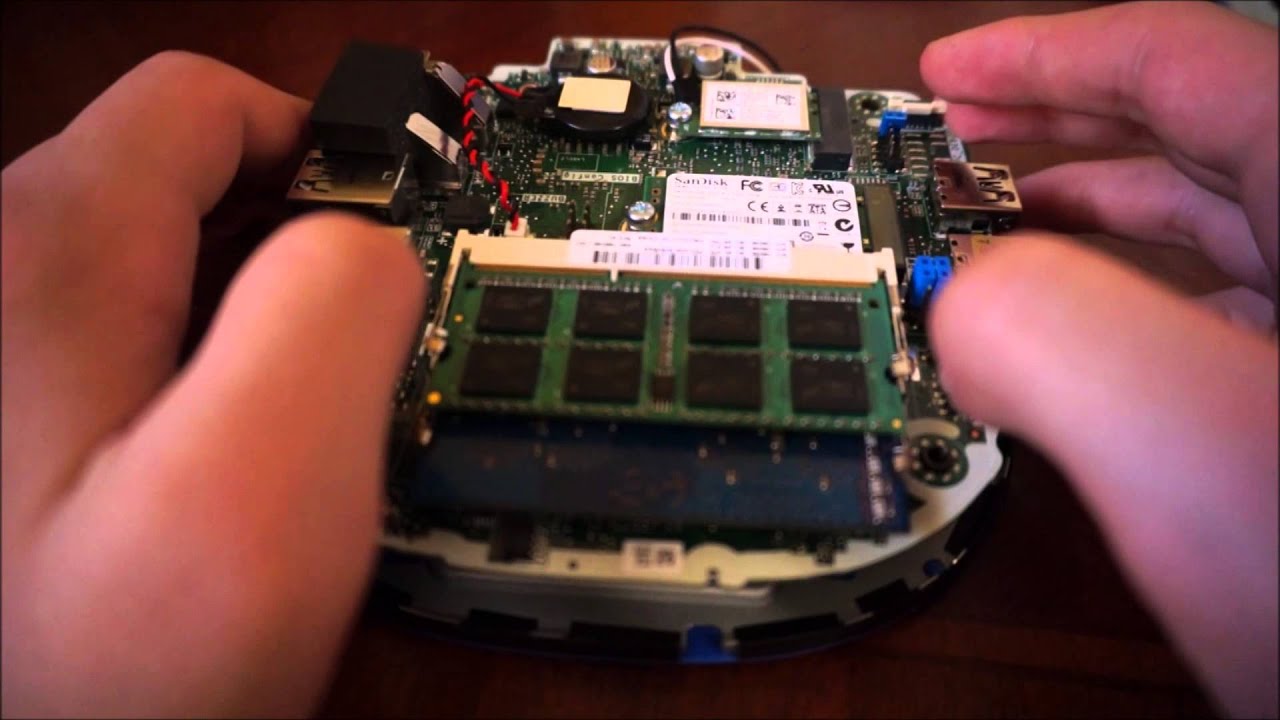
- Upgrade Considerations: Checking your RAM speed is essential when contemplating a RAM upgrade. It allows you to assess your current RAM’s performance and determine if an upgrade is necessary. By knowing the current speed of your RAM, you can make an informed decision about the type and speed of RAM you need for your specific computer requirements.
- Optimization Opportunities: By gaining insight into your RAM speed, you can optimize your system for better performance. If you find that your RAM is running below its rated speed, you can take steps to adjust the settings in your system’s BIOS or utilize overclocking techniques to maximize performance. Likewise, if you have excess RAM speed, you can ensure it is being utilized effectively and adjust settings accordingly.
Checking your RAM speed not only helps you understand the capabilities of your system but also empowers you to make informed decisions regarding upgrades, troubleshooting, and performance optimization. It’s an essential step towards unlocking the full potential of your computer and ensuring a smooth and efficient computing experience.
Checking RAM Speed on Windows
Windows provides several methods to check your RAM speed. Here are three commonly used approaches:
Using CPU-Z to Check RAM Speed
CPU-Z is a popular software that provides detailed information about various hardware components in your system, including your RAM. Here’s how you can use CPU-Z to check your RAM speed:
- Download and install CPU-Z from the official website.
- Launch CPU-Z and navigate to the “Memory” tab.
- Look for the “DRAM Frequency” or “Memory Clock” field, which indicates the speed of your RAM in megahertz (MHz).
Using Command Prompt to Check RAM Speed
If you prefer using the Command Prompt, you can utilize the Windows Management Instrumentation Command-line (WMIC) tool to check your RAM speed. Follow these steps:
- Open Command Prompt by searching for it in the Start menu.
- Type the following command and press Enter:
wmic MEMORYCHIP get Speed
- The Command Prompt will display the speed of your RAM in megahertz (MHz).
Using Task Manager to Check RAM Speed
Windows Task Manager provides a quick way to check basic information about your RAM, including its speed. Here’s how you can access this information:
- Right-click on the taskbar and select “Task Manager” from the context menu. Alternatively, you can press Ctrl+Shift+Esc to open Task Manager directly.
- In the Task Manager window, click on the “Performance” tab.
- Select “Memory” from the left sidebar.
- Your RAM speed will be displayed next to the “Speed” field.
These methods offer easy and convenient ways to check your RAM speed on a Windows system. By using CPU-Z, the Command Prompt, or Task Manager, you can quickly gather the necessary information to assess your RAM’s performance and make informed decisions about optimizing your system.
Checking RAM Speed on Mac
If you’re using a Mac, there are a few simple methods you can use to check your RAM speed. Let’s explore three common approaches:
Using About This Mac
The built-in “About This Mac” feature in macOS provides quick access to basic system information, including RAM speed. Here’s how you can check your RAM speed using this method:
- Click on the Apple menu in the top-left corner of your screen and select “About This Mac”.
- In the Overview tab, click on “System Report”.
- In the new window that appears, click on “Memory” in the left sidebar.
- Your RAM speed will be displayed next to the “Speed” field, expressed in megahertz (MHz).
Using Terminal
If you prefer using the command line, you can use the Terminal application on your Mac to check your RAM speed. Follow these steps:
- Open the Terminal application by going to “Applications” > “Utilities” > “Terminal”.
- Type the following command and press Enter:
system_profiler SPMemoryDataType | grep 'Speed'
- The Terminal will display the speed of your RAM in megahertz (MHz).
Using Third-Party Software
There are also third-party software options available for Mac users that provide more detailed information about your system, including RAM speed. Some popular options include “iStat Menus”, “CoconutBattery”, and “MacTracker”. You can download these applications from their respective websites and follow the instructions provided to check your RAM speed.
These methods allow Mac users to easily check their RAM speed without the need for technical expertise. Whether you prefer using the built-in system information or utilizing the power of the command line, these approaches provide the necessary information to understand your Mac’s RAM performance.
Using CPU-Z to Check RAM Speed
CPU-Z is a widely used and trusted software tool that provides comprehensive information about your computer’s hardware components, including RAM. With CPU-Z, you can easily check the speed of your RAM. Here’s how:
- Go to the official CPU-Z website and download the latest version of the software for your operating system.
- After downloading, run the CPU-Z installer and follow the on-screen instructions to install the software on your computer.
- Once installed, launch CPU-Z. You will see a user-friendly interface with several tabs.
- Click on the “Memory” tab to access detailed information about your RAM.
- In the “Memory” tab, you will find various details about your RAM, including the module type, size, and speed.
- Look for the “DRAM Frequency” field, which indicates the speed of your RAM. It is usually expressed in megahertz (MHz).
CPU-Z also provides additional information about your RAM, such as the number of memory channels, latency timings, and voltage settings. These details can be helpful if you’re looking to optimize your RAM or troubleshoot any performance issues.
It’s worth noting that CPU-Z can also be used to gather information about other hardware components in your system, such as the CPU, motherboard, and graphics card. This makes it a versatile tool for system analysis.
Using CPU-Z to check your RAM speed is a straightforward and convenient method. The software provides accurate and detailed information, allowing you to have a better understanding of your RAM’s performance capabilities.
Using Command Prompt to Check RAM Speed
If you prefer using the command line interface, you can utilize the Command Prompt on Windows to check your RAM speed. Here’s how you can do it:
- Open the Command Prompt by searching for “Command Prompt” in the Start menu or by pressing the Windows key + R, typing “cmd”, and pressing Enter.
- In the Command Prompt window, type the following command and press Enter:
wmic MEMORYCHIP get Speed
- The Command Prompt will display the speed of your RAM in megahertz (MHz).
The command retrieves the memory chip speed information from the Windows Management Instrumentation (WMI) database and displays it on the screen.
It’s important to note that the speed displayed by Command Prompt is the default or advertised speed of your RAM. If you have manually adjusted the settings in your system’s BIOS to run the RAM at a different speed, Command Prompt may not reflect that change.
In addition to checking the RAM speed, you can also use the Command Prompt to gather other information about your system’s memory. For example, by typing
wmic MEMORYCHIP get Manufacturer
you can retrieve the manufacturer details of your RAM modules.
Using Command Prompt to check your RAM speed is a quick and straightforward method, especially for those who prefer using the command line interface. It provides you with the necessary information to evaluate your RAM’s performance at a glance.
Using Task Manager to Check RAM Speed
If you’re running a Windows operating system, you can conveniently check your RAM speed using the built-in Task Manager. Here’s how you can do it:
- Right-click on the taskbar of your Windows desktop and select “Task Manager” from the context menu that appears. Alternatively, you can press Ctrl+Shift+Esc on your keyboard to open Task Manager directly.
- In the Task Manager window, click on the “Performance” tab located at the top of the window.
- Within the Performance tab, click on the “Memory” option on the left-hand sidebar.
- On the right side of the window, you will see a section called “Speed”. The value displayed here represents the speed of your RAM in megahertz (MHz).
Task Manager provides a quick and accessible way to check your RAM speed without the need for third-party software. It allows you to monitor the current speed of your RAM and assess its performance easily.
Aside from checking the RAM speed, Task Manager offers various other features and insights into your system’s performance. You can use it to monitor CPU usage, disk activity, network performance, and more. Task Manager is a powerful tool that enables you to diagnose performance issues and manage system resources efficiently.
It’s important to note that the RAM speed displayed in Task Manager corresponds to the default or advertised speed of your RAM modules. If you have manually adjusted the speed settings in your system’s BIOS, Task Manager may not reflect those changes.
By using Task Manager to check your RAM speed, you can quickly gain an understanding of your system’s memory performance and make informed decisions regarding system optimization or potential hardware upgrades.
Conclusion
Checking your RAM speed is an essential step in understanding and optimizing your computer’s performance. Whether you’re a tech enthusiast, a gamer, or simply want to ensure your system is running at its best, knowing how to check your RAM speed is valuable information.
In this guide, we explored various methods for checking RAM speed on both Windows and Mac operating systems. We discussed using software like CPU-Z, utilizing the Command Prompt, and leveraging the built-in Task Manager. Each method offers a convenient way to gather the necessary information about your RAM speed.
By knowing your RAM speed, you can assess the capability of your system, troubleshoot performance issues, and make informed decisions about potential upgrades or optimization strategies. Faster RAM speed can translate into smoother multitasking, faster application loading times, and an overall improvement in system responsiveness.
Remember that RAM speed is just one factor in overall system performance. It’s important to consider other components such as the CPU, graphics card, and storage devices to achieve optimal performance. Additionally, keep in mind that while checking your RAM speed is useful, it’s not always necessary unless you’re experiencing specific performance issues or planning to upgrade your hardware.
Whether you’re a novice or an experienced user, the methods explained in this guide should enable you to check your RAM speed with ease. Armed with this knowledge, you can fine-tune your system, troubleshoot any performance bottlenecks, and ensure that your computer is running at its best.
So, go ahead and check your RAM speed using the methods described in this guide. Unlock the power of your system by understanding and optimizing your computer’s memory performance!