Introduction
Welcome to the world of MacBook Pro! If you’re a proud owner, you’re likely enjoying the sleek design, blazing-fast performance, and impressive features that make these laptops a favorite among professionals and creatives alike. However, as with any computer, you may find yourself in need of an upgrade to keep up with the demands of modern applications and multitasking.
One of the most significant upgrades you can make to your MacBook Pro is increasing its RAM (Random Access Memory). RAM is vital for the smooth running of multiple applications simultaneously, enhancing overall system performance, and ensuring a seamless user experience.
But before diving into the world of RAM upgrades, it’s important to consider a few factors to ensure a successful and compatible upgrade. In this article, we’ll explore the importance of RAM, how to check your current RAM configuration, the different types and specifications of RAM, and the maximum RAM limitations for each MacBook Pro model.
By the end of this article, you’ll have a better understanding of how much RAM you can add to your MacBook Pro and the benefits it can bring. So, let’s get started on this memory-boosting journey together!
Factors to Consider Before Adding RAM to Your MacBook Pro
While increasing the RAM in your MacBook Pro can have a significant impact on its performance, there are a few factors you should consider before diving into the upgrade. Taking these factors into account will help ensure a smooth and successful RAM upgrade. Let’s explore some of these factors:
- Compatibility: Before you purchase additional RAM, it’s essential to confirm its compatibility with your specific MacBook Pro model. Apple provides detailed specifications for each model on their website, including the maximum RAM capacity. Make sure to match the type and speed of the RAM to your MacBook Pro’s requirements.
- Operating System Support: Ensure that your MacBook Pro is running a supported operating system version. Older MacBook Pro models may have limitations on the amount of RAM they can recognize and use based on the operating system version.
- Available Slots: Check the number of RAM slots available in your MacBook Pro. Some models have soldered RAM that cannot be upgraded, while others have one or two slots for adding additional RAM. Identify the number of available slots to determine how much RAM you can add.
- Budget: RAM prices can vary depending on the type and capacity you choose. Setting a budget for your upgrade will help you narrow down your options and make a purchase that fits your needs without breaking the bank.
- Future Needs: Consider your future needs and the longevity of your MacBook Pro. If you anticipate using resource-intensive applications or multitasking heavily, it may be wise to invest in more RAM than your current needs to future-proof your device.
By considering these factors before adding RAM to your MacBook Pro, you can make an informed decision and ensure that the upgrade will be compatible, cost-effective, and beneficial for your specific requirements.
How to Check Your Current RAM Configuration
Before proceeding with a RAM upgrade, it’s essential to know your MacBook Pro’s current RAM configuration. This information will help you determine the type of RAM you need and the maximum capacity your laptop can support. Fortunately, checking your current RAM configuration is a straightforward process. Follow these steps:
- About This Mac: Click on the Apple menu in the top left corner of your screen and select “About This Mac.”
- Memory: In the “About This Mac” window, click on the “Memory” tab. Here, you’ll find information about your current RAM configuration.
- Total Memory: Look for the “Total Memory” section, which displays the amount of RAM that is currently installed in your MacBook Pro. It will show the total capacity in gigabytes (GB).
- Speed: Note down the speed of your current RAM as well. It is usually listed in megahertz (MHz).
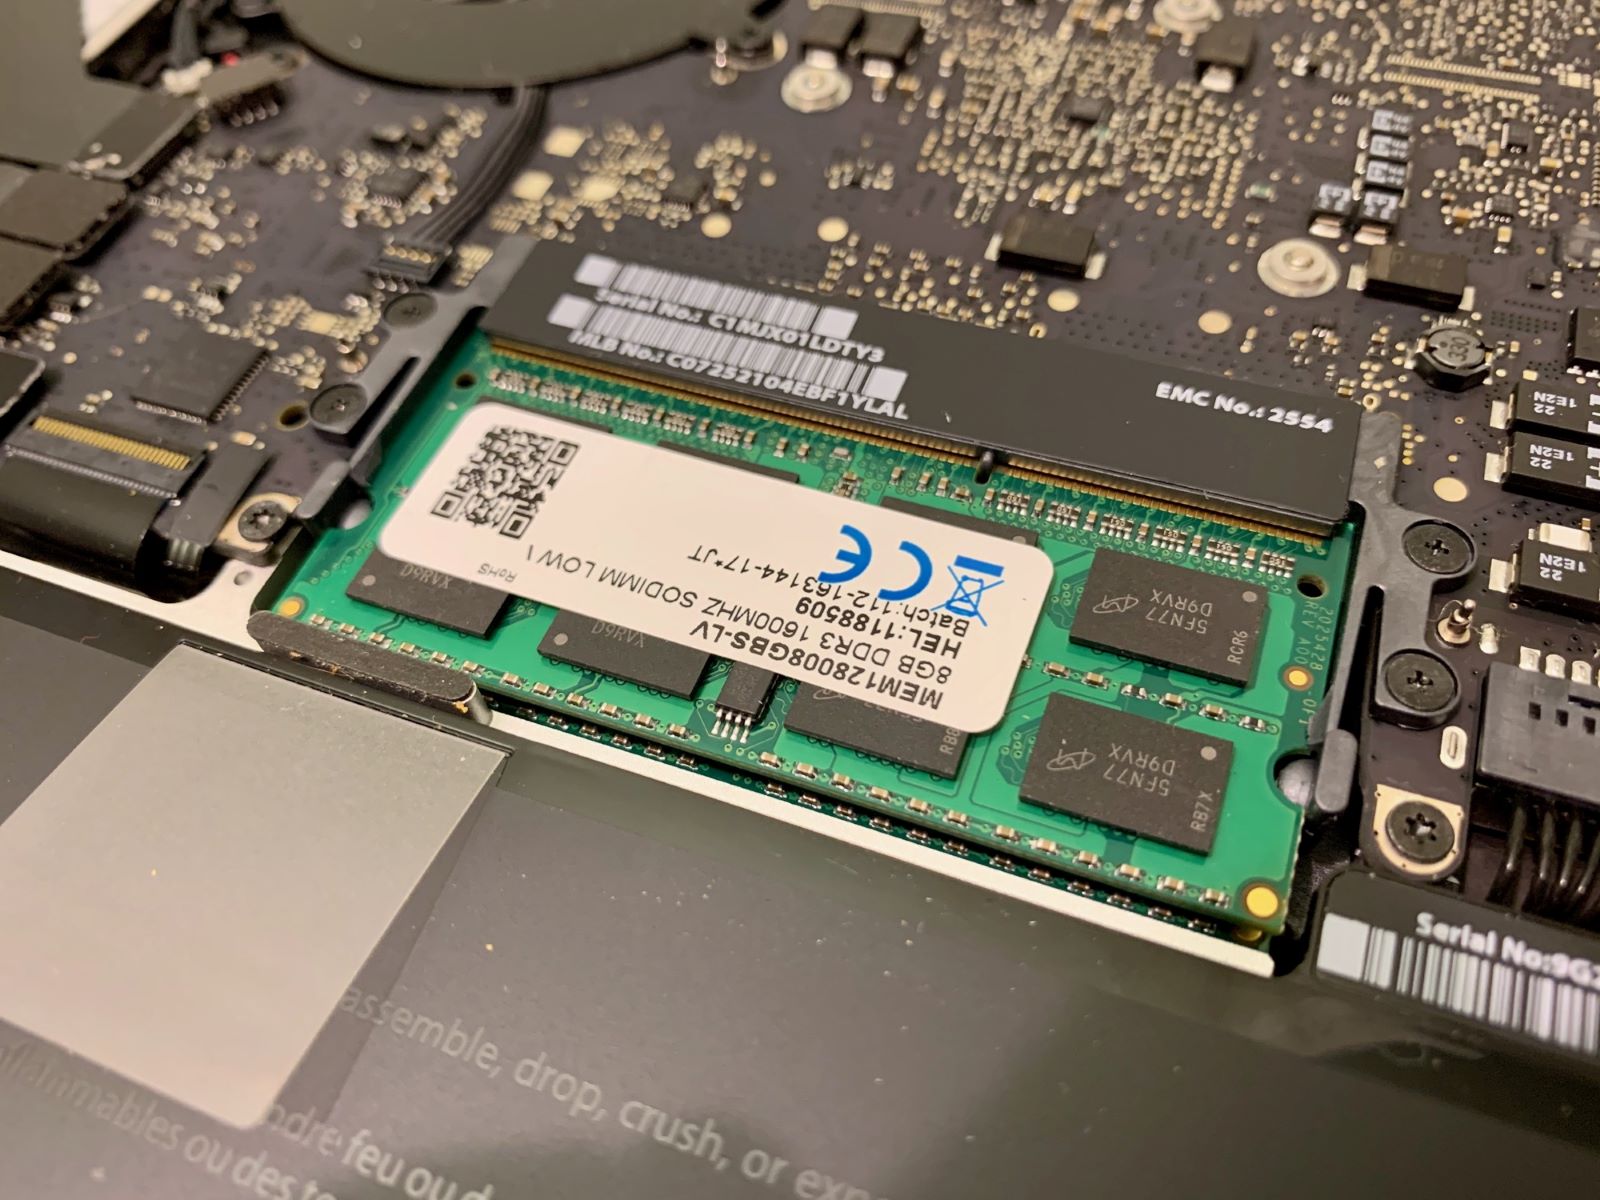
- Type: Make a note of the RAM type as well, such as DDR3, DDR4, or LPDDR3. This information will be helpful when purchasing compatible RAM for your upgrade.
Alternatively, you can use third-party software like “System Information” or “Activity Monitor” to gather information about your current RAM configuration. These tools provide more detailed information, including the number of RAM slots used and available.
By checking your current RAM configuration, you’ll have a clear understanding of the type, speed, and capacity of RAM in your MacBook Pro. Armed with this information, you can confidently move forward with selecting and installing compatible RAM for your upgrade.
Understanding RAM Types and Specifications
When it comes to upgrading your MacBook Pro’s RAM, it’s crucial to understand the different types and specifications of RAM available. This knowledge will help you choose the right RAM that is compatible with your laptop’s hardware and provides optimal performance. Let’s delve into the key aspects of RAM types and specifications:
Type of RAM: There are different types of RAM, including DDR3, DDR4, and LPDDR3. Each type has its own variations in terms of speed, power consumption, and compatibility. It’s essential to match the type of RAM to your MacBook Pro’s specifications to ensure proper compatibility.
RAM Speed: RAM speed, measured in megahertz (MHz), determines how quickly your computer can access and process data. Higher RAM speeds result in faster performance. Check your MacBook Pro’s specifications to find the recommended speed or the maximum speed it can support.
RAM Capacity: RAM capacity refers to the total amount of memory you can install in your MacBook Pro. It is typically measured in gigabytes (GB). Different MacBook Pro models have different maximum RAM limitations, so make sure you choose a capacity that falls within your laptop’s supported range.
Latency Timings: RAM latency timings refer to the delay between when a memory controller requests data and when it is available. Lower latency timings result in faster response times. However, the impact of latency on real-world performance is minimal, and it is generally not a crucial factor to consider when choosing RAM for your MacBook Pro.
Module Configuration: RAM modules come in different configurations, such as single-channel, dual-channel, and quad-channel. Dual-channel and quad-channel configurations provide better performance by allowing simultaneous data transfer between multiple memory modules. However, the configuration your MacBook Pro supports depends on its specific hardware design.
By understanding these RAM types and specifications, you can make an informed decision when purchasing and installing additional RAM in your MacBook Pro. It’s important to ensure that the RAM you choose is compatible with your laptop to maximize performance and avoid any potential compatibility issues.
Maximum RAM Limitations for Each MacBook Pro Model
Every MacBook Pro model has a specific maximum limit on the amount of RAM it can support. It’s crucial to be aware of these limitations to ensure that you don’t exceed them when upgrading your laptop’s memory. Let’s take a look at the maximum RAM capacities for different MacBook Pro models:
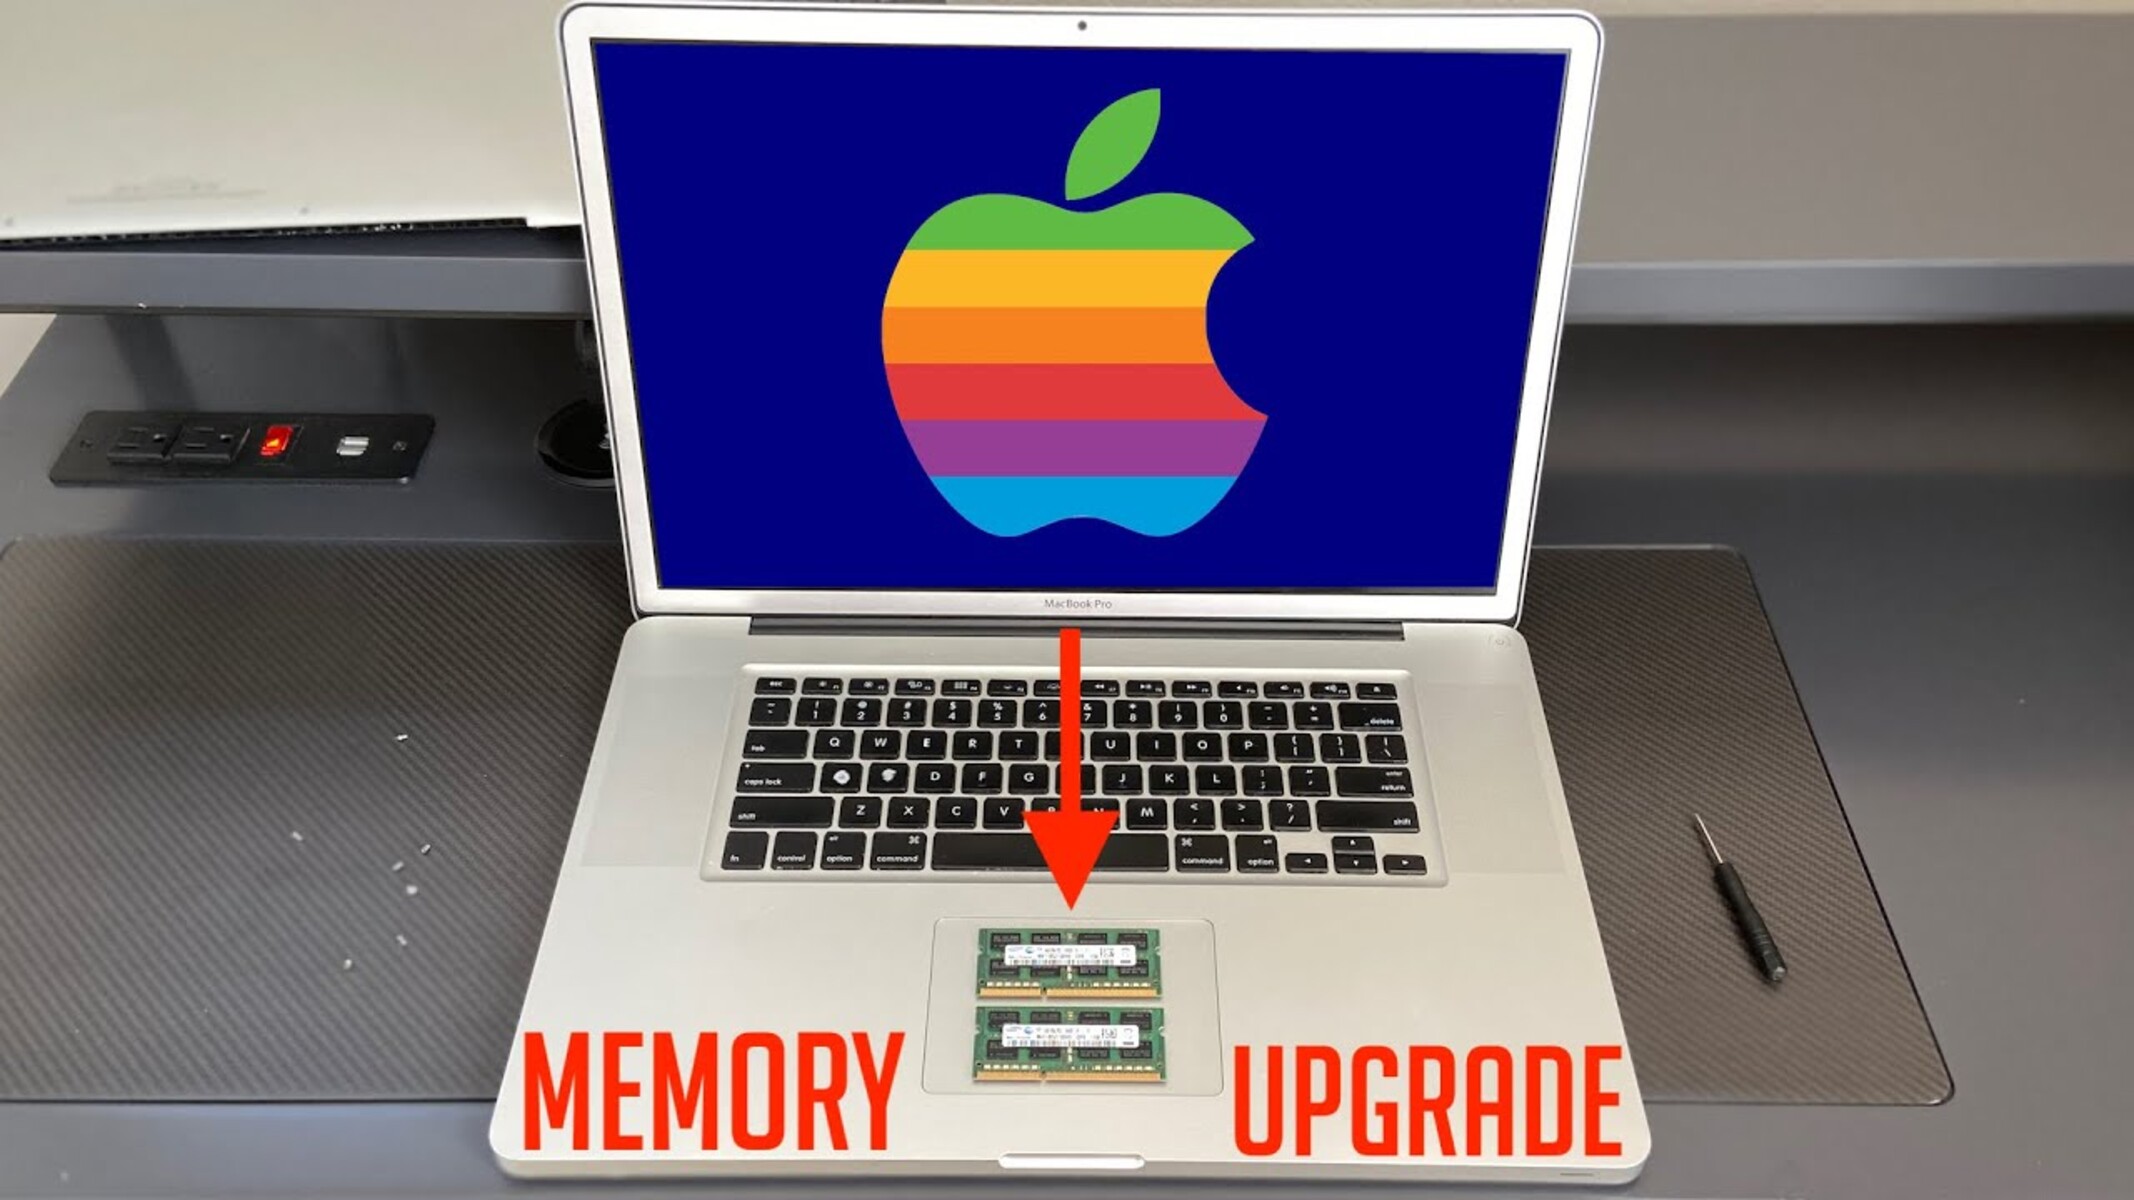
- MacBook Pro (Early 2011 to Mid 2012): These models support a maximum of 16GB of RAM. You can install two 8GB RAM modules to reach the maximum capacity.
- MacBook Pro (Late 2012 to Mid 2015): Depending on the specific model, these MacBook Pro models support a maximum of 8GB, 16GB, or 32GB of RAM. Check the specifications of your particular model to determine the maximum capacity.
- MacBook Pro (Late 2016 to 2019): These models have varying RAM capacities depending on the specific model and configuration. The non-Touch Bar MacBook Pro models typically support up to 16GB of RAM, while the Touch Bar models can support up to 32GB or 64GB of RAM. Consult your MacBook Pro’s specifications to determine the maximum RAM limitation.
- MacBook Pro (2020 and later): The recent MacBook Pro models, powered by Apple’s M1 chip, can support a maximum of 16GB or 32GB of unified memory. The specific configuration you choose will determine the maximum RAM capacity.
It’s worth noting that some MacBook Pro models have RAM soldered directly onto the logic board, making them non-upgradable. In these cases, you won’t be able to add or replace the RAM modules. However, models with user-upgradable RAM will allow you to install additional memory modules.
By understanding the maximum RAM limitations for your MacBook Pro model, you can make an informed decision and ensure that you select a RAM upgrade within the supported range. Exceeding the maximum RAM limit may result in compatibility issues or even cause damage to your MacBook Pro.
How to Determine the Maximum RAM Capacity for Your MacBook Pro
Knowing the maximum RAM capacity of your MacBook Pro is crucial when considering a RAM upgrade. Fortunately, it’s easy to determine the maximum RAM capacity for your specific model. Follow these steps:
- Identify Your MacBook Pro Model: Click on the Apple menu in the top left corner of the screen and select “About This Mac”. In the Overview tab, you’ll find information about your MacBook Pro model, including the year it was released.
- Visit Apple’s Support Website: Open a web browser and navigate to Apple’s support website (support.apple.com).
- Search for Your MacBook Pro Model: In the search field, enter the model information of your MacBook Pro (e.g., “MacBook Pro 2015”).
- Find the Specifications: Look for the official Apple support page for your MacBook Pro model. This page will provide detailed specifications, including the maximum supported RAM capacity.
- Check the RAM Section: Scroll through the webpage until you find the RAM section. Here, you’ll see the maximum memory supported, stated in GB (gigabytes).
If you’re having trouble finding the specifications for your specific model, you can also search for the model number on Apple’s support website. The model number is typically located on the bottom of your MacBook Pro or in the “About This Mac” window.
Additionally, there are third-party websites and utilities that can provide detailed information about your MacBook Pro’s maximum RAM capacity. These tools often offer a user-friendly interface and can quickly determine the RAM limitation based on your MacBook Pro’s model or serial number.
By following these steps and referring to reliable sources, you can easily identify the maximum RAM capacity for your MacBook Pro. Having this information allows you to make an informed decision when selecting the appropriate RAM upgrade for your laptop.
Benefits of Adding More RAM to Your MacBook Pro
Adding more RAM to your MacBook Pro can provide several significant benefits, enhancing both performance and overall user experience. Let’s explore the advantages of upgrading your RAM:
- Improved Multitasking: Increasing the RAM capacity allows your MacBook Pro to handle multiple applications simultaneously without slowing down. You can seamlessly switch between tasks, run resource-intensive software, and experience smoother performance, even when running demanding applications.
- Faster Program Execution: With more RAM, your MacBook Pro can store more data in memory, reducing the need to rely heavily on virtual memory (hard drive space used as temporary storage). This results in quicker program launches, faster file access, and improved overall responsiveness.
- Enhanced System Performance: Additional RAM reduces strain on your MacBook Pro’s processor by providing more memory resources. This results in improved system performance, reduced lag, and a smoother computing experience, particularly when working with memory-intensive applications like video editing or graphic design software.
- Seamless Web Browsing: More RAM allows your web browser to load and run multiple tabs and web applications with ease. You’ll experience faster browsing, smoother scrolling, and better performance when working with web-based tools and platforms.
- Better Virtual Machine Performance: If you frequently use virtualization software to run multiple operating systems on your MacBook Pro, additional RAM is essential. It provides the necessary memory resources to ensure efficient performance and reduce lag when running virtual machines.
- Future-Proofing: As software becomes more demanding, having ample RAM ensures that your MacBook Pro can handle future updates and newer applications without performance bottlenecks. By investing in more RAM now, you’re preparing your system for future advancements and extending its usefulness.
Adding more RAM to your MacBook Pro can have a transformative impact on its performance, allowing for smoother multitasking, faster program execution, enhanced system responsiveness, and improved overall efficiency. Whether you’re a professional, creative, or power user, upgrading your RAM can significantly enhance your productivity and the capabilities of your MacBook Pro.
How to Install Additional RAM in Your MacBook Pro
Installing additional RAM in your MacBook Pro is a straightforward process that can be done with the right tools and a little bit of patience. Let’s walk through the steps to help you successfully upgrade your MacBook Pro’s RAM:
- Gather the Necessary Tools: You’ll need a small screwdriver (usually a Phillips #00 or Torx T5), an anti-static wrist strap (recommended), and the new RAM modules that match your MacBook Pro’s specifications.
- Power Off Your MacBook Pro: Shut down your MacBook Pro and disconnect the power adapter to ensure it’s powered down completely.
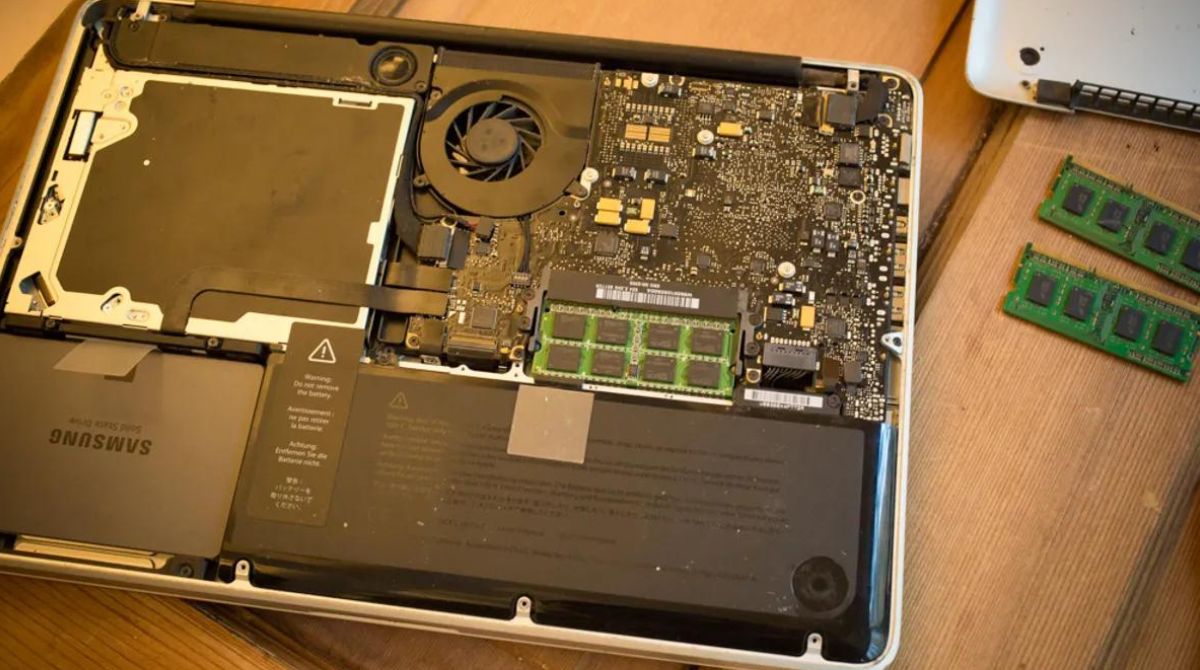
- Locate the RAM Slot: Flip your MacBook Pro over and locate the RAM slot cover. It’s usually secured by screws and labeled with an icon or by the letter “R” for RAM.
- Remove the Cover: Unscrew the screws holding the RAM slot cover in place. Set the screws aside in a safe place.
- Ground Yourself: To protect your MacBook Pro from static electricity, it’s advisable to wear an anti-static wrist strap or touch a metal object in the vicinity to discharge any static buildup.
- Insert the RAM Modules: Carefully insert the new RAM modules into the slot at a 45-degree angle. Make sure the pins on the RAM module align with the slot on the logic board. Gently press down until the module clicks into place.
- Replace the Cover: Align the RAM slot cover over the slots and secure it with the screws you removed earlier.
- Power On Your MacBook Pro: Connect the power adapter and press the power button to turn on your MacBook Pro. It should recognize the new RAM modules automatically.
- Verify the New RAM: To ensure the new RAM is recognized and functioning correctly, go to “About This Mac” and navigate to the “Memory” tab. Here, you’ll see the updated RAM capacity and other information about the installed RAM.
It’s important to note that each MacBook Pro model may have slightly different procedures for accessing and installing RAM modules. Always refer to the official Apple support documentation or consult a professional if you’re unsure about any steps.
By following these steps and handling the RAM modules with care, you’ll be able to successfully install additional RAM in your MacBook Pro and enjoy the benefits of increased memory capacity.
Troubleshooting Common Issues when Adding RAM
While adding RAM to your MacBook Pro is generally a straightforward process, there can be occasional challenges that may arise. Here are some common issues you may encounter when adding RAM, along with potential troubleshooting solutions:
- Incompatibility: Ensure that the RAM modules you purchased are compatible with your MacBook Pro model. Check the specifications and confirm that they match the required RAM type, speed, and capacity.
- Improper Installation: Double-check that the RAM modules are seated correctly in the RAM slots. Gently press down until they click into place. If the MacBook Pro doesn’t recognize the new RAM, remove and reinsert the modules, ensuring they are securely installed.
- Loose Connections: Ensure that the RAM slot cover is properly secured with the screws. Loose connections can cause the RAM modules to disconnect slightly, resulting in unrecognized RAM or intermittent issues.
- Static Electricity: Protect your MacBook Pro and the RAM modules from static electricity by wearing an anti-static wrist strap or touching a metal object to discharge any static buildup before handling the RAM.
- Faulty RAM Modules: It’s possible that one or both of the new RAM modules are faulty. Try installing them one at a time to identify if one of the modules is causing the issue. If you suspect faulty RAM, contact the manufacturer for a replacement.
- Unsupported RAM Configuration: Some MacBook Pro models have specific requirements for RAM configurations, such as using matched pairs of RAM or certain configurations for dual-channel or quad-channel setups. Ensure that you follow the recommended configuration for your specific model.
- Software Issues: In rare cases, certain software or firmware updates may cause compatibility issues with the new RAM. Check for any available system updates or firmware updates for your MacBook Pro and install them to ensure compatibility.
If you continue to experience issues after troubleshooting, it’s advisable to consult a professional or Apple support for assistance. They can provide further guidance specific to your MacBook Pro model and help diagnose any underlying issues.
By understanding these common issues and implementing the recommended troubleshooting steps, you can overcome obstacles that may arise when adding RAM to your MacBook Pro, ensuring a successful and smooth upgrade process.
Conclusion
Adding more RAM to your MacBook Pro can significantly enhance its performance and improve your overall computing experience. By considering factors like compatibility, operating system support, available slots, budget, and future needs, you can make an informed decision when upgrading your MacBook Pro’s RAM.
Before proceeding with a RAM upgrade, it’s essential to check your current RAM configuration and understand the different types and specifications of RAM available. This knowledge will help you select the right RAM that is compatible with your MacBook Pro and provides optimal performance.
Each MacBook Pro model has a specific maximum RAM capacity, so it’s crucial to determine the maximum limit for your specific model. This information will prevent you from exceeding the supported RAM capacity and potentially causing compatibility issues.
Installing additional RAM in your MacBook Pro is a straightforward process, but it’s important to follow the proper steps and handle the RAM modules with care. By doing so, you can ensure a successful installation and enjoy the benefits of increased memory capacity.
While rare, it’s possible to encounter some common issues when adding RAM. By troubleshooting these issues, such as checking for compatibility, proper installation, loose connections, static electricity, or faulty RAM modules, you can overcome obstacles that may arise during the upgrade process.
In conclusion, upgrading the RAM in your MacBook Pro can be a game-changer, enhancing multitasking capabilities, improving system performance, and future-proofing your device. By taking the necessary steps to understand, choose, and install the right RAM, you can unlock the full potential of your MacBook Pro and enjoy a seamless computing experience.