Introduction
Welcome to our guide on how to change your nickname on Discord! Discord is a popular communication platform used by gamers, communities, and professionals to chat, share information, and collaborate with others. Having a unique and customizable nickname is a fun way to express your personality and make your presence stand out within a server.
Discord allows you to change your nickname on a per-server basis, meaning you can have different usernames in different communities. Whether you want to update your nickname to match your gaming handle, show off your creativity, or simply keep your identity private, changing your nickname in Discord is a quick and simple process.
In this article, we will walk you through the steps to change your nickname on Discord. You don’t need any special technical knowledge as Discord provides a user-friendly interface that makes the process accessible to everyone. So, without further ado, let’s get started on customizing your nickname and showing off your unique style in your favorite Discord servers!
Step 1: Opening Discord
The first step to changing your nickname on Discord is to open the Discord application on your device. Discord is available for desktop (Windows and Mac), as well as mobile devices (iOS and Android).
If you are using Discord on a desktop, you can find the Discord icon either on your desktop itself or in the applications menu. Simply double-click on the Discord icon to launch the application. If you don’t have Discord installed on your device, you can download it for free from the Discord website.
If you are using Discord on a mobile device, locate the Discord app on your home screen or in your app drawer. Tap on the Discord icon to open the application. You may need to log in using your Discord account credentials. If you don’t have a Discord account yet, you can sign up for one easily by following the on-screen instructions.
Once you have successfully opened the Discord application and logged in, you will be taken to the Discord home screen where you can see all your servers and direct message conversations.
Now that you have Discord open and ready, let’s move on to the next step to change your nickname within the Discord server of your choice.
Step 2: Navigating to User Settings
Once you have opened Discord, the next step is to navigate to the User Settings menu, where you can access various customization options, including the ability to change your nickname.
To access the User Settings, look towards the bottom left corner of the Discord window. You will find a gear-shaped icon, which represents the User Settings menu. Click on this icon to open the User Settings menu.
On the User Settings menu, you will see different sections and options related to your Discord account and preferences. This is where you can make changes to your username, avatar, privacy settings, and more.
In the User Settings menu, you will find a sidebar on the left-hand side. Scroll down this sidebar until you see the My Account section. Under this section, you will find the option for Nickname. Click on Nickname to proceed to the next step.
By reaching the User Settings menu and finding the Nickname option, you are one step closer to changing your nickname on Discord. In the next step, we will guide you through accessing the server settings where you can change your nickname within a specific Discord server. Let’s continue with our Discord nickname customization journey!
Step 3: Accessing the Server Settings
In order to change your nickname on Discord, you need to access the server settings of the specific Discord server where you want to make the change. Each server has its own unique settings that you can customize, including the ability to modify your nickname.
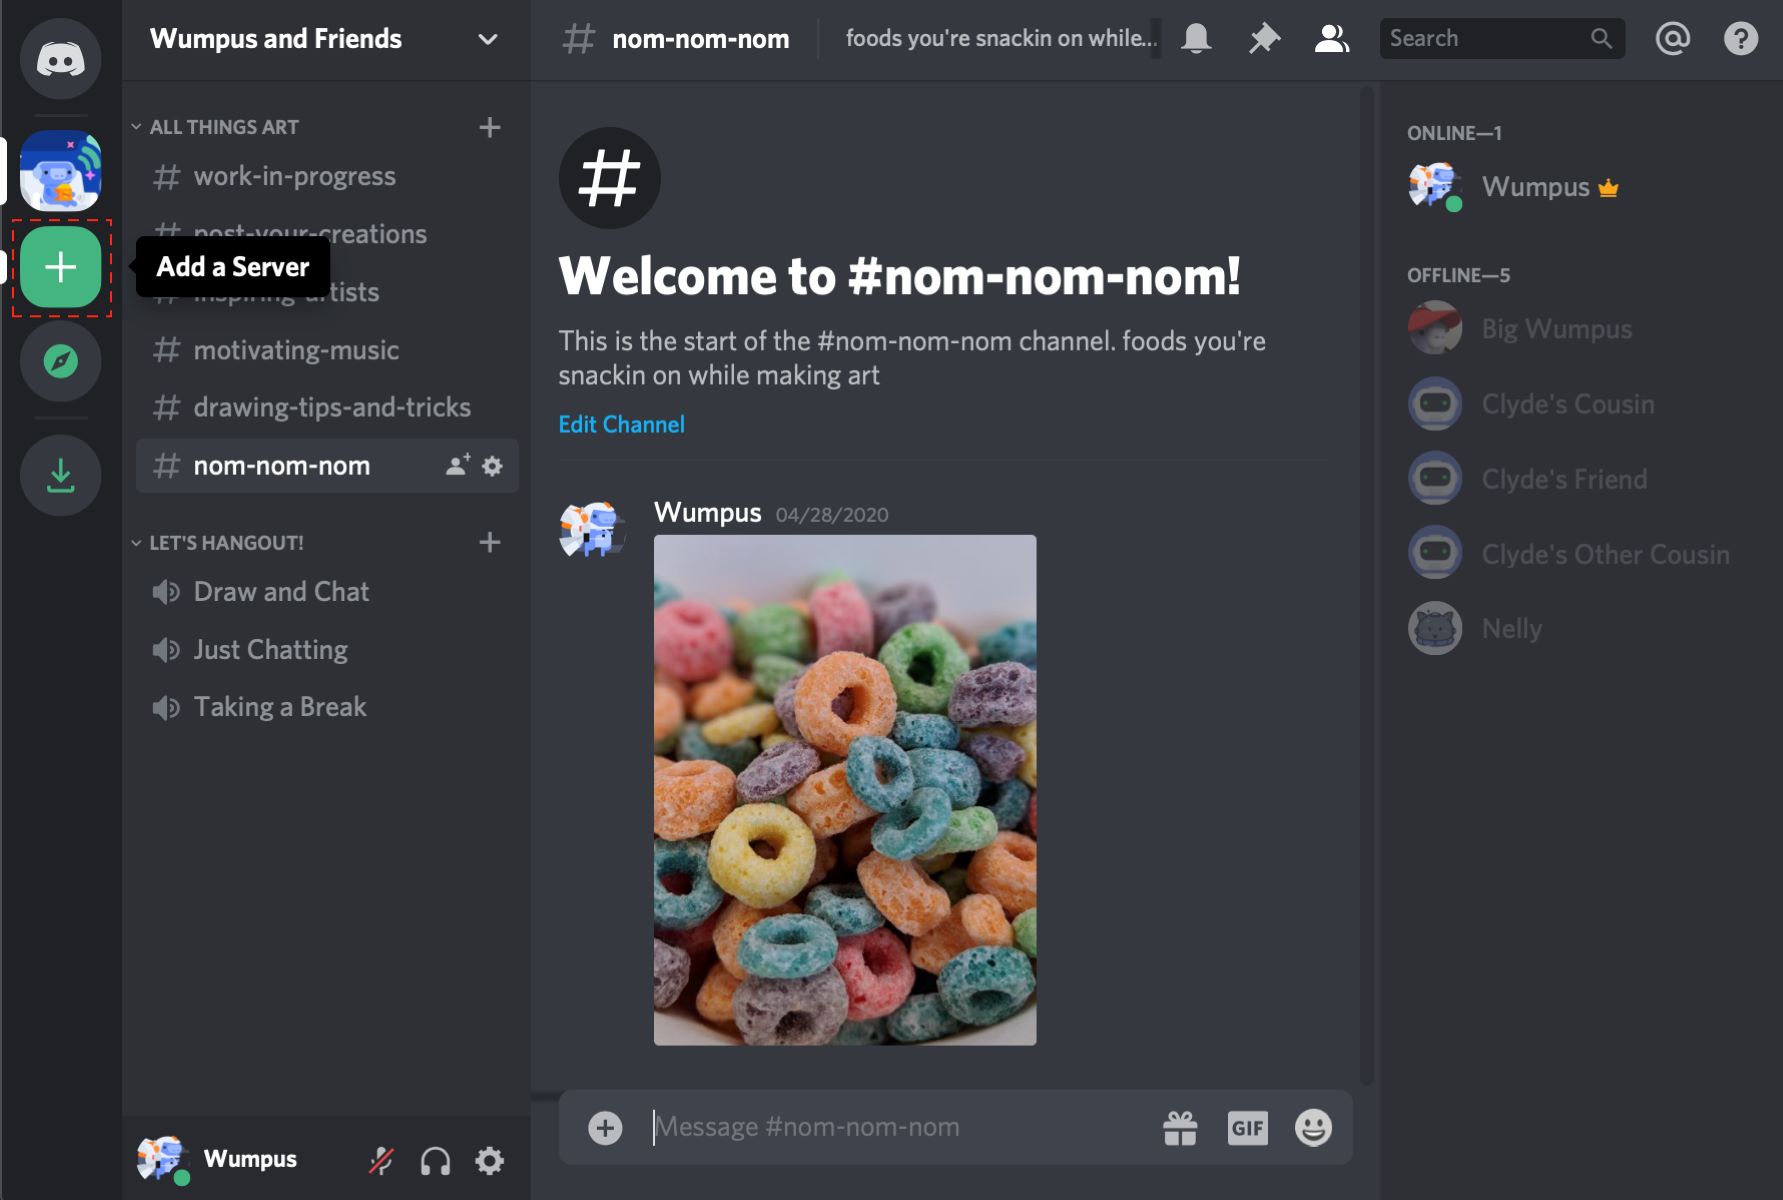
To access the server settings, look towards the bottom left corner of the Discord window. You will find a list of servers you are a member of. Locate and click on the server where you want to change your nickname.
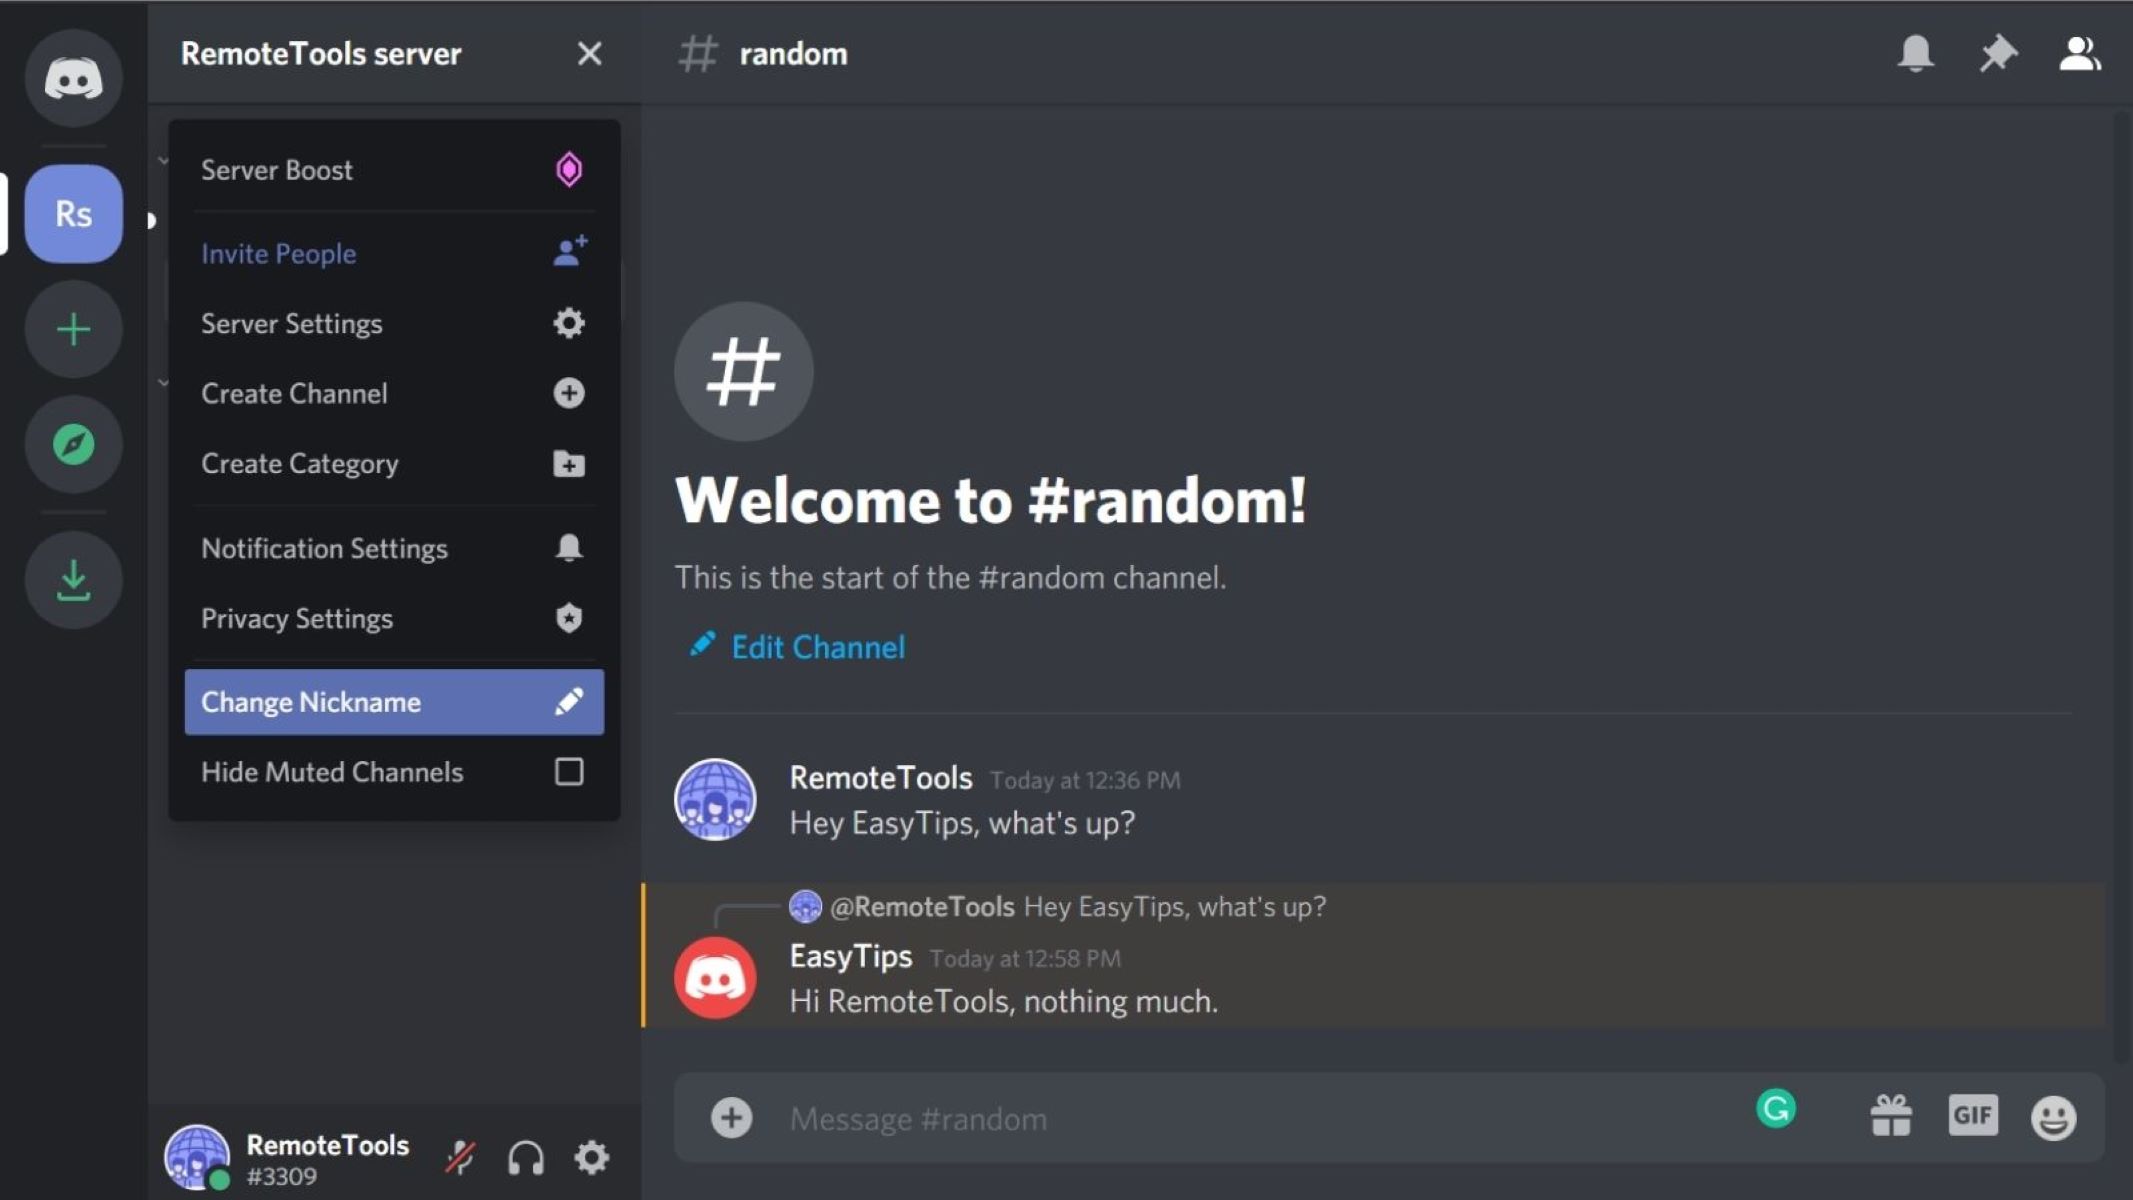
Once you have clicked on the server, the server name will appear in the top-left corner of the Discord window. Right next to the server name, you will see a down arrow symbol (‘▼’). Click on this arrow to reveal a dropdown menu.
Within the dropdown menu, you will find several options related to the server settings. Look for and click on Server Settings. This will take you to the settings specific to the server you have selected.
Note that you need to have the appropriate permissions within the server to be able to access and modify the server settings. If you do not have the necessary permissions, it is recommended to reach out to the server administrator or a server moderator for assistance.
Now that you have accessed the server settings, we are ready to move on to the next step, where you can change your nickname within the selected Discord server. Stay tuned!
Step 4: Choosing the Server
After accessing the server settings, the next step is to choose the specific server where you want to change your nickname. Discord allows you to be a member of multiple servers, each with its own unique community and settings.
Within the server settings, you will see a list of different options and categories. Look for the Overview tab or a similar option in the sidebar. Once you have located it, click on it to open the overview of the server settings.
In the server overview, you will find information about the server, such as the server name, server icon, member list, and more. Look for the section that displays your current nickname within that server. It may be labeled as My Nickname or something similar.
Click on your current nickname, and a text box will appear. This text box allows you to enter the new nickname that you want to use within the selected server.
It’s important to keep in mind that changing your nickname within a specific server only affects your display name within that server. Your nickname will remain the same in other servers where you haven’t made any changes.
Take this opportunity to choose a new nickname that reflects your personality, gaming handle, or the theme of the server. Remember to abide by any server rules regarding appropriate nicknames and avoid using offensive or inappropriate terms.
Now that you have selected the server and are ready to change your nickname, let’s move on to the next step to save the changes and see your new nickname in action!
Step 5: Changing Nickname
Now that you have chosen the server where you want to change your nickname, it’s time to actually make the change. Discord allows you to modify your nickname within a server, giving you the freedom to personalize your presence and stand out.
In the text box that appeared when you clicked on your current nickname, type in the new nickname that you want to use. You can use a combination of letters, numbers, and special characters to create a unique and memorable nickname.
It’s important to note that Discord has certain limitations on nicknames. They cannot exceed 32 characters in length, and they cannot contain certain prohibited terms or characters. Make sure to follow Discord’s guidelines and community standards when choosing your new nickname.
Once you have entered your new nickname, take a moment to review it and make sure it’s exactly how you want it to be displayed. You can also preview the nickname before saving it by looking at the updates in real-time.
If at any point you change your mind and want to revert to your previous nickname, you can click on the ‘x’ button next to the text box to clear the entered nickname and restore the original one.
Additionally, some servers may have specific nickname rules or restrictions. Be sure to familiarize yourself with any guidelines or server-specific requirements before saving your new nickname.
Now that you have successfully changed your nickname, it’s time to move on to the final step to save the changes and see your new nickname in action! Let’s proceed to the next step.
Step 6: Saving Changes
After entering your desired nickname, it’s time to save the changes you’ve made. Discord makes it easy to apply the new nickname to your profile within the selected server.
To save the changes, simply press the Enter or Return key on your keyboard. Alternatively, you can click outside of the text box to remove the focus from it, and the changes will be automatically saved.
Once you’ve saved the changes, your new nickname will be immediately visible to other members within the selected server. They will see your updated nickname in the member list, chat messages, and any other relevant areas of the server.
It’s important to note that changing your nickname only affects your display name within the specific server where you made the change. Your nickname remains the same in other servers. If you want to change your nickname in multiple servers, you’ll need to repeat the process for each individual server.
Remember that choosing an appropriate and respectful nickname is important, as it reflects your identity within the community. Avoid using offensive or inappropriate terms, and make sure to follow any additional guidelines or rules set by the server administrators.
If you decide to change your nickname again in the future, you can repeat the steps outlined in this guide to modify it to your liking. Discord allows you to update your nickname whenever you want, providing you with the flexibility to adapt it as needed.
Congratulations! You have successfully changed your nickname on Discord. Your new nickname will now be displayed within the selected server, allowing you to express your personality and stand out among the community members.
Now that you’re familiar with the process, go ahead and have fun personalizing your nickname in Discord servers. Enjoy interacting with others and creating memorable experiences within your favorite communities!
Conclusion
Changing your nickname on Discord is a simple and straightforward process that allows you to customize your presence within specific servers. With the ability to have different nicknames in different communities, you can express your personality, match your gaming handle, or showcase your creativity.
We started by opening Discord and navigating to the User Settings menu. From there, we accessed the server settings of the specific server where we wanted to change our nickname. Next, we selected the server and proceeded to enter our desired nickname. After reviewing and finalizing the nickname, we saved the changes, and our new nickname became visible to other members within the server.
Remember to always abide by Discord’s guidelines and any additional rules or restrictions set by the server administrators when choosing your nickname. It’s important to maintain a respectful and appropriate online presence within the communities you’re a part of.
Now that you know how to change your nickname on Discord, feel free to explore different servers and customize your identity within each of them. Enjoy interacting with like-minded individuals, participating in discussions, and creating memorable experiences within your favorite communities.
Thank you for reading our guide on how to change your nickname on Discord. We hope you found this information helpful and that you have a fun and enjoyable time customizing your nickname on Discord!