Introduction
Welcome to our comprehensive guide on how to change the name on a Discord server. Discord is a popular communication platform used by gamers, communities, and businesses alike. Whether you want to update the name of your entire server or just tweak individual usernames, this guide will walk you through the steps.
Discord servers are a great way to bring people together and collaborate on shared interests. However, sometimes the initial server name might not accurately reflect the evolving nature of the community or the purpose of the server. Discord allows you to easily customize and modify the server name to keep it fresh and relevant.
Additionally, changing individual usernames can be useful when users want to update their display names or need to adjust them for branding or identity purposes. Whether you’re an administrator of a server or a regular user, this guide will help you navigate Discord’s settings and make the necessary changes hassle-free.
While the process may seem complex at first, we’ll break it down into simple steps that anyone can follow. Whether you’re a beginner or an experienced Discord user, this guide will provide you with the instructions you need to successfully change names on a Discord server. Get ready to take control of your server’s identity and deliver a more engaging experience to your community.
Now, let’s dive into the specific steps you need to take to change the name on a Discord server. From accessing server settings to updating individual usernames, we’ll cover it all. So, grab your Discord account, and let’s get started!
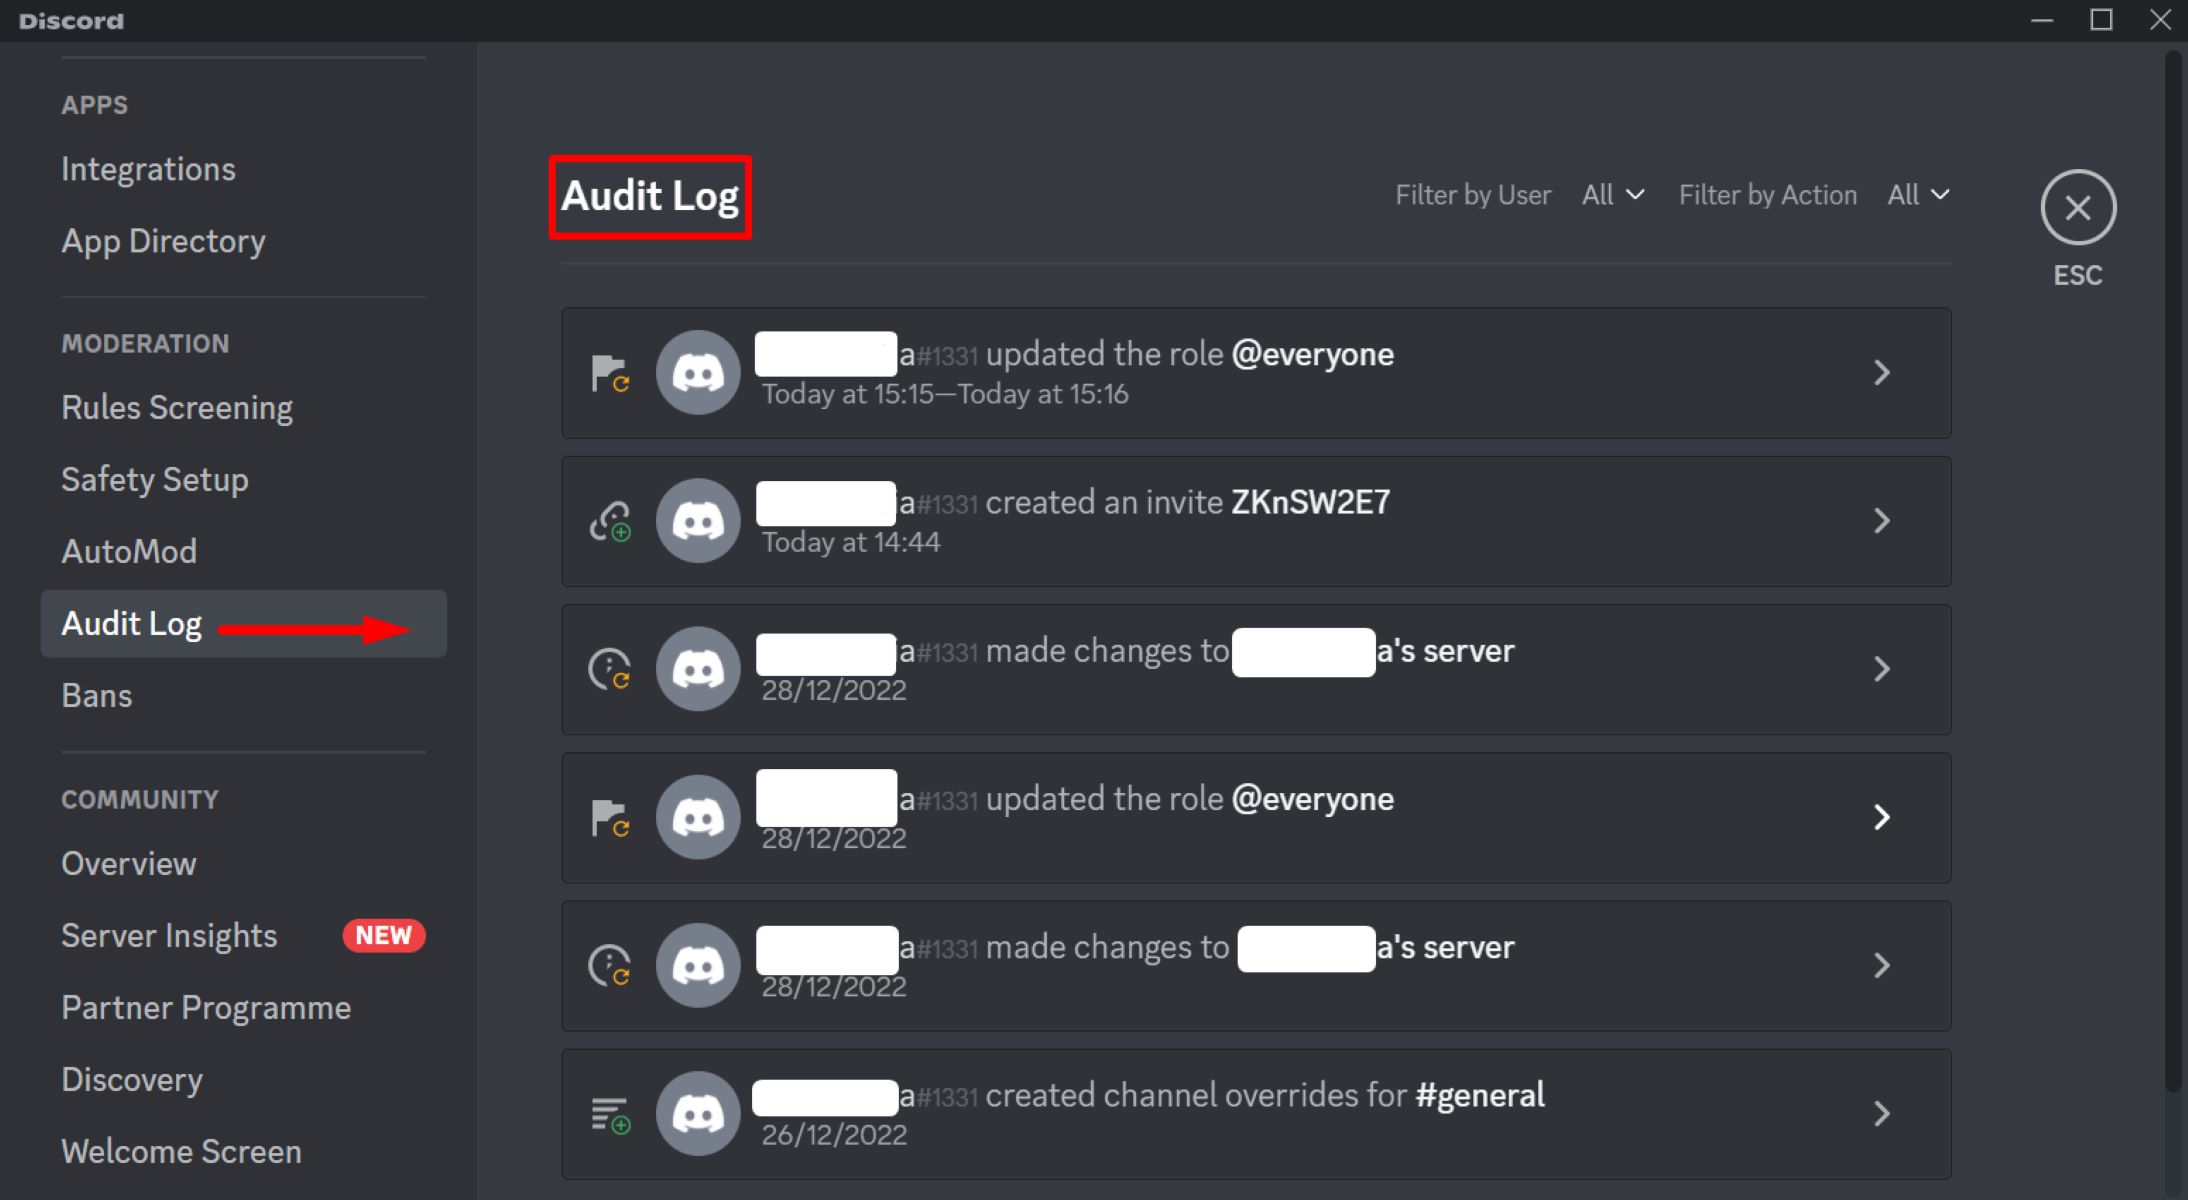
Step 1: Accessing Server Settings
The first step in changing the name on a Discord server is to access the server settings. To do this, follow the simple steps outlined below:
- Open the Discord application or go to the Discord website and log in to your account.
- Once you’re logged in, look for the server icon on the left sidebar. Click on the server icon to open the server menu.
- In the server menu, locate the server that you want to change the name for and right-click on it.
- A dropdown menu will appear. From the options available, click on “Server Settings.”
- You will be redirected to the server settings page, where you will find various options and tabs to configure your server.
By following these steps, you will be able to access the server settings of the Discord server you want to make changes to. The server settings page is the control center for modifying various aspects of your server, including the server name, roles, permissions, and more.
It’s important to note that only users with the appropriate permissions can access the server settings. If you are an administrator or have been granted the necessary permissions by the server owner, you will have full access to make the desired changes. If you do not have the required permissions, you may need to reach out to a server administrator or seek their approval to modify the server name.
Now that you know how to access the server settings, it’s time to move on to the next step and explore the process of navigating to the roles tab, where you can make changes to the server role names. Let’s continue with our guide to changing the name on a Discord server!
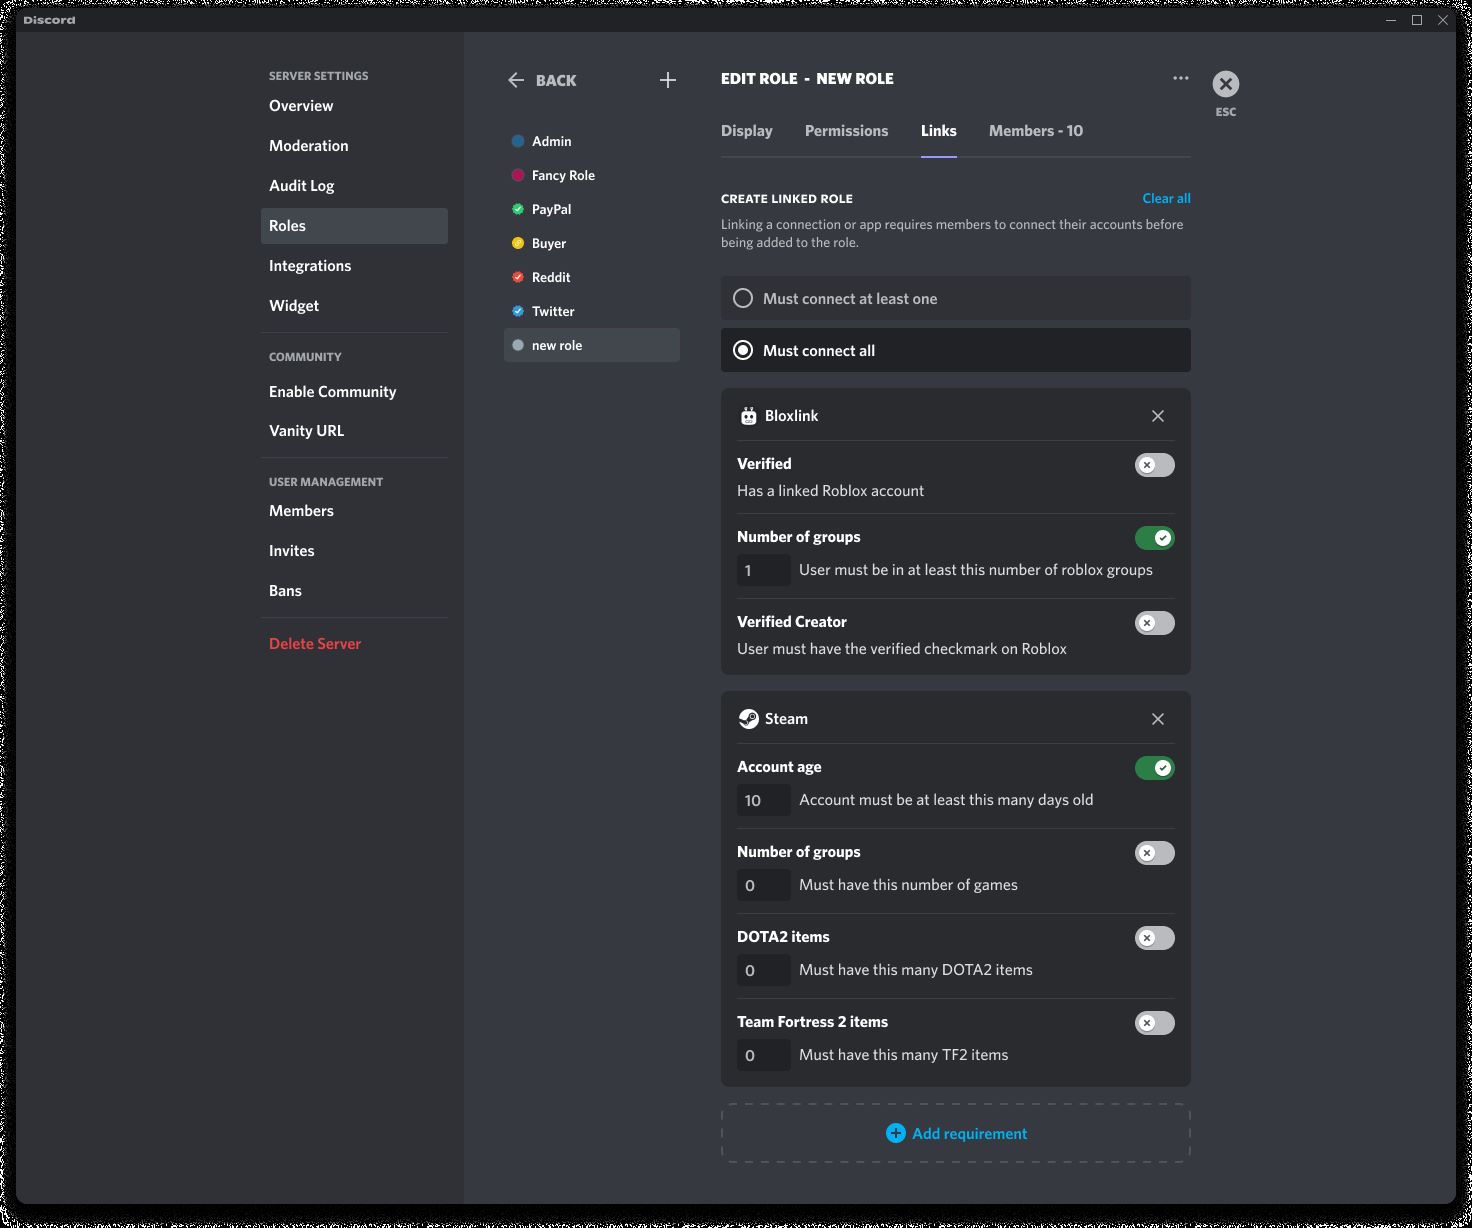
Step 2: Navigating to the Roles Tab
Once you have accessed the server settings, the next step is to navigate to the Roles tab. Here’s how you can do it:
- On the server settings page, you will find a list of tabs on the left side. Look for the “Roles” tab and click on it.
- Upon clicking the “Roles” tab, you will be directed to a screen displaying the current roles within the server.
- Here, you can manage and customize roles by adding, editing, or deleting them.
The Roles tab allows you to control the various roles within your Discord server. Roles are used to assign different levels of authority and permissions to users. By customizing the roles, you can ensure that each member has the appropriate access and privileges. Additionally, you can modify the names of the roles according to your server’s theme or requirements.
To change the name of a role, simply click on the role you want to edit. A window will appear where you can modify the name, color, and permissions associated with that role. Once you have made your changes, don’t forget to save them by clicking the “Save Changes” button.
By navigating to the Roles tab, you have successfully accessed and explored the options to modify and customize the roles within your Discord server. This step is crucial if you want to change the names of the server roles to align with the server’s purpose or theme.
Now that we have covered the process of accessing and navigating the Roles tab, we can proceed to the next step: editing the server role names. Let’s continue our guide to changing the name on a Discord server!
Step 3: Editing the Server Role Names
After navigating to the Roles tab, you can proceed to edit the server role names. This step allows you to customize the names of the roles within your Discord server. Here’s how you can do it:
- On the Roles tab, locate the role whose name you want to change.
- Click on the role to open the editing window.
- Edit the name field according to your preference. You can also modify the color and permissions associated with the role.
- Once you’re done editing, make sure to click the “Save Changes” button to apply the modifications.
It’s important to note that the role name is visible to all members of the server, so choose a name that accurately represents the role’s purpose or function. You can get creative with the names to match your server’s theme or branding, or opt for more generic names that clearly define the role’s responsibilities.
Remember, the role names you choose can influence how your community members perceive their roles and responsibilities within the server. Clear and descriptive role names can help users understand their position and what they can and cannot do within the server.
If you want to change the name of multiple roles, repeat the steps for each role you wish to modify. Take your time to carefully review each name change before saving the changes to ensure accuracy. Once you’re satisfied with the modifications, the new names will be immediately reflected within your Discord server.
With the server role names successfully edited, you now have more control over the visual and functional aspects of your Discord server. The customized role names help create a more organized and engaging environment for your community members.
Now that we have covered editing the server role names, it’s time to explore how to change individual usernames on your Discord server. Let’s move on to the next step in this guide!
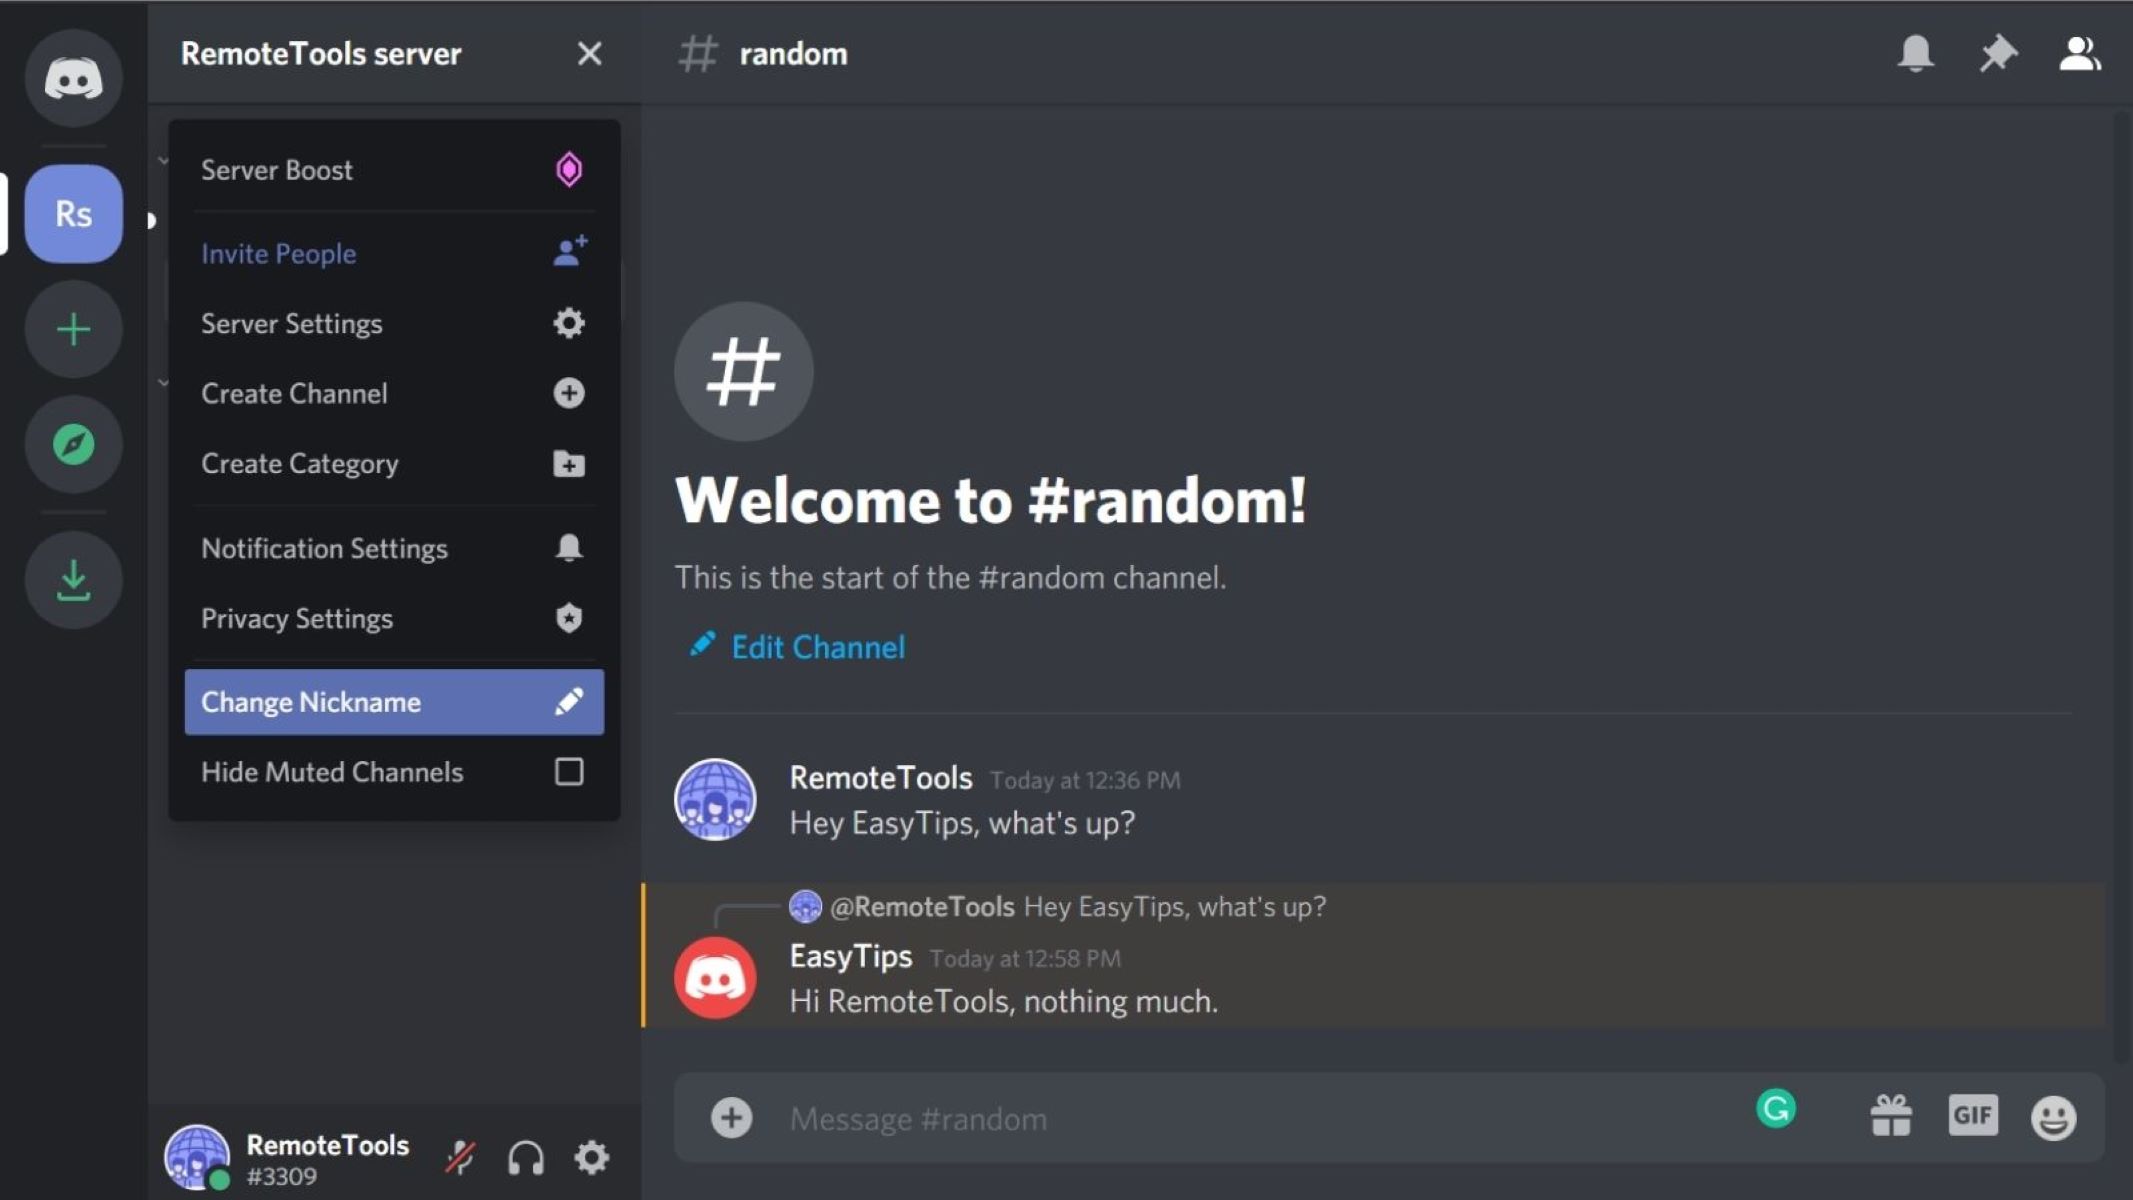
Step 4: Changing Individual Usernames
As a Discord server administrator or user with the necessary permissions, you have the ability to change individual usernames. This step allows you to customize the display name for each user on your server. Here’s how you can do it:
- Open Discord and navigate to the Discord server where you want to change the individual usernames.
- Locate the user whose name you want to edit.
- Right-click on the user’s name or avatar to open the context menu.
- From the menu options, select “Change Nickname” or “Nickname” to access the username editing field.
- Edit the username according to your preference.
- Once you’re done editing, press Enter or click outside the editing field to save the changes.
It’s important to note that changing a user’s nickname only affects their display name within the specific Discord server. Their username, which is unique to their Discord account, will not be modified.
By allowing users to customize their display names, Discord provides a more personalized experience for community members. It allows users to express themselves or align their display names with specific themes or events within the server.
However, it’s essential to set guidelines and ensure that the customized usernames remain appropriate and respectful to the community. As an administrator, you have the authority to monitor and moderate the user-created usernames to maintain a positive and inclusive environment.
With the ability to change individual usernames, you can create a more engaging and personalized experience for your community members. It allows users to feel a sense of ownership and identity within the server while maintaining a level of control and moderation.
Now that we have covered how to change individual usernames on a Discord server, let’s move on to the final step: updating your own username. Keep reading to find out how!
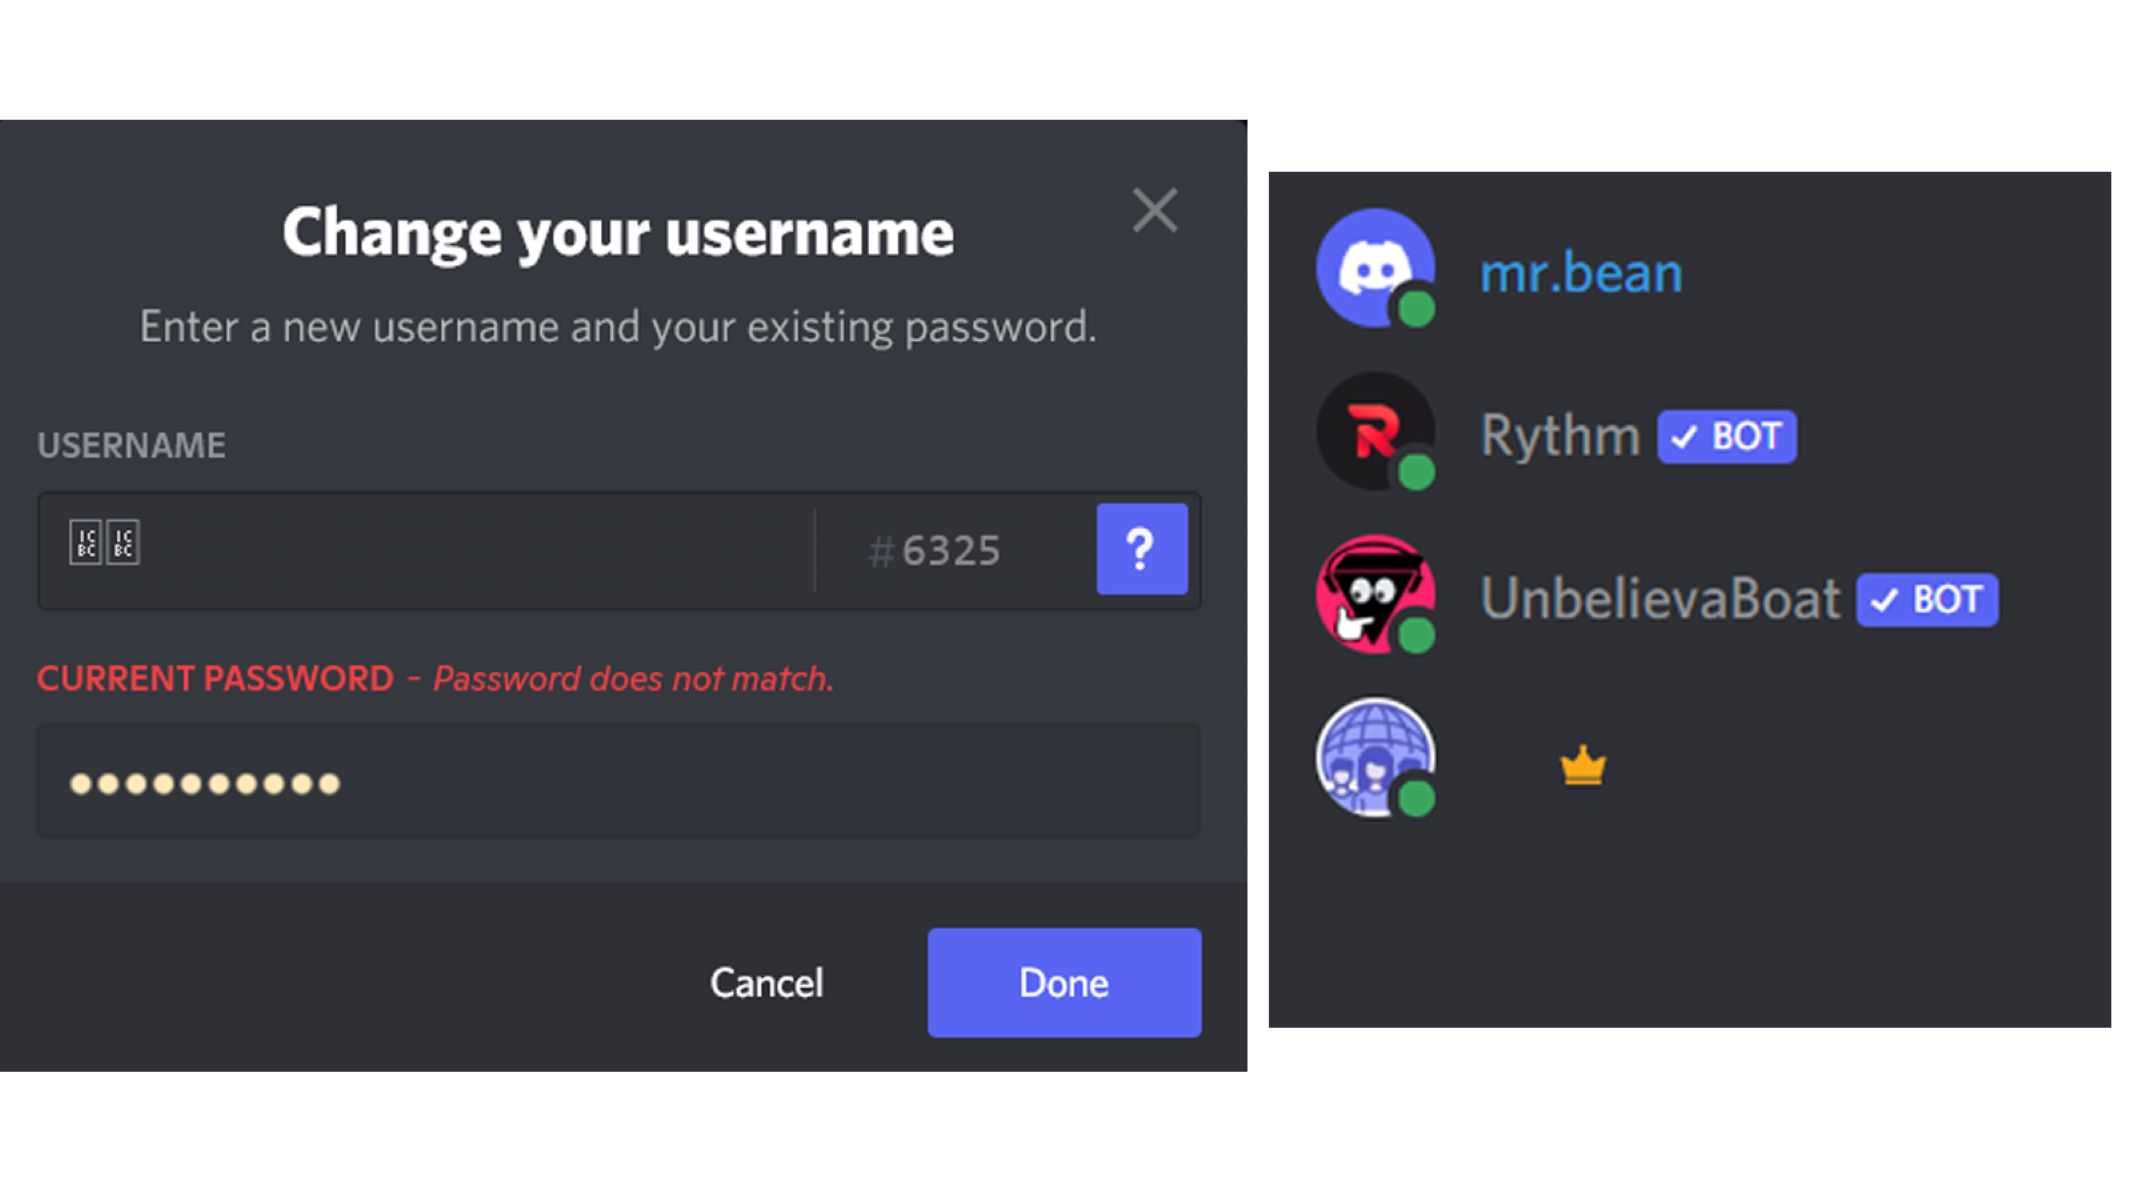
Step 5: Updating Your Own Username
Discord allows users to update their own usernames, giving them the flexibility to change their display name as desired. Here’s how you can update your own username on Discord:
- Open Discord and log in to your account.
- Click on the gear icon located near the bottom-left corner of the screen to access your user settings.
- In the user settings, navigate to the “My Account” tab located on the left-hand side.
- Under the “My Account” tab, you will find an option called “Username.” Click on the edit button next to it.
- In the username editing field, enter your desired new username.
- Once you have entered the new username, double-check its accuracy and click on the “Save” button to apply the changes.
It’s worth noting that while you can change your username on Discord, there are limitations to how frequently you can make changes. Discord has a cooldown period that prevents users from changing their username multiple times within a short span of time. Make sure to choose a username that you are happy with for an extended period.
Changing your username allows you to add a personal touch or modify your display name to reflect changes in your online persona. Whether you want to use your given name or a unique moniker, Discord provides the flexibility to update your username as needed.
Updating your own username doesn’t just affect your display name on the server where you make the change; it will be reflected across all servers where you are a member. This consistency ensures that your username remains recognizable and helps you maintain a cohesive online identity.
With the ability to update your own username, you can adapt and evolve your online persona as needed. It’s a simple yet effective way to maintain a fresh and personalized presence within the Discord community.
We hope this guide has helped you understand the process of changing names on a Discord server, whether it’s the server name itself, server role names, individual usernames, or your own username. With these steps, you can easily customize and tailor your Discord experience to suit your preferences and needs.
Remember, a well-managed Discord server with appropriate and engaging names can create a positive and enjoyable environment for all members. Now that you have the knowledge, it’s time to go and make those name changes on your Discord server!
Conclusion
Changing names on a Discord server is a simple yet powerful way to customize and personalize your server’s identity. Whether you want to update the server name, modify role names, change individual usernames, or update your own username, Discord provides the necessary tools to make these changes.
By following the steps outlined in this guide, you can easily navigate through Discord’s settings and make the desired modifications. Accessing server settings, navigating to the Roles tab, editing role names, changing individual usernames, and updating your own username are all straightforward processes that can be done with just a few clicks.
Customizing the names on your Discord server allows you to create a more engaging, organized, and inclusive community. It helps communicate the purpose, theme, and responsibilities within the server, while also providing a sense of personal identity for each user.
Remember to set guidelines and guidelines for appropriate usernames and ensure that the changes you make align with the values and goals of your server. Moderation and communication are key to maintaining a positive and vibrant community on Discord.
Whether you’re a server administrator, a community leader, or a regular user, harness the power of name customization to create a memorable and enjoyable experience for everyone on your Discord server.
Now that you have the knowledge and steps to change names on a Discord server, it’s time to get creative and make those modifications. Take control of your server’s identity and deliver a more engaging experience to your community.
So, grab your Discord account, follow the steps, and let the name changes begin!