Introduction
Discord is a popular communication platform used by gamers, communities, and friends to connect and chat while playing games or discussing common interests. One of the distinctive features of Discord is the ability to express yourself through the use of emojis. Emojis are small pictorial representations of emotions, objects, or symbols that add a playful and expressive element to online conversations.
In this guide, we will explore how to make emojis on Discord. We will walk you through the steps to create and upload custom emojis, as well as how to use and manage them within Discord. Whether you want to add a personal touch to your server or find the perfect emoji to react to messages, this tutorial will help you navigate the world of Discord emojis.
Before we dive into the details, it’s important to note that Discord has certain limitations when it comes to emojis. The platform has a maximum limit on the number of emojis that can be uploaded and used within a server, based on the server’s tier. Additionally, each emoji has a specific file size limit and must be in a certain format for it to be accepted by Discord. Understanding these limitations will help you create and manage emojis effectively on Discord.
Now, let’s get started with the first step: understanding Discord’s emoji limitations.
Step 1: Understanding Discord’s Emoji Limitations
Before diving into creating your own emojis on Discord, it’s essential to understand the platform’s emoji limitations. Discord has specific guidelines and restrictions in place to ensure smooth performance and prevent abuse.
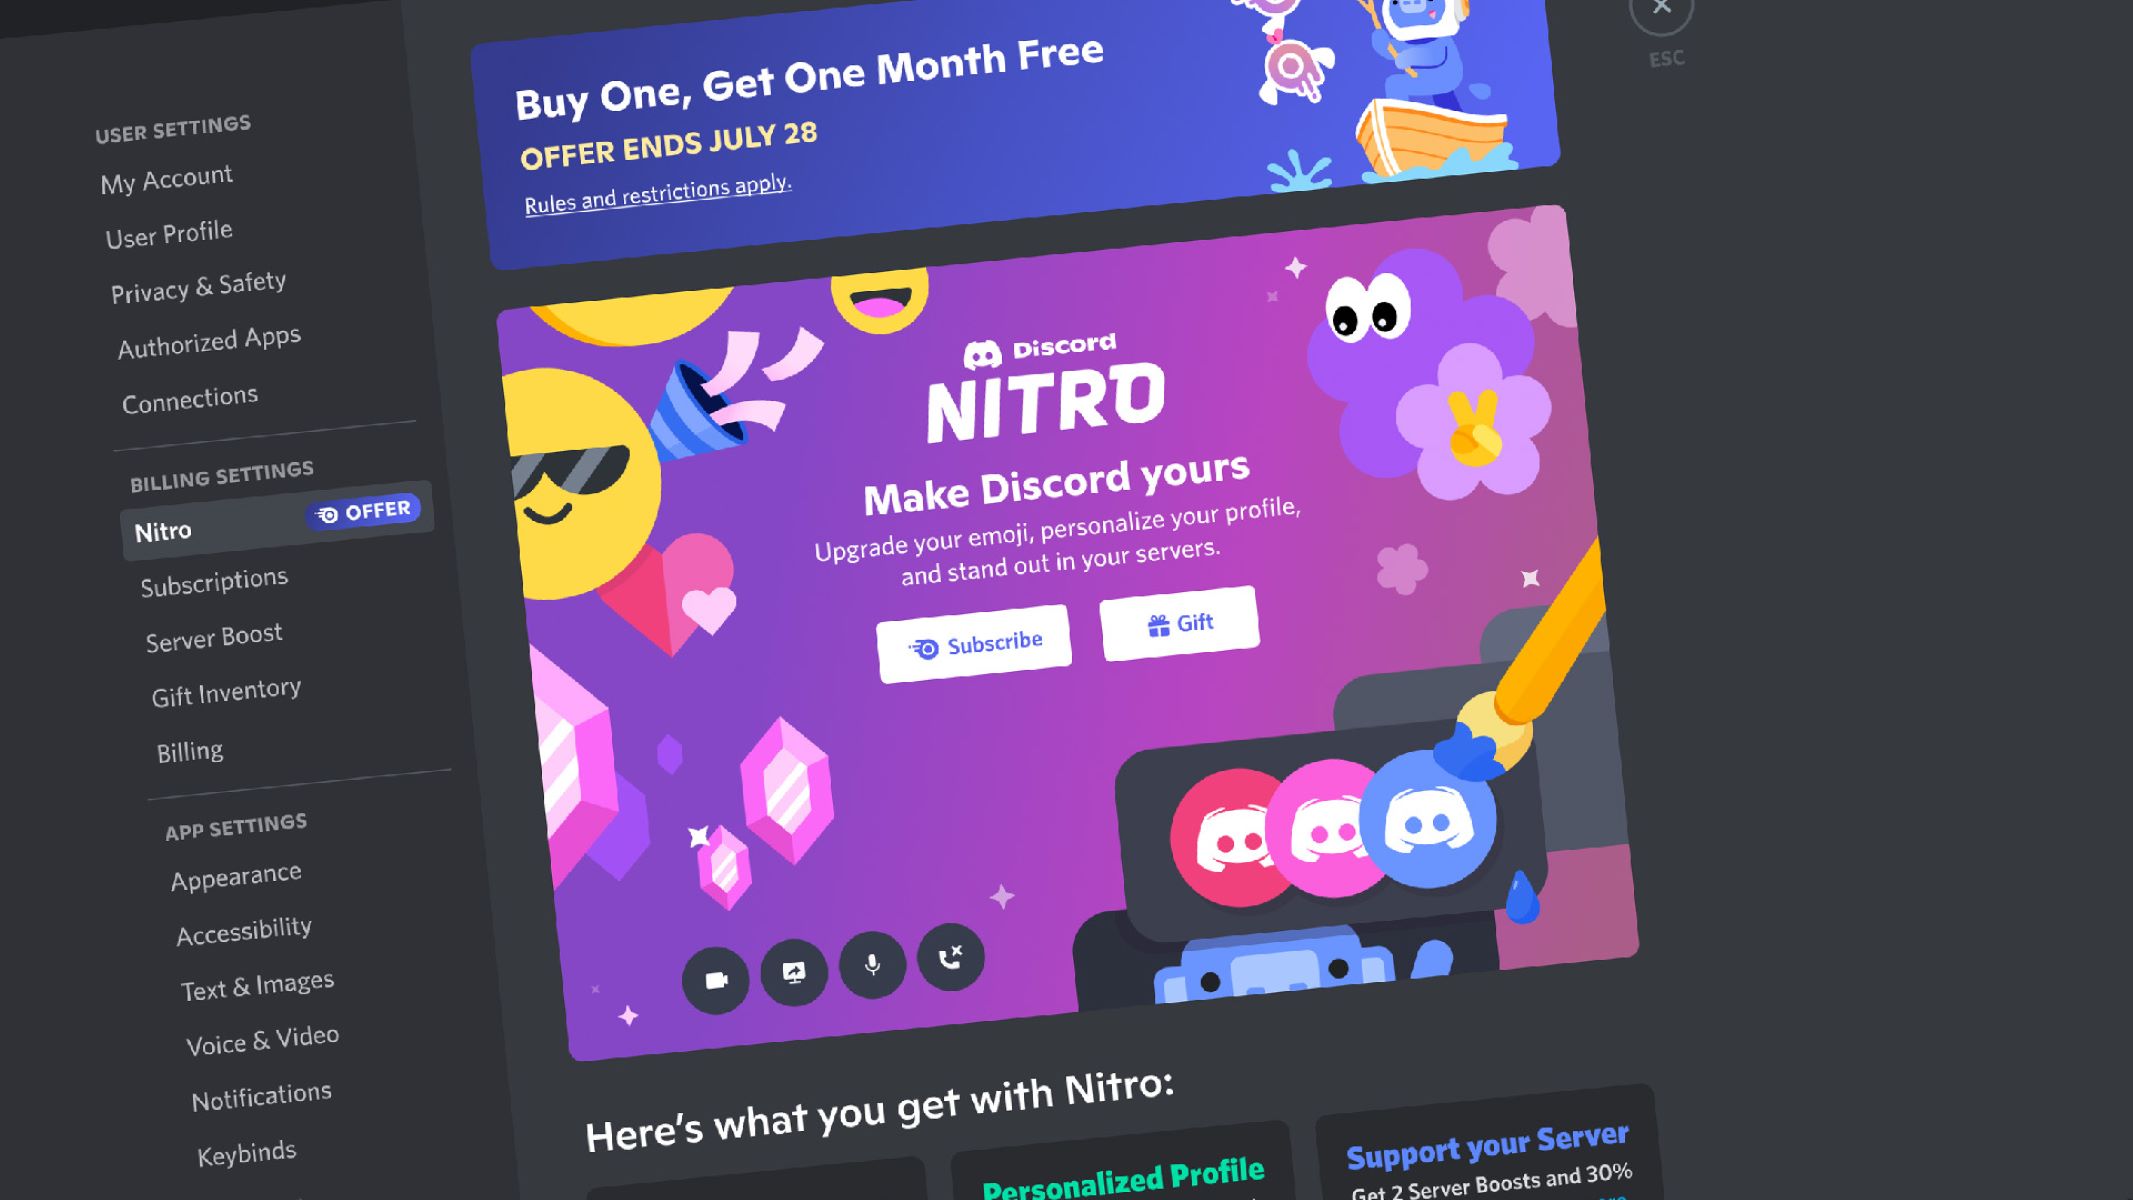
First and foremost, Discord imposes limits on the number of emojis that can be uploaded and used within a server. The limit varies depending on the server’s tier. Free servers have a maximum limit of 50 emojis, while Nitro Classic users can upload up to 100 emojis. Nitro users, on the other hand, enjoy a staggering limit of 200 emojis. It’s important to keep these limits in mind as you create and upload emojis to your server.
Additionally, each emoji has a file size limit of 256KB. This means that when creating custom emojis, you need to ensure that the image or gif you want to use falls within this size constraint. Discord will not accept emojis that exceed the file size limit, so it’s crucial to optimize and resize images accordingly. Failure to do so may result in errors or rejected uploads.
Furthermore, Discord only accepts emojis in specific formats. The supported formats for static images (PNG, JPG, JPEG, and GIF) are widely used and should work seamlessly. However, it’s important to note that animated emojis can only be uploaded as GIF files. Make sure to convert your images or designs into the appropriate format before attempting to upload them as emojis.
Now that we have a clear understanding of Discord’s emoji limitations, we can move on to the next step: creating custom emojis.
Step 2: Creating Custom Emojis
Creating custom emojis on Discord allows you to add a personal touch to your server and express your unique style. Whether you want to use your own designs, illustrations, or photos, Discord provides a simple process for turning them into emojis.
To create a custom emoji, follow these steps:
- Choose the image or design you want to turn into an emoji. Ensure that it meets Discord’s file size and format requirements (PNG, JPG, JPEG, or GIF for static images, and GIF for animated emojis).
- Use an image editing software or online tool to resize and optimize the image. Discord recommends a size of 128×128 pixels for static emojis and a maximum of 256×256 pixels for animated emojis. Keep in mind that larger images may appear pixelated when scaled down to fit the emoji size.
- Add any necessary edits or enhancements to the image. This step is optional, but you may want to consider cropping, adding filters, or making adjustments to ensure the emoji looks clear and visually appealing.
- Save the image file in the appropriate format and size that you have chosen.
- Open Discord and navigate to the server where you want to upload the custom emoji.
- Click on the server name at the top left corner to access the server settings.
- Under the “Server Settings” menu, select “Emoji”.
- Click the “Upload Emoji” button.
- Select the custom emoji file from your computer and click “Open” to upload it.
- Assign a unique name to your custom emoji. This will be the text that triggers the emoji in the chat.
- Click “Save” to upload and save the custom emoji to your server.
Repeat these steps for each custom emoji you want to create. Remember to stay within the server’s emoji limit to ensure all your emojis can be uploaded successfully.
Now that you’ve learned how to create custom emojis on Discord, let’s move on to the next step: saving and uploading emojis to Discord.
Step 3: Saving and Uploading Emojis to Discord
Once you have created your custom emojis, the next step is to save and upload them to Discord. Uploading emojis allows you to make them accessible for use within your server and share them with your community.
To save and upload emojis to Discord, follow these steps:
- Ensure that you have your custom emojis saved in the appropriate file format (PNG, JPG, JPEG, or GIF for static images, and GIF for animated emojis).
- Open Discord and navigate to the server where you want to upload the emojis.
- Click on the server name at the top left corner to access the server settings.
- Under the “Server Settings” menu, select “Emoji”.
- Click the “Upload Emoji” button.
- Select the custom emoji file from your computer and click “Open” to upload it.
- Assign a unique name to your custom emoji. This will be the text that triggers the emoji in the chat.
- Click “Save” to upload and save the custom emoji to your server.
- Repeat these steps for each custom emoji you want to upload.
It’s important to keep in mind Discord’s emoji limitations, such as the maximum number of emojis allowed per server and the file size restrictions. Be mindful of these limitations to ensure a smooth uploading process.
Once your emojis are successfully uploaded, they will be available for use throughout your server. Your community members can access the emojis by either clicking on the smiley face icon in the chat bar or using the emoji’s assigned text trigger.
Now that you know how to save and upload custom emojis to Discord, let’s move on to the next step: using emojis in Discord chat.
Step 4: Using Emojis in Discord Chat
Now that you have uploaded your custom emojis to Discord, it’s time to unleash their expressive power in your chat conversations. Discord provides several ways to use emojis, allowing you to add flair, humor, and emotion to your messages.
To use emojis in Discord chat, you can follow these methods:
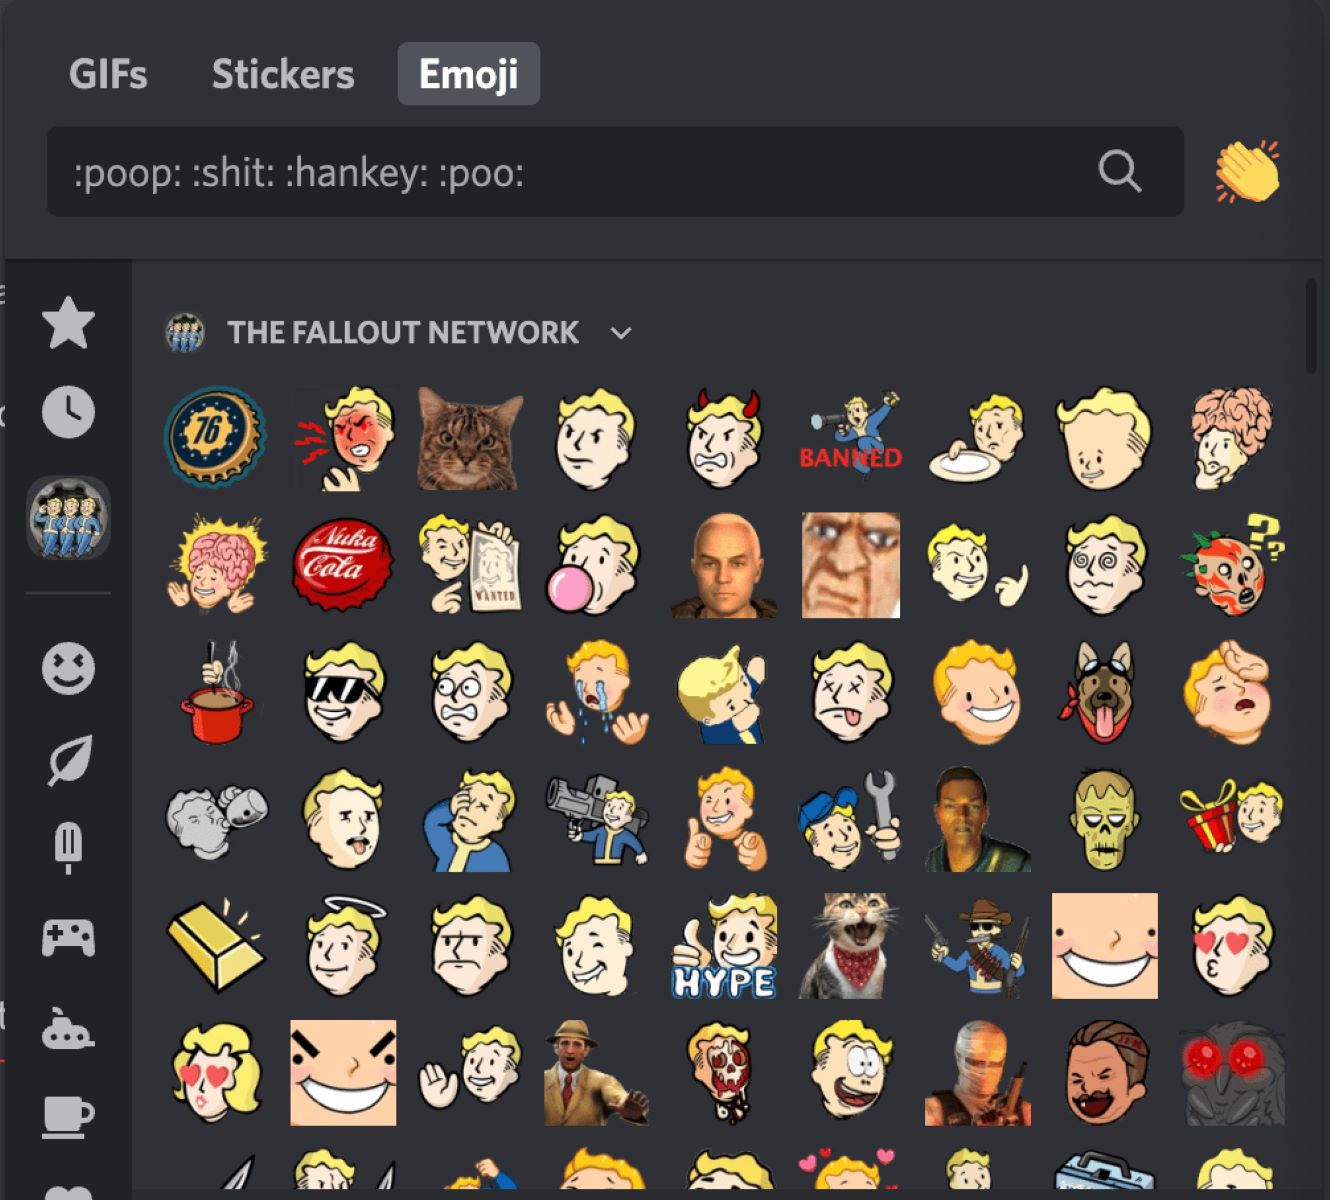
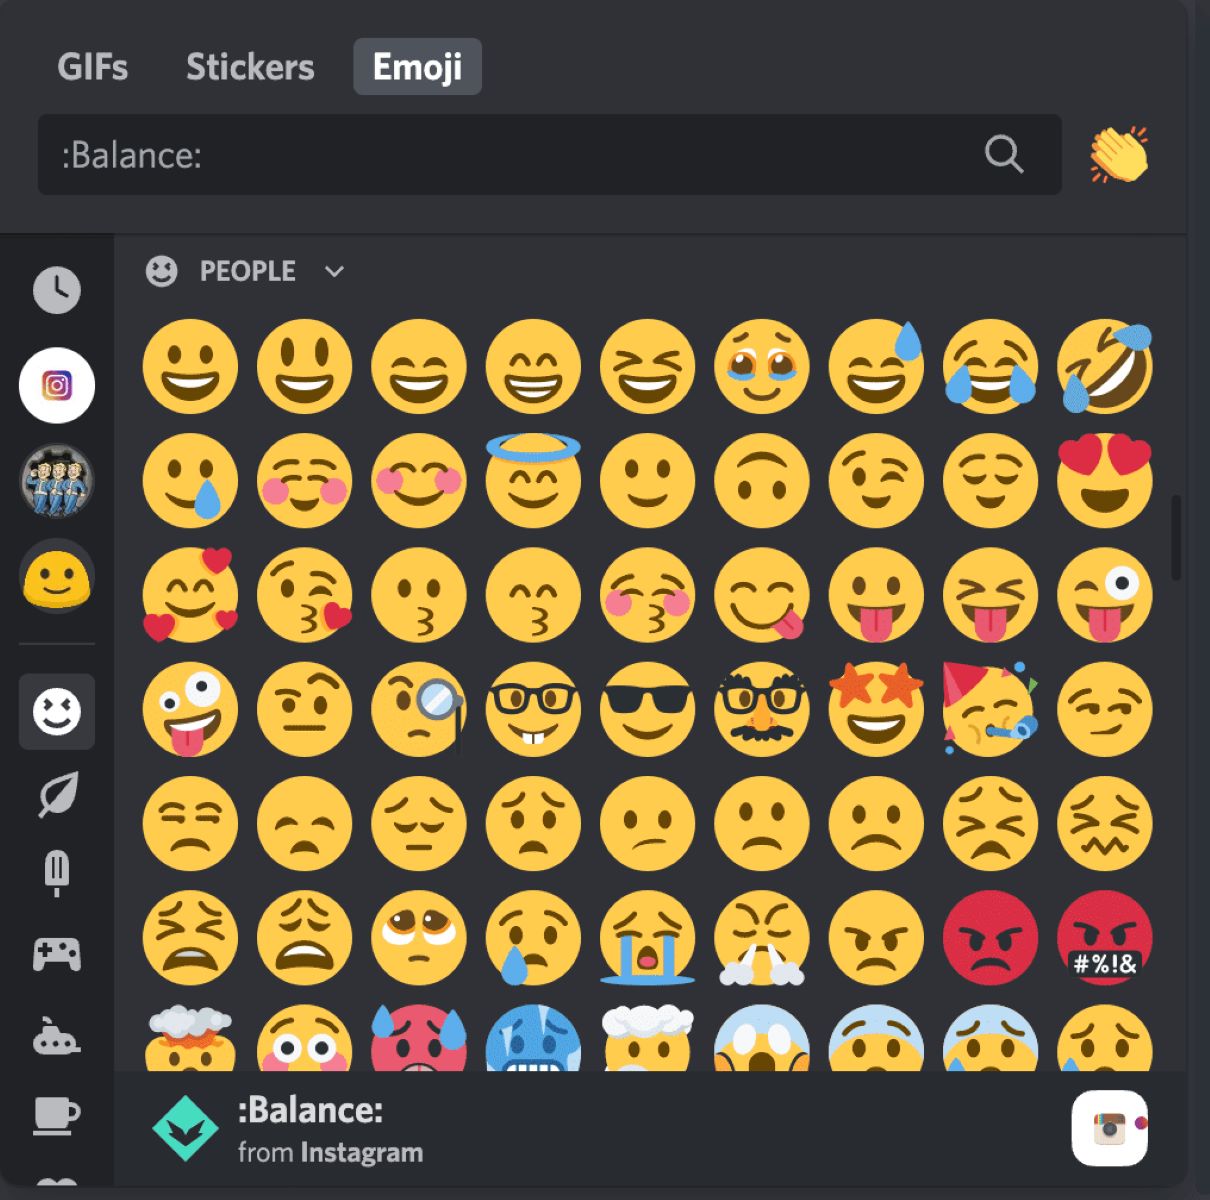
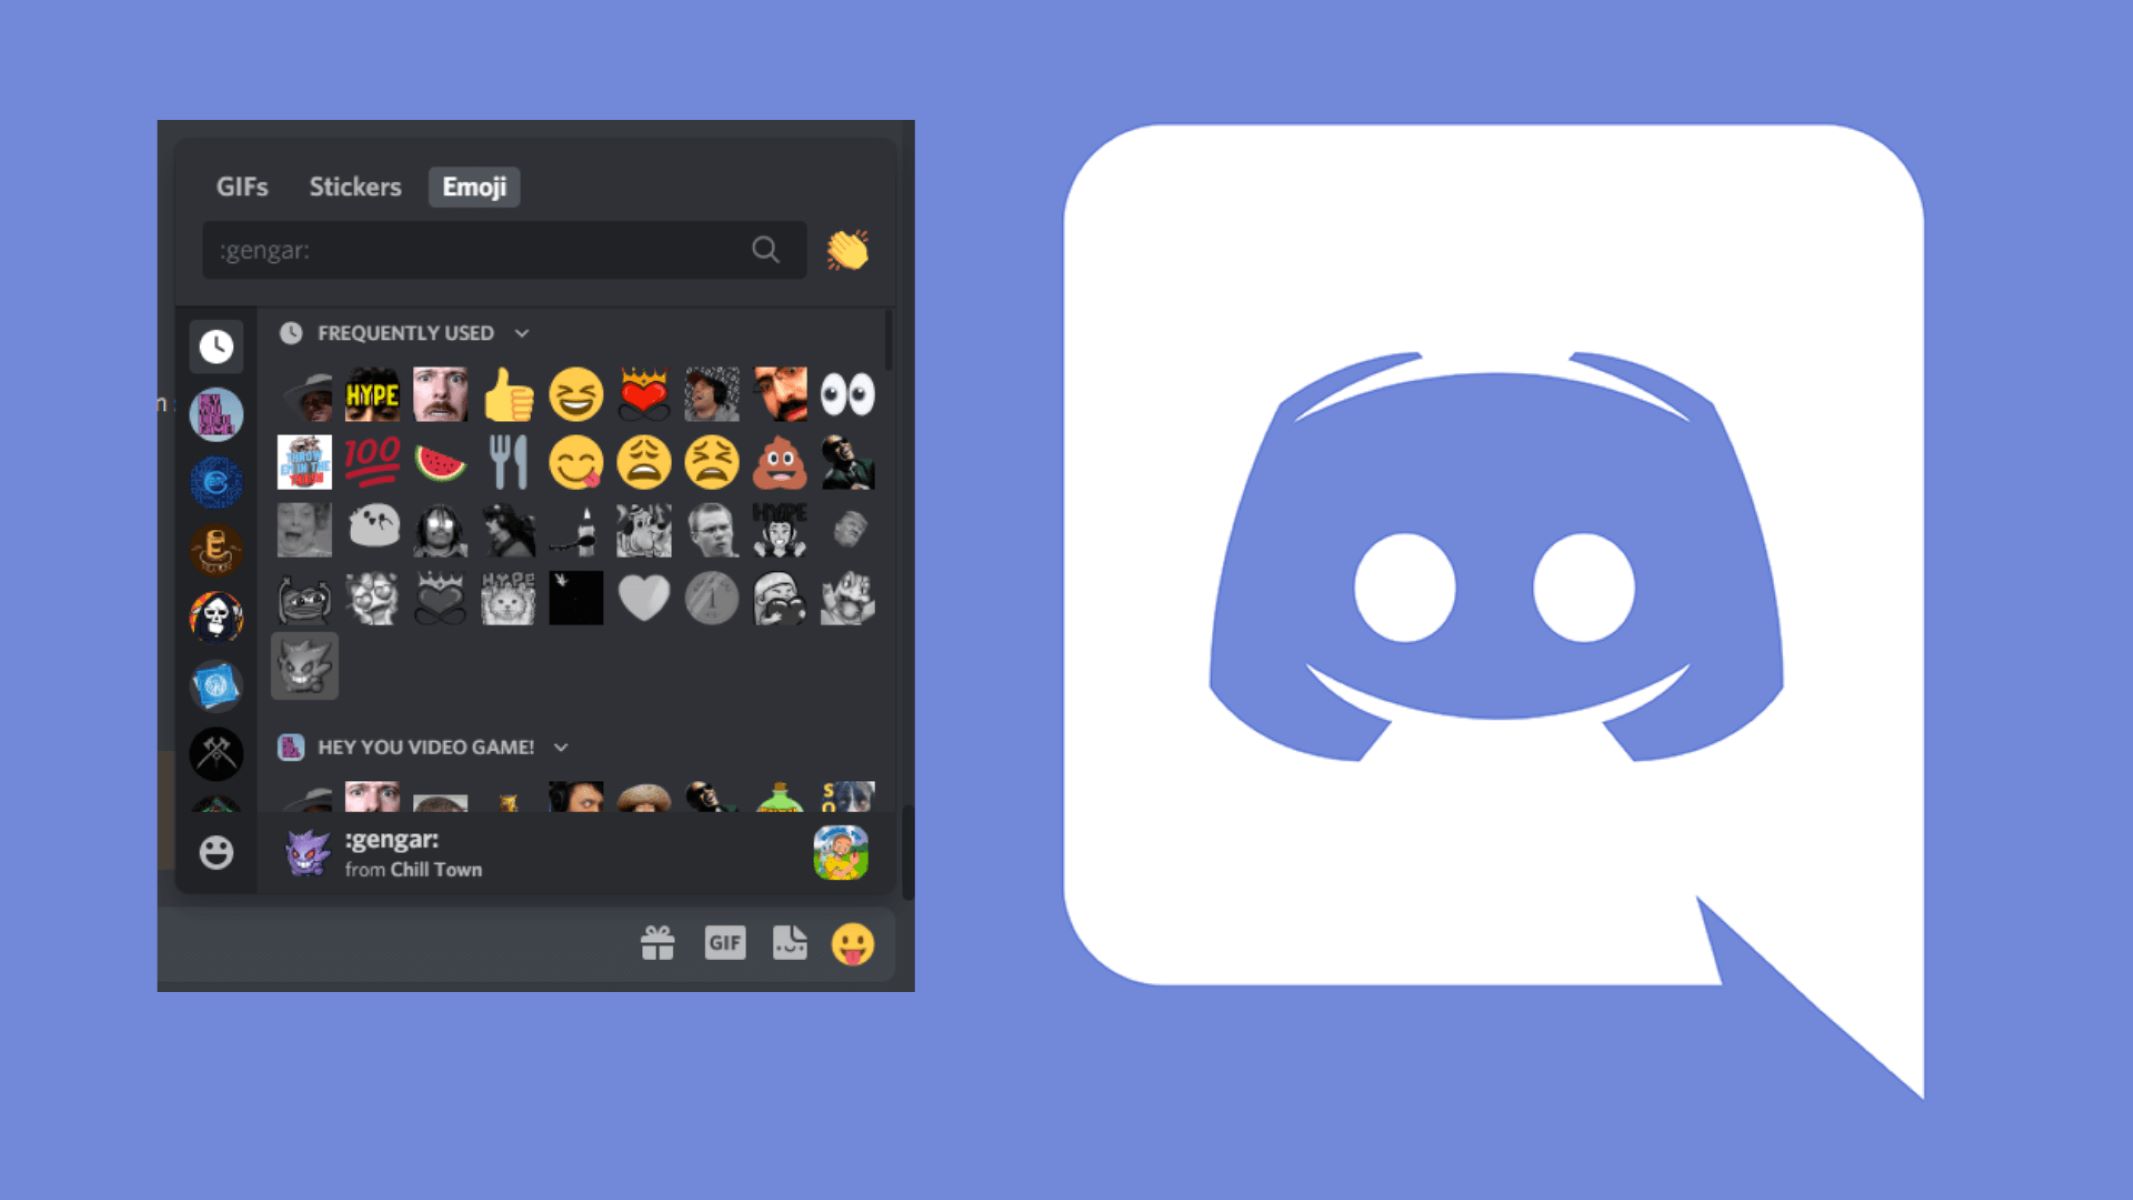
- Typing Emoji Shortcodes: Discord provides a short text code for each uploaded emoji. To use an emoji, simply place the emoji’s shortcode (such as 🙂 for a smiley face) within your message. As you type, Discord will suggest relevant emojis based on the shortcode, making it easy to find and use the desired emoji.
- Clicking on Emoji Icon: In the chat bar, locate the smiley face icon at the right side. Clicking on it will open a menu displaying all the available emojis. You can select an emoji from the menu and it will be inserted into your message automatically.
- Reacting with Emojis: Discord allows you to react to messages with emojis. To react, hover your cursor over the desired message and click on the smiley face icon that appears. Select the emoji you want to use as a reaction, and it will be added below the message. Multiple reactions can be added to a single message.
Using emojis in Discord chat brings a fun and interactive element to conversations. It allows you to convey emotions, respond to messages, and engage with others in a more expressive way.
Remember to use emojis appropriately and consider the context of the conversation. Too many emojis or using them inappropriately may disrupt the flow of conversation or come across as spammy.
Now that you know how to use emojis in Discord chat, let’s move on to the final step: managing and deleting emojis on Discord.
Step 5: Managing and Deleting Emojis on Discord
As your Discord server evolves, you may need to manage and organize your emojis. Discord provides options to edit, delete, and organize your emojis to keep your emoji library tidy and up-to-date.
To manage and delete emojis on Discord, follow these steps:
- Open Discord and navigate to the server where the emojis you want to manage are located.
- Click on the server name at the top left corner to access the server settings.
- Under the “Server Settings” menu, select “Emoji”.
- You will see a list of all the emojis uploaded to the server. Here you can rename emojis, change their associated roles, or delete emojis.
- To edit an emoji, hover over it and click on the pencil icon. You can then rename the emoji or adjust its association with certain roles.
- To delete an emoji, hover over it and click on the cross icon. Confirm the deletion when prompted.
- Repeat these steps for any emojis you want to manage or delete.
Keep in mind that deleting an emoji will remove it from the server entirely. This means that any messages, reactions, or instances where the emoji was used will display a broken image icon instead.
Regularly reviewing and managing your emojis will help maintain an organized and clutter-free emoji library. It allows you to remove outdated or unused emojis and make room for new ones.
With these management options, you have the flexibility to modify and refine your emoji collection as your server’s needs change.
Now that you have learned how to manage and delete emojis on Discord, you have covered all the essential steps to create, upload, use, and organize emojis on Discord. Feel free to explore different emojis and themes to express yourself and enhance communication within your server.
Conclusion
Emojis add a touch of personality and emotion to Discord conversations, making them more engaging and expressive. In this guide, we explored the process of creating, saving, uploading, using, and managing emojis on Discord.
We began by understanding Discord’s emoji limitations, including the maximum number of emojis per server, file size restrictions, and accepted formats. Knowing these limitations helps ensure a smooth experience when creating and uploading custom emojis.
Next, we delved into the process of creating custom emojis. We discussed the importance of selecting the right image or design, resizing and optimizing it, and assigning a unique name. Following these steps allows you to unleash your creativity and personalize your server with emojis that reflect your style.
After creating custom emojis, we learned how to save and upload them to Discord. Understanding the server settings and using the upload emoji feature enables you to share your emojis with your server’s community, adding a new level of expression to your chat conversations.
Using emojis in Discord chat is simple and fun. Whether you type shortcode, click on the emoji icon, or react to messages, emojis allow you to convey emotions, engage with others, and add a playful touch to your conversations.
Lastly, we explored how to manage and delete emojis on Discord. Regularly organizing your emoji library ensures it remains tidy and up-to-date, allowing you to remove old or irrelevant emojis and make room for new ones that better represent your server’s community.
With this guide, you have gained the knowledge and skills to create, upload, use, and manage emojis on Discord. Embrace the power of emojis to enhance your server’s communication and make your conversations more lively and engaging.