Introduction
Discord is a popular platform for gamers and communities to connect and communicate, and one of its standout features is the ability to add emojis to channels. Emojis can add personality and a touch of fun to your Discord channels, making interactions more engaging and enjoyable. Whether you want to express excitement, convey humor, or simply add some flair to your messages, emojis are a great way to enhance your communication within Discord.
In this guide, we will walk you through the step-by-step process of adding emojis to Discord channels. Whether you are a server owner or a member with the necessary permissions, you can follow these easy steps to bring some visual charm to your conversations. Don’t worry if you are new to Discord or not tech-savvy – the process is straightforward and beginner-friendly.
Before we dive into the process, it’s important to note that Discord supports both standard emojis and custom emojis. Standard emojis are the familiar ones that are widely used across platforms, while custom emojis are unique to Discord and can be created and uploaded by server administrators. You will have the opportunity to explore both options and discover creative ways to spice up your Discord channels.
So, if you’re ready to make your Discord channels more expressive and engaging, let’s get started with adding emojis!
Step 1: Open Discord
The first step in adding emojis to your Discord channels is to open the Discord application. Discord is available on multiple platforms, including Windows, macOS, iOS, and Android, so you can choose the version that suits your device.
If you haven’t downloaded the Discord application yet, you can visit the official website at discord.com and download it for free. Once downloaded and installed, open the application to begin the process of adding emojis.
When you open Discord, you will be prompted to either create an account or log in if you already have one. If you are new to Discord, you can quickly create an account by providing a valid email address, creating a unique username, and setting a strong password.
For existing Discord users, simply enter your registered email address and password to log in to your account. If you have enabled two-factor authentication for added security, you will also need to enter the authentication code when prompted.
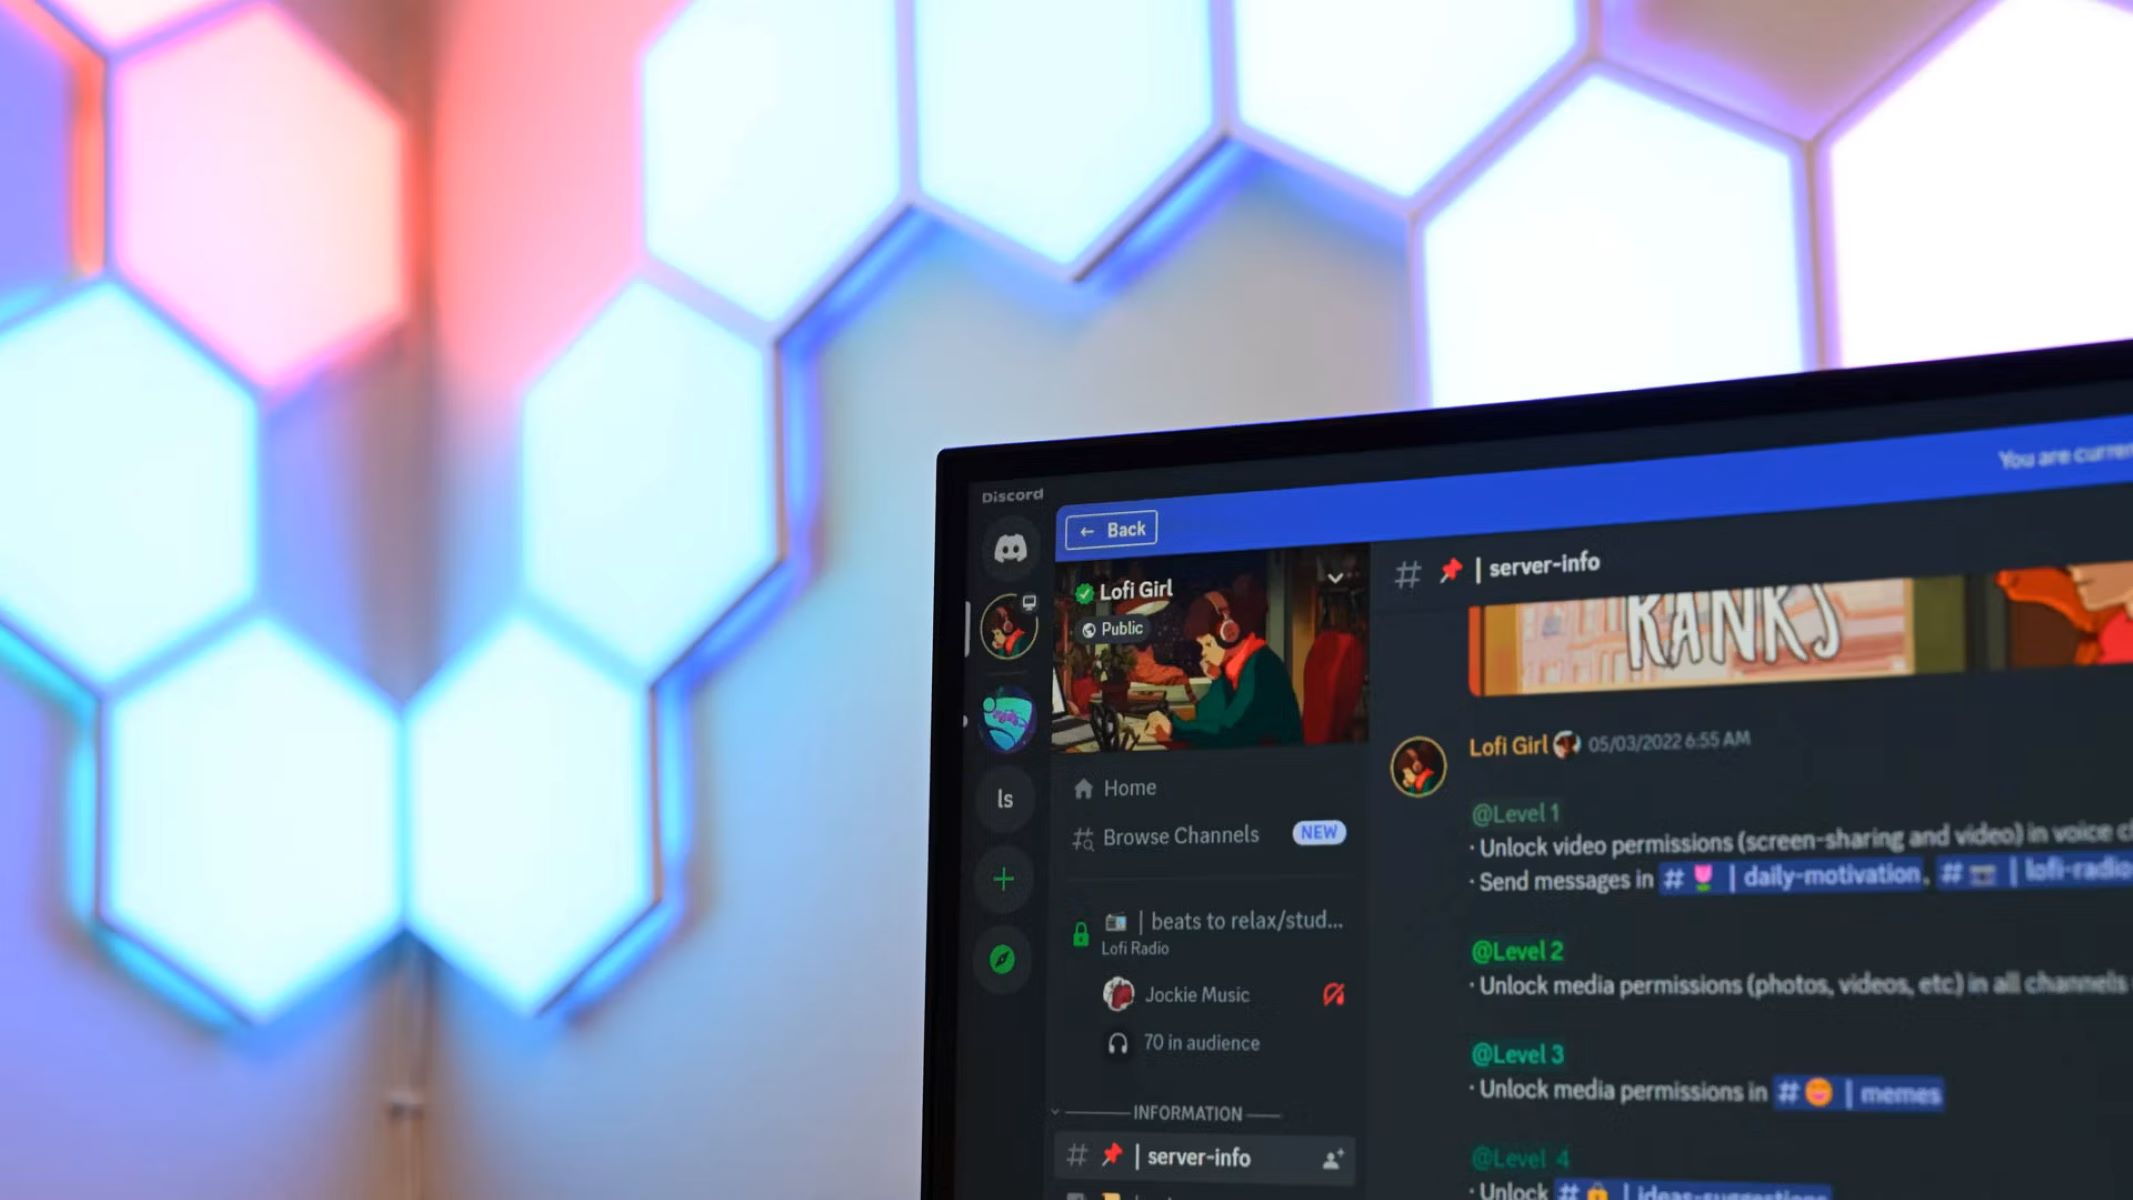
After successfully logging in to your Discord account, you will be greeted with the Discord interface, which is where you can access and manage your servers, channels, and friends.
Now that you have Discord open and ready, let’s move on to the next step and navigate to your desired server where you want to add emojis.
Step 2: Navigate to your desired server
Once you have opened the Discord application and logged into your account, the next step is to navigate to the server where you want to add emojis. Discord allows users to join and create their own servers, which act as virtual communities for specific interests, games, or groups.
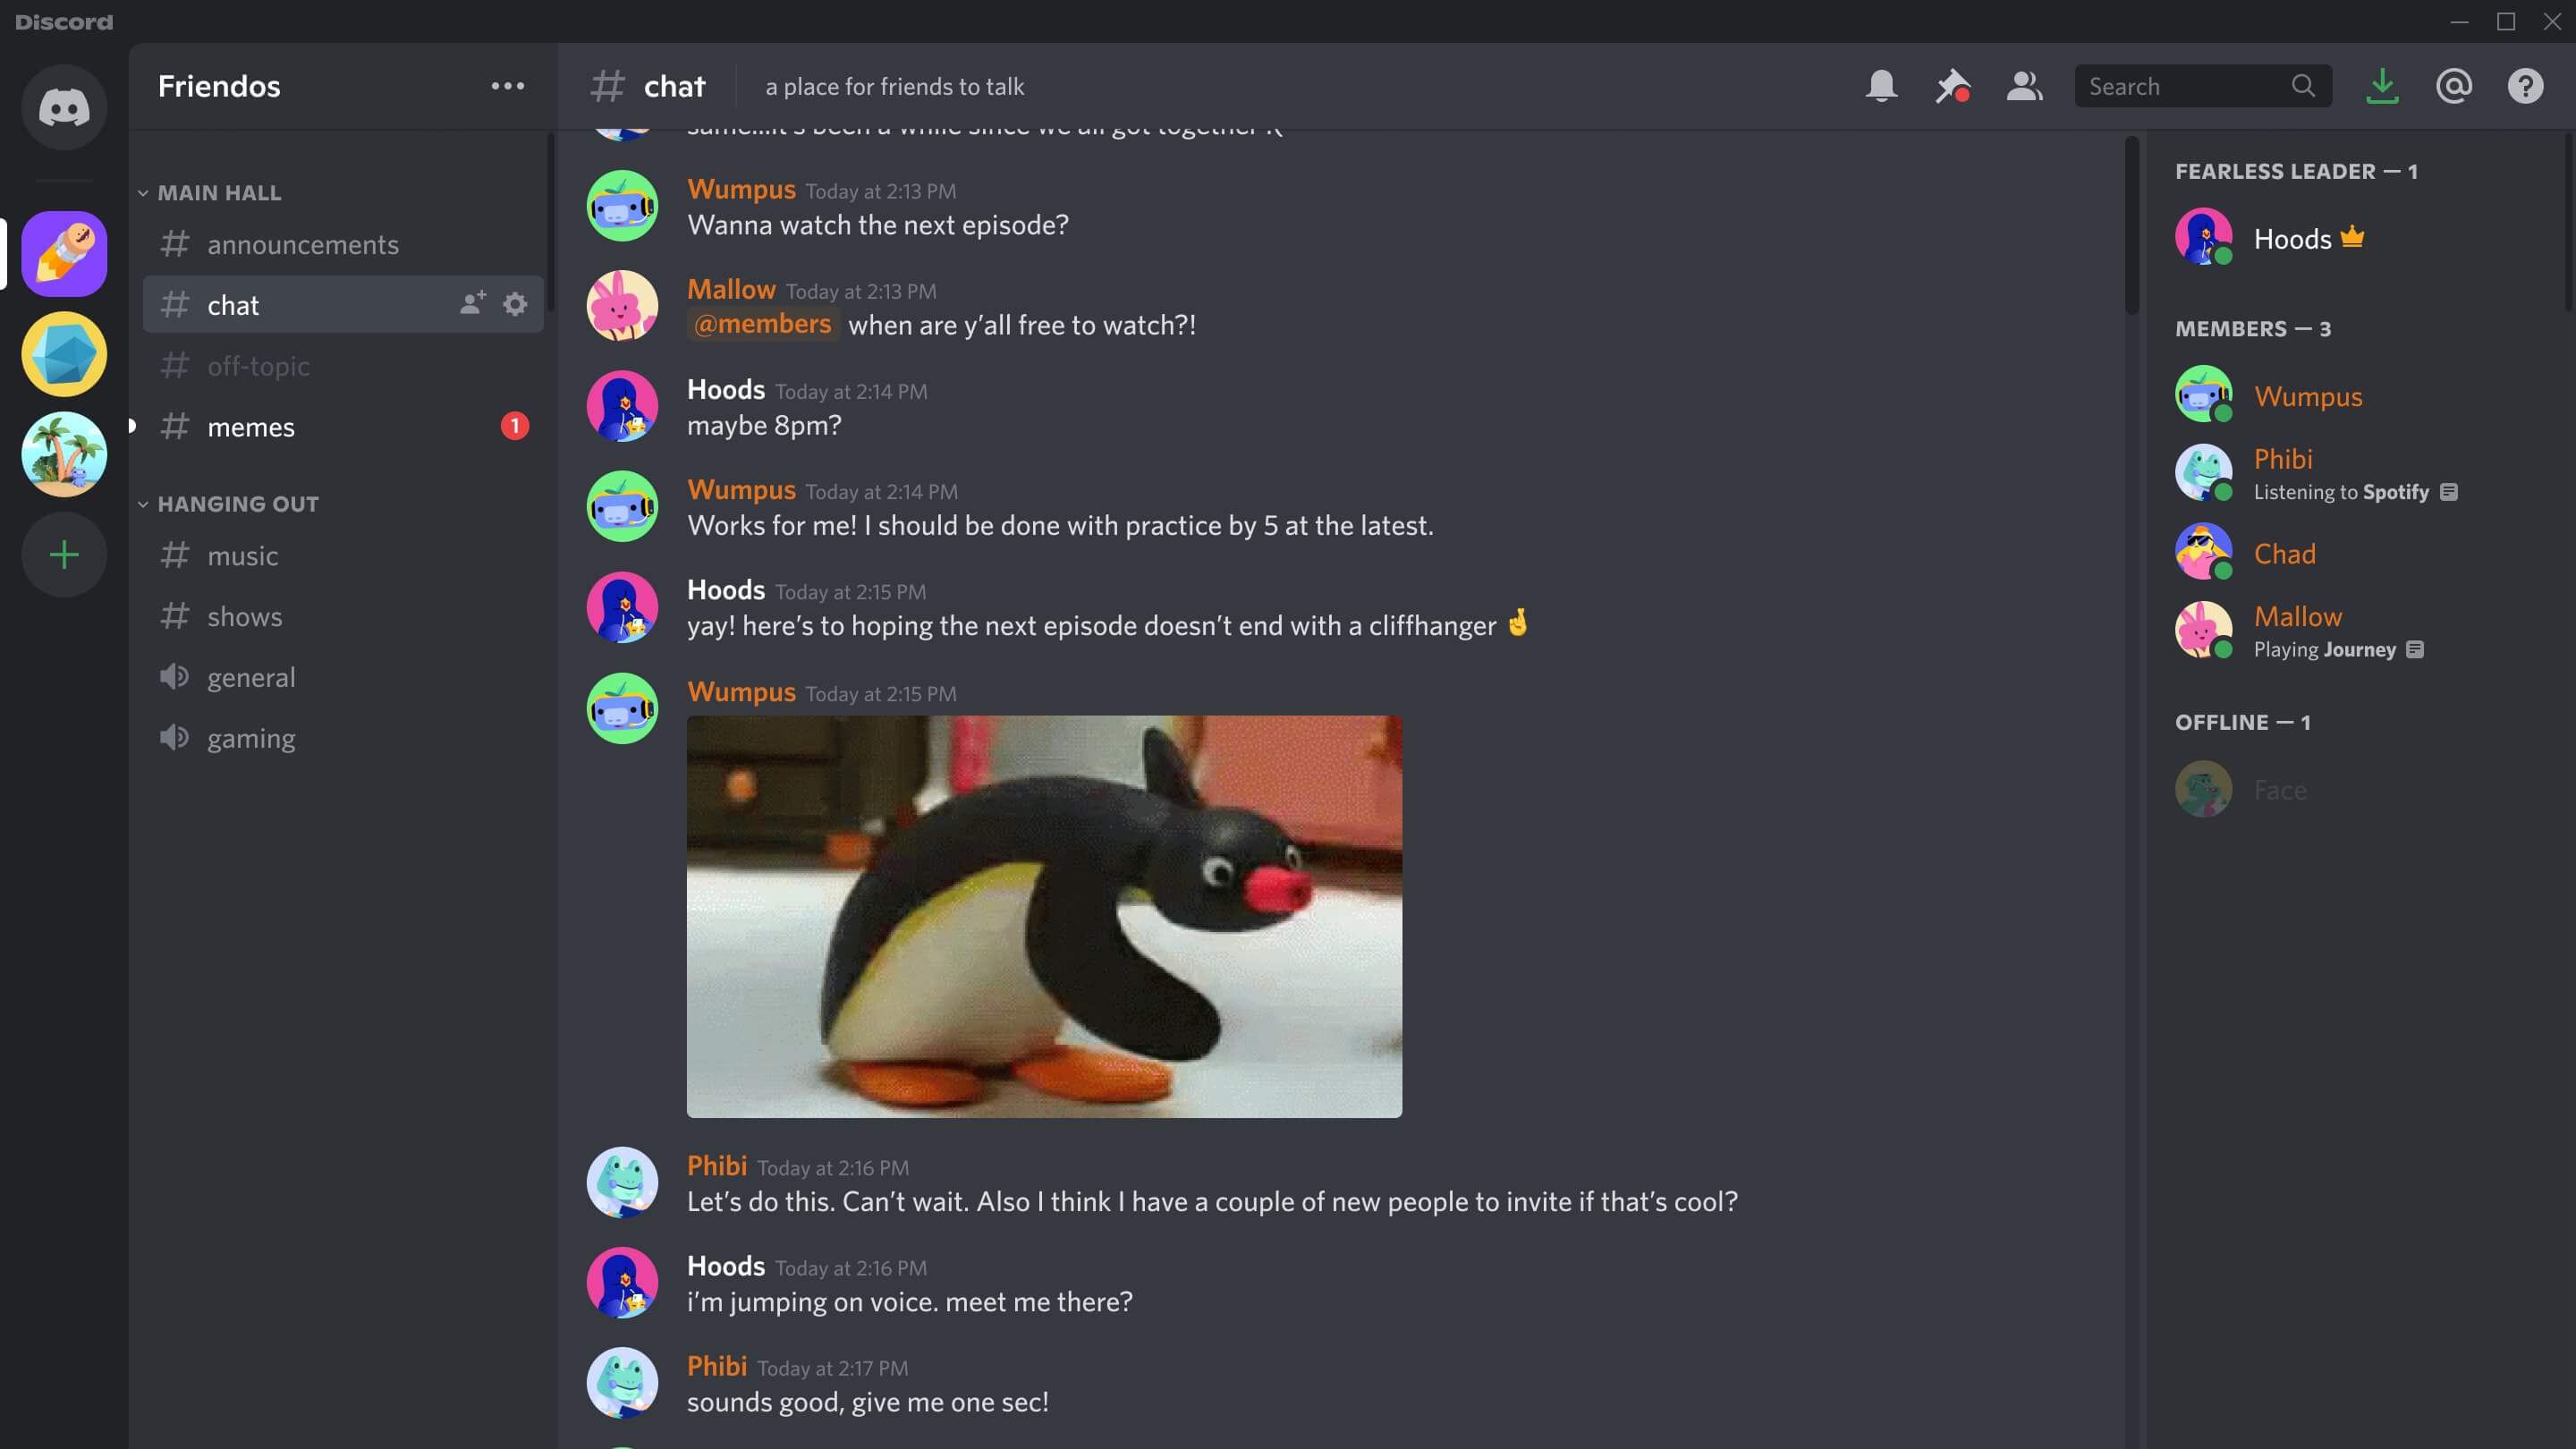
To navigate to your desired server, look at the left-hand side of the Discord interface. You will see a column that displays your servers and messages. The column will show all the servers you are a member of, and each server will have its own icon and name.
Scroll through the list of servers until you find the one you want to add emojis to. If you are a member of multiple servers, you may need to locate it among the others. Alternatively, you can use the search bar at the top of the server list to quickly find the server by entering its name.
Once you have located the server, click on it to enter. Discord will load the server’s channels and display them in the central panel of the interface. Servers typically have different channels that are dedicated to specific discussions, topics, or purposes.
Take a moment to familiarize yourself with the various channels within the server. Each channel will have its own name and purpose, and they may be categorized into different sections for easier organization. You can identify a channel by its name and the small icon next to it, representing its type.
Now that you have navigated to your desired server, you are ready to find the specific channel where you want to add emojis. In the next step, we will guide you through locating the channel and accessing its settings.
Step 3: Find the channel you want to add an emoji to
After navigating to your desired server in Discord, the next step is to find the specific channel where you want to add an emoji. Channels in Discord serve as designated areas for specific discussions, topics, or activities within a server.
To find the channel you want to add an emoji to, look at the list of channels displayed in the central panel of the interface. The channels will be organized based on their category and purpose, making it easier for members to find and join relevant conversations.
Scroll through the list of channels until you locate the one where you wish to add an emoji. The name and description of each channel can provide clues about its content and purpose, helping you identify the right one. Additionally, the channel icons or symbols next to their names can indicate their type, such as text, voice, or announcement channels.
If you are having trouble finding the channel, you can use the search bar located at the top of the channel list. Simply enter the name or keywords associated with the channel, and Discord will filter the results to show matching channels.
Once you have found the desired channel, click on it to access its contents and settings. Discord will load the messages and discussions taking place within the channel, allowing you to participate in the conversation and interact with other members.
Now that you have located the channel where you want to add an emoji, we can move on to the next step and open the channel settings to begin the process of adding emojis!
Step 4: Open the channel settings
Once you have found the channel where you want to add an emoji in Discord, the next step is to open the channel settings. By accessing the channel settings, you will have the necessary permissions to manage various aspects of the channel, including adding emojis.
To open the channel settings, look towards the top-right corner of the Discord interface. You will see a gear or cog icon – this is the settings icon for the channel.
Click on the settings icon, and a drop-down menu will appear, presenting you with various options and configurations for the channel. The settings menu allows you to customize various aspects of the channel, such as permissions, notifications, and appearance.
Take a moment to explore the different settings available for the channel. Depending on your role and permissions within the server, you may have access to different options than other members. It’s important to note that only certain roles, typically server administrators or members with specific permissions, can add emojis to channels.
In the settings menu, look for the option to manage emojis or customize emojis. It may be located under a specific section, such as “Channel Settings” or “Emoji Settings.” Click on this option to proceed with adding emojis to the channel.
By opening the channel settings, you have set the stage for adding emojis to the channel. In the next step, we will delve into the process of selecting and uploading emojis to Discord!
Step 5: Click on “Emoji”
After opening the channel settings in Discord, the next step is to click on the “Emoji” option. This will direct you to the section where you can manage and add emojis to the channel.
Within the channel settings menu, look for the tab or tabbed section labeled “Emoji.” Clicking on this option will take you to the dedicated emoji management area for the channel.
Once you are on the “Emoji” page, you will be able to view the existing emojis that are already added to the channel, if any. Additionally, you will see options to upload new emojis and customize their details.
Take a moment to familiarize yourself with the “Emoji” page. You may notice a list of emojis currently available for use, each represented by their respective images or icons. These emojis can be used by all members of the channel to enhance their messages and express their emotions.
If there are no emojis listed on the page, don’t worry! You can easily add new emojis by following the upcoming steps.
By clicking on the “Emoji” option in the channel settings, you have reached the gateway to adding and managing emojis in the channel. In the next step, we will guide you through the process of uploading emojis to Discord!
Step 6: Select “Upload Emoji”
Once you have reached the “Emoji” page within the channel settings in Discord, the next step is to select the “Upload Emoji” option. This will enable you to upload and add new emojis to the channel.
On the “Emoji” page, look for the button or link labeled “Upload Emoji.” This option is typically positioned prominently on the page, allowing for easy access to the emoji upload functionality.
Clicking on “Upload Emoji” will open a dialog box or prompt that allows you to choose the emoji file from your computer. Discord supports various image formats for emojis, such as PNG, JPEG, and GIF, so make sure your emoji file is in one of these supported formats.
When selecting the emoji file to upload, keep in mind that the file should represent the emoji you want to add to the channel. Emojis can be images, icons, or graphics that convey specific emotions, objects, or symbols.
You can create your own custom emojis or find pre-made emoji packs online to add a unique touch to your Discord channels. There are also emoji generators and editors available that allow you to create custom emojis with ease.
Once you have chosen the emoji file, select it and click on the “Open” or “Upload” button in the dialog box. This will initiate the process of uploading the emoji to Discord.
By selecting “Upload Emoji,” you have paved the way for adding your chosen emoji to the channel. In the next step, we will delve into customizing the details of the emoji to make it ready for use!
Step 7: Choose the emoji file from your computer
Once you have selected the “Upload Emoji” option in Discord, the next step is to choose the emoji file from your computer. This allows you to upload the desired emoji and make it available for use in the channel.
When you click on “Upload Emoji,” a window or dialog box will appear, prompting you to select the emoji file from your computer. This file will contain the image or graphic that represents the emoji you want to add to the channel.
Browse through your computer files and folders to locate the emoji file you wish to upload. Make sure the file is in one of the supported image formats, such as PNG, JPEG, or GIF, to ensure successful uploading.
You can create your own custom emoji using image editing software or find pre-made emoji packs available for download. Alternatively, you can search for emoji websites or repositories that offer a wide range of emojis to choose from.
When choosing the emoji file, consider the purpose and emotion you want to convey. Emojis can capture a wide range of feelings, objects, and symbols, so pick an emoji that aligns with the message or atmosphere of the Discord channel.
Once you have located the emoji file on your computer, select it and click on the “Open” button in the dialog box. Discord will start processing and uploading the emoji to the server.
Take note that there may be size and resolution restrictions on the emoji file. Discord has specific guidelines for emoji dimensions and file size, so ensure that your emoji meets the requirements to ensure smooth uploading and usage.
By choosing the emoji file from your computer, you have taken a significant step towards adding the emoji to the Discord channel. In the next step, we will explore how to customize the details of the emoji to make it ready for use!
Step 8: Customize the emoji details
After choosing and uploading the emoji file to Discord, the next step is to customize the details of the emoji. This allows you to give the emoji a unique name and set other specifications before using it in the channel.
Once the emoji is uploaded, Discord will prompt you to customize its details. Look for the options or fields that allow you to name the emoji and set other properties. These details will help identify and differentiate the emoji from others in the channel.
Start by giving the emoji a suitable name. This name should reflect the meaning or emotion that the emoji represents. It can be descriptive, catchy, or related to the theme of the channel.
In addition to the name, you may have the option to add a short description or tags to the emoji. These details can help other members of the channel understand the context or usage of the emoji.
Some channels or servers may also provide you with role-specific settings for the emoji. This means that you can specify which roles are allowed to use the emoji within the channel. Consider the purpose and appropriateness of the emoji when making these role-specific selections.
Furthermore, Discord may allow you to assign the emoji to specific categories or subfolders within the emoji collection. This helps with organization and makes it easier for members to find and choose the emoji when needed.
When customizing the emoji details, ensure that the information accurately represents the emoji’s meaning and purpose. Clarity and consistency in the details will contribute to a smoother experience for all members using the emoji in the channel.
Once you have customized the details of the emoji to your satisfaction, proceed to the next step to finalize the emoji’s addition to the channel.
Step 9: Click on “Upload Emoji”
After customizing the details of the emoji in Discord, the next step is to click on the “Upload Emoji” button. This will confirm and finalize the addition of the emoji to the channel, making it available for all members to use.
Once you have reviewed and ensured that the emoji’s details are accurate and appropriate, locate the “Upload Emoji” button on the customization page. This button is usually located at the bottom or side of the page.
Click on the “Upload Emoji” button to proceed with the final step of adding the emoji to the channel. Discord will process the information and settings you provided, ensuring that the emoji adheres to the server’s guidelines and requirements.
Depending on the size and complexity of the emoji, it may take a moment for Discord to complete the uploading process. During this time, avoid refreshing the page or navigating away from the channel settings to prevent any interruption or data loss.
Once the upload is complete, you will receive confirmation from Discord that the emoji has been successfully added to the channel. It will now be accessible to all members within the channel, allowing them to include the emoji in their messages and interactions.
With the emoji successfully uploaded and available, take a moment to celebrate your achievement! You have enriched the channel with a new way of expressing emotions, reactions, and ideas.
Now that the emoji has been added, you can proceed to the final step and embrace the joy of using the new emoji in the channel!
Step 10: Enjoy using the new emoji in the channel
Congratulations! You have successfully added the new emoji to the Discord channel. Now it’s time to reap the benefits and enjoy using the emoji in your conversations and interactions.
With the new emoji available, all members of the channel can now easily access and utilize it to enhance their messages. Emojis bring a visual element to communication, allowing for greater expression and engagement.
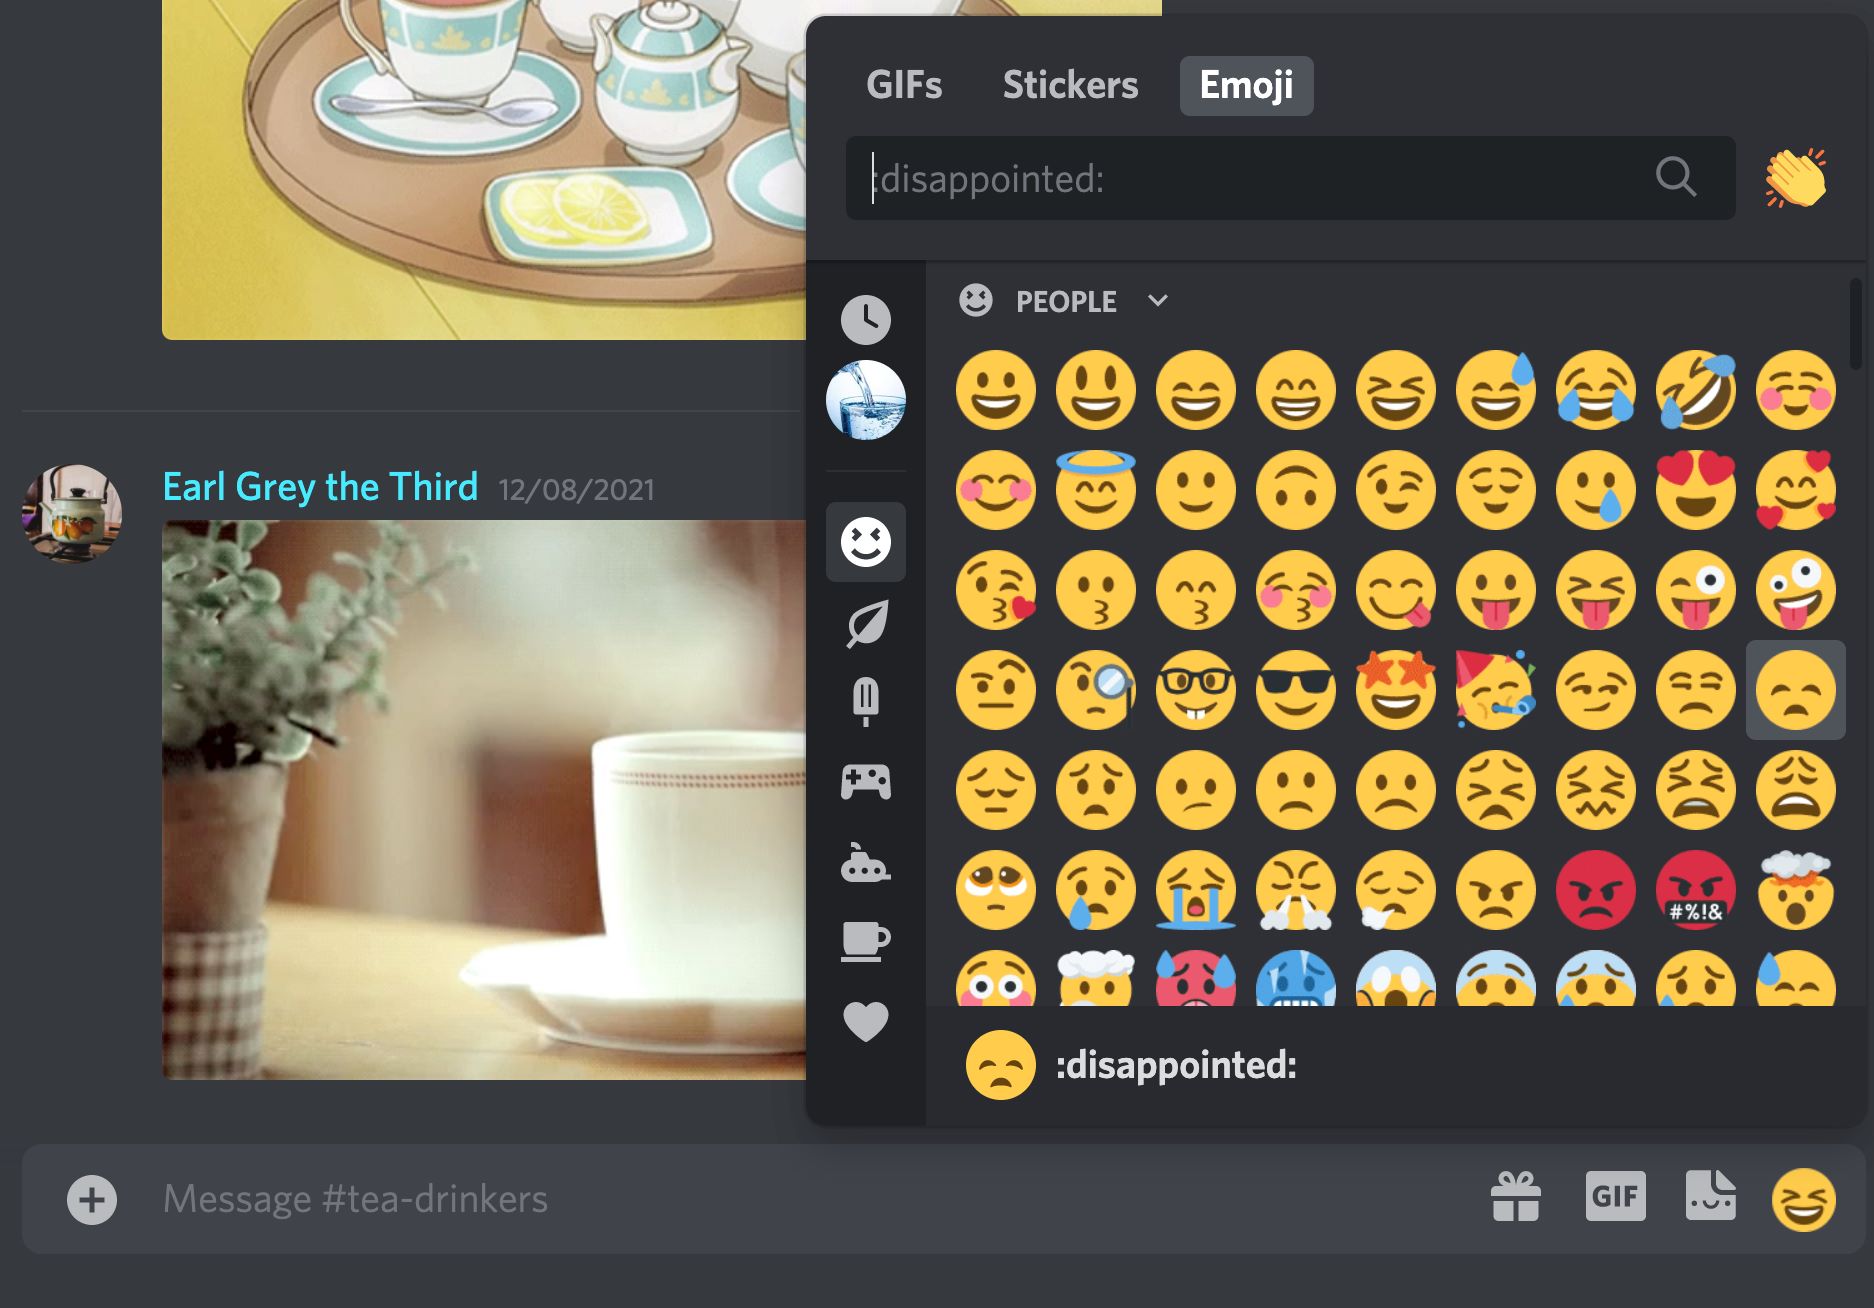
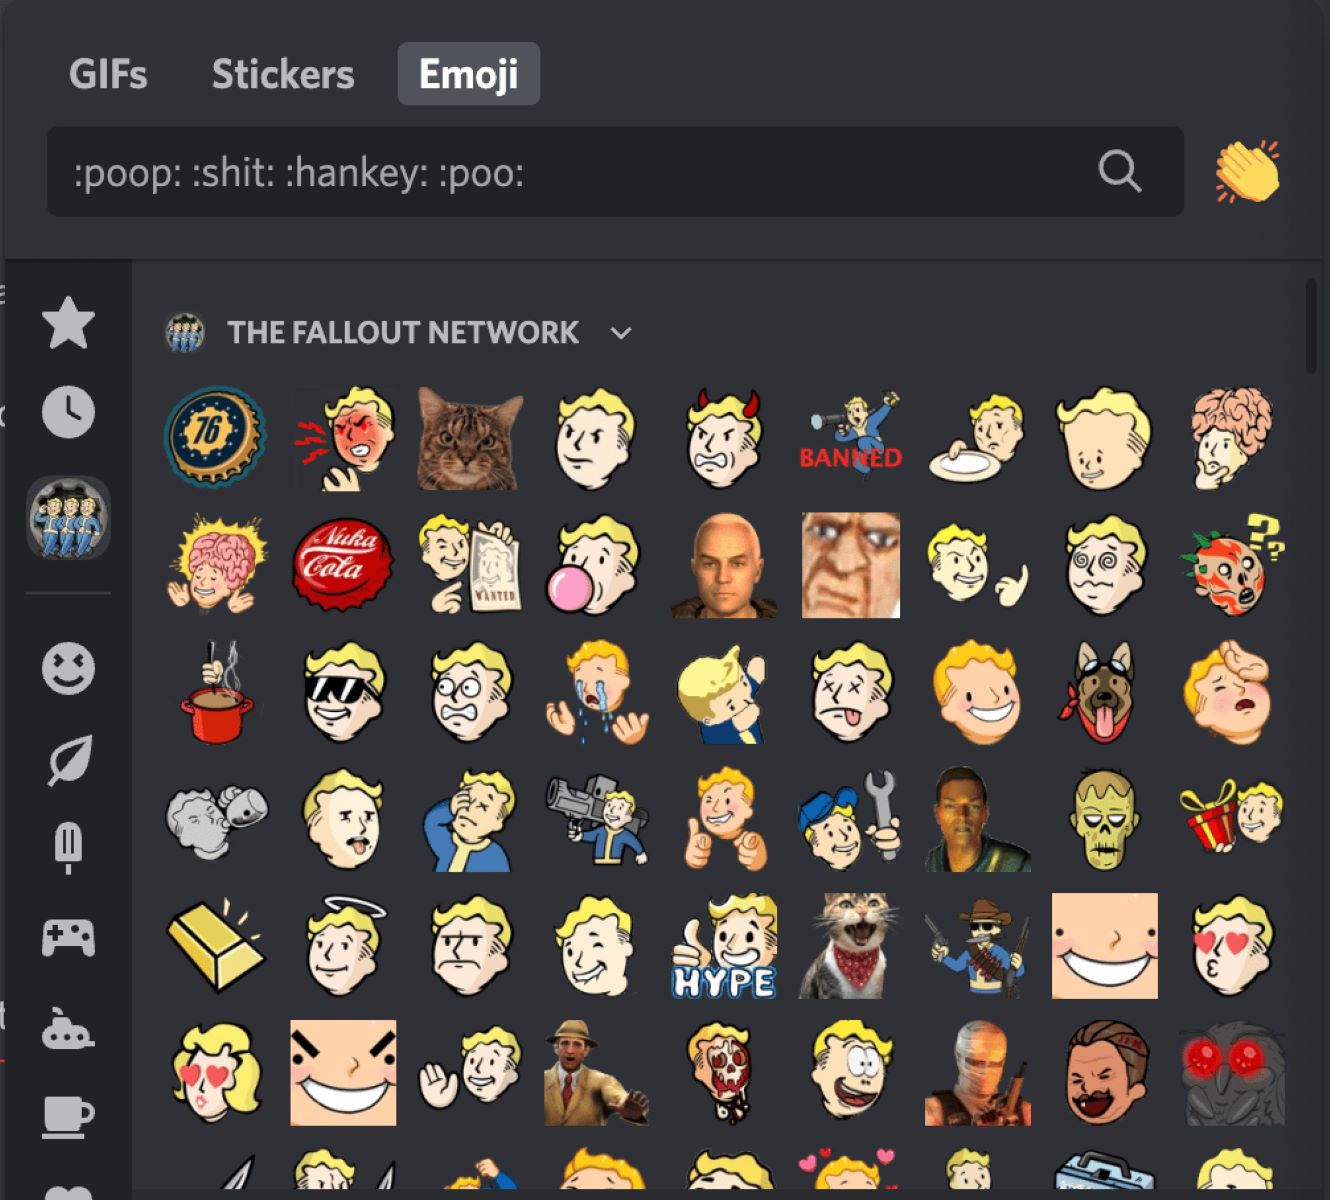
To use the new emoji in the channel, simply open the chatbox or text input field where you want to send your message. Depending on the platform you are using, you can either click on the emoji icon in the chatbox or type a specific command, such as a colon followed by the emoji’s name, to bring up the emoji options.
Once you have accessed the emoji menu, look for the newly added emoji among the available options. It should be easily recognizable by its name or the image/icon that represents it.
Click or select the new emoji, and it will be inserted into your message. You can repeat this process as many times as needed to include the emoji in different parts of your message.
Unleash your creativity and experiment with the new emoji! Combine it with text, other emojis, or even GIFs to create eye-catching and engaging messages.
Remember to use the emoji appropriately within the context of the conversation. Emojis can convey different meanings and emotions, so use them to enhance your messages and add value to the overall conversation.
Furthermore, be mindful of any guidelines or rules set by the server or channel administrators regarding the usage of emojis. Respect the community norms and ensure that your emoji usage aligns with the channel’s theme and purpose.
Finally, enjoy the enhanced communication experience and have fun using the new emoji in the channel. Let it bring smiles, laughter, and a touch of personal expression to your interactions with fellow members.
Congratulations once again on successfully adding and utilizing the new emoji in the Discord channel!
Conclusion
Adding emojis to your Discord channels is a simple and effective way to enhance communication and make interactions more engaging. With just a few steps, you can upload and use emojis that reflect your emotions, reactions, and ideas in a visual and expressive manner.
In this guide, we have walked you through the step-by-step process of adding emojis to Discord channels. From opening Discord and navigating to your desired server, to finding the channel, opening the channel settings, and uploading and customizing emojis – each step has been outlined to ensure a seamless experience.
Remember that Discord supports both standard emojis and custom emojis, giving you a wide range of options to choose from. You can upload your own custom emojis or explore the vast collection available online to find the perfect emojis that resonate with the theme and purpose of your Discord channels.
As you embrace the use of emojis in your conversations, keep in mind the importance of using them appropriately and respectfully. Emojis can enhance communication and add a personal touch, but it’s essential to consider the context and adhere to any guidelines set by the server or channel administrators.
So, don’t hesitate to add some flair and personality to your Discord channels with emojis. Have fun expressing yourself, engaging with others, and creating a vibrant and enjoyable community experience.
Now that you have the knowledge and tools, go ahead and unleash the power of emojis in your Discord channels. Happy chatting!