Introduction
Discord is a popular communication platform that allows users to connect with others through voice, video, and text channels. It provides various features that enhance the interactive experience, one of which is the ability to use reaction roles. Reaction roles allow server owners and administrators to create custom roles that users can assign to themselves by reacting to a message with a specific emoji.
These roles can be used for a variety of purposes, such as organizing community events, indicating interests or preferences, and creating exclusive access to certain channels or features. Implementing reaction roles on your Discord server can help streamline communication and engagement within your community.
In this guide, we will walk you through the step-by-step process of creating and setting up reaction roles on Discord. Whether you are a server owner, administrator, or simply interested in exploring this feature, this tutorial will provide you with the necessary knowledge and skills to implement reaction roles effectively.
By the end of this guide, you will have a clear understanding of how to create custom roles, set up reaction messages, add reaction emojis, and integrate a bot to automate the process. Let’s dive in and create a more interactive and engaging Discord server!
What are reaction roles?
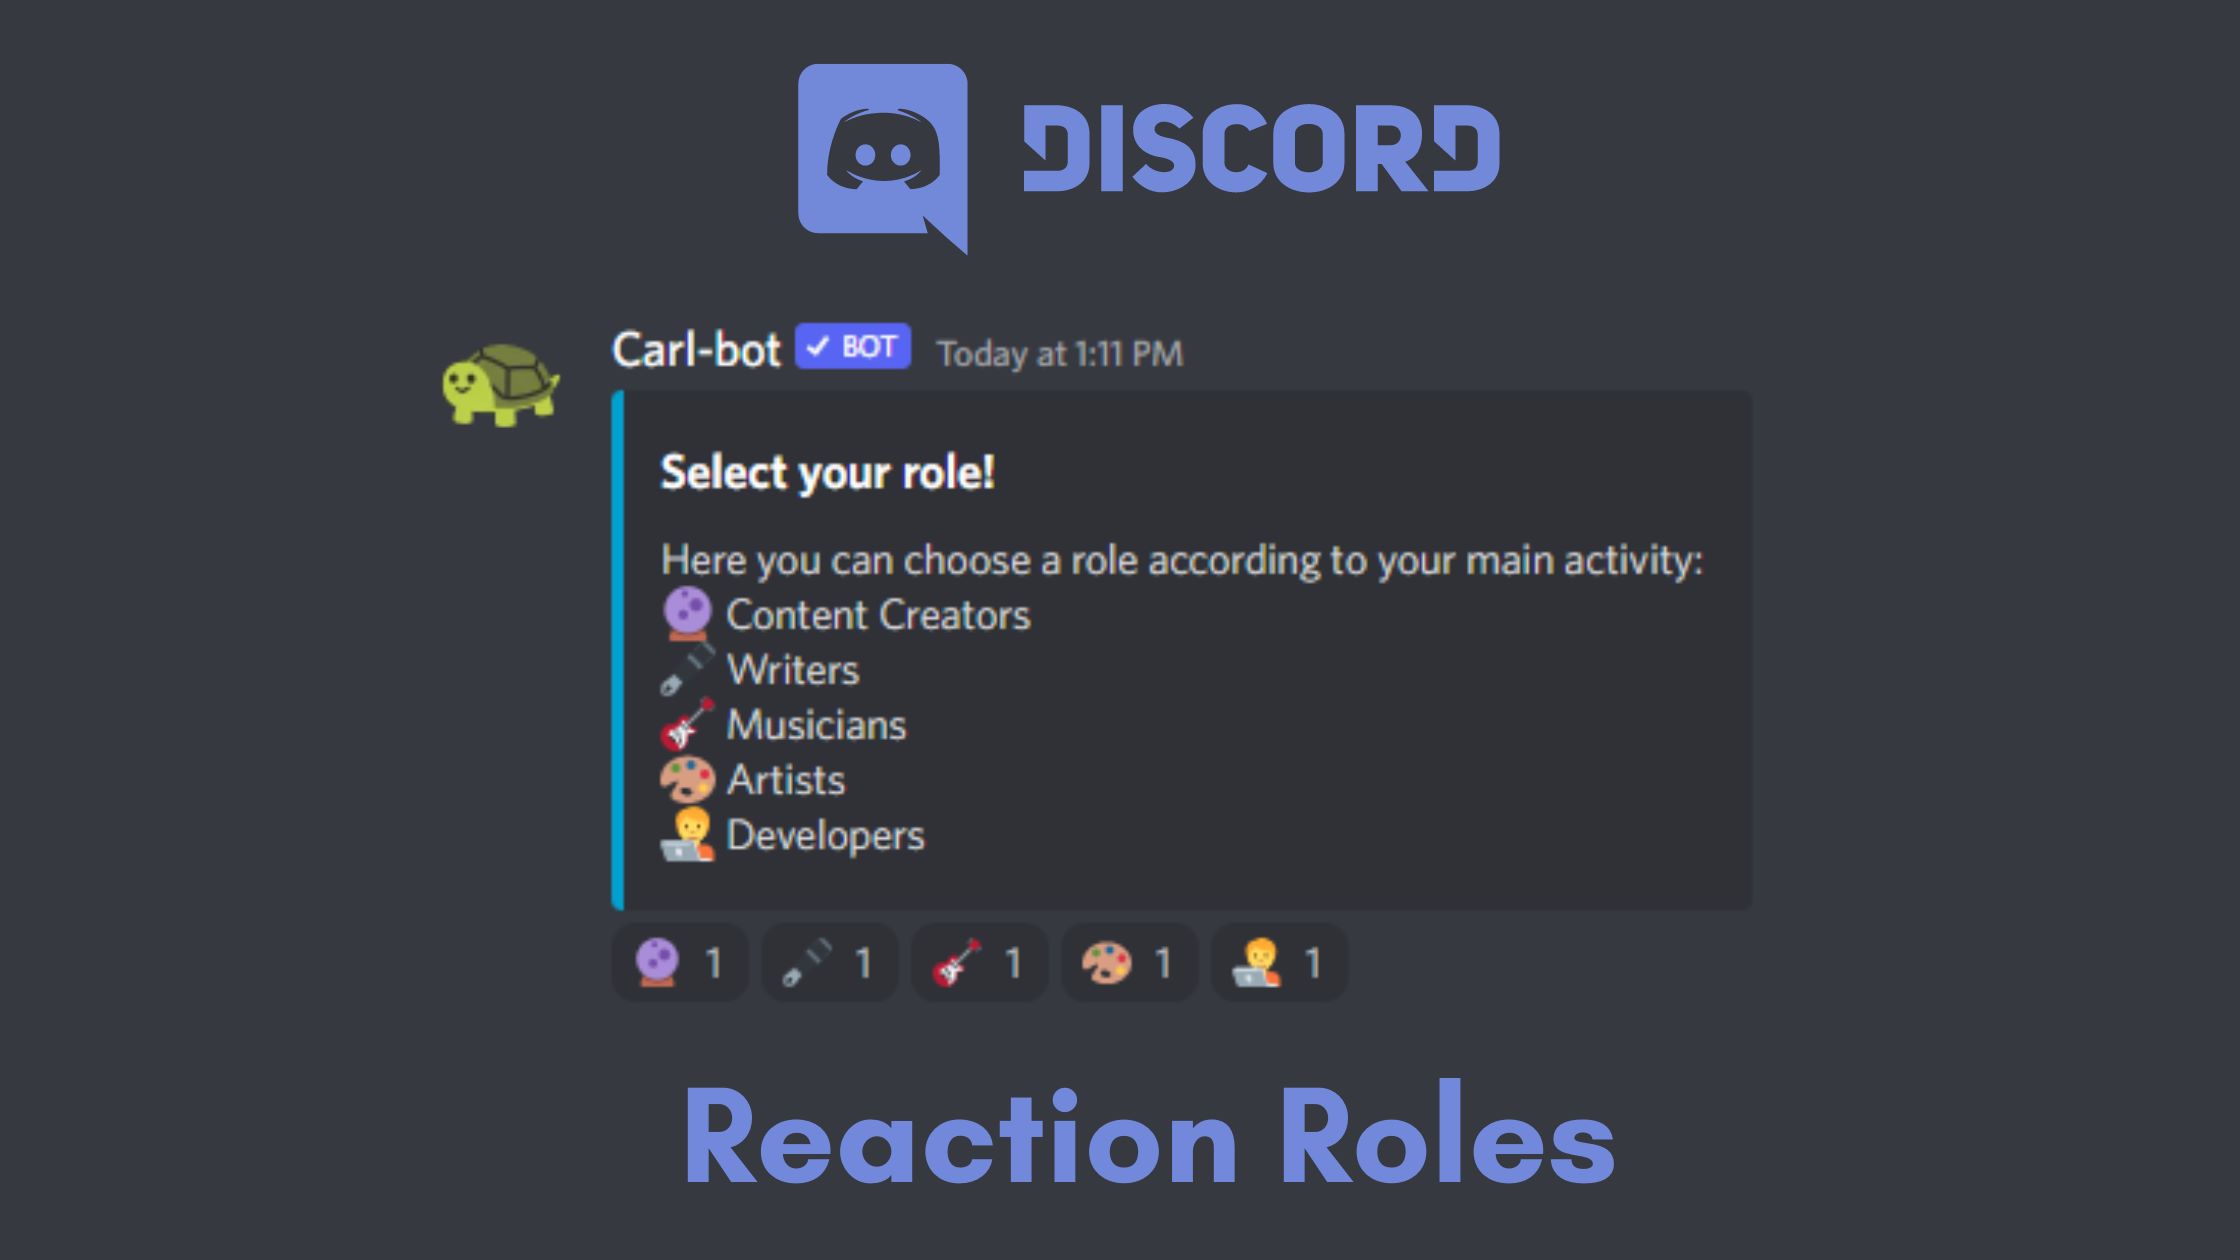
Reaction roles in Discord are a powerful feature that allows server owners and administrators to create custom roles that members can assign to themselves by reacting to a message with a specific emoji. The concept is simple: by adding reactions to a designated message, users can easily indicate their preferences, interests, or access levels within the server.
Reaction roles are incredibly versatile and can be used in a myriad of ways. Here are a few examples:
- Organizing events: If you are hosting a server event, such as a gaming tournament or a movie night, you can create reaction roles to allow members to express their interest in attending. By simply reacting to the event announcement message with a specific emoji, members can easily RSVP and receive any updates or notifications related to the event.
- Assigning roles based on interests: If your server is dedicated to a particular topic, such as music, gaming, or art, you can create reaction roles to enable members to self-identify with their interests. For example, a music server might have reaction roles for different music genres, and members can assign themselves the corresponding roles based on their preferences.
- Granting access to exclusive content: If you have specific channels or features that are only accessible to certain members, reaction roles can be used to control access. For instance, a server might have a VIP role that grants access to private channels or special privileges. By reacting to a message with a designated emoji, members can obtain the VIP role and unlock the exclusive content.
By utilizing reaction roles effectively, you can not only streamline communication and engagement within your Discord server but also create a more customizable and interactive community. With just a few clicks, members can assign themselves roles, express their preferences, and gain access to exclusive content or features.
Now that we understand what reaction roles are and how they can benefit a Discord server, let’s explore the step-by-step process of creating and setting up reaction roles in the next sections.
Step 1: Creating the roles
Before we can set up reaction roles on Discord, we need to create the roles that users will be able to assign to themselves. Roles in Discord act as a way to categorize and organize members, and they can be used for various purposes. In this step, we will guide you through the process of creating the roles you’ll need for your reaction roles setup.
Here’s how you can create roles on Discord:
- Open Discord and navigate to your server.
- Click on the server name at the top left corner to open the server settings menu.
- Select the “Roles” tab on the left-hand side.
- Click the “+” button next to “Roles” to create a new role.
- Give your role a name that represents its purpose. For example, if you’re creating a reaction role for gamers, you can name it “Gamer.”
- Customize the settings for the role as desired. You can choose the role’s color, permissions, and other options.
- Click the “Save Changes” button to create the role.
- Repeat the above steps to create all the roles you want to use for your reaction roles setup.
It’s important to think carefully about the roles you create and their purpose within your server. Consider the different categories or interests you want to offer, and create roles that align with those categories. For example, if you have a music-oriented server, you might want to create roles for different music genres.
Once you have created all the roles you need, you’re ready to move on to the next step: creating the messages that will trigger the reaction roles.
Step 2: Creating the messages
Now that you have created the roles for your reaction roles setup, the next step is to create the messages that will trigger the role assignment when users react to them. These messages will serve as the entry point for members to select the roles they want to assign to themselves.
To create the reaction role messages on Discord, follow these steps:
- Open Discord and navigate to the text channel where you want to create the reaction role message.
- Click on the channel name to open the channel settings menu.
- Select “Edit Channel” from the dropdown menu.
- In the channel settings, scroll down and find the “Message History” section.
- Toggle on the “Allow anyone to add reactions” option.
- Close the channel settings.
- Create a new message in the channel by typing your desired content, such as a description of the reaction roles or instructions for members.
When creating the message, it’s essential to provide clear instructions to members on how to assign themselves the reaction roles. You can specify which emojis correspond to which roles, or you can include a list of available roles with their corresponding emojis. Be creative and make the message engaging to encourage members to participate and select their desired roles.
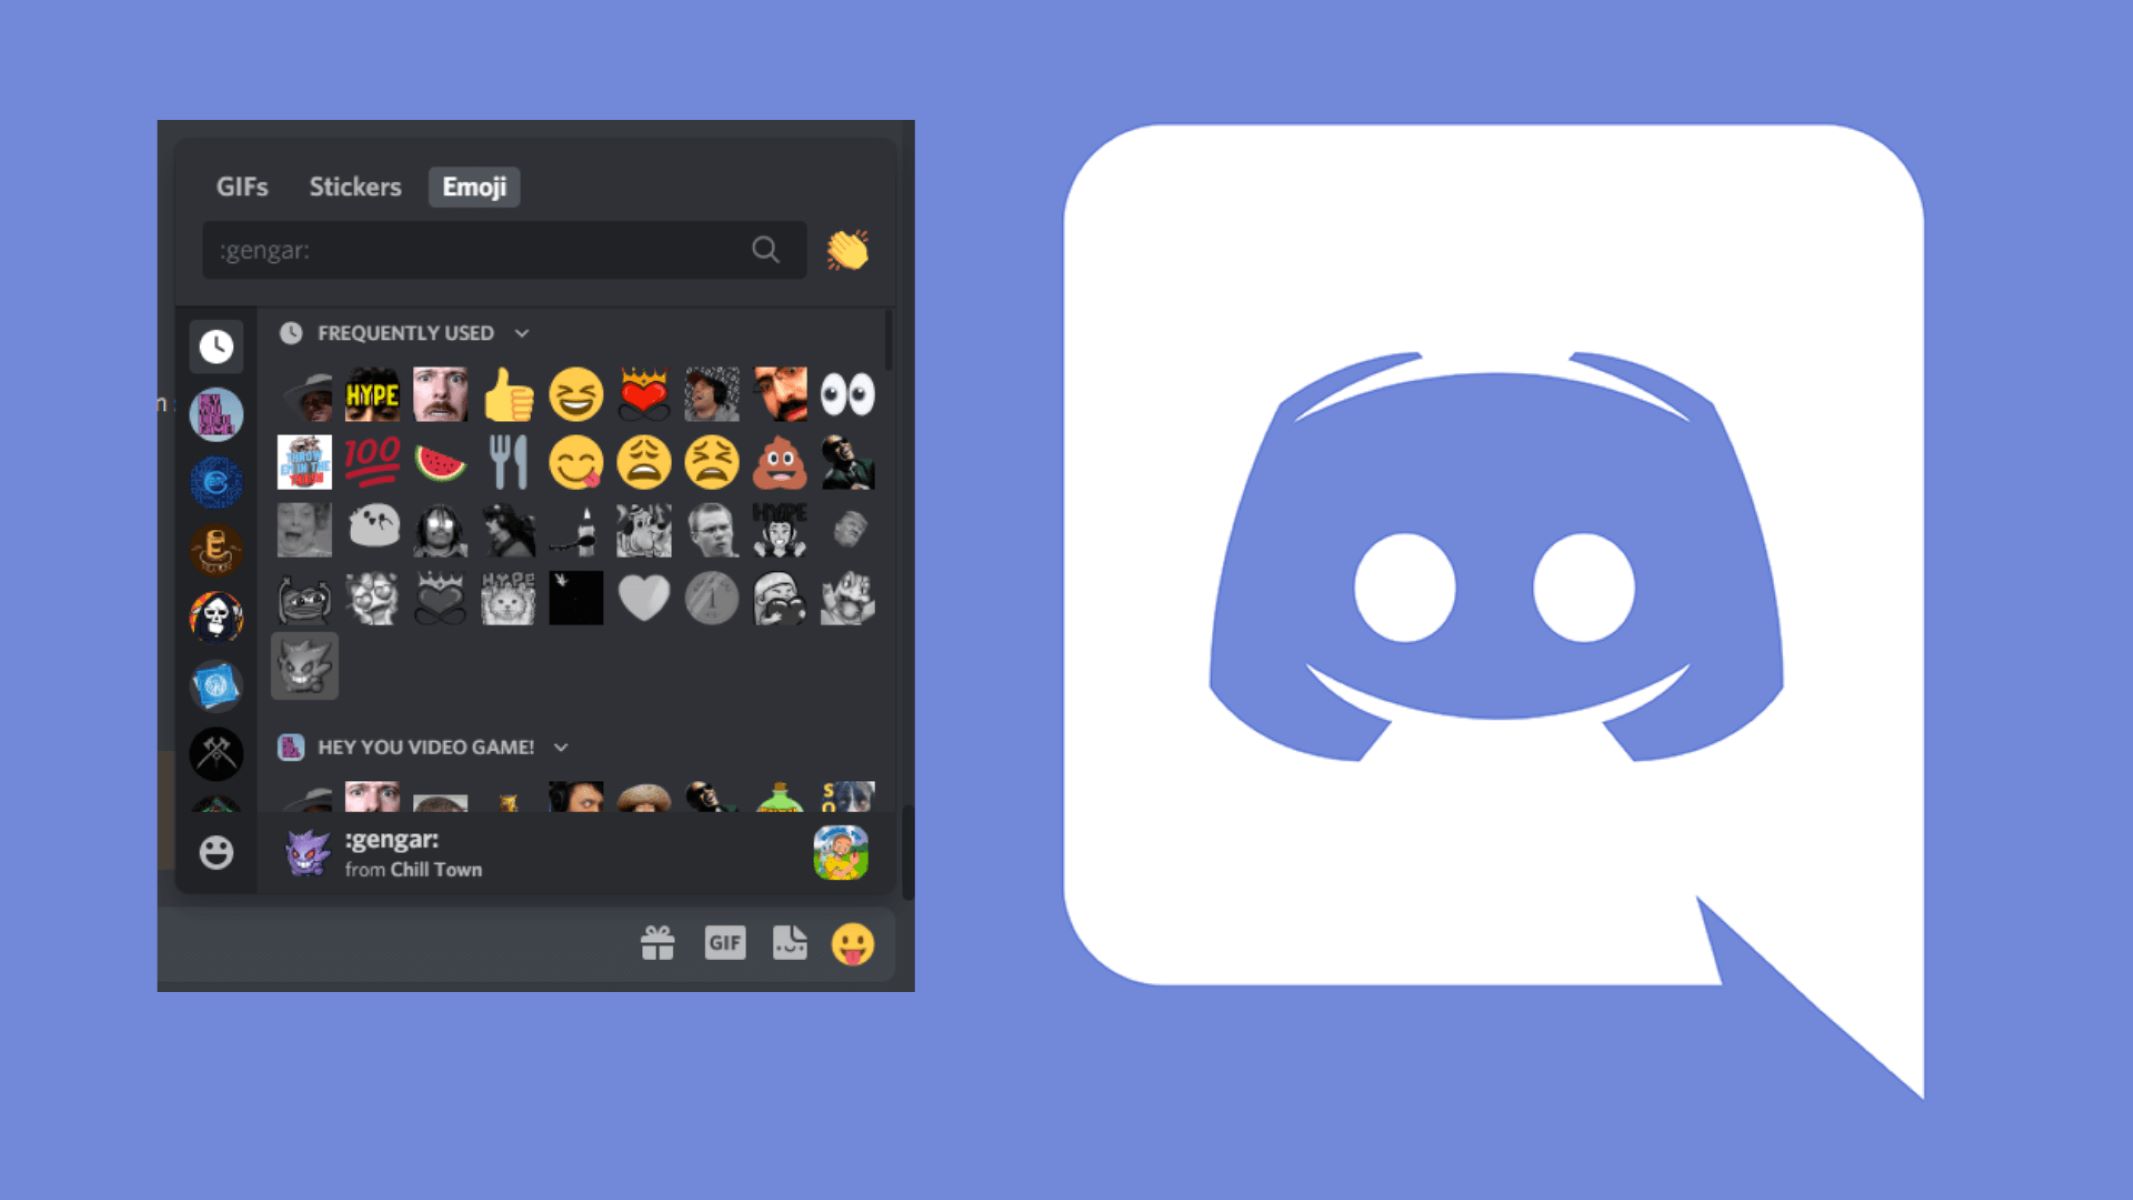
Remember that each reaction corresponds to a role, so you’ll need to decide which emojis you want to use for each role. Discord provides a wide range of emojis to choose from, or you can even upload custom emojis if you have Discord Nitro.
Once you have created the reaction role message and added the necessary instructions and emojis, you’re ready to move on to the next step: adding the reaction emojis to the message.
Step 3: Adding reaction emojis
After creating the messages for your reaction roles setup, the next step is to add reaction emojis to the messages. These emojis will serve as the trigger for assigning specific roles to users when they react to the message.
To add reaction emojis to your message on Discord, follow these steps:
- Open Discord and navigate to the text channel where you created the reaction role message.
- Locate the message and hover your cursor over it.
- Click on the “Add Reaction” button that appears on the right side of the message.
- Select the emoji you want to use for the reaction from the emoji picker. You can choose from the default emojis or use custom emojis if available.
- Repeat the above steps for each reaction emoji you want to add to the message.
- Ensure that each reaction emoji corresponds to the role you want to assign to users. For example, if you have a “Gamer” role, you can use a game controller emoji as the reaction.
By adding reaction emojis to your message, you are providing users with a visual representation of the roles they can assign to themselves. Users can simply click on the reaction emoji that corresponds to their desired role, and Discord will automatically assign the role to them.
Make sure to organize the reaction emojis and messages in a way that is clear and intuitive for members to understand. You can group related emojis and roles together or use formatting techniques like bullet points or separate sections to make it visually appealing.
Once you have added the reaction emojis to your message, you’re ready for the next step: setting up the bot to automate the role assignment process.
Step 4: Setting up the bot
To automate the role assignment process for reaction roles on Discord, you will need to set up a bot. Bots can perform various functions and tasks within a server, and in this case, we will use a bot to handle the role assignment based on member reactions.
Here’s how you can set up a bot for your reaction roles:
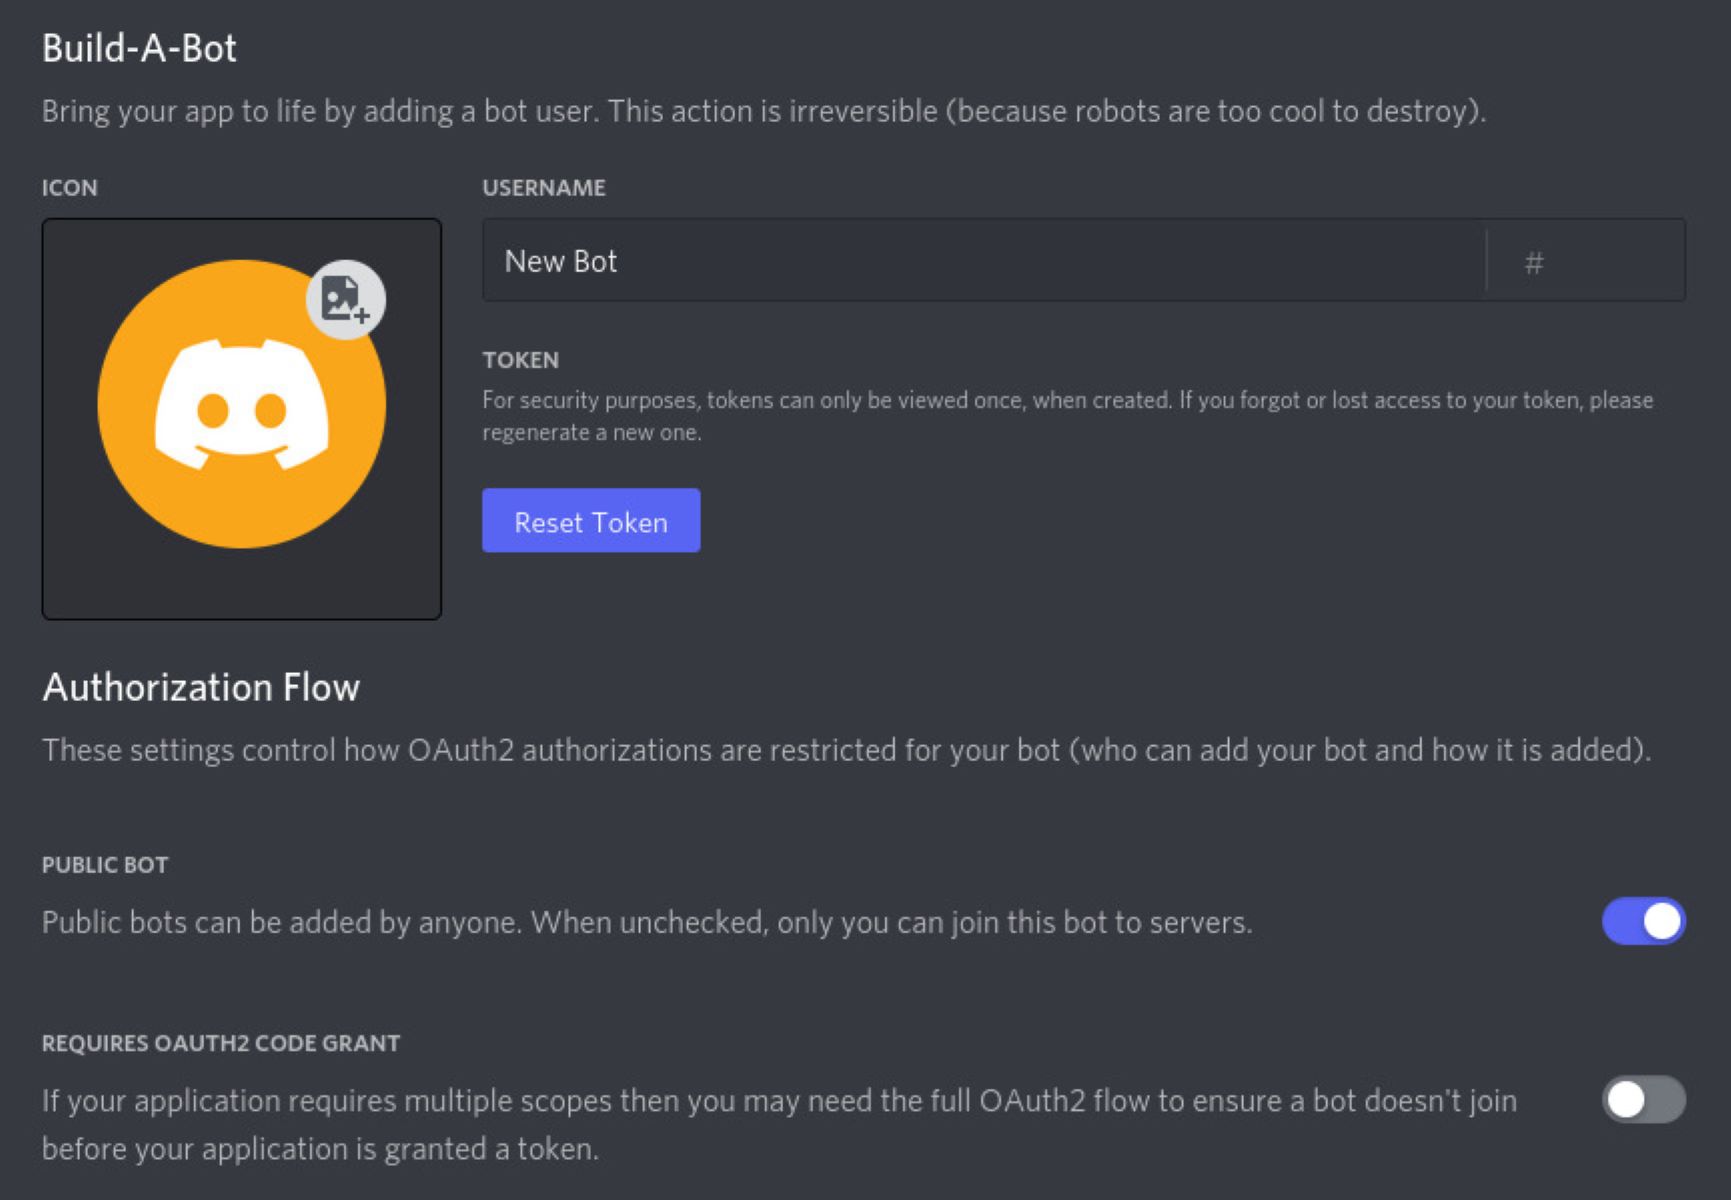
- Go to the Discord Developer Portal and log in with your Discord account.
- Click on the “New Application” button and give your bot a name.
- Navigate to the “Bot” tab on the left-hand side and click on “Add Bot” to create a new bot.
- Customize the bot’s settings, such as its username and permissions. Make sure to grant the bot the necessary permissions to manage roles.
- Copy the bot token by clicking on the “Copy” button. This token will be used to authenticate the bot with your server.
- Back in your Discord server, go to the server settings and select the “Roles” tab.
- Find the role that corresponds to your bot and drag it above the roles you want the bot to assign.
- Click on the bot role to open its settings and make sure it has the “Manage Roles” permission enabled.
Once you have set up the bot and authorized it with the necessary permissions, it’s time to integrate it with your server and the reaction roles setup. The bot will listen for member reactions on the designated messages and automatically assign the corresponding roles.
Remember to keep your bot token secure and avoid sharing it publicly. Treat it like a password to protect the security and integrity of your Discord server.
With the bot set up, you are now ready to proceed to the final step: testing the reaction roles to ensure everything is functioning correctly.
Step 5: Testing the reaction roles
After completing the setup of reaction roles on Discord, it is essential to test the functionality to ensure that everything is working as intended. Testing will allow you to identify any issues or misconfigurations and make any necessary adjustments before members start using the reaction roles.
Here are some steps to follow when testing reaction roles:
- As a server administrator or a role with the necessary permissions, navigate to the text channel where you created the reaction role message.
- React to the message with the emojis you set up for the different roles.
- Observe if the bot assigns the corresponding roles to your user profile. If the roles are not assigned, double-check that the bot has the correct permissions and ensure that the bot is online and active in your server.
- Try removing and re-adding reactions to test if the role assignment is triggered correctly.
- Ask some trusted members to test the reaction roles as well and provide feedback on their experience.
During testing, ensure that the bots, permissions, and role settings are all working seamlessly. If any issues arise, review the previous steps in this guide to troubleshoot and make any necessary adjustments.
Moreover, it’s important to listen to member feedback to improve the reaction roles experience. Take note of any suggestions or concerns raised regarding the reaction roles setup and make any adjustments as needed. Continuous improvement will ensure a better user experience within your Discord server.
Once you are confident that the reaction roles are working as expected and have received positive feedback from your testers, you can officially launch the reaction roles feature to all members of your Discord server.
Congratulations! You have successfully set up and tested the reaction roles on Discord. Your server members can now enjoy the convenience of assigning roles to themselves and engaging with the community more effectively.
Conclusion
Implementing reaction roles on Discord can greatly enhance the interactivity and engagement within your server. By allowing users to assign themselves roles through simple reactions to messages, you can streamline communication, organize events, and create a more personalized experience for your community members.
In this guide, we covered the step-by-step process of creating and setting up reaction roles on Discord. We discussed how to create the necessary roles, create messages with instructions and emojis, add the reaction emojis, set up a bot to automate the role assignment, and test the functionality to ensure a smooth experience for your server members.
Remember to be creative when designing your reaction role messages and instructions. Clear and engaging content will attract more members to participate and choose roles, enhancing their overall experience on your Discord server.
By utilizing reaction roles effectively, you can create a more interactive and dynamic community space. Whether it’s organizing events, indicating interests, or granting access to exclusive content, reaction roles provide a convenient and efficient method for members to express themselves and tailor their experience on your Discord server.
Continuously listen to feedback from your server members and make adjustments as necessary. Keeping an open line of communication and regularly evaluating the effectiveness of your reaction roles setup will help refine the user experience and ensure that your Discord server remains vibrant and engaging.
Now that you have a comprehensive understanding of how to create and set up reaction roles on Discord, it’s time to put this knowledge into action. Start by creating roles, designing reaction role messages, adding emojis, setting up a bot, and testing the functionality. Embrace the power of reaction roles to foster a stronger and more interactive community within your Discord server.