Introduction
Welcome to this comprehensive guide on how to backup your iCloud files to an external hard drive. As more and more people rely on cloud storage solutions like iCloud to store and access their files, it becomes crucial to have a backup of these files in case of data loss or system failure. Having an external hard drive as an additional storage option provides a reliable and convenient way to ensure your important files are preserved.
In this guide, we will walk you through a step-by-step process to backup your iCloud files to an external hard drive, using a Mac computer. Whether you have documents, photos, or other types of files stored in your iCloud Drive, this guide will help you safeguard your data and provide peace of mind.
Backing up your iCloud files to an external hard drive offers several benefits. First, it provides an extra layer of protection against accidental deletions or file corruptions that may occur within your iCloud storage. Secondly, it ensures that you have a local copy of your files, which can be accessed even without an internet connection. Lastly, having a backup on an external hard drive allows you to free up space in your iCloud storage, as you can safely delete files from your iCloud Drive while still having them preserved on your external drive.
Before we begin, it is important to note that the steps outlined in this guide are specifically for Mac users. If you are using a Windows computer, the process may vary slightly.
Now that we have covered the basics, let’s dive into the step-by-step process of backing up your iCloud files to an external hard drive.
Step 1: Connect the External Hard Drive to Your Mac
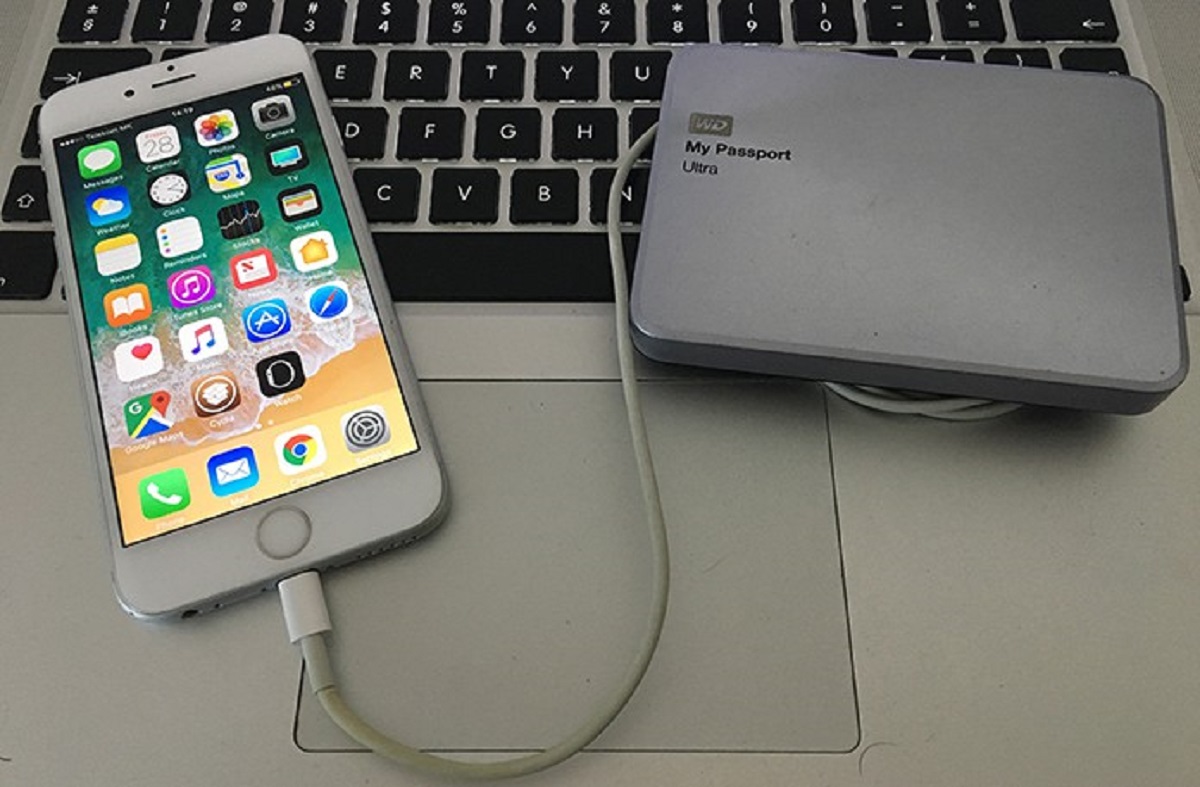
The first step in backing up your iCloud files to an external hard drive is to connect the external hard drive to your Mac. Make sure your Mac is powered on and functioning properly before proceeding.
Locate an available USB or Thunderbolt port on your Mac and plug in the external hard drive. Ensure that the connection is secure to avoid any data loss or interruptions during the backup process.
Once connected, your Mac should recognize the external hard drive and display it as a storage device on your desktop. Additionally, you may find it listed in the Finder sidebar under the “Devices” section.
If your Mac doesn’t recognize the external hard drive, try disconnecting and reconnecting the cable, or using a different USB or Thunderbolt port. In some cases, you may need to install specific drivers or software provided by the manufacturer of the external hard drive.
It is crucial to choose a reliable and compatible external hard drive for this process. Ensure that your external drive has sufficient storage capacity to accommodate the files you intend to back up from your iCloud Drive. A connection with a high data transfer rate, such as USB 3.0 or Thunderbolt, is recommended for faster backup speeds.
With your external hard drive connected and recognized by your Mac, you are ready to proceed to the next step.
Step 2: Open Finder
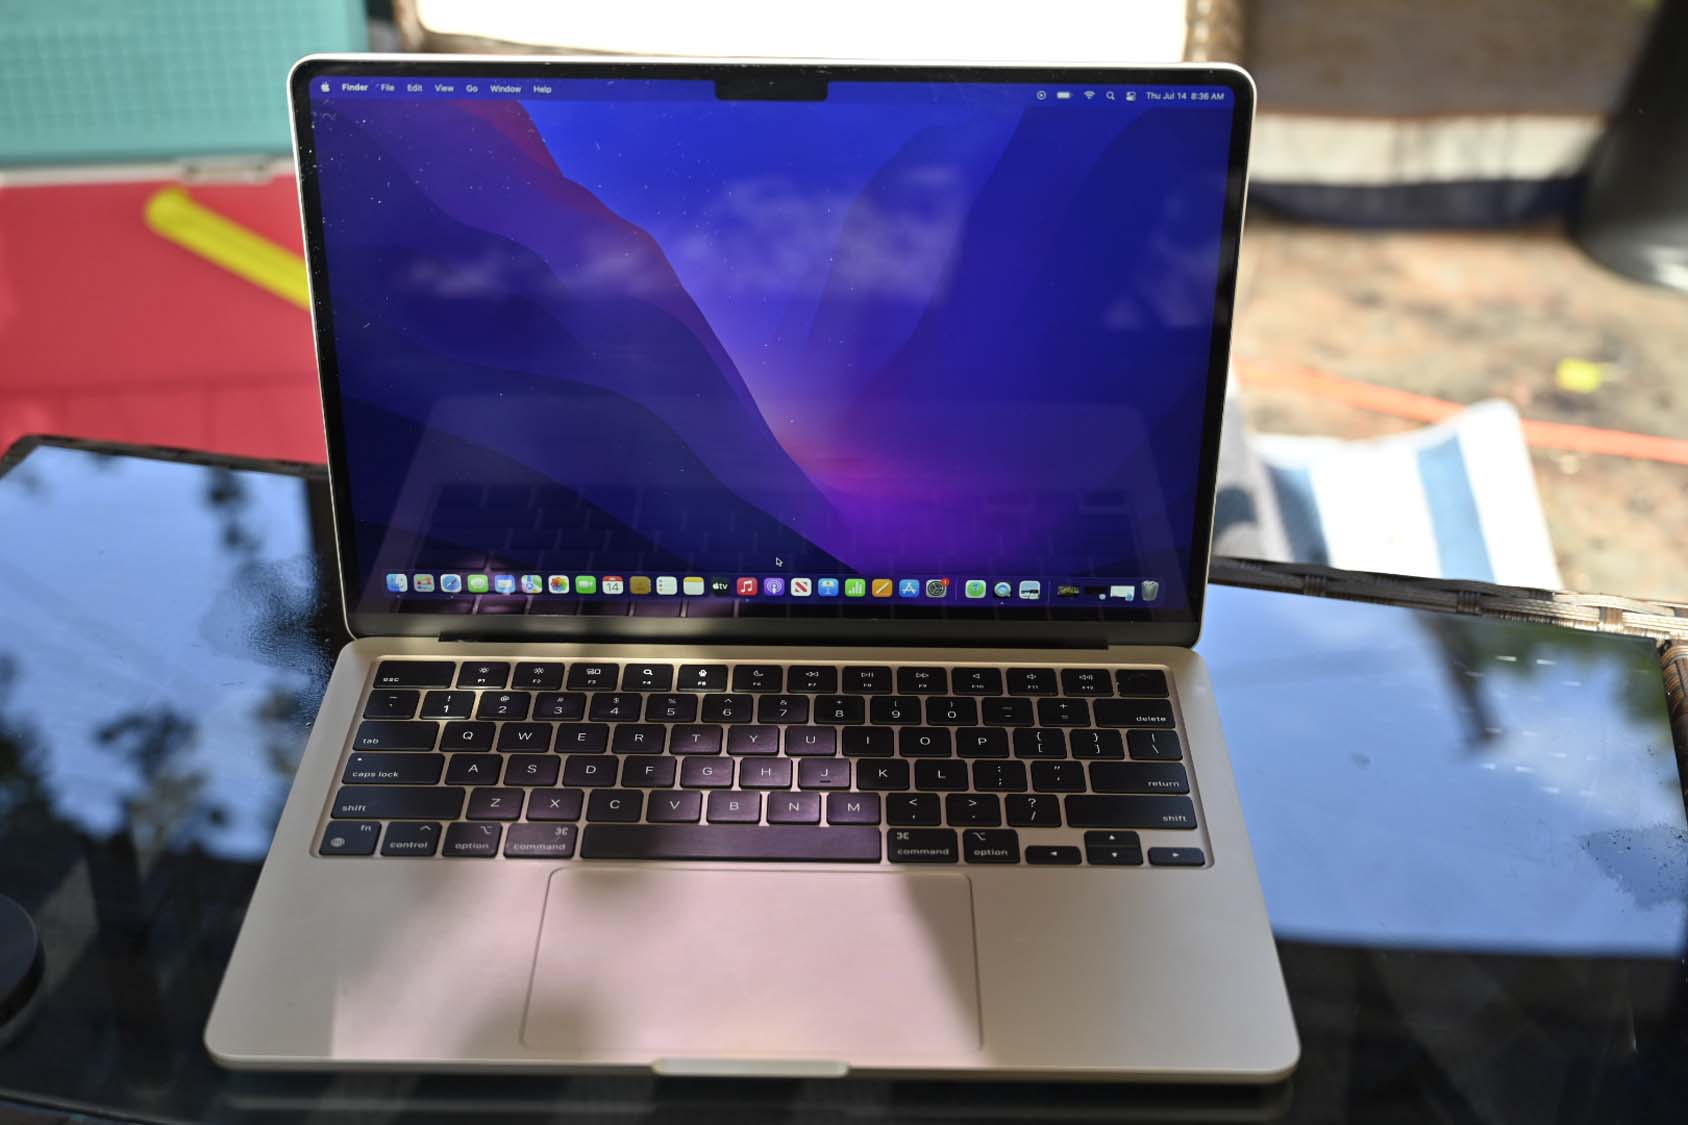
Once your external hard drive is connected to your Mac, it’s time to open Finder, the file management application. Finder allows you to browse and manage files and folders on your Mac.
To open Finder, you can either click on the blue smiling face icon in your dock (usually located at the bottom of the screen) or click on the Finder icon in the Applications folder. Alternatively, you can press “Command + Space” on your keyboard to open Spotlight Search and type “Finder” to launch the application.
After opening Finder, you will see a window displaying your files and folders. The left sidebar of the Finder window provides quick access to various locations on your Mac, including iCloud Drive, external devices, and other folders.
It is important to ensure that you have a stable internet connection before proceeding further, as iCloud files require an active internet connection to access and backup.
By default, iCloud Drive may already be visible in the Finder sidebar. If not, you can enable it by navigating to Finder Preferences. To do this, click on “Finder” in the top menu, then select “Preferences.” In the Preferences window, go to the “Sidebar” tab, and make sure the “iCloud Drive” option is checked.
With Finder open and iCloud Drive visible in the sidebar, you are ready to proceed to the next step and select the files and folders you want to backup from your iCloud Drive.
Step 3: Select “iCloud Drive” from the Sidebar
After opening Finder and ensuring that iCloud Drive is visible in the sidebar, it’s time to select “iCloud Drive” as the source from which you want to backup your files.
In the left sidebar of the Finder window, locate and click on the “iCloud Drive” option. This will open the contents of your iCloud Drive, displaying all the files and folders you have stored in the cloud.
Take a moment to familiarize yourself with the layout and organization of your iCloud Drive. You will see various folders and files, depending on what you have stored in your iCloud account. These could include documents, photos, videos, and more.
If you have organized your files into specific folders within your iCloud Drive, you can navigate through the folders to locate the specific files you want to backup. Simply click on the desired folder to access its contents.
It’s important to note that when you copy files from your iCloud Drive to an external hard drive, you are creating a separate copy of those files on the external drive. The original files will still remain in your iCloud Drive.
Having selected “iCloud Drive” from the sidebar, you are now ready to move on to the next step of this backup process: selecting the specific files and folders you want to backup to your external hard drive.
Step 4: Select the Files and Folders You Want to Backup
Now that you have accessed your iCloud Drive in Finder, it’s time to select the specific files and folders that you want to backup to your external hard drive.
Browse through the folders and files in your iCloud Drive and locate the ones you wish to backup. If you have organized your files into subfolders, navigate through the folder structure to find the desired files.
To select a single file, simply click on it. To select multiple files or folders at once, hold down the “Command” key on your keyboard and click on each file or folder you want to include in the backup.
If you want to select all the files and folders in your iCloud Drive, you can press “Command + A” on your keyboard to select everything.
As you select files and folders, you will notice that they become highlighted or shaded to indicate their selection. This visual cue helps you keep track of the items you have chosen.
Keep in mind that the size of the selected files and folders will determine how much space you will need on your external hard drive. Make sure you have enough available storage on the external drive to accommodate the backup.
If you have trouble locating specific files or folders, you can use the search bar at the top right corner of the Finder window to search for them by name or file type.
Once you have selected all the files and folders you wish to backup, you are ready to move on to the next step: copying the selected files and folders to your external hard drive.
Step 5: Copy the Selected Files and Folders to the External Hard Drive
After selecting the files and folders you want to backup from your iCloud Drive, it’s time to copy them to your external hard drive. This process ensures that the selected files are duplicated and preserved on the external drive.
To begin, make sure that both the iCloud Drive window and the external hard drive window are visible in Finder. You can easily switch between windows by clicking on their respective icons in the dock or using the Command + Tab keyboard shortcut.
In the iCloud Drive window, you should still see the selected files and folders highlighted or shaded to indicate their selection from the previous step. With these files and folders selected, proceed with the following steps:
- Right-click (or Control-click) on any of the selected files or folders.
- In the context menu that appears, choose “Copy” or “Copy [number] Items” depending on the number of items selected.
- Switch to the window of your external hard drive in Finder.
- Right-click (or Control-click) inside the external drive window and choose “Paste” from the context menu. Alternatively, you can use the Command + V keyboard shortcut to paste the copied files and folders.
The copying process may take some time, depending on the size of the selected files and folders and the speed of your external hard drive. You can monitor the progress of the file transfer by observing the progress bar or status information displayed in Finder.
Once the copying process is complete, you will find the selected files and folders duplicated on your external hard drive, ensuring that they are safely backed up and preserved outside of the iCloud Drive.
It is important to note that the copied files and folders on the external hard drive are independent of the original files in your iCloud Drive. Any changes made to the original files in the iCloud Drive will not be automatically reflected in the copied files on the external hard drive. To update the backup, you will need to repeat the backup process periodically.
With the selected files and folders successfully copied to your external hard drive, you are now one step closer to completing the backup process.
Step 6: Monitor the Backup Progress
While copying the selected files and folders to your external hard drive, it’s important to monitor the backup progress to ensure a successful and complete backup.
As you initiate the copy process in Finder, you will be able to view a progress bar or status information that indicates the transfer progress. The speed and duration of the backup process will depend on the size of the selected files/folders and the speed of your external hard drive.
It is recommended to avoid interrupting the backup process or disconnecting the external hard drive until the copying is complete. Doing so may result in incomplete or partial backups, potentially leading to data loss or corruption.
While the backup is in progress, you may continue to use your Mac for other tasks. However, it’s advisable to avoid the heavy use of applications or processes that may consume significant system resources, as this can slow down the backup process.
If you encounter any errors or issues during the backup process, such as files not copying properly or the backup stalling, double-check the connections of your external hard drive and ensure that it has enough free space to accommodate the selected files and folders.
Should you need to pause or cancel the backup process for any reason, you can do so by clicking on the “X” or “Stop” button in the progress bar or by navigating to the specific file/folder being copied and choosing to stop the copying process.
Once the progress bar reaches 100% or the copy process is completed, your selected iCloud files and folders will be successfully backed up to your external hard drive. At this point, you can proceed to the next step of safely ejecting the external hard drive.
By monitoring the backup progress, you can ensure that your important files are accurately and securely copied to the external hard drive, providing you with peace of mind and an additional layer of data protection.
Step 7: Safely Eject the External Hard Drive
After successfully backing up your selected iCloud files and folders to your external hard drive, it is crucial to safely eject the external drive from your Mac to avoid any data corruption or loss.
Ejecting the external hard drive ensures that all pending write operations are completed and that it is safe to remove the drive without the risk of data corruption.
Follow these steps to safely eject your external hard drive:
- Locate the external hard drive icon on your Mac’s desktop or in the Finder sidebar.
- Click on the external hard drive icon once to select it.
- From the top menu, click on “File” and select “Eject [External Hard Drive Name]”. Alternatively, you can right-click on the external hard drive icon and choose “Eject [External Hard Drive Name]” from the context menu.
Once you initiate the eject process, your Mac will process any pending write operations and ensure that the external hard drive is safely dismounted.
It is essential to wait until you receive confirmation that the external hard drive has been successfully ejected before physically disconnecting it from your Mac. This confirmation may appear in the form of a notification or a message indicating that it is safe to remove the drive.
Once you have received confirmation, you can safely unplug the external hard drive from your Mac’s USB or Thunderbolt port. Take care to remove the cable gently and avoid tugging or pulling on the cable excessively.
By safely ejecting the external hard drive, you reduce the risk of potential data loss or corruption and ensure that your backup is fully intact and accessible when needed.
With the external hard drive safely disconnected from your Mac, congratulations! You have now completed the process of backing up your iCloud files to an external hard drive.
Conclusion
Backing up your iCloud files to an external hard drive is a crucial step in safeguarding your important data and ensuring its accessibility even in the event of unforeseen circumstances. By following the step-by-step process outlined in this guide, you can easily create a reliable backup of your iCloud files on an external drive.
We started by connecting the external hard drive to your Mac, ensuring a secure and stable connection. Then, we opened Finder to access the iCloud Drive and selected the files and folders that you wanted to backup. Next, we copied the selected files and folders to the external hard drive, closely monitoring the progress of the backup to ensure its completion.
Finally, we emphasized the importance of safely ejecting the external hard drive from your Mac to avoid data corruption. By adhering to these steps, you can confidently create a backup of your iCloud files that provides an additional layer of security and peace of mind.
Remember, backing up your files regularly is essential to ensure the ongoing protection of your data. It is recommended to perform these backups periodically or whenever you make significant changes or additions to your iCloud Drive.
By implementing a solid backup strategy that includes an external hard drive copy of your iCloud files, you can protect your valuable information and minimize the risk of data loss. With your files safely backed up, you can proceed with confidence, knowing that your data is secure and accessible.
Thank you for following this guide, and we hope it has been helpful in assisting you with the process of backing up your iCloud files to an external hard drive. Remember, taking the time to create backups is an investment in the preservation of your important data.


