Introduction
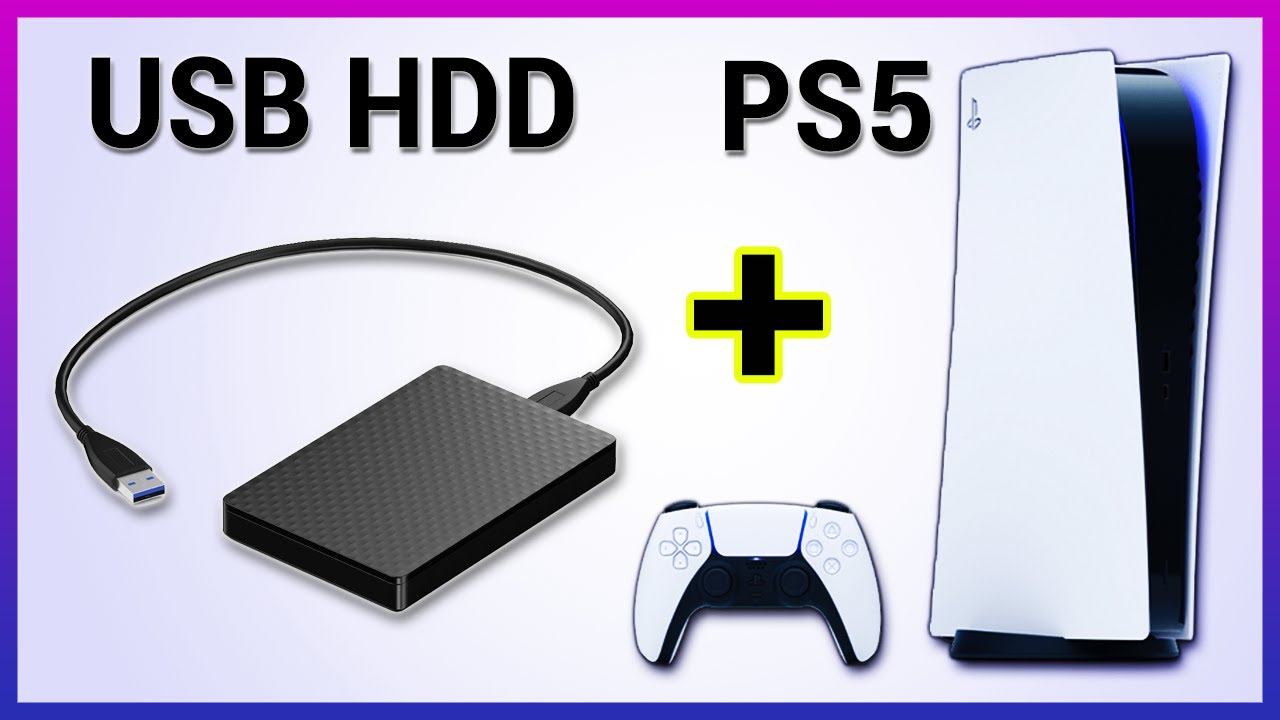
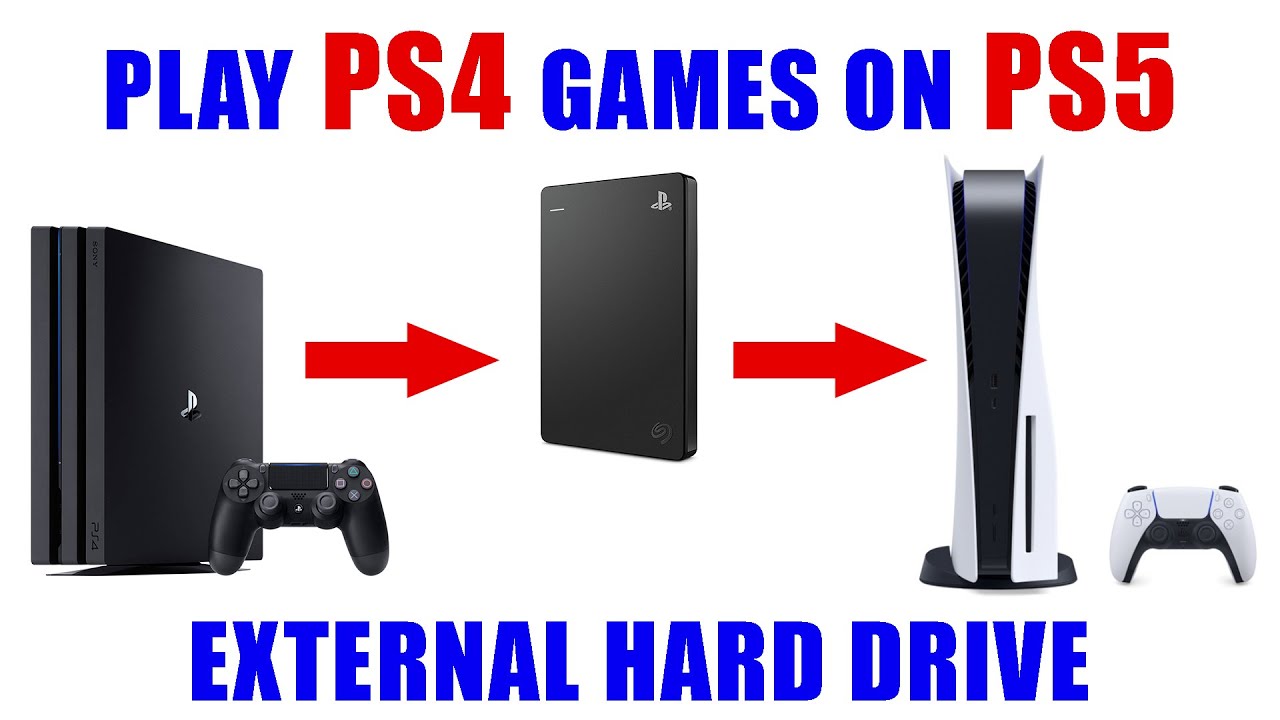
As avid gamers, we understand the frustration of running out of storage space on your PS5. With the increasing size of games and updates, it’s essential to have a solution that allows you to expand your storage capacity without deleting your favorite titles. That’s where an external hard drive comes in handy.
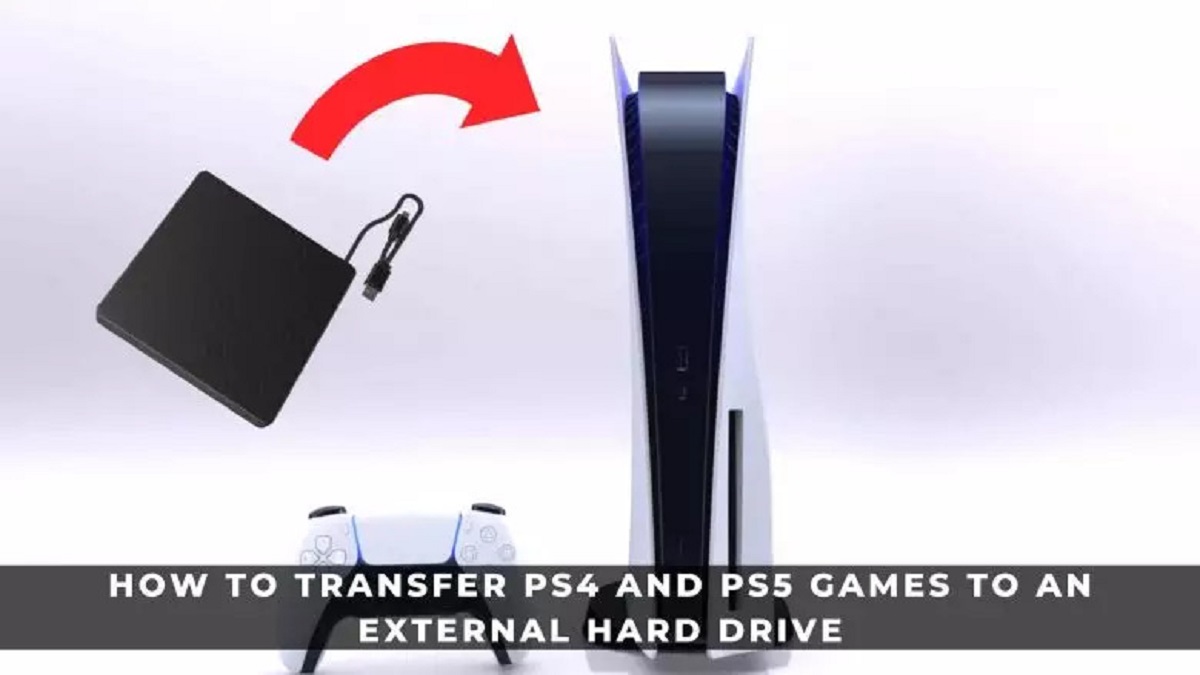
In this guide, we’ll walk you through the step-by-step process of transferring your PS5 games to an external hard drive. By offloading some of your games to an external storage device, you can free up space on your PS5’s internal storage and ensure that you never have to worry about uninstalling and reinstalling games again. Not only does this help manage your library more efficiently, but it also allows for quick access to games stored on the external hard drive.
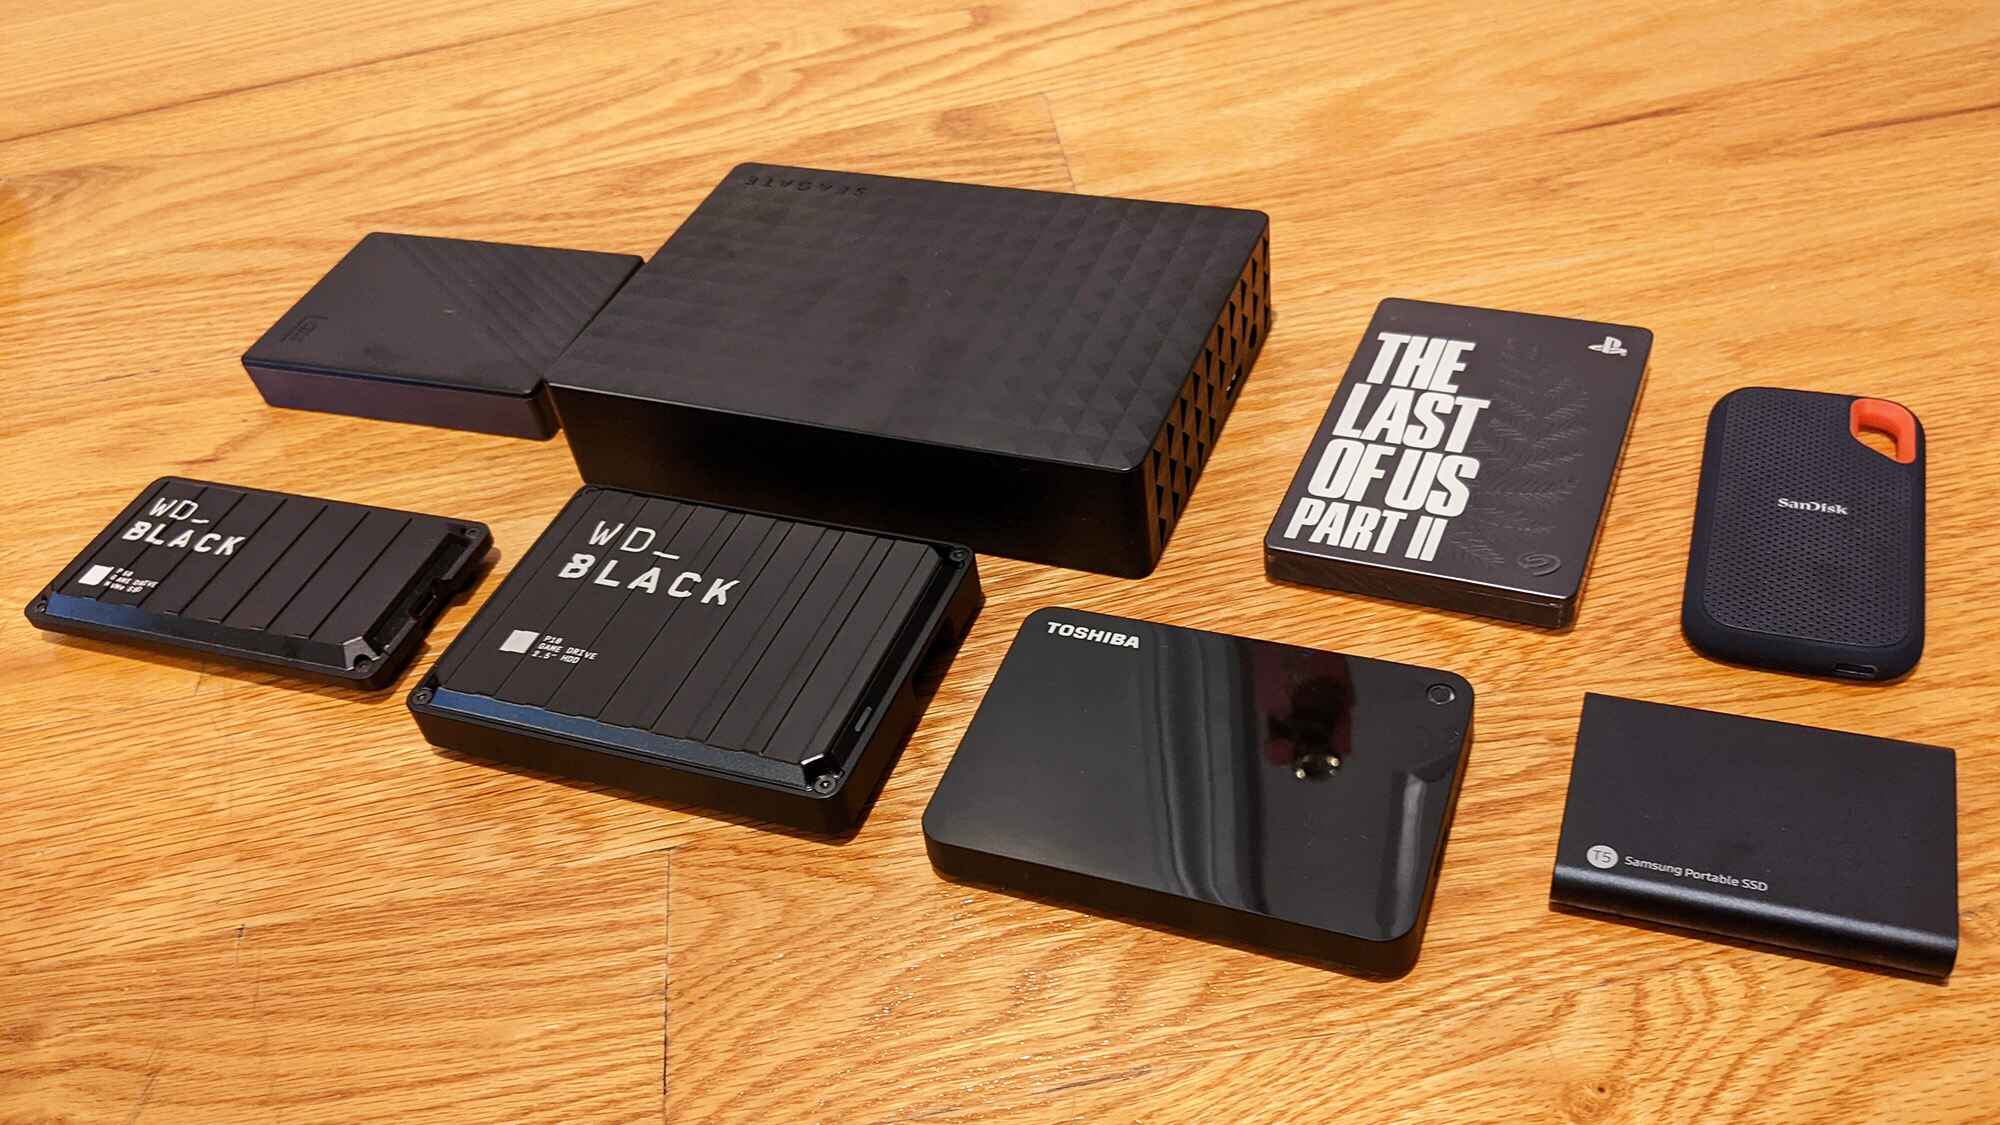
Before we dive into the steps, it’s important to note that the PS5’s external storage support is limited to USB 3.0-compatible hard drives with a minimum capacity of 250GB and a maximum capacity of 8TB. Additionally, make sure you have a reliable internet connection, as this process might involve downloading any necessary updates for the games you’re transferring.
Now, let’s get started with the process of transferring your PS5 games to an external hard drive.
Step 1: Format your external hard drive
The first step in transferring your PS5 games to an external hard drive is to properly format the drive. This ensures compatibility with your console and prepares it for storage of game data.
Follow these steps to format your external hard drive:
- Connect your external hard drive to your computer using a USB cable.
- Open the file explorer on your computer and locate the external hard drive.
- Right-click on the drive and select the “Format” option.
- Choose the file system format as “ExFAT” for compatibility with the PS5.
- In the formatting options, you can also assign a name to your hard drive if desired.
- Click on the “Format” button to begin the formatting process. Be aware that this will erase all existing data on the drive, so ensure that you have backed up any important files beforehand.
- Once the formatting process is complete, disconnect the external hard drive from your computer.
Now that your external hard drive is formatted and ready to use with your PS5, it’s time to move on to the next step.
Step 2: Connect the external hard drive to your PS5
Now that your external hard drive is properly formatted, it’s time to connect it to your PS5 console. Follow these simple steps:
- Ensure that your PS5 console is powered off.
- Locate the USB-A or USB-C port on the back of your PS5.
- Plug one end of the USB cable into the corresponding port on the PS5.
- Connect the other end of the USB cable to the USB port on your external hard drive.
- Once the connection is secure, power on your PS5 console.
Upon booting up your PS5, the console will detect the external hard drive and prompt you to format it for use with your PS5. Follow the on-screen instructions to format the drive if prompted. Note that this will erase any existing data on the drive, so make sure to back up any important files beforehand.
Once the formatting process is complete, your external hard drive is now connected and ready to be used as additional storage for your PS5 games.
With the external hard drive connected, we can now move on to the next step: enabling external storage on your PS5.
Step 3: Enable external storage
After connecting your external hard drive to your PS5, the next step is to enable external storage on your console. This will allow your PS5 to recognize and utilize the storage capacity of the external hard drive for game installations. Here’s how you can enable external storage:
- Turn on your PS5 console and navigate to the home screen.
- Using the DualSense controller, go to the settings menu, which can be found by selecting the gear icon in the top right corner of the screen.
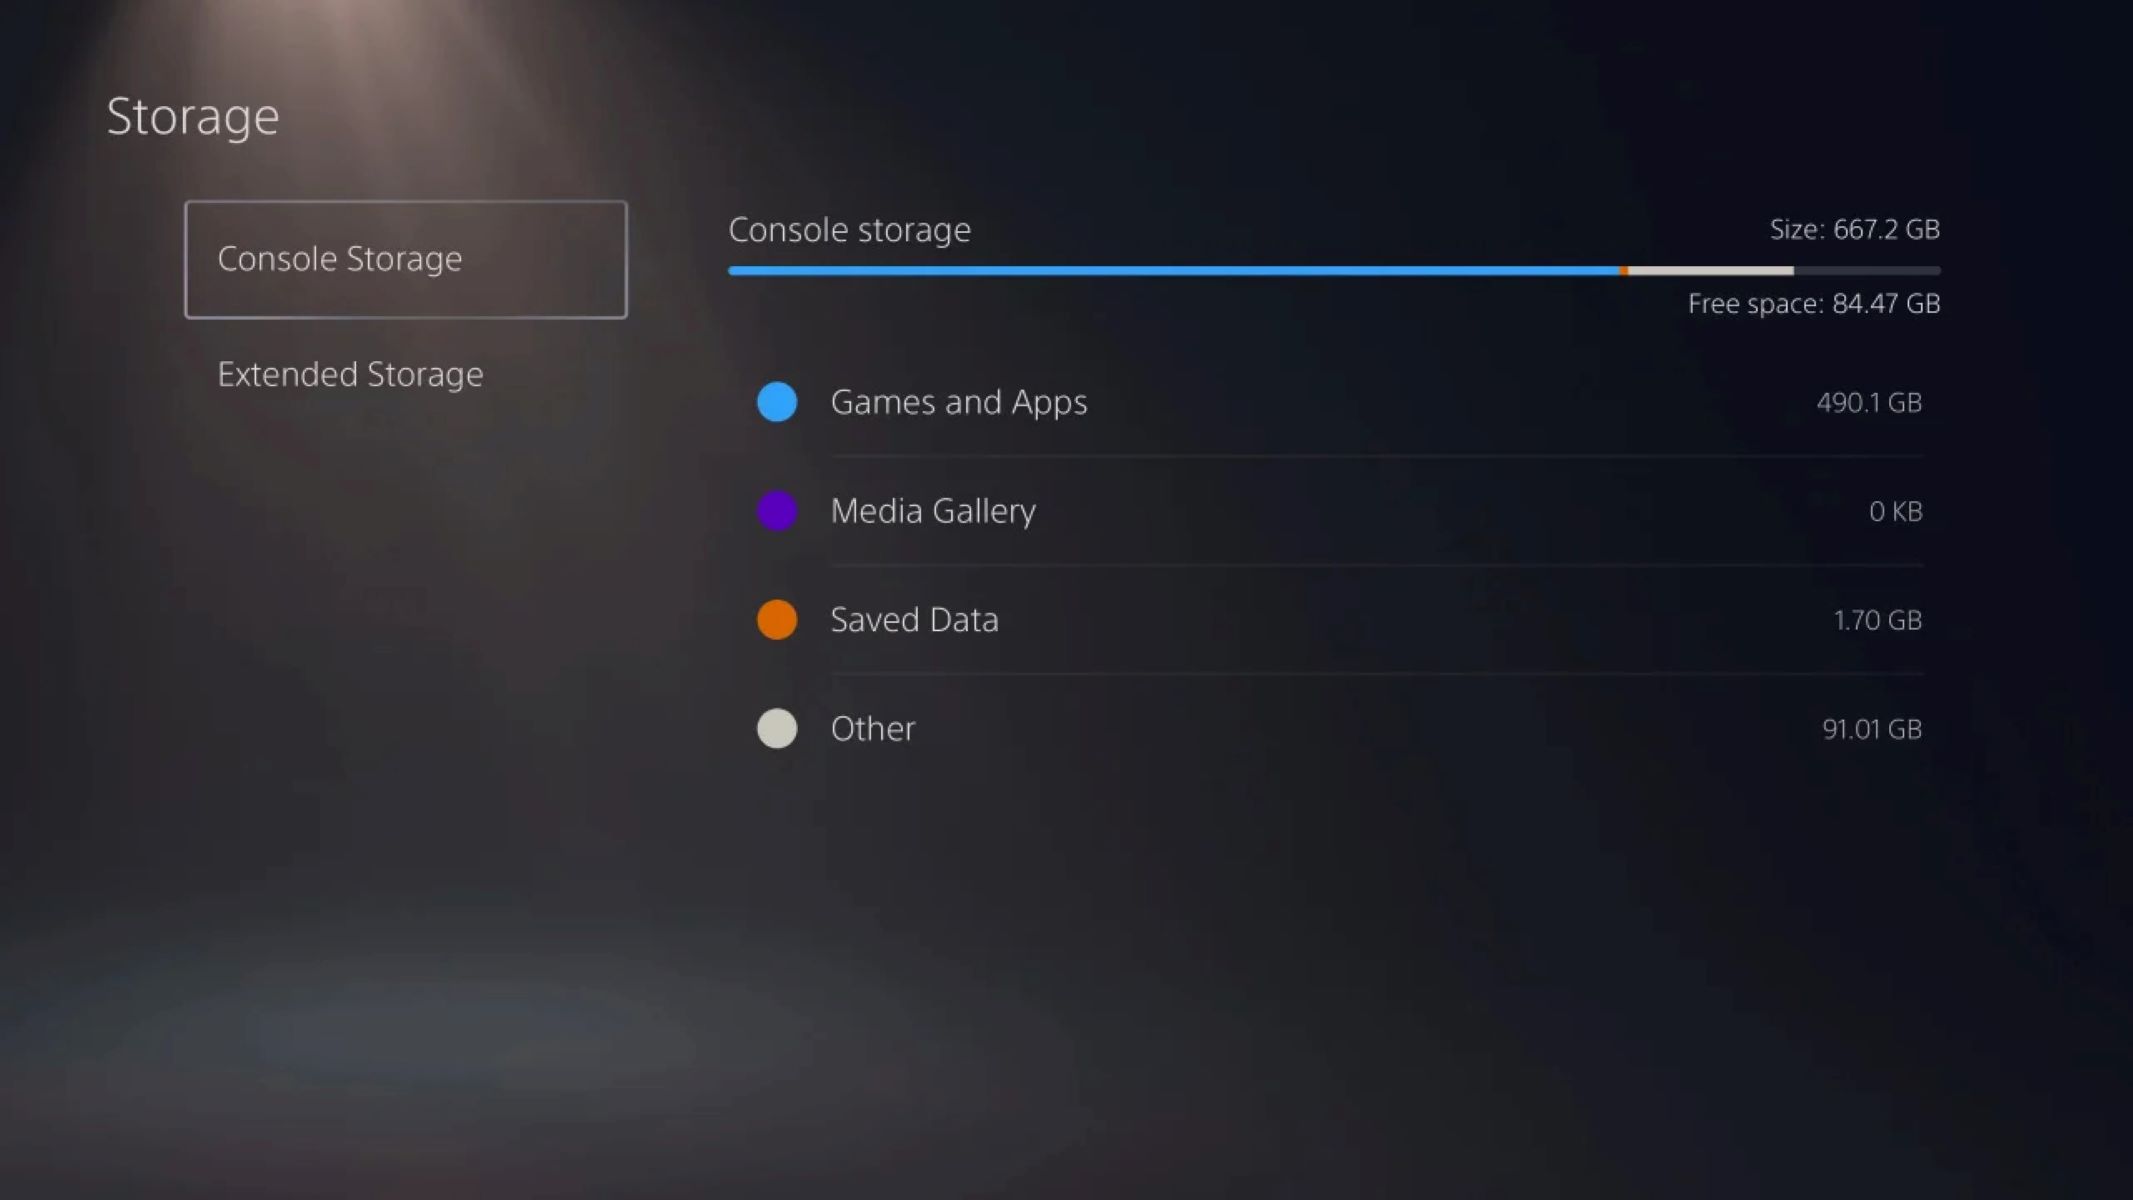
- In the settings menu, scroll down and select “Storage.”
- Under the “Extended Storage” section, you should see your connected external hard drive listed. Select it.
- Follow the on-screen prompts to format the external storage specifically for use with your PS5. This step ensures that the external storage is fully compatible and optimized for game installations.
- Once the formatting process is complete, your external hard drive will be enabled for use as extended storage.
At this point, your PS5 is ready to begin transferring games to the external hard drive. It’s time to move on to the next step and start offloading those games from your internal storage.
Step 4: Transfer games to the external hard drive
Now that you have enabled external storage on your PS5, it’s time to transfer your games from the internal storage to the external hard drive. Here’s how you can do it:
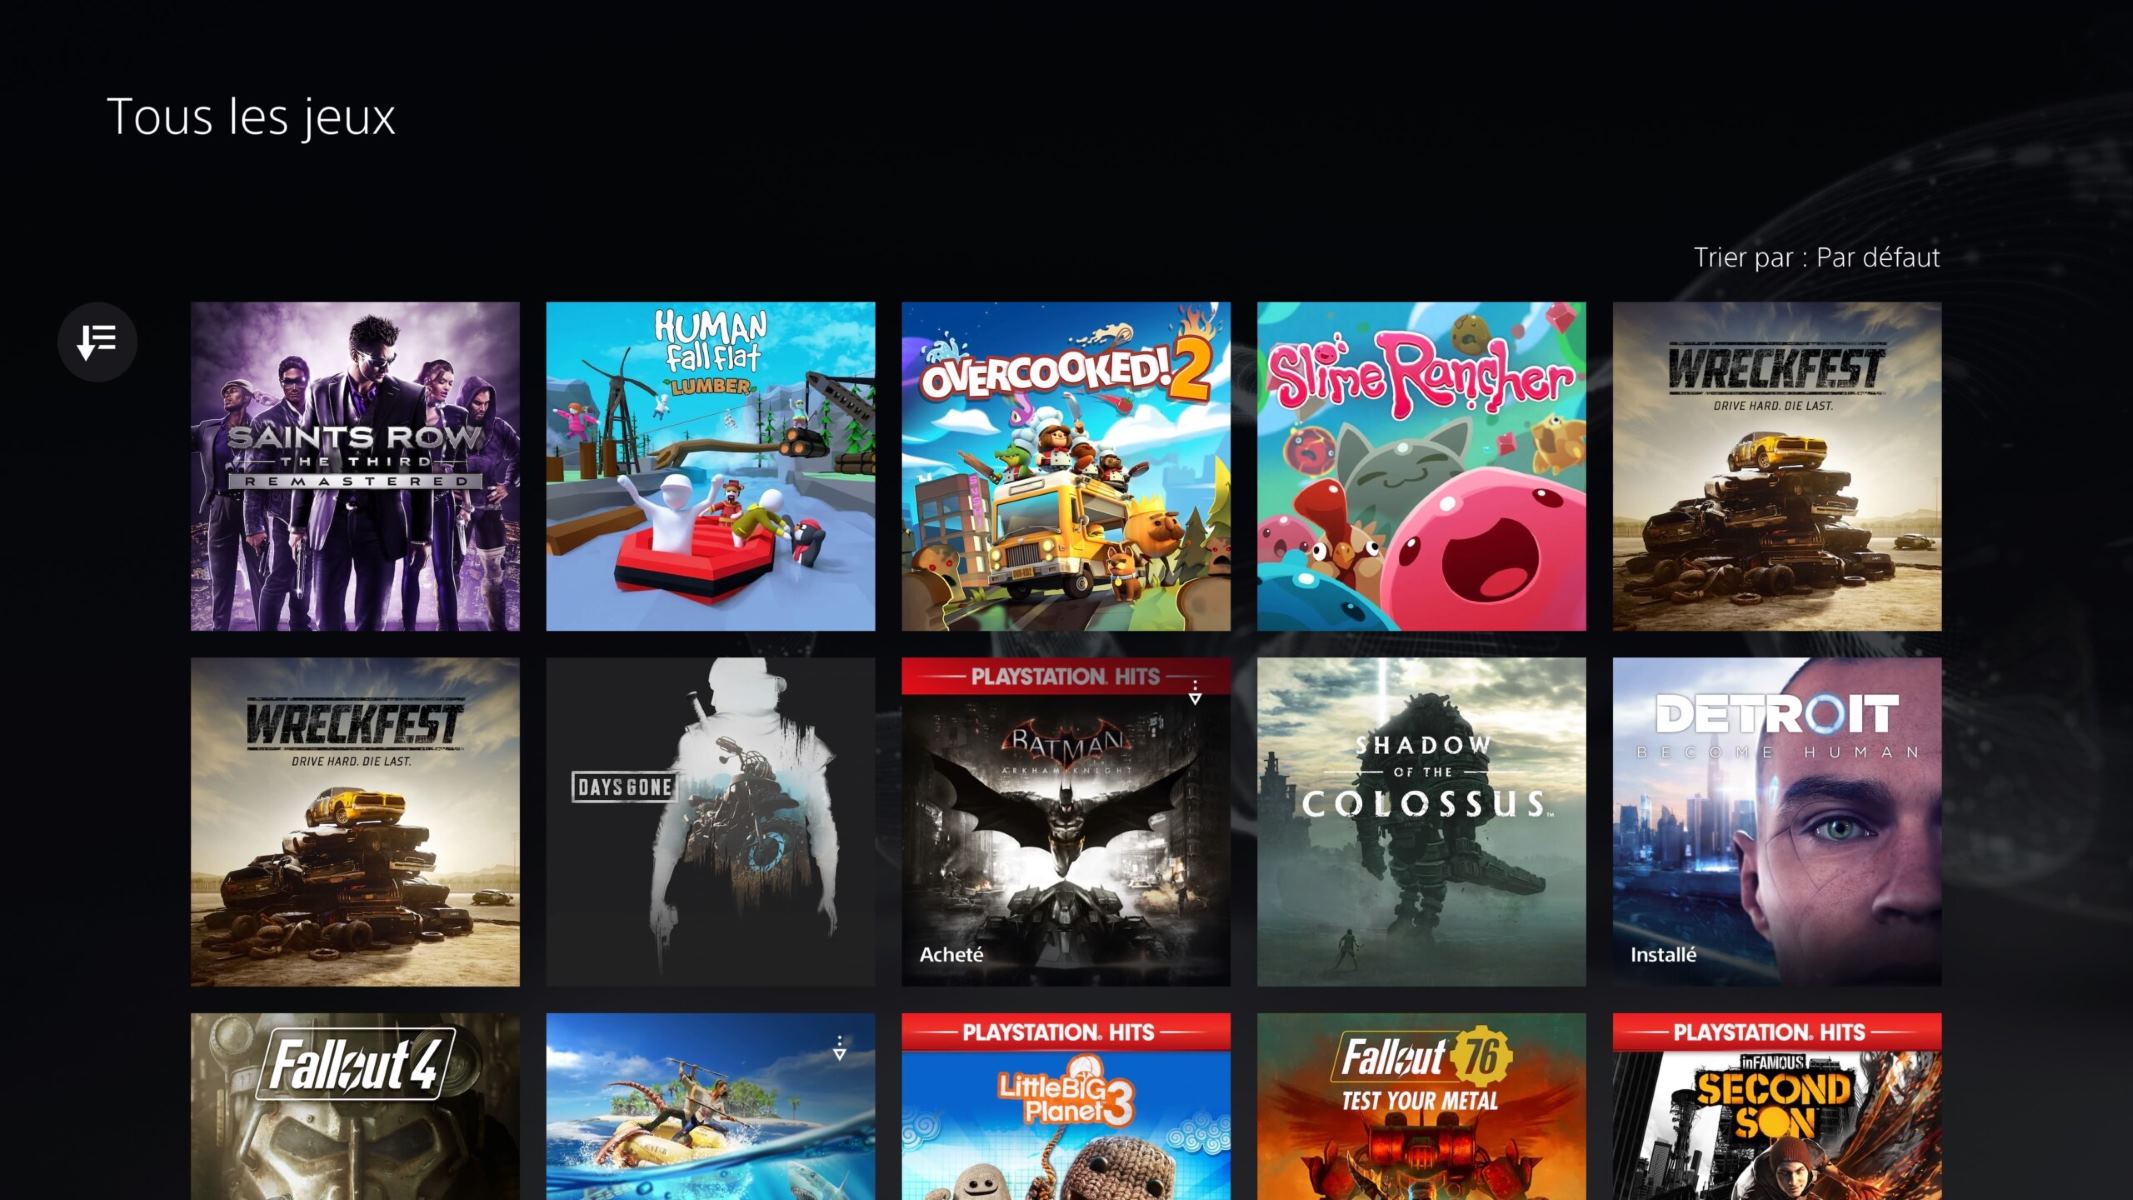
- On your PS5 home screen, navigate to the game library by scrolling horizontally to the right.
- Select the game you want to transfer to the external hard drive. Press the Options button on your controller to bring up additional options.
- In the options menu, select “Move to Extended Storage.” This will initiate the transfer process.
- Wait for the transfer to complete. The time it takes will depend on the size of the game and the speed of your external hard drive.
- Repeat steps 2-4 for each game you want to transfer to the external hard drive.
It’s important to note that while the game is stored on the external hard drive, you will still see the game icon in your PS5 library. However, there will be a small external storage icon displayed on the game’s thumbnail, indicating that it is stored on the external hard drive.
If you decide to play a game that is stored on the external hard drive, simply select the game as you normally would from your library. The PS5 will automatically retrieve and load the game from the external storage.
With the games successfully transferred to the external hard drive, you can now enjoy a larger library without worrying about limited internal storage space.
Ready for the final step? Let’s learn how to safely disconnect the external hard drive from your PS5.
Step 5: Safely disconnect the external hard drive from your PS5
Once you have finished playing or no longer need to access games stored on the external hard drive, it is important to safely disconnect it from your PS5 to avoid any data corruption or loss. Follow these steps to safely disconnect the external hard drive:
- Ensure that your PS5 console is powered off or in rest mode.
- Press the PlayStation button on your DualSense controller to turn on the console.
- Navigate to the home screen and select the “Settings” option.
- In the settings menu, scroll down and select “Storage.”
- Under the “Extended Storage” section, locate your connected external hard drive.
- Select the external hard drive and choose the “Stop Using This Extended Storage” option.
- Wait for the console to properly eject the external hard drive.
- Once the external hard drive is successfully ejected, you can safely disconnect it from your PS5 by unplugging the USB cable.
After safely disconnecting the external hard drive, you can use it with other devices or connect it back to your PS5 in the future whenever you need to access the games stored on it.
Remember, it’s crucial not to disconnect the external hard drive while it’s still in use or while the console is powered on. Always ensure that you follow the proper ejection process to prevent any potential data loss or damage.
By following these steps, you can safely transfer games to an external hard drive and manage your storage space effectively on your PS5.
With your games now stored on the external hard drive, you can enjoy a larger selection of games without worrying about storage limitations. Just connect the external hard drive when you want to play a specific game and disconnect it when you’re done.
That’s it! You’ve successfully learned how to transfer your PS5 games to an external hard drive and safely disconnect it from your console.
Conclusion
Expanding the storage capacity of your PS5 is essential to accommodate the ever-growing size of modern games. By following the steps outlined in this guide, you can easily transfer your games to an external hard drive and free up valuable space on your console’s internal storage.
Remember to format your external hard drive to ensure compatibility with your PS5 and enable external storage through the system settings. Then, you can effortlessly transfer games to the external hard drive, freeing up space for new titles and reducing the need to uninstall games to make room for others.
By having an external hard drive connected to your PS5, you can enjoy a larger game library and easily switch between stored games without the hassle of re-downloading or reinstalling them.
However, it’s important to note that while games stored on the external hard drive can be accessed and played, they may have slightly longer loading times compared to games stored on the internal storage. Additionally, make sure to safely disconnect the external hard drive from your PS5 by following the recommended steps to prevent any data corruption or loss.
With the ability to transfer games to an external hard drive, you can now have a larger collection of games at your fingertips, ready to be played whenever you want. So, go ahead and enjoy the expanded storage capacity of your PS5!
Thank you for using this guide. We hope it has been helpful in managing your PS5 storage and enhancing your gaming experience.