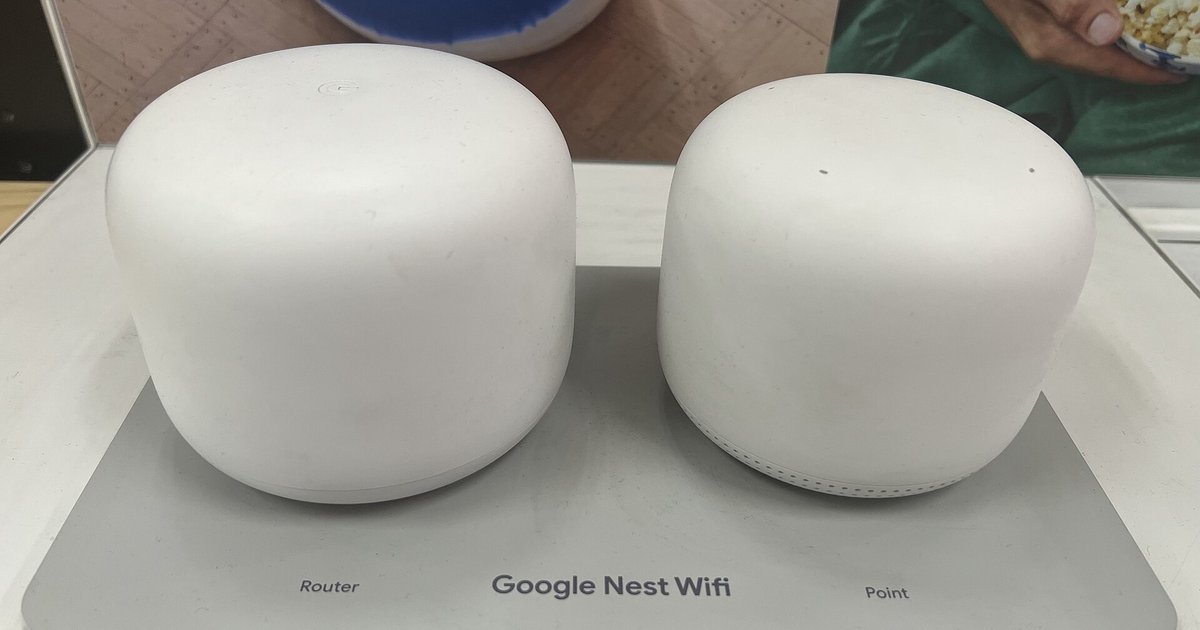
Yes, you can reuse your old Wi-Fi name and password on Nest Wifi, and in most cases every device will reconnect automatically without you touching them. Just make sure you match the name, password, and security type exactly, and power-cycle any device that doesn't reconnect right away.
Why matching the Nest Wifi network name usually just works
When you set up your Nest Wifi, the Google Home app asks you to choose a Wi-Fi name and password. If you type in the exact SSID and passphrase from your old router, every device in your home that previously connected to that wireless environment will see the new Nest Wifi as the same familiar system. This is because Wi-Fi clients store a profile that includes the SSID, the password, and the security type (like WPA2 or WPA3). They do not store any unique identifier of the router hardware itself. So when your phone, laptop, or smart plug scans for signals and finds that exact SSID with a matching security mode, it automatically tries the saved password, and the handshake succeeds. The only exception is devices that are currently offline or in deep sleep, they will connect the next time they wake up. For most people, this means zero reconfiguration of every lamp, speaker, and thermostat, which is essential when building your own helpful smart home.
The one detail people get wrong and then nothing connects
The most common failure happens when the security type on your old router does not match what Nest Wifi uses by default. Nest Wifi supports modern security protocols, but many older routers used mixed WPA/WPA2, pure WPA, or even WEP. If your old setup was set to "WPA2-PSK" with AES encryption, you are fine. But if it used "WPA-PSK" or "WPA2-PSK with TKIP," your devices will see the new Nest Wifi as a different connection despite the same name and password. The security mode is part of the digital signature; if it changes, the device refuses to connect because the handshake fails. To avoid this, open the Google Home app during Nest Wifi setup and check the Wi-Fi settings to ensure the security type matches your old router's configuration, if such an option is available. This matches the most common old-router configuration. If you had a very old router using WEP, you may need to upgrade your devices or use a different SSID entirely, because Nest Wifi may not support WEP. This requirement to manually match the security protocol is the one step most guides overlook, and it is the single reason a seamless transition fails.
What to do when a device won't reconnect on its own
Even with a perfect match of name, password, and security, a few devices may stubbornly refuse to connect. The simplest fix is to power-cycle the device, turn it off, wait 30 seconds, and turn it back on. This forces it to rescan for available connections and reattempt the saved profile. For example, if your smart plug doesn't show up after the change, unplug it for a minute and plug it back in. For more complex devices like a Sonos system, you may need to open the Sonos app and use the "change Wi-Fi on Sonos" option to manually point it to the new hardware, even if the SSID is identical. If power-cycling fails entirely, you must forget the wireless link on that device and rejoin manually by entering the password again. This is rare but happens with older IoT gadgets that cache the router's MAC address. In that case, you may need to forget the network on the device and rejoin manually. That resets the MAC address association for stubborn clients. This approach is also the most reliable way to connect Google nest to new wifi without factory resetting every peripheral in your home.