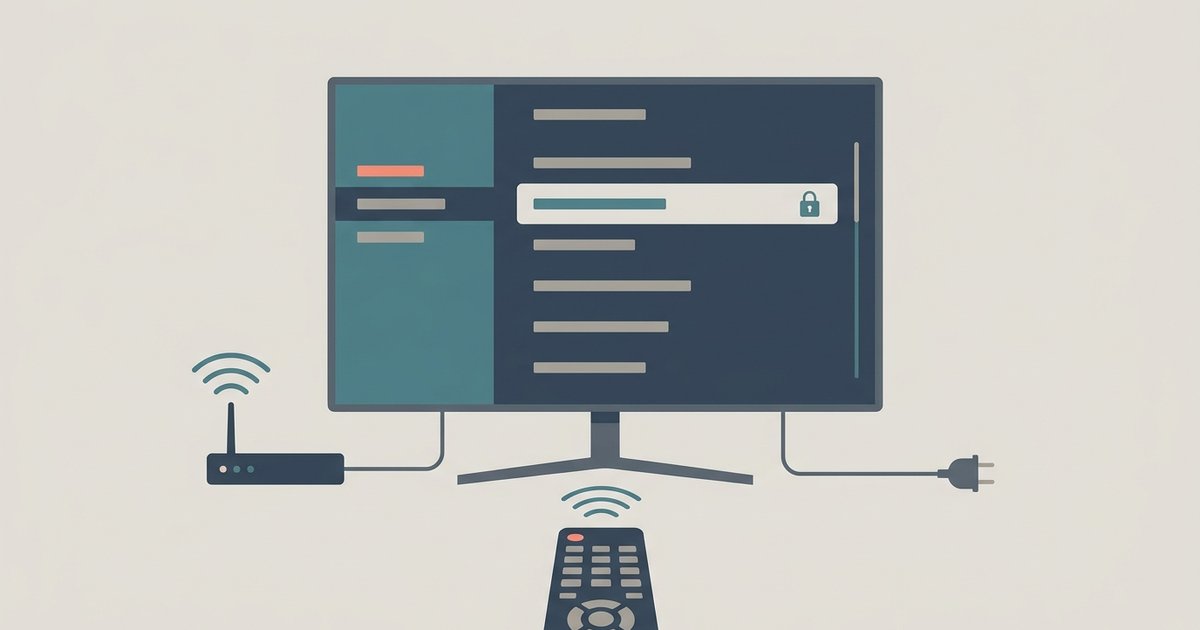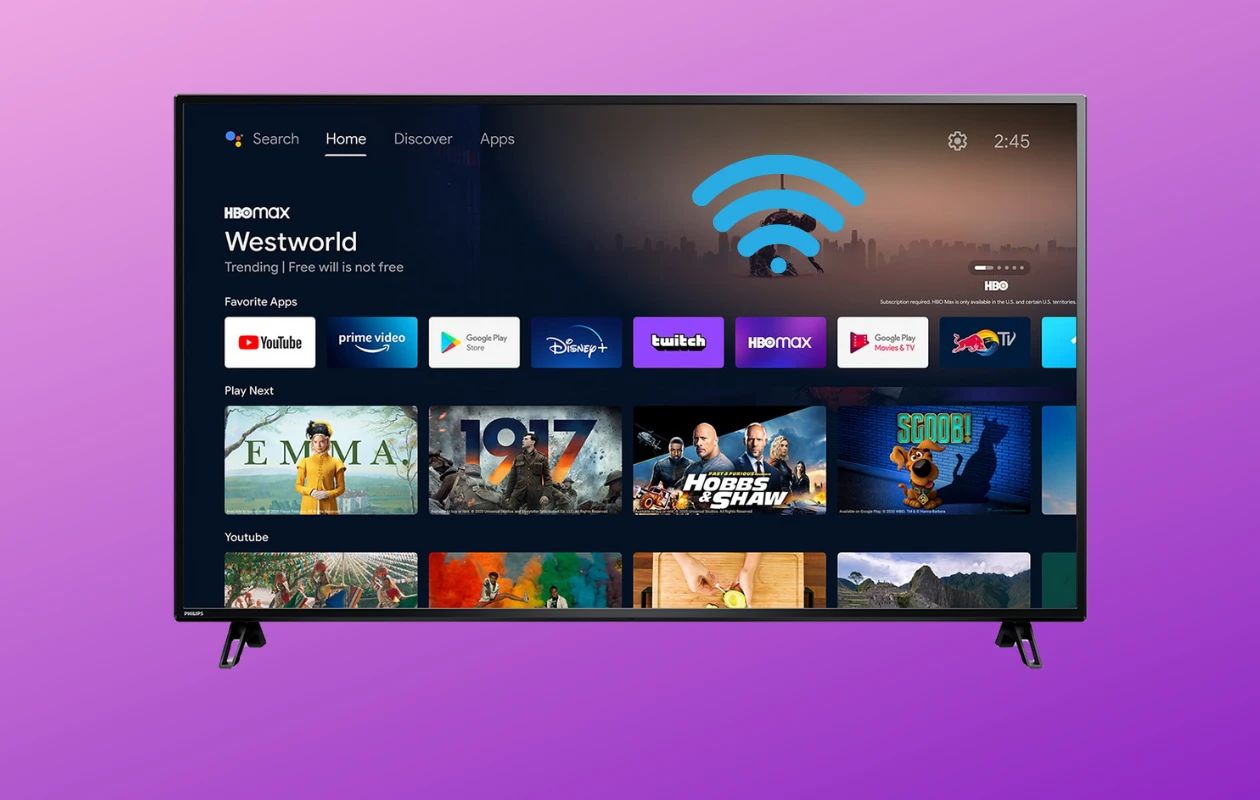
To connect to a Philips Smart TV, you need to put the TV on the same network as your router, then use the on-screen menus to select your Wi-Fi network and enter its password. The exact steps vary slightly depending on your TV’s operating system, but the core process of connecting a smart TV to Wi-Fi takes less than a minute once you have your network name and password ready. If your setup involves a different brand, the menu layout for a connect to internet Samsung smart TV follows a similar wireless selection flow.
What you need before you connect to a Philips Smart TV
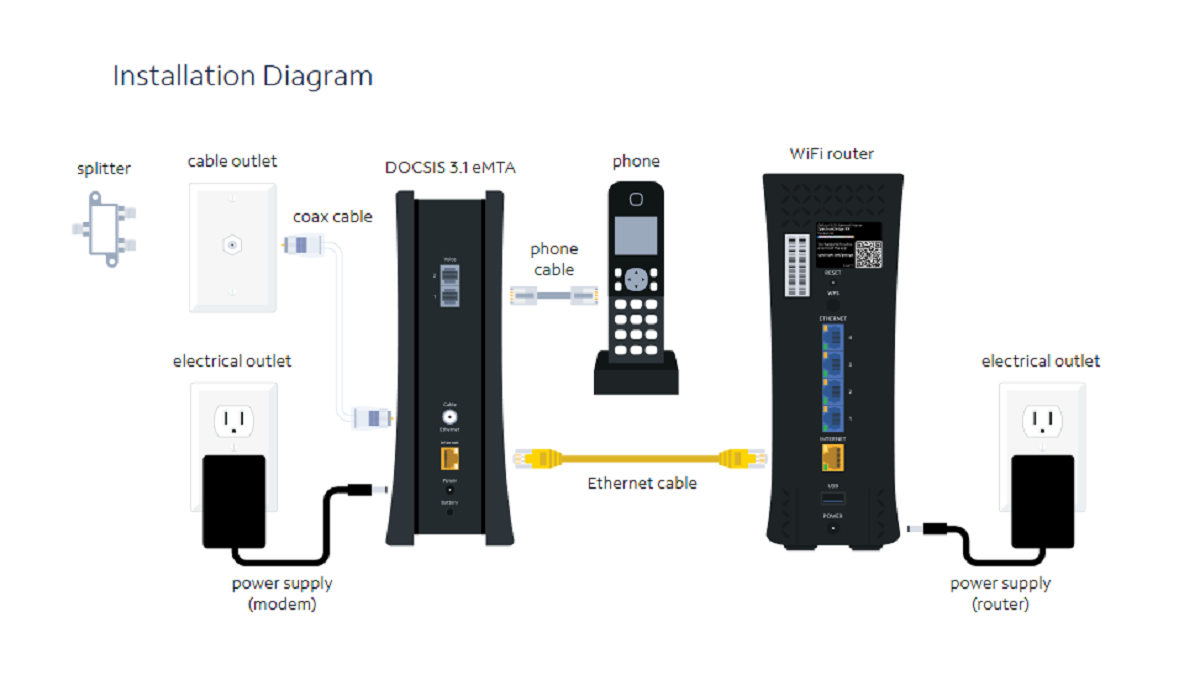
Before you start, confirm your wireless router is switched on and that its wireless function is enabled. You’ll also need your Wi-Fi network name (SSID) and password; check the sticker on the back or bottom of your router, or ask the person who set up your network. If you need to verify your router’s settings first, you can connect wireless router to smart TV with a step-by-step walkthrough. Most Philips Smart TVs have built-in Wi-Fi, but some older models do not; if your TV lacks built-in Wi-Fi, you’ll need a Philips Wireless USB adapter (PTA01/00) plugged into the TV’s USB port to establish a wireless connection. If you’re unsure whether your TV has Wi-Fi, check the user manual or look for a “Wireless” option in the network settings menu.
Connect your Philips Smart TV to Wi-Fi
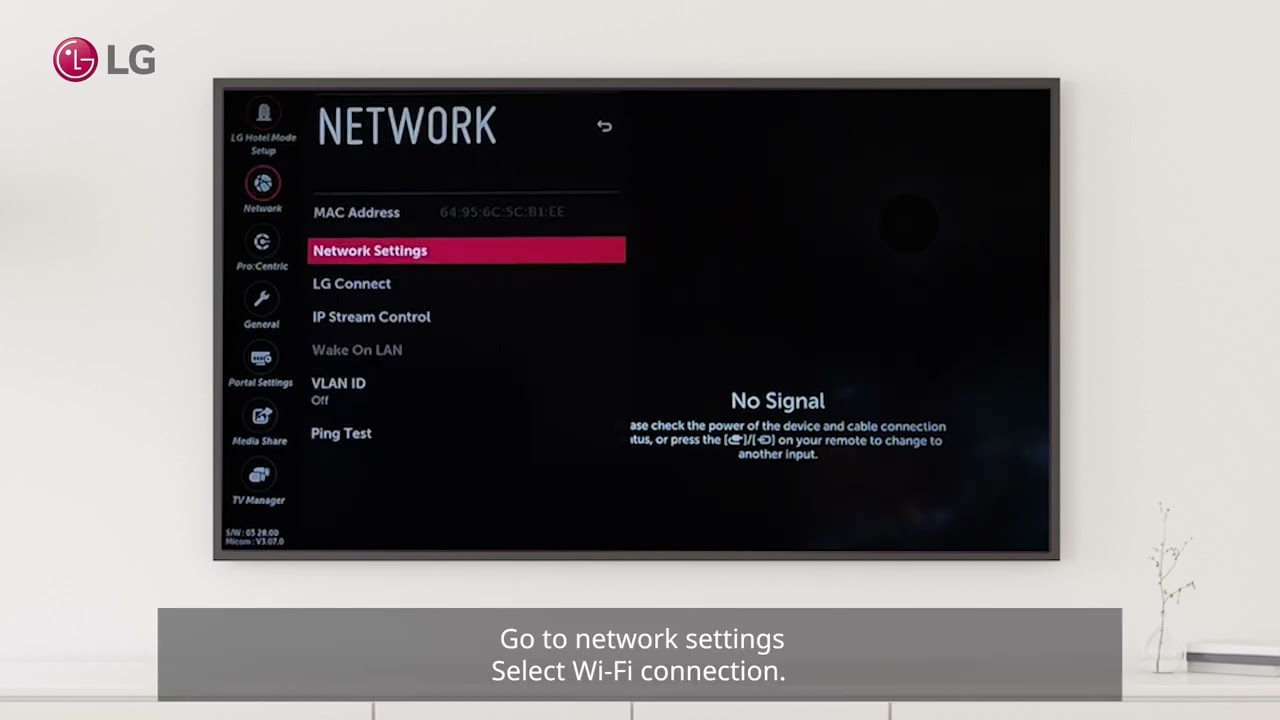
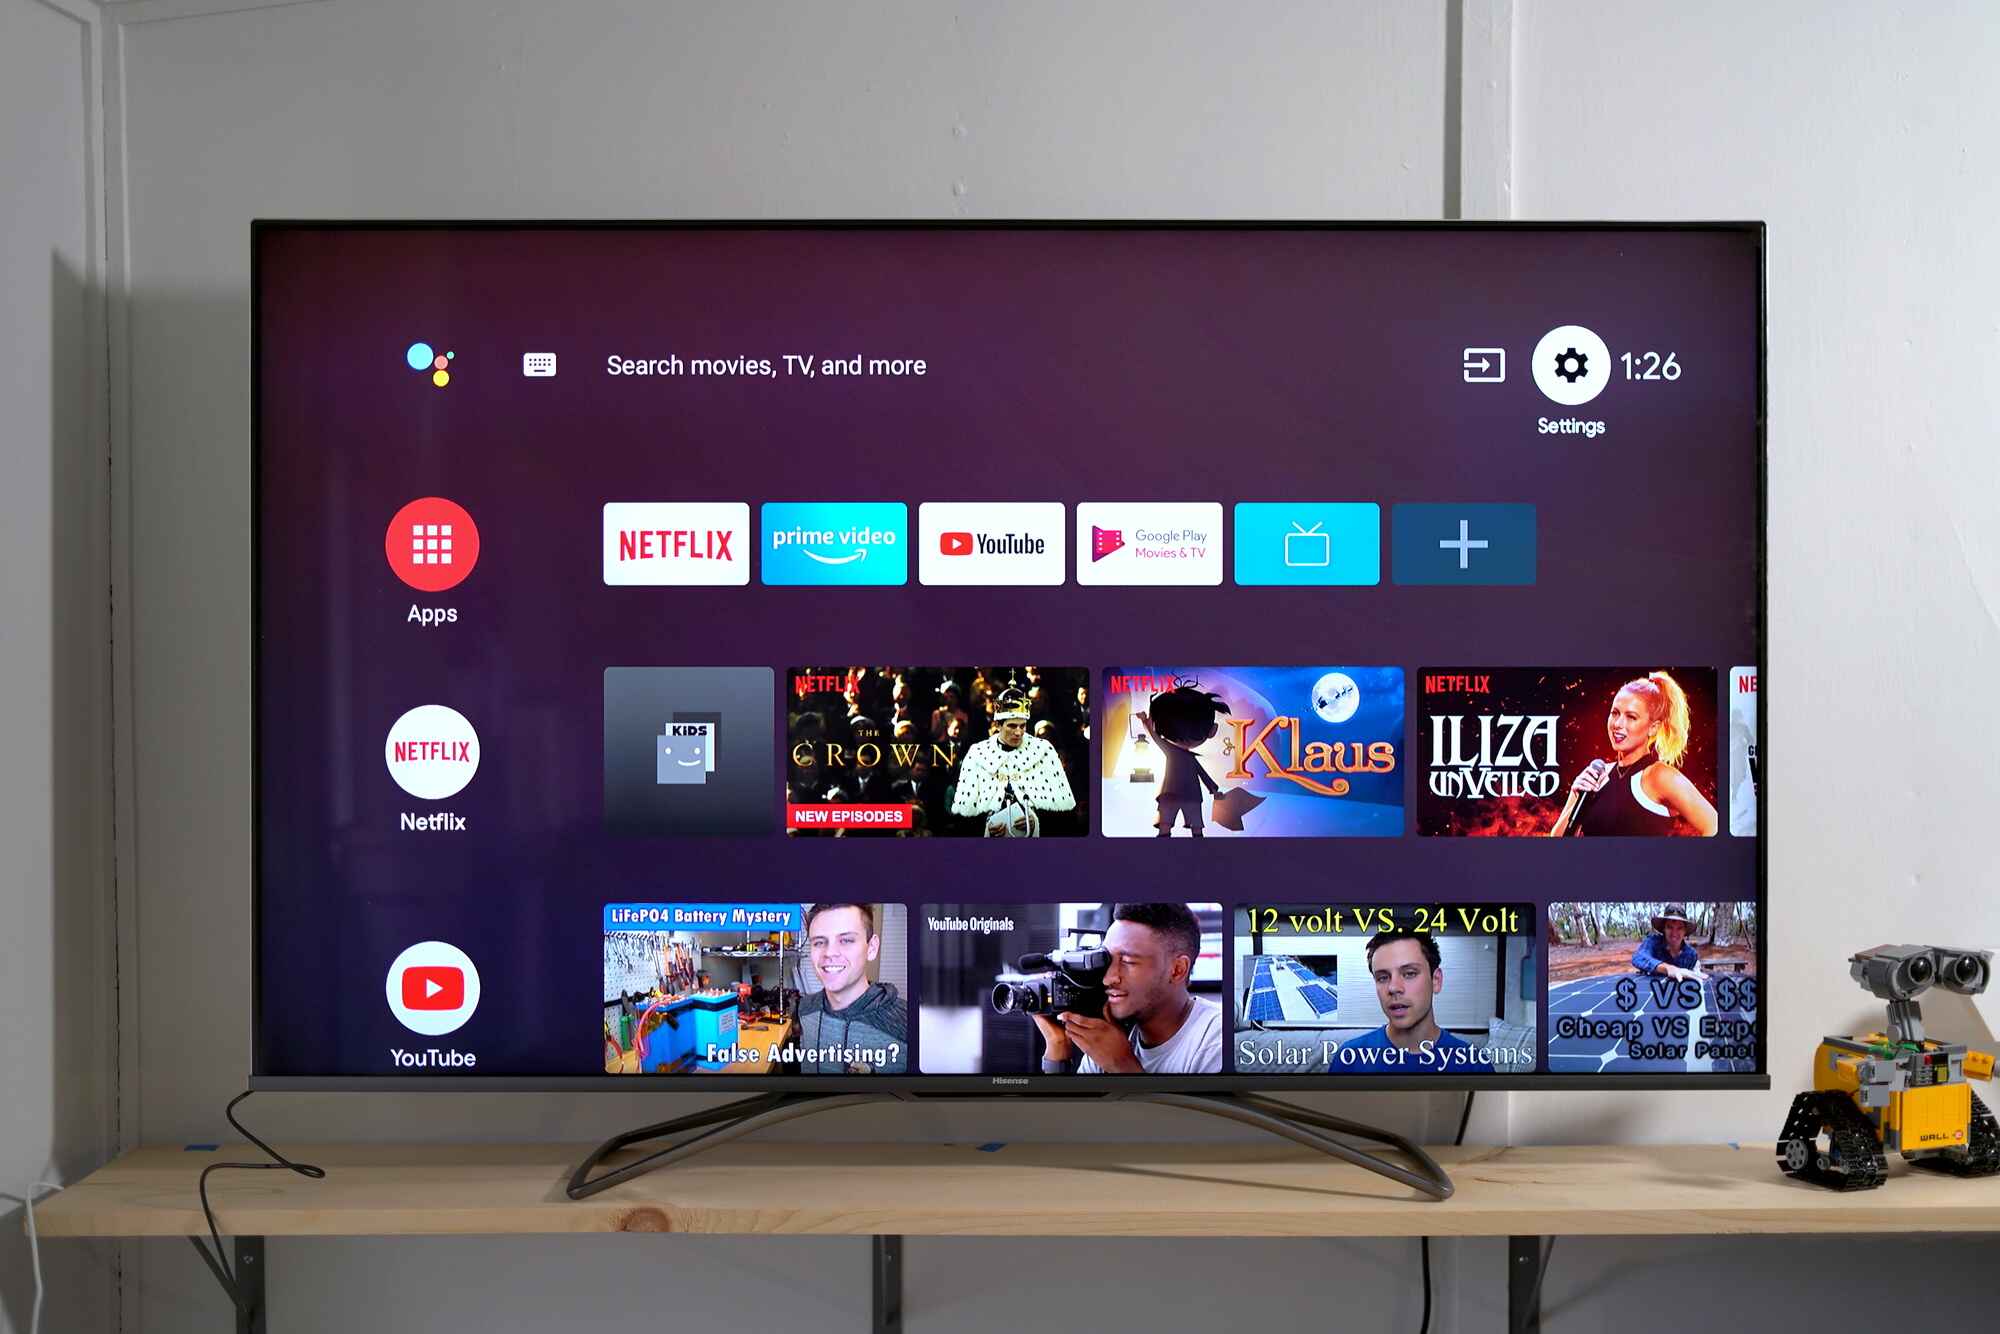
For Philips Linux-based, Titan OS, and Android TVs, the menu path is nearly identical. Press the Home or Settings button on your remote, then navigate to Wireless and networks, select Wired or Wi-Fi, choose Connect to network, and pick Wireless (Wi-Fi). Your TV will scan for available networks; select your SSID from the list, then use the on-screen keyboard to enter your Wi-Fi password. Double-check capitalization and special characters, then confirm. The TV will show a connection confirmation once it joins the network.
- Press Home or Settings on your remote.
- Go to Wireless and networks.
- Select Wired or Wi-Fi.
- Choose Connect to network.
- Pick Wireless (Wi-Fi).
- Select your network name from the list.
- Enter your Wi-Fi password using the on-screen keyboard.
- Confirm and wait for the connection message.
Connect your Philips Smart TV with an Ethernet cable
If Wi-Fi is unreliable or you prefer a stable connection, plug a standard Ethernet cable from your TV’s LAN port into an available port on your router. After the physical connection, press Home or Settings, navigate to Wireless and networks, select Wired or Wi-Fi, then choose Connect to network and pick Wired. The TV will automatically detect the wired connection and go online immediately, no password needed. This method is ideal for streaming in 4K or gaming, where a dropped signal would be noticeable.
Stream content to your TV with Chromecast built-in
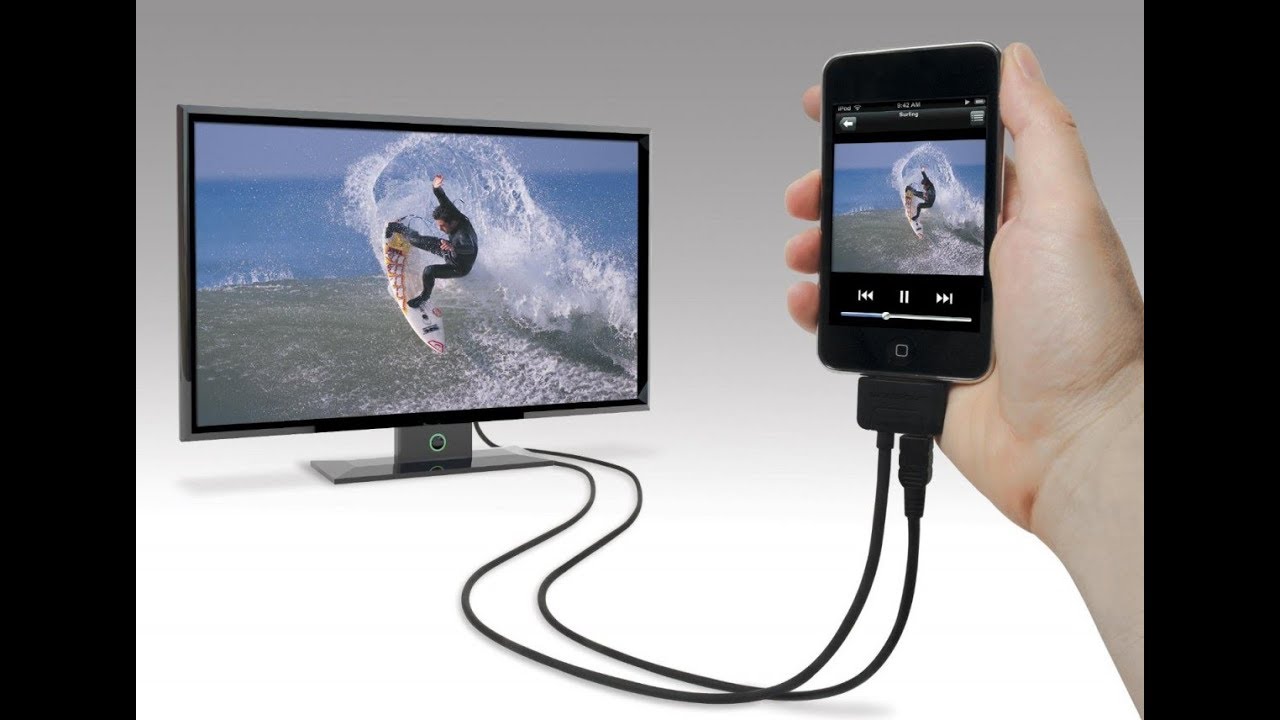
Philips Android and Google TVs come with Chromecast built-in, so you can send videos, music, and photos from your phone or tablet straight to the big screen. To cast, make sure your TV and your mobile device are on the same Wi-Fi network. Open a compatible app, like YouTube, Netflix, or Spotify, and tap the Cast icon (a rectangle with a Wi-Fi symbol in the corner). Select your Philips TV from the list, and the content will start playing on the TV. You can also use the Google Home app: open it, tap the device icon for your TV, and choose Cast screen to mirror your entire phone display.
Screen mirror with Miracast from Android or Windows devices
If your phone or laptop supports Miracast, you can mirror its screen to the TV without any extra hardware. Compatible devices include Android phones and tablets running Android 4.4 or greater, and Windows PCs with Windows 8.1 or later. On the TV, press the Sources button and select Miracast or Screen Mirroring, or, depending on the model, go to Setup, then Network settings, then Wi-Fi Miracast, and turn it On. On your device, open the screen mirroring or cast screen option (often found in quick settings or the display menu), select your Philips TV from the list, and accept the connection prompt on the TV. Your device’s screen will appear on the TV instantly.
Connect Bluetooth keyboards, mice, and speakers
Most Philips Smart TVs support the Bluetooth HID (Human Interface Device) profile, so you can pair wireless keyboards, mice, and joysticks for easier navigation. Put the peripheral into pairing mode, then on the TV go to Settings, select Bluetooth or Wireless devices, and choose Add device. The TV will list nearby devices; select yours to pair. For audio, only Philips Android TVs from 2019 and newer support A2DP (audio) Bluetooth connections. On those models, put your Bluetooth speaker or headphones into pairing mode, then on the TV go to Settings, Sound, Sound Output, and select Bluetooth. Search for devices, pick yours, and confirm the pairing. Note that Philips Android TVs from 2017 and 2018 do not support A2DP, so they cannot connect to Bluetooth speakers or headphones.
Fix common Philips TV connection problems
If your TV won’t connect or drops the signal, start by restarting your router, unplug it for 30 seconds, plug it back in, and wait for it to fully reboot. Then verify your Wi-Fi password, paying attention to capitalization and, for WEP networks, making sure the key is in hexadecimal format (digits 0-9 and letters A, F). Check your router settings to confirm Internet ports 80 and 443 are open, cloud protection is turned off, and the “hide/invisible SSID” option is deactivated, hidden networks won’t appear in the TV’s scan list. If the TV still fails, move it closer to the router or remove obstructions that could weaken the signal. Also, be aware that Apple devices (iPhone, iPad, Mac) do not support Miracast or Philips Wireless Screencasting, so for those devices you’ll need to use Chromecast built-in or an HDMI cable instead. If you’ve tried all these steps and the issue persists, consult your TV’s user manual or contact Philips customer support for further help.