Introduction
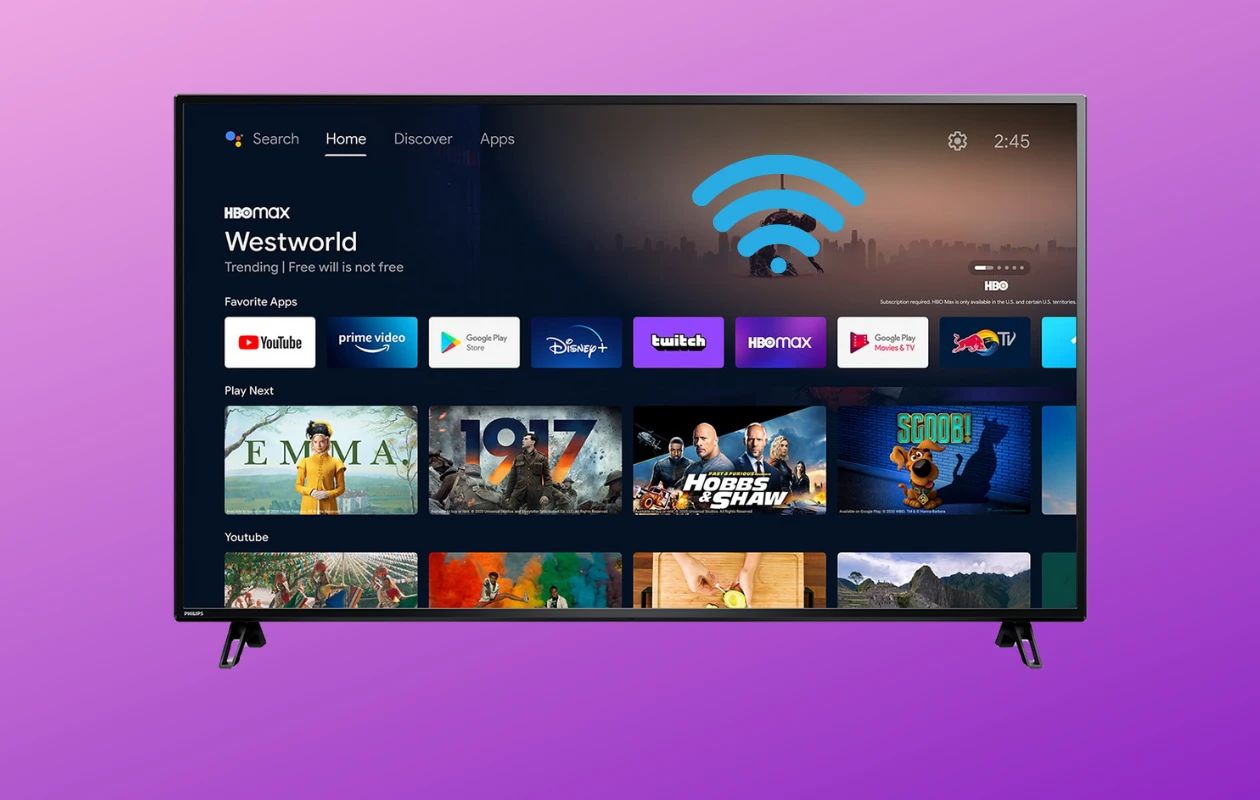
Connecting your Philips Smart TV to Wi-Fi opens up a world of entertainment possibilities. With a stable internet connection, you can stream your favorite shows and movies, access online gaming platforms, and enjoy a wide range of smart features.
Setting up your TV to connect to Wi-Fi is a simple process that involves accessing the TV’s settings menu and selecting the appropriate Wi-Fi network. In this guide, we will take you through the step-by-step process, making it easy for you to get your Philips Smart TV connected to Wi-Fi in no time.
Before we begin, ensure that you have the following:
- A Philips Smart TV.
- A stable Wi-Fi network with the network name (SSID) and password.
Once you have gathered the necessary items, you are ready to begin the process of connecting your Philips Smart TV to Wi-Fi. Follow along with the steps provided below, and soon you’ll be able to take full advantage of your TV’s smart capabilities.
Step 1: Power on the Philips Smart TV
The first step to connect your Philips Smart TV to Wi-Fi is to ensure that your TV is powered on. Locate the power button on your TV or use the remote control to turn the TV on.
Wait for a few moments while the TV boots up. You may see the Philips logo or a loading screen during this time. Once the TV is powered on and ready, you can proceed to the next step.
Please note that the exact location of the power button may vary depending on the model of your Philips Smart TV. Refer to your TV’s user manual if you are unsure of the power button’s location.
Make sure that your TV is connected to a power source and that it is receiving power. If you are using a remote control, ensure that the batteries are properly inserted and functional.
Once your TV is powered on and ready, you can move on to the next step in the process of connecting your Philips Smart TV to Wi-Fi.
Step 2: Access the TV’s home menu
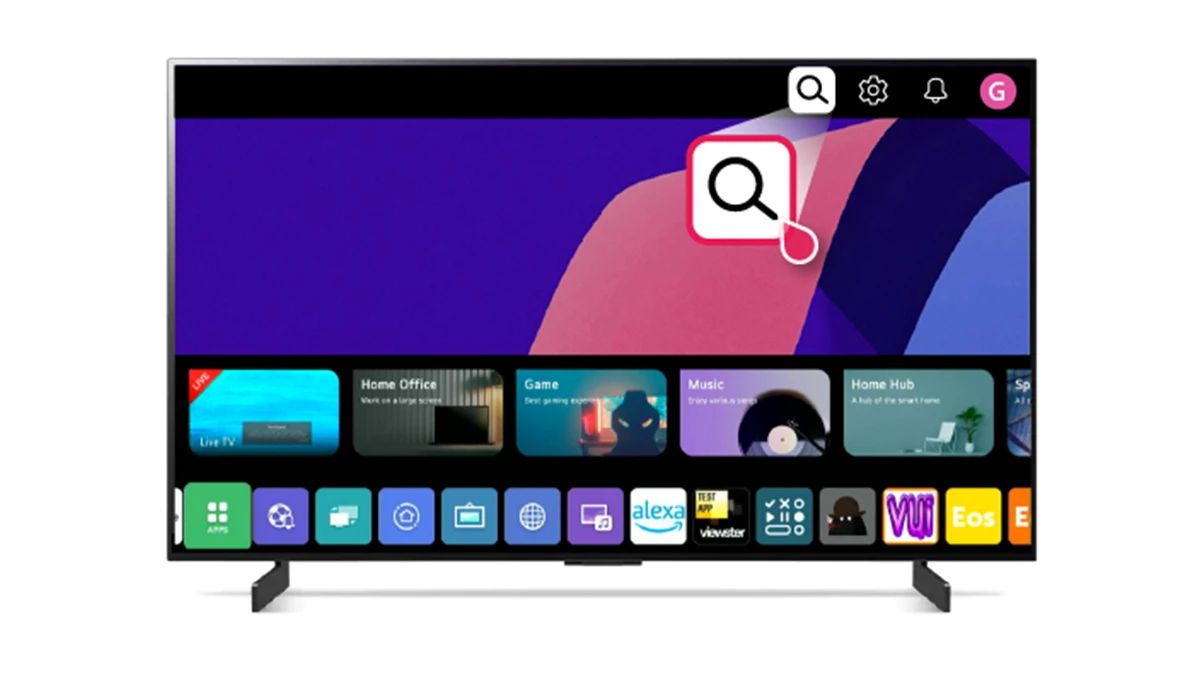
After powering on your Philips Smart TV, the next step is to access the TV’s home menu. The home menu is the central hub where you can navigate through various settings and options.
To access the home menu, look for a button on your TV remote control labeled “Home” or with a house icon. Press this button to bring up the home menu on your TV screen.
If you are unsure which button to press, refer to your TV’s user manual for specific instructions on accessing the home menu.
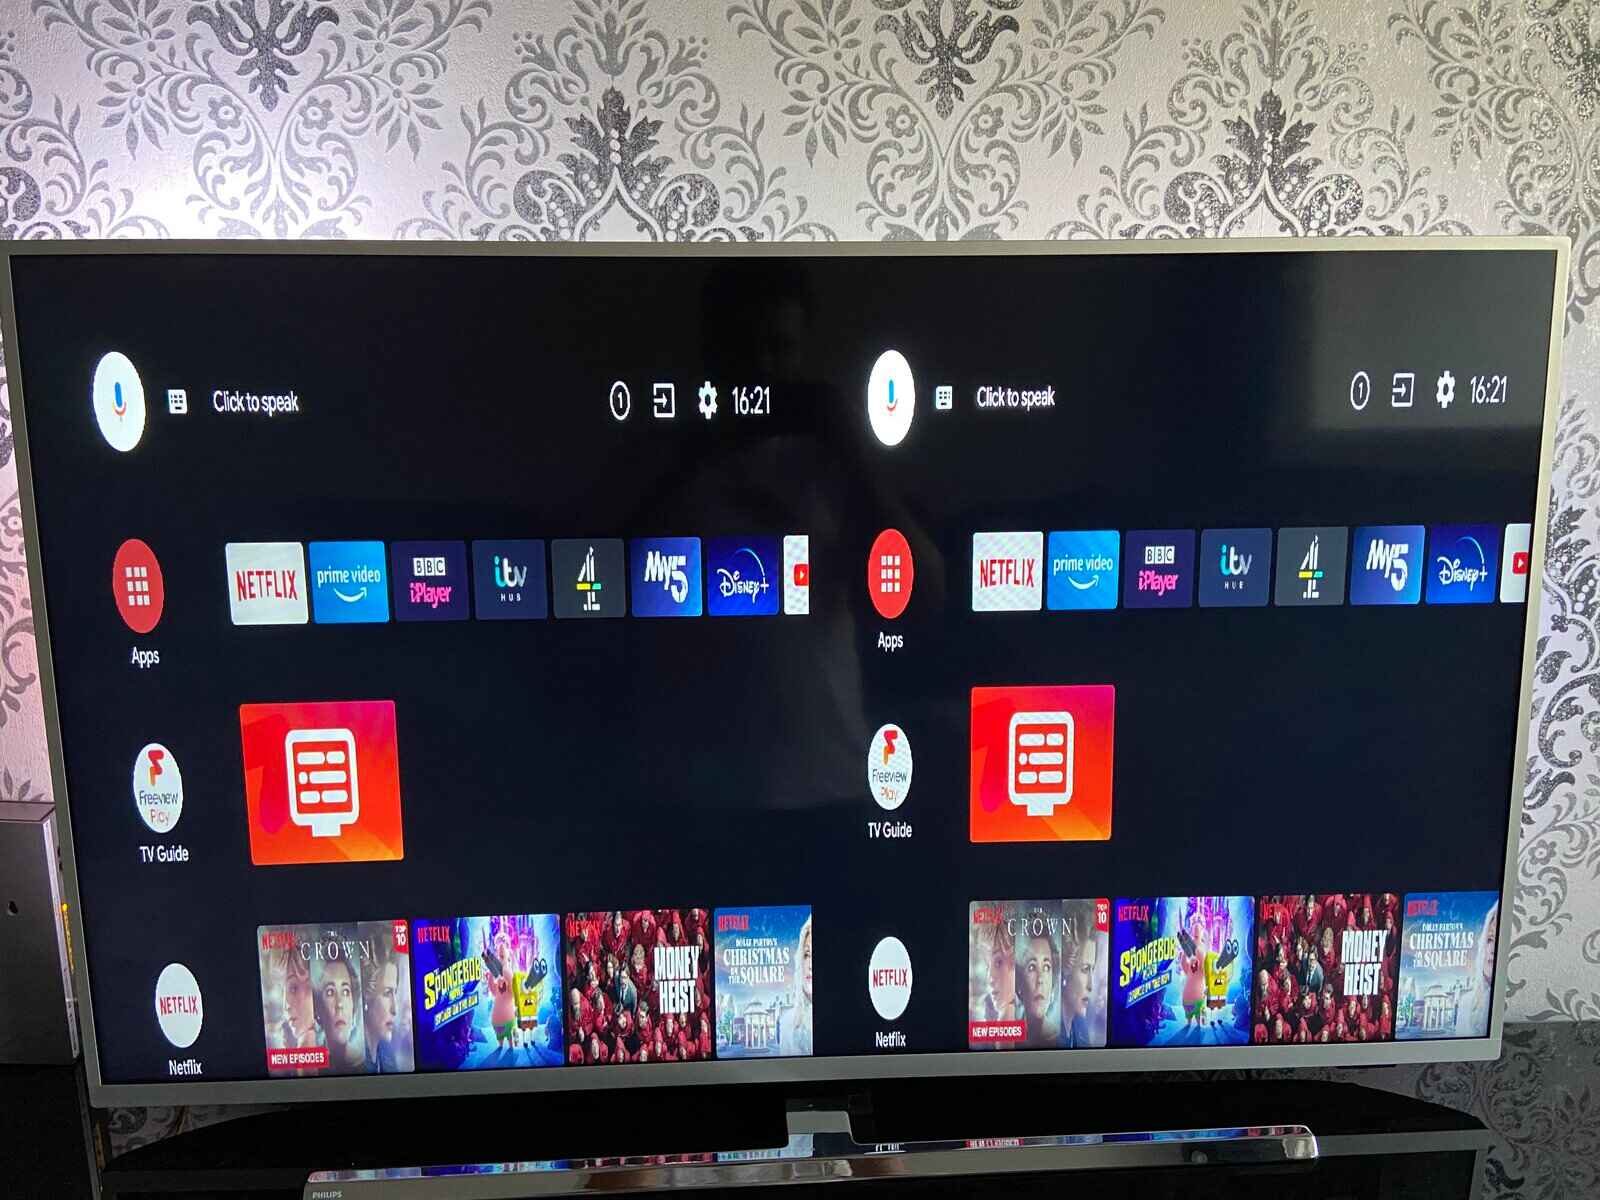
Once you press the “Home” button on your remote control, the TV’s home menu should appear on the screen. This menu typically displays different app icons, settings options, and navigation features.
The home menu on Philips Smart TVs usually has a user-friendly interface with clear icons and intuitive navigation. You can use the arrow keys on your remote control to move through the menu and select different options.
Accessing the home menu is an essential step as it allows you to access the settings menu and make the necessary adjustments to connect your Philips Smart TV to Wi-Fi. With the home menu on your screen, you are now ready to proceed to the next step in the process.
Step 3: Go to Settings
Once you have accessed the home menu on your Philips Smart TV, you need to navigate to the settings option. The settings menu is where you can modify various TV settings, including the network and Wi-Fi settings.
To go to the settings menu, use the arrow keys on your remote control to navigate through the icons or options on the home menu. Look for an icon that resembles gears or has the word “Settings” written underneath it.
Press the corresponding button on your remote control to select the settings icon. This action will take you to the settings menu, where you can proceed with the next steps of connecting your Philips Smart TV to Wi-Fi.
The settings menu typically consists of different sections, such as Picture, Sound, Network, General, and more, depending on your TV model and firmware. You may need to scroll through the options to find the network-related settings.
If you are having trouble locating the settings menu, consult your TV’s user manual for specific instructions. The user manual will provide detailed guidance on navigating through the menus and accessing the settings on your particular Philips Smart TV model.
Once you are in the settings menu, you are ready to move on to the next step and configure the network settings to connect your Philips Smart TV to Wi-Fi.
Step 4: Select Network
After accessing the settings menu on your Philips Smart TV, it’s time to select the network option. This step allows you to choose the network to which you want to connect your TV.
In the settings menu, navigate through the options using the arrow keys on your remote control. Look for a section or tab labeled “Network” or “Network Settings.”
Once you have located the network option, select it by pressing the corresponding button on your remote control. This action will take you to the network settings page, where you can configure the Wi-Fi connection for your TV.
On this page, you may see a list of available networks that your Philips Smart TV has detected. The networks will be displayed with their respective names (SSID) and signal strength. Use the arrow keys to navigate through the list and highlight the network you want to connect to.
If you don’t see your Wi-Fi network listed, try selecting the “Scan” or “Refresh” option to allow your TV to search for available networks again.
Keep in mind that you need to have your Wi-Fi network already set up and broadcasting for it to appear on the TV’s network list. If you haven’t set up your Wi-Fi network, refer to your internet service provider’s instructions for assistance.
Once you have selected the desired network, you are ready to move on to the next step and input the necessary credentials to establish the connection.
Step 5: Choose Wi-Fi
Once you have accessed the network settings on your Philips Smart TV, the next step is to choose the Wi-Fi option. This step allows you to configure the Wi-Fi connection settings for your TV.
In the network settings page, look for an option labeled “Wi-Fi” or “Wireless.” Use the arrow keys on your remote control to navigate to this option and select it.
Choosing the Wi-Fi option will bring up a new window or page where you can input the necessary information to connect your Philips Smart TV to your Wi-Fi network.
On this page, you may see various Wi-Fi-related options, such as “Connect to Wi-Fi,” “Wi-Fi Settings,” or “Wireless Setup.” Select the option that corresponds to connecting to Wi-Fi.
Once you have selected the Wi-Fi option, your Philips Smart TV will start scanning for available Wi-Fi networks. This process may take a few moments, so be patient while your TV searches for networks.
After the scan is complete, you will be presented with a list of available Wi-Fi networks. Use the arrow keys on your remote control to navigate through the list and highlight your desired Wi-Fi network.
If you don’t see your Wi-Fi network listed, you may need to select the “Scan” or “Refresh” option to initiate another network scan.
Once you have chosen the Wi-Fi network you want to connect to, you are now ready to enter the necessary credentials to establish the connection.
Step 6: Select your Wi-Fi network
After scanning for available Wi-Fi networks, the next step is to select your specific Wi-Fi network from the list displayed on your Philips Smart TV.
Using the arrow keys on your remote control, navigate through the list of available networks until you find your desired Wi-Fi network. The network name (SSID) and possibly the signal strength will be displayed next to each network.
Take note that networks with a stronger signal will generally provide a more stable and reliable connection.
Once you have identified your Wi-Fi network, highlight it by using the arrow keys on your remote control. This action will select the Wi-Fi network and prepare it for the next step.
Make sure you select the correct Wi-Fi network associated with your own internet service provider. If you are unsure about the network name, refer to your Wi-Fi router or contact your service provider for assistance.
If you don’t see your Wi-Fi network listed, you may need to check the following:
- Ensure that your Wi-Fi router is turned on and functioning properly.
- Verify that your Wi-Fi network is within range of the TV.
- Double-check that your network is broadcasting its SSID (network name).
Once you have successfully selected your Wi-Fi network, it’s time to move on to the next step and enter your Wi-Fi password.
Step 7: Enter your Wi-Fi password
After selecting your Wi-Fi network on your Philips Smart TV, the next step is to enter your Wi-Fi password to establish a secure connection.
Using the on-screen keyboard, enter your Wi-Fi password. The password will be case-sensitive, so ensure that you enter it correctly. The password is usually a combination of letters, numbers, and special characters.
To enter the password, navigate to each character using the arrow keys on your remote control and press the corresponding button to select the desired character.
Some models of Philips Smart TVs may have a QWERTY keyboard included on the remote control, making it easier to enter the Wi-Fi password.
If you make a mistake while entering the password, use the arrow keys to move back and delete or correct the incorrect characters. Take your time to ensure the accuracy of the password before proceeding.
Once you have entered your Wi-Fi password, review it one more time to make sure it is correct. Then, select the “Connect” or “OK” button on the screen to proceed.
Your Philips Smart TV will now attempt to connect to the Wi-Fi network using the entered password. This process may take a few moments.
If the password is correct and the Wi-Fi connection is successfully established, you will receive a confirmation message on the screen, indicating that your Philips Smart TV is now connected to the Wi-Fi network.
Congratulations! You have now entered your Wi-Fi password and your Philips Smart TV should be connected to the Wi-Fi network.
Next, we’ll move on to the final step of the process, which involves verifying the connection and ensuring that your TV is properly connected to the Wi-Fi network.
Step 8: Connect to the Wi-Fi network
After entering your Wi-Fi password on your Philips Smart TV, the final step is to connect to the Wi-Fi network and ensure a successful connection.
Your TV will automatically attempt to connect to the Wi-Fi network using the entered password. This process may take a few moments, so be patient while your TV establishes the connection.
While the connection is being established, you may see a loading or connecting screen on your TV. Once the connection is established, you will receive a confirmation message on your screen, indicating that your Philips Smart TV is now connected to the Wi-Fi network.
Once connected, you can start enjoying the benefits of a Wi-Fi-enabled TV. You can now stream your favorite shows and movies, access online content, and make use of the various smart features available on your Philips Smart TV.
If you are experiencing any difficulties with the connection, ensure the following:
- Double-check that you have entered the correct Wi-Fi password.
- Ensure that your Wi-Fi router is working correctly and is within range of your TV.
- Try restarting your TV and Wi-Fi router to resolve any potential connection issues.
- Verify that other devices in your home can successfully connect to the Wi-Fi network.
If you are still unable to connect to the Wi-Fi network, refer to your Philips Smart TV’s user manual for further troubleshooting steps or contact Philips customer support for assistance.
With the successful connection to the Wi-Fi network, you can now enjoy the plethora of entertainment options and smart features available on your Philips Smart TV.
Enjoy your newly connected Philips Smart TV and have fun exploring the world of digital entertainment!
Conclusion
Connecting your Philips Smart TV to Wi-Fi opens up a world of possibilities for entertainment and convenience. By following the step-by-step process outlined in this guide, you can easily set up your TV to connect to your Wi-Fi network in no time.
From powering on your TV to accessing the home menu, navigating to the settings, and selecting your Wi-Fi network, each step is essential in ensuring a successful connection. Entering your Wi-Fi password accurately and allowing your TV to establish the connection completes the process.
After connecting your Philips Smart TV to Wi-Fi, you will have access to various streaming services, online content, and smart features. You can enjoy your favorite shows and movies, play online games, browse the internet, and utilize convenient smart features like voice control and screen mirroring.
Remember to ensure that your Wi-Fi network is stable and working correctly to guarantee a smooth streaming experience. If you encounter any difficulties during the connection process, refer to your TV’s user manual or contact Philips customer support for assistance.
Now that you have successfully connected your Philips Smart TV to Wi-Fi, it’s time to sit back, relax, and enjoy the immersive entertainment experience that your smart TV offers!