Introduction
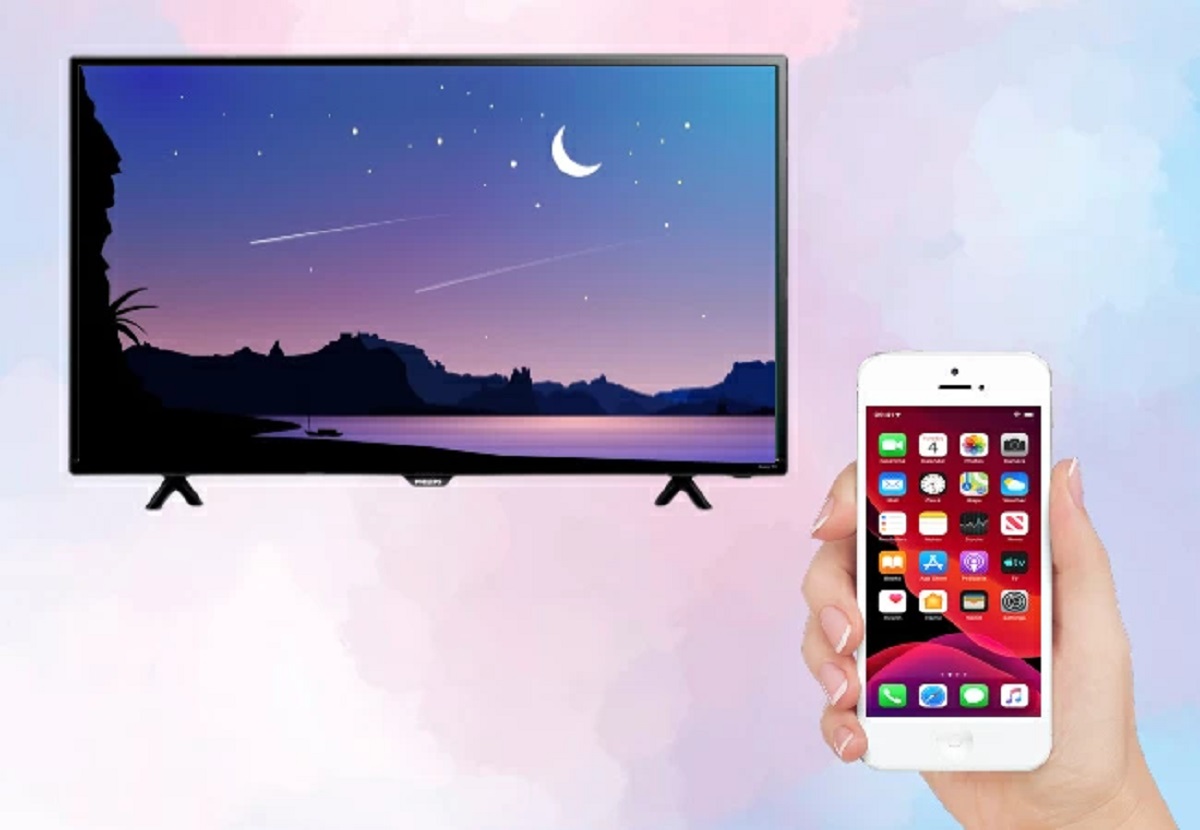
Welcome to this guide on how to screen share on a Philips Smart TV. In today’s digital age, screen sharing has become an invaluable tool for sharing content from our devices onto a larger screen. Whether you want to stream videos, show off photos, play games, or give presentations, screen sharing allows you to effortlessly display your device’s screen on your Philips Smart TV.
Screen sharing, sometimes referred to as screen mirroring or casting, enables you to wirelessly transmit the display of your smartphone, tablet, or computer onto your television. This means you can enjoy your favorite content on a bigger and more immersive screen, enhancing your viewing experience.
Why would you want to screen share on a Philips Smart TV specifically? Philips Smart TVs offer a range of features and functionalities, making them an excellent choice for screen sharing. With their smart capabilities, built-in Wi-Fi, and user-friendly interfaces, Philips Smart TVs make it easy to connect and mirror your device’s screen onto the TV.
In this guide, we will walk you through the step-by-step process of how to screen share on your Philips Smart TV. We will cover all the necessary details, from connecting your device to the TV to initiating the screen sharing feature. So, without further ado, let’s dive in and discover how you can enjoy screen sharing on your Philips Smart TV.
What is Screen Sharing?
Screen sharing, also known as screen mirroring or casting, is the process of displaying the screen of your smartphone, tablet, or computer on a larger display, such as a television. It allows you to share photos, videos, presentations, and any other content from your device onto a bigger screen, creating a more immersive and engaging viewing experience.
Screen sharing is incredibly versatile and can be used in various scenarios. For example, you can use it to watch movies or TV shows from streaming apps on a larger screen, share vacation photos with friends and family during a gathering, or present a business presentation right from your device without the need for any additional equipment.
One of the main advantages of screen sharing is its convenience. Instead of crowding around a small device screen, screen sharing enables you to enjoy your content on a larger display without compromising on quality. This is particularly useful when it comes to multimedia content, as it allows you to fully appreciate the details and intricacies of the visuals or share them with a larger audience.
Screen sharing is made possible through the wireless transmission of data from your device to the display device, such as a Philips Smart TV. This is typically achieved using Wi-Fi or other wireless protocols, eliminating the need for any physical connection between your device and the TV.
With screen sharing, you have the freedom to control and navigate your device’s screen using the device itself. Whether you want to scroll through your photo gallery, play a game, or browse the internet, all the actions you take on your device will be mirrored on the larger display in real-time.
Now that we understand what screen sharing is and its benefits, let’s explore how you can leverage this feature on your Philips Smart TV to enhance your viewing experience.
Why Screen Share on Philips Smart TV?
Screen sharing on a Philips Smart TV offers several advantages that make it a compelling choice for sharing content from your device. Here are some reasons why you might consider screen sharing on your Philips Smart TV:
1. User-Friendly Interface: Philips Smart TVs are known for their intuitive and user-friendly interfaces. With simple navigation menus and easy-to-use settings, connecting and setting up screen sharing is a breeze.
2. Built-in Wi-Fi: Philips Smart TVs come with built-in Wi-Fi capabilities, allowing you to connect your device wirelessly without the need for additional accessories or cables. This makes the screen sharing process seamless and hassle-free.
3. Large Display: Philips Smart TVs are available in a range of screen sizes, from compact to large, ensuring you have ample screen real estate to enjoy your content. Share photos, videos, and presentations on a bigger and more immersive display for a truly captivating experience.
4. Enhanced Audio-Visual Experience: With Philips Smart TVs, you can benefit from their advanced display technology and high-quality audio systems. Whether you’re watching movies, playing games, or presenting important content, the combination of a larger screen and superior audio ensures a more immersive and enjoyable experience.
5. Compatibility: Philips Smart TVs support a wide range of devices and platforms, including smartphones, tablets, and computers. Whether you use an Android, iOS, Windows, or macOS device, you can expect seamless compatibility when it comes to screen sharing on your Philips Smart TV.
6. Versatility: Screen sharing on a Philips Smart TV opens up a world of possibilities. You can stream your favorite movies and TV shows, share photos and videos with friends and family, give business presentations, or even play games on a larger screen. The versatility of screen sharing ensures that there’s something for everyone.
7. Convenience: Thanks to screen sharing, you can access and control your device’s content from the comfort of your couch. Whether you’re relaxing at home or in a business setting, screen sharing on a Philips Smart TV eliminates the need for everyone to gather around a small screen, making it convenient for all participants.
As you can see, screen sharing on a Philips Smart TV offers a host of benefits that enhance your viewing experience and allow you to share content in a more engaging way. In the next section, we’ll delve into the step-by-step process of how to screen share on your Philips Smart TV.
How to Screen Share on Philips Smart TV
Screen sharing on your Philips Smart TV is a straightforward process that involves a few simple steps. Follow the instructions below to connect and start screen sharing with your device:
Step 1: Connect your Device to the Same Wi-Fi Network
Ensure that your device and Philips Smart TV are connected to the same Wi-Fi network. This is essential for establishing a stable and reliable connection between the devices.
Step 2: Enable Screen Mirroring on your Device
On your device, navigate to the settings or control center and look for the screen mirroring or screen sharing option. Enable this feature, which may be labeled differently depending on your device’s operating system (e.g., “Screen Mirroring,” “Smart View,” “Cast,” etc.).
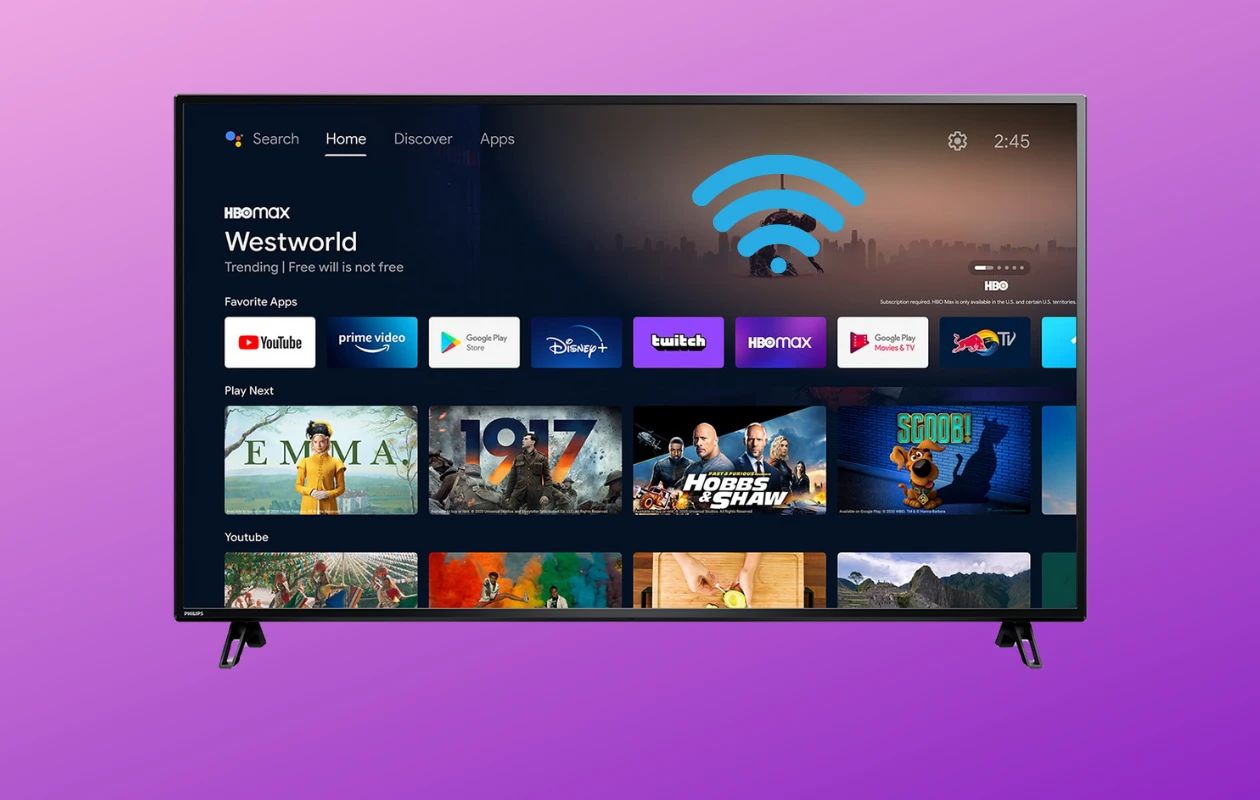
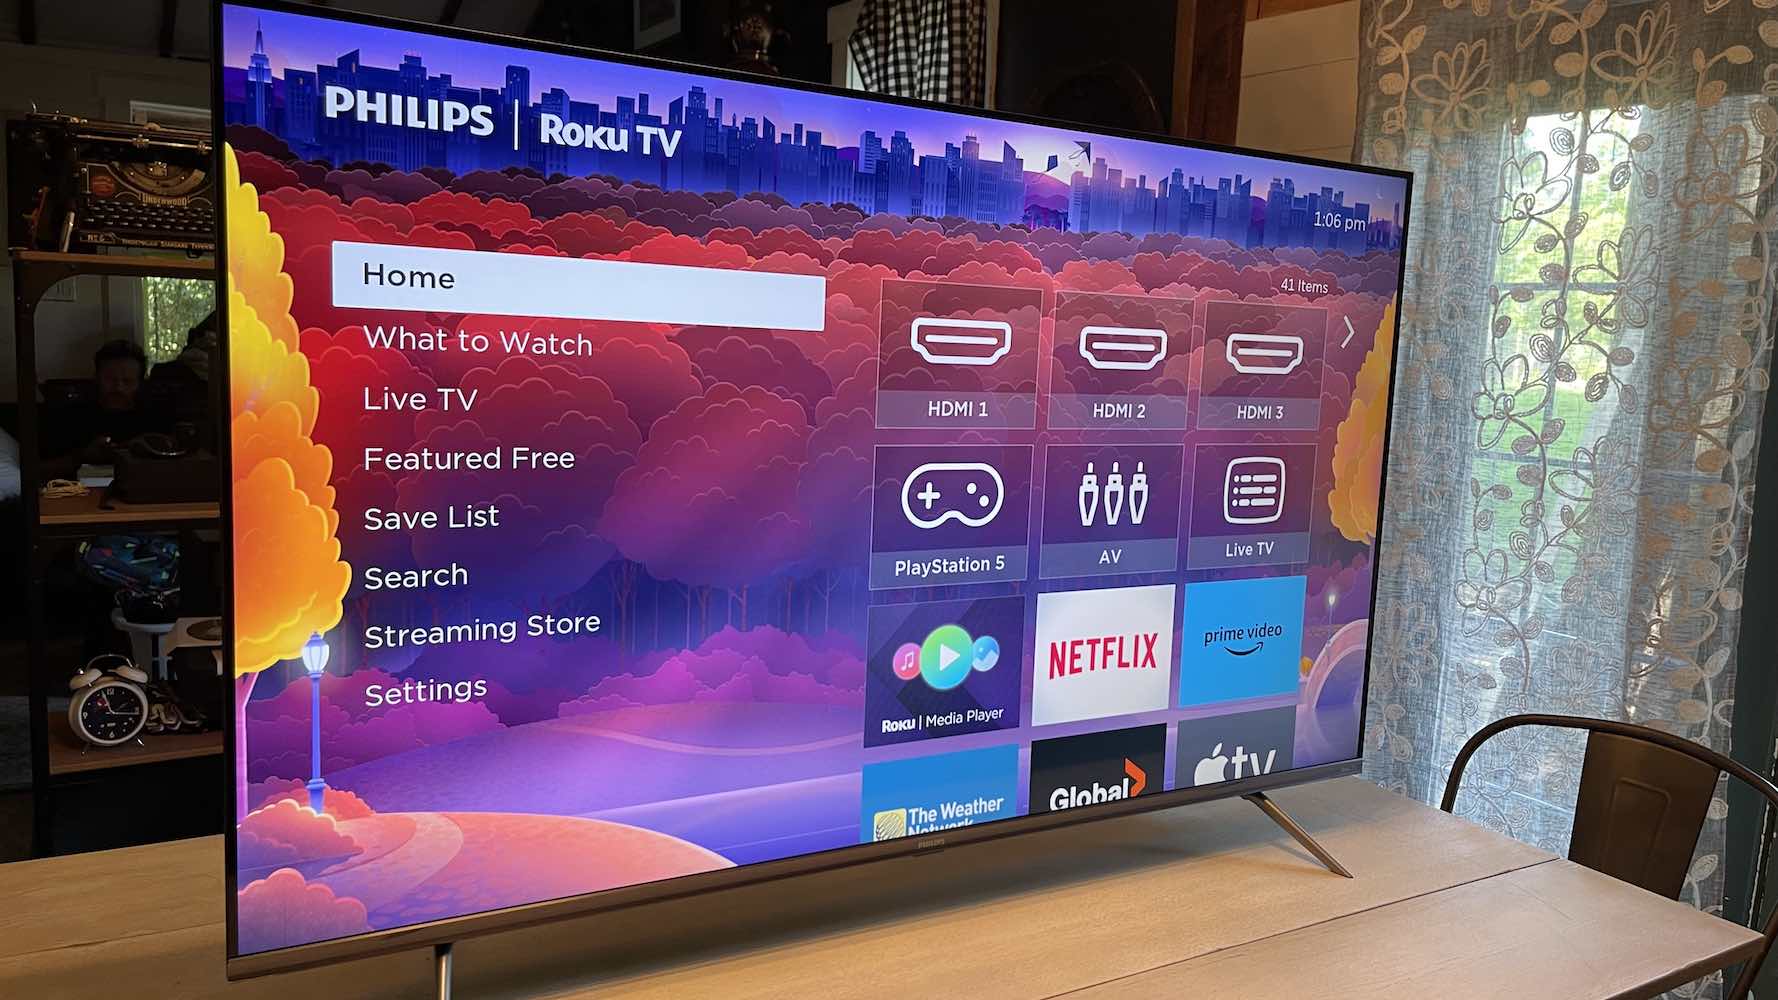
Step 3: Open the Screen Share App on your Philips Smart TV
Using your Philips Smart TV remote, navigate to the home screen or menu and locate the screen share or screen mirroring app. Open the app to initiate the screen sharing process.
Step 4: Select the Device you want to Screen Share with
Once the screen share app is open, a list of available devices will be displayed. Select your device from the list to establish the connection and prepare for screen sharing.
Step 5: Begin Screen Sharing
After selecting your device, the screen sharing feature will start. You will see the screen of your device mirrored on your Philips Smart TV. From here, you can navigate and control your device directly from the TV. Any actions you take on your device will be replicated on the TV screen in real-time.
And there you have it! You have successfully connected and started screen sharing on your Philips Smart TV. Enjoy sharing your favorite content on the larger, more immersive display.
Before we conclude, let’s go over some additional tips to ensure a smooth and enjoyable screen sharing experience.
Step 1: Connect your Device to the Same Wi-Fi Network
The first step in screen sharing on your Philips Smart TV is to ensure that both your device and the TV are connected to the same Wi-Fi network. This is essential for establishing a seamless and reliable connection between the two devices.
To connect your device and Philips Smart TV to the same Wi-Fi network, follow these steps:
1. On your device:
- Open the Settings menu on your smartphone, tablet, or computer.
- Select the Wi-Fi option to view available networks.
- Locate your home Wi-Fi network from the list of available networks.
- Tap on your Wi-Fi network to connect. You may be prompted to enter the network password if you haven’t connected to it before.
- Once connected, your device will display the Wi-Fi icon in the notification bar, indicating a successful connection to the network.
2. On your Philips Smart TV:
- Using the remote control, press the Home button to navigate to the home screen of your TV.
- Scroll and select the Settings option.
- In the Settings menu, choose the Network option.
- Select the Wi-Fi option to view available networks.
- Find and select your home Wi-Fi network from the list.
- If prompted, enter the Wi-Fi network password using the on-screen keyboard.
- Once connected, your Philips Smart TV will display a confirmation message or icon indicating a successful connection to the Wi-Fi network.
It is important to note that both devices must remain connected to the same Wi-Fi network throughout the screen sharing session. If either device disconnects or switches to a different network, the screen sharing connection may be interrupted or lost.
By ensuring that your device and Philips Smart TV are connected to the same Wi-Fi network, you establish the foundation for a stable and reliable connection, enabling smooth screen sharing and an enhanced viewing experience.
With your devices connected, let’s move on to the next step and enable the screen mirroring feature on your device.
Step 2: Enable Screen Mirroring on your Device
Once you have connected your device and Philips Smart TV to the same Wi-Fi network, the next step is to enable the screen mirroring or screen sharing feature on your device. This will allow you to transmit your device’s screen onto the larger display of the TV. The specific steps may vary depending on your device’s operating system. Here are some general instructions for popular devices:
For Android Devices:
To enable screen mirroring on Android devices, follow these steps:
1. Open Settings: Swipe down from the top of the screen to access the notification panel, then tap on the “Settings” gear icon.
2. Find Screen Mirroring: Look for “Screen Mirroring,” “Cast,” “Smart View,” or a similar option in the Settings menu. It may sometimes be located under “Connection” or “Display” settings.
3. Enable Screen Mirroring: Tap on the Screen Mirroring option and toggle it on. Your device will start scanning for available devices to connect to.
4. Select your Philips Smart TV: Once your device detects the available devices, choose your Philips Smart TV from the list of available devices. Your device will then establish a connection with the TV.
For iOS Devices:
To enable screen mirroring on iOS devices (iPhone, iPad), follow these steps:
1. Open Control Center: Swipe down from the top right corner (or swipe up on older iPhone models) to access the Control Center.
2. Tap Screen Mirroring: Look for the “Screen Mirroring” or “AirPlay” icon in the Control Center. Tap on it to open the screen mirroring menu.
3. Select your Philips Smart TV: In the screen mirroring menu, you will see a list of available devices. Tap on your Philips Smart TV from the list to establish a connection.
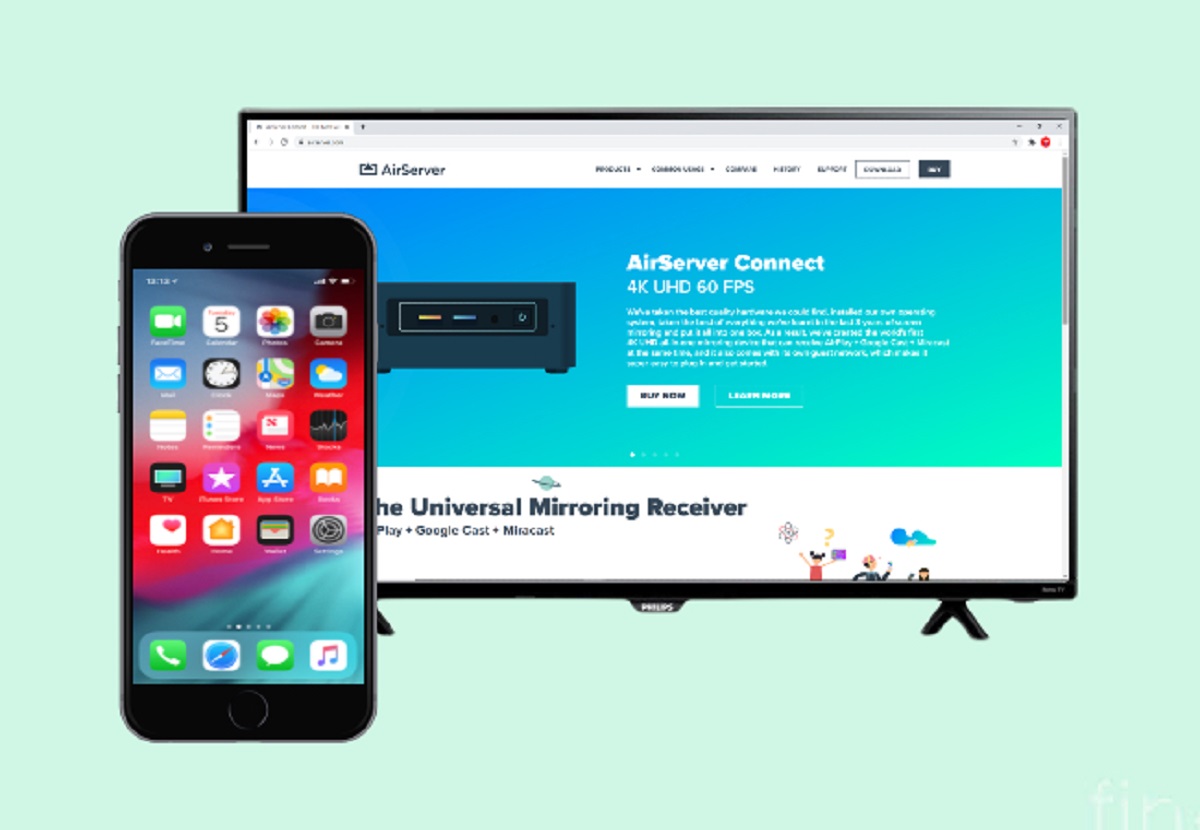
For Windows and macOS Devices:
To enable screen mirroring on Windows and macOS devices, you can use the built-in screen mirroring or casting options or use third-party applications. The process may vary depending on the specific device and software version.
1. Open Display Settings: Depending on your device, open the Display Settings or System Preferences.
2. Find Screen Mirroring/Casting: Look for the “Screen Mirroring,” “Cast,” or “Mirroring” option in the Display Settings or System Preferences menu.
3. Enable Screen Mirroring: Turn on the screen mirroring feature and wait for your device to detect available devices.
4. Select your Philips Smart TV: Once your device detects your Philips Smart TV, choose it from the list of available devices to establish a connection.
Enabling screen mirroring on your device is an essential step to initiate the connection between your device and the Philips Smart TV. Once you’ve enabled screen mirroring, proceed to the next step and open the screen share app on your TV.
Step 3: Open the Screen Share App on your Philips Smart TV
After enabling screen mirroring on your device, the next step in the process of screen sharing on your Philips Smart TV is to open the screen share app on the TV itself. This app is specifically designed to facilitate the screen sharing feature and allows you to connect your device to the TV.
Follow these steps to open the screen share app on your Philips Smart TV:
1. Grab your remote control: Ensure you have the remote control that came with your Philips Smart TV.
2. Turn on your TV: Press the power button on your remote control to turn on your Philips Smart TV.
3. Access the home screen or menu: Use the remote control’s navigation buttons to access the home screen or menu of your Philips Smart TV. The specific method may vary depending on the model of your TV, but it is typically done by pressing the “Home” or “Menu” button.
4. Locate the screen share app: Once you are on the home screen or menu, look for the screen share app. The app may be labeled as “Screen Share,” “Screen Mirroring,” “Miracast,” or a similar name. Navigate through the available apps or sections to find it.
5. Open the screen share app: Use the remote control to highlight the screen share app and press the “OK” or “Enter” button to open it. The screen share app will launch, ready for you to connect your device.
It’s important to note that the exact name and location of the screen share app may differ based on the model and software version of your Philips Smart TV. If you are having trouble locating the app, refer to the user manual or search for specific instructions for your TV model online.
Once you have successfully opened the screen share app, you are one step closer to screen sharing on your Philips Smart TV. The next step is to select your device from the available list to establish the connection. Continue to the next section to learn more.
Step 4: Select the Device you want to Screen Share with
After opening the screen share app on your Philips Smart TV, the next step in the screen sharing process is to select the device you want to screen share with. This allows your Philips Smart TV to establish a connection with your device and start mirroring its screen onto the TV display.
Follow these steps to select your device on the screen share app:
1. On your Philips Smart TV:
– Use the remote control’s navigation buttons to scroll through the list of available devices on the screen share app. The app will typically display a list of devices that are currently discoverable and ready for screen sharing.
– Locate and highlight your device in the list using the navigation buttons on the remote control.
2. On your device:
– Ensure that the screen mirroring feature is still enabled on your device. If it is disabled, follow the appropriate steps to enable it again.
– Open the screen mirroring or casting menu on your device. This menu may be accessible through the device’s settings or control center, depending on the operating system.
– Look for your Philips Smart TV in the list of available devices and tap on it to establish a connection.
3. Wait for the connection to be established:
– After selecting your device on the TV and initiating the connection on your device, wait for a moment as the connection is established. This may take a few seconds to a minute, depending on the devices and network stability.
4. Confirm the connection:
– Once the connection is successfully established, you will receive a notification or confirmation prompt on your device and/or see the screen of your device mirrored on your Philips Smart TV.
Please note that the steps for selecting the device may slightly vary depending on the screen share app and the specific device you are using for screen sharing. Some devices may display a security code or request your permission to connect before establishing the connection.
By selecting your device on the screen share app, you are creating a direct connection between your device and the Philips Smart TV. This allows you to conveniently view and control your device’s screen on the larger display of the TV.
In the next and final step, we’ll cover how to begin screen sharing and enjoy your content on the Philips Smart TV.
Step 5: Begin Screen Sharing
After selecting your device on the screen share app and establishing the connection, you are now ready to begin screen sharing on your Philips Smart TV. This final step allows you to view and interact with your device’s screen on the larger display of the TV.
Follow these steps to begin screen sharing:
1. On your Philips Smart TV:
– Confirm that the connection with your device is established. You should see your device’s name or icon on the screen share app or in the list of connected devices.
– Use the remote control to select your device and activate the screen sharing feature. This may involve pressing the “OK” or “Enter” button on the remote control.
2. On your device:
– Depending on your device, you may need to navigate back to the screen mirroring or casting menu in the settings or control center.
– Ensure that the screen mirroring or casting feature is still enabled on your device. If it was disabled for any reason, re-enable it.
– Once enabled, your device may automatically detect the Philips Smart TV as the connected screen. If not, select the TV from the list of available devices in the screen mirroring or casting menu.
3. Start screen sharing:
– Once you have identified your Philips Smart TV on your device, initiate the screen sharing by tapping on the TV name or selecting it from the menu.
– After a brief moment, the screen of your device should start to appear on the Philips Smart TV display. You can now view and interact with your device’s content on the larger screen.
With screen sharing activated, you can navigate through apps, browse websites, play videos, and perform any actions on your device just like you normally would. Every action you take on your device will be mirrored in real-time on the Philips Smart TV screen.
To end the screen sharing session, simply disable the screen mirroring or casting feature on your device or turn off the screen share app on your Philips Smart TV. This will disconnect the devices and revert the TV display back to its default state.
Now that you have successfully begun screen sharing, you can enjoy all your favorite content from your device on the larger and more immersive display of your Philips Smart TV. Make sure to see the upcoming section for some valuable tips to enhance your screen sharing experience.
Tips for a Smooth Screen Sharing Experience
To ensure a seamless and enjoyable screen sharing experience on your Philips Smart TV, consider these helpful tips:
1. Ensure a Strong Wi-Fi Signal: A stable and strong Wi-Fi connection is crucial for smooth screen sharing. Make sure both your device and Philips Smart TV are connected to a reliable Wi-Fi network with a strong signal strength.
2. Keep Devices Close to the Router: If possible, position your device and Philips Smart TV in close proximity to the Wi-Fi router. This can help minimize any potential signal interference and maintain a strong connection.
3. Close Unnecessary Apps and Programs: Before initiating screen sharing, close any unnecessary apps or programs running on your device. This can help optimize performance and minimize potential lags or interruptions during screen sharing.
4. Avoid Simultaneous Streaming: Simultaneously streaming content on your device while screen sharing can put a strain on your network bandwidth. Consider pausing or closing any background streaming activities to ensure smooth screen sharing.
5. Use an Ethernet Connection: If your Philips Smart TV supports it, consider connecting it to the router using an Ethernet cable. This can provide a more stable and reliable connection compared to Wi-Fi, especially if you experience any connectivity issues.
6. Check for Software Updates: Regularly check for software updates for both your device and Philips Smart TV. Keeping the software up to date can ensure compatibility and optimize performance during screen sharing.
7. Disable Power Saving Mode: Some devices have power-saving features that can affect screen sharing by reducing performance or auto-disconnecting the Wi-Fi connection. Check your device’s power settings and disable power-saving options if necessary.
8. Optimize Device Settings: Adjust the display settings on both your device and Philips Smart TV to optimize the screen sharing experience. This includes adjusting brightness, contrast, and resolution settings to match your preferences and the capabilities of your TV.
9. Keep Devices Charged: Ensure that both your device and Philips Smart TV are adequately charged or connected to a power source during screen sharing. This will prevent any interruptions due to low battery levels.
10. Experiment with Different Apps: While most devices have built-in screen mirroring features, consider exploring other third-party screen sharing apps that may offer additional features or options for a more customized experience.
By incorporating these tips into your screen sharing routine, you can maximize the quality, performance, and reliability of your screen sharing sessions on your Philips Smart TV.
Conclusion
Screen sharing on a Philips Smart TV opens up a world of possibilities for sharing and enjoying your favorite content on a larger and more immersive display. By following the step-by-step guide outlined in this article, you can easily connect your device to your Philips Smart TV and start screen sharing in just a few simple steps.
We began by understanding the concept of screen sharing, which allows you to wirelessly transmit your device’s screen onto the TV. We then explored the reasons why screen sharing on a Philips Smart TV is a great choice, highlighting its user-friendly interface, built-in Wi-Fi capabilities, large display, enhanced audio-visual experience, compatibility, versatility, and convenience.
We then delved into the detailed steps of how to screen share on your Philips Smart TV. From connecting your device to the same Wi-Fi network to enabling screen mirroring, opening the screen share app on your TV, selecting your device, and beginning screen sharing, each step was clearly explained to ensure a successful screen sharing experience.
Additionally, we provided some valuable tips to enhance the smoothness and performance of your screen sharing sessions. By following these tips, such as maintaining a strong Wi-Fi signal, closing unnecessary apps, and optimizing device settings, you can ensure an uninterrupted and enjoyable screen sharing experience.
With screen sharing on your Philips Smart TV, you can effortlessly share videos, photos, presentations, and much more with friends, family, or colleagues on a larger and more captivating display. Whether you’re watching movies, playing games, or giving presentations, screen sharing enhances your viewing experience and brings your content to life.
Now that you have the knowledge and understanding of how to screen share on your Philips Smart TV, it’s time to explore the possibilities and enjoy all your favorite content on the big screen. So grab your device, connect to your Philips Smart TV, and start screen sharing today!