Introduction
Welcome to our guide on how to install NordVPN on your Smart TV. In today’s digital age, online privacy and security have become essential concerns for internet users. With cyber threats and privacy breaches on the rise, using a Virtual Private Network (VPN) has become a popular solution to safeguard personal data and ensure online anonymity.
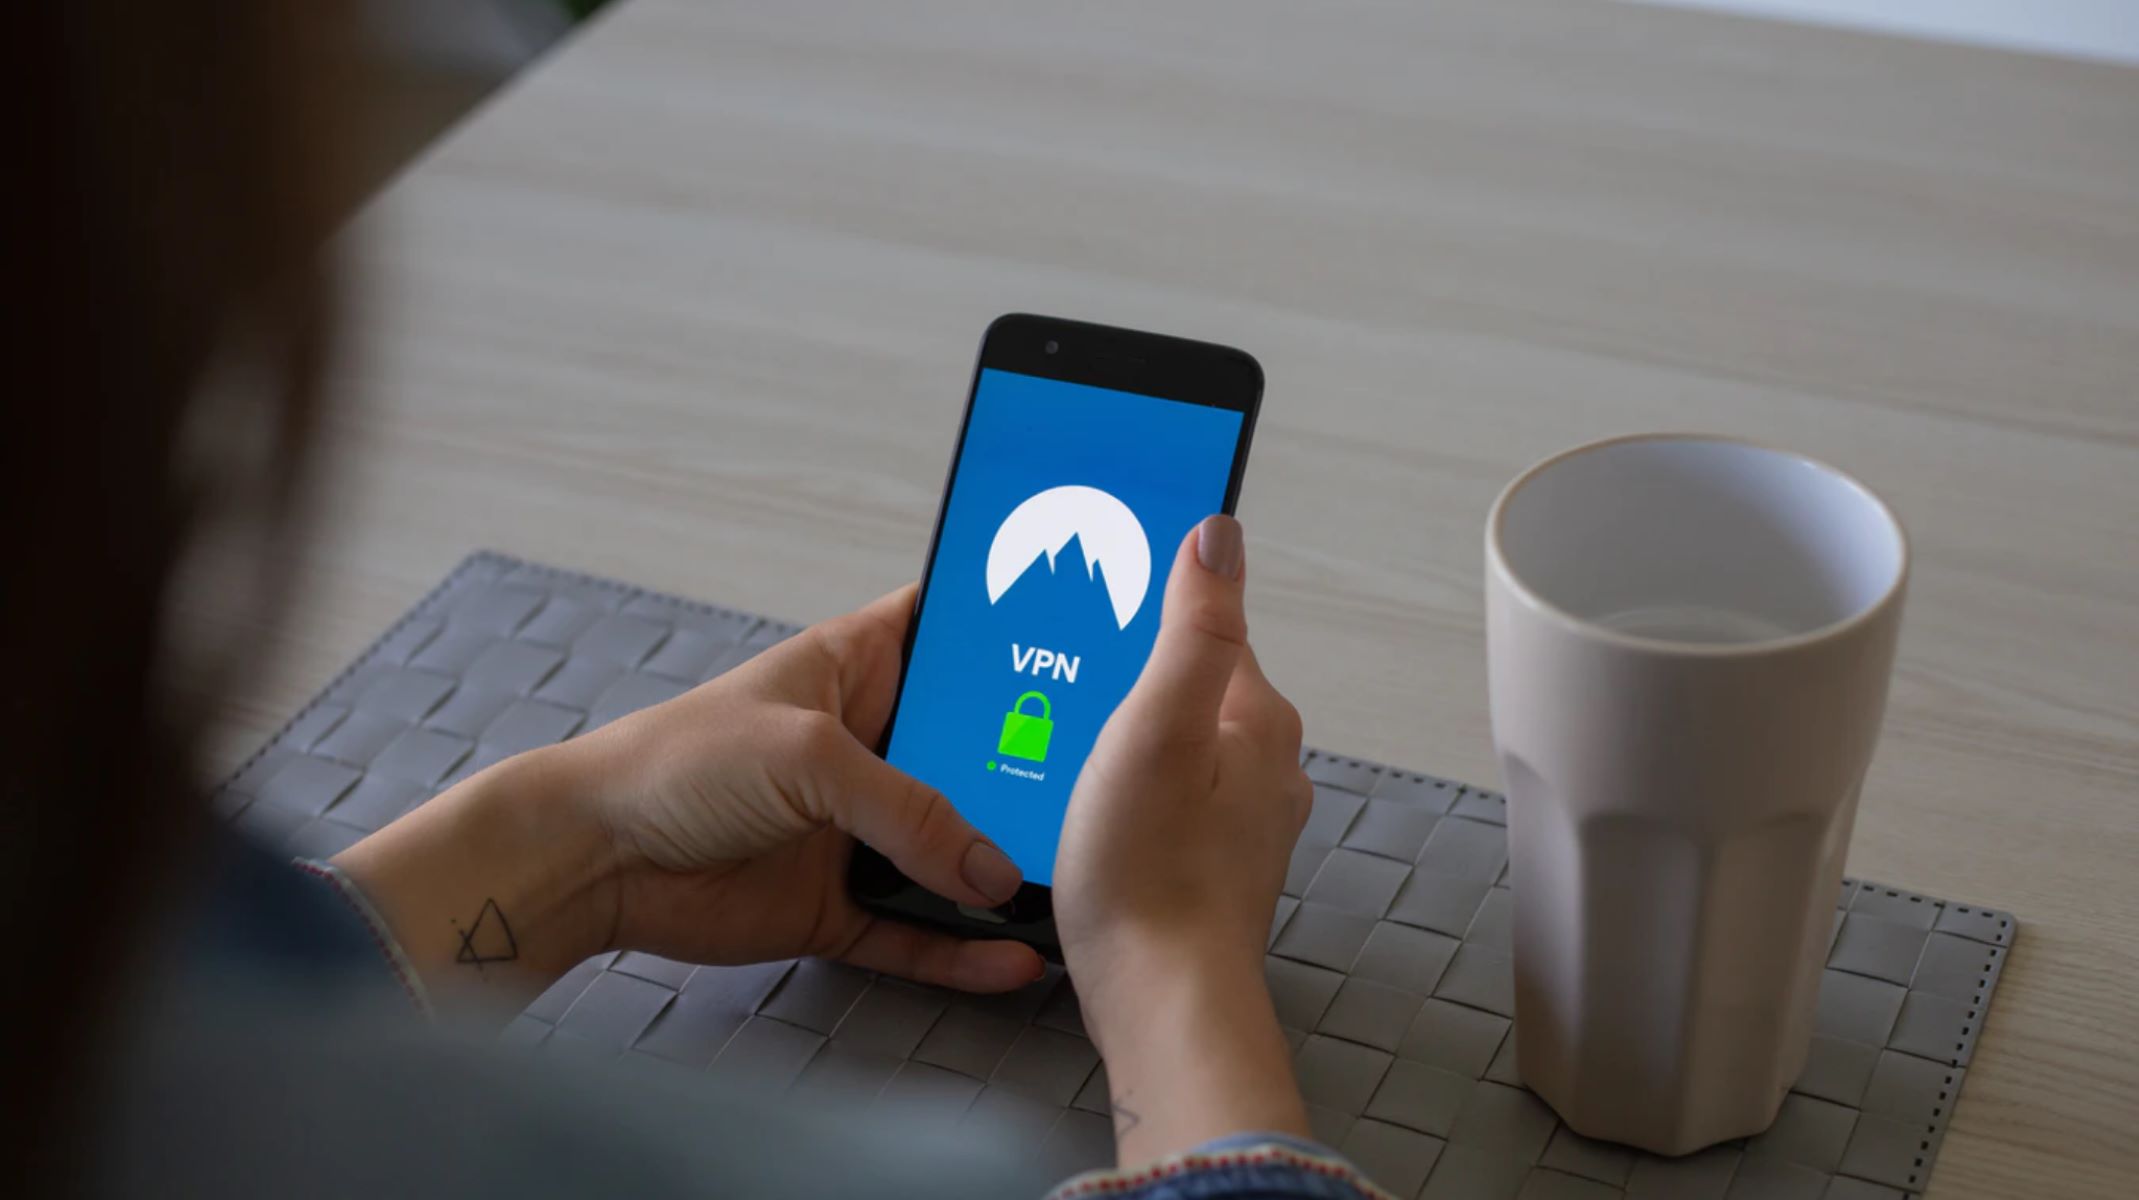
NordVPN is a leading VPN service provider known for its robust security features, fast connection speeds, and wide server network. While NordVPN is commonly used on computers and mobile devices, many users wonder if they can enjoy the benefits of NordVPN on their Smart TVs as well.
The good news is that it is indeed possible to install and use NordVPN on your Smart TV, granting you protection and anonymity while enjoying your favorite streaming services. In this comprehensive guide, we will walk you through the different methods you can use to install NordVPN on your Smart TV, regardless of the brand or operating system.
Whether you have an Android TV, LG WebOS, Samsung Tizen, or any other Smart TV platform, we have got you covered. By following the steps outlined in this guide, you will be able to unlock the power of NordVPN on your Smart TV and take control of your online privacy.
Before we delve into the installation process, let’s explore the benefits of using NordVPN on your Smart TV.
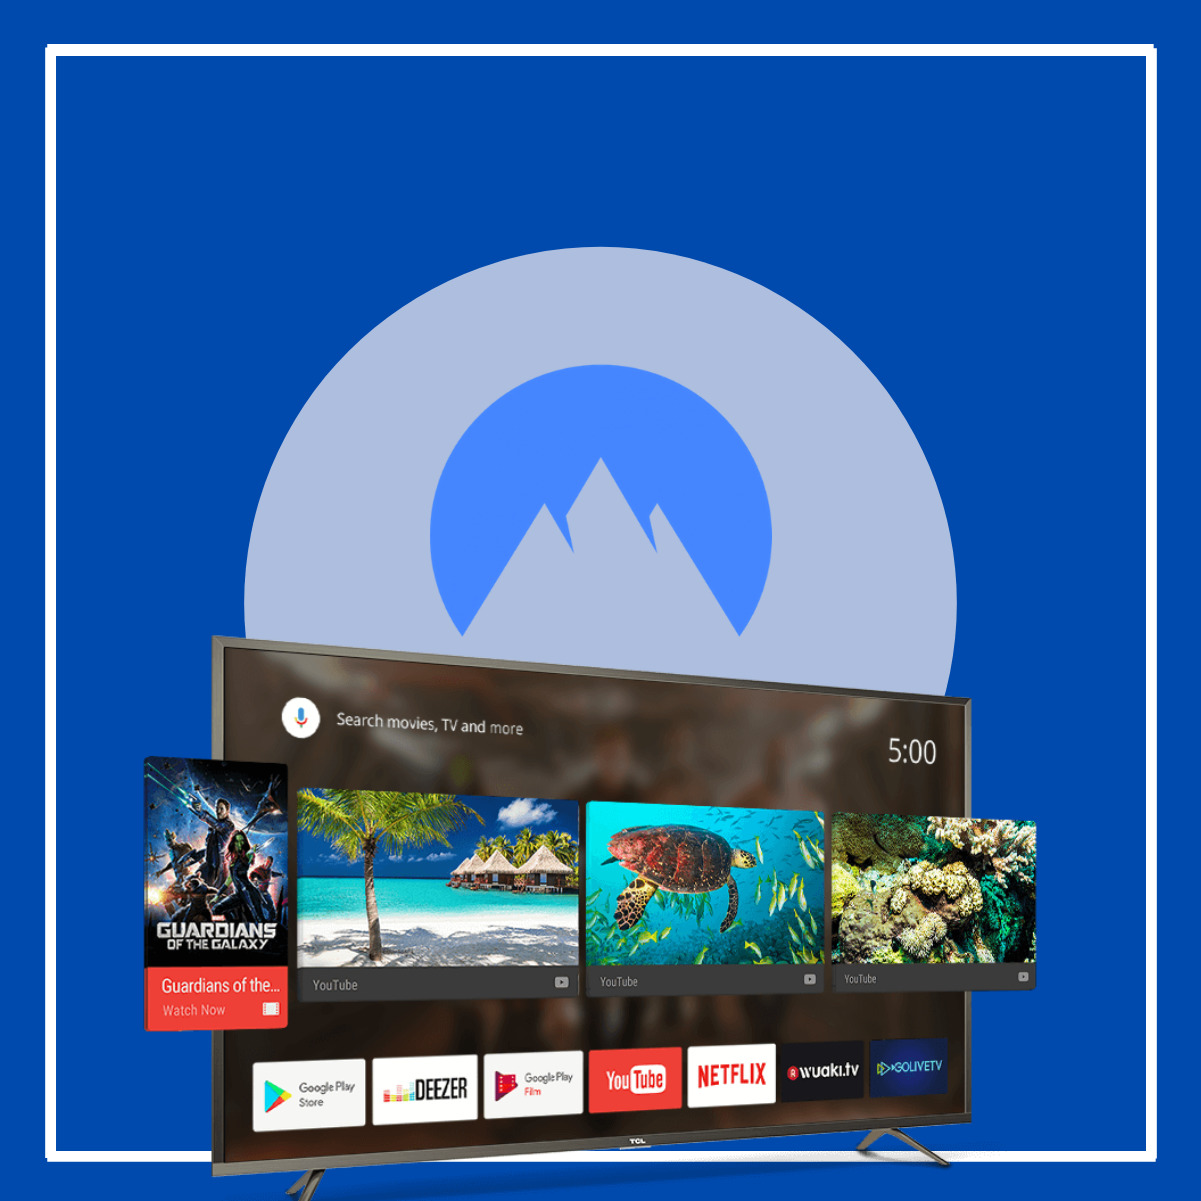
Benefits of Using NordVPN on Smart TV
Using NordVPN on your Smart TV brings forth a myriad of advantages that enhance your streaming experience and protect your online privacy. Here are some key benefits:
- Enhanced Privacy: NordVPN encrypts your internet traffic, effectively shielding your browsing activities from prying eyes. This ensures that your personal information and online activities are kept private and secure.
- Access to Geo-Restricted Content: NordVPN allows you to bypass geo-restrictions imposed by streaming platforms. With NordVPN, you can access a wider range of content, including popular TV shows, movies, and sports events that may be restricted in your region.
- Protection from Cyber Threats: NordVPN protects your Smart TV from potential cyber threats, such as malware, phishing attempts, and hacking attacks. By encrypting your network connection, NordVPN shields your device from malicious activities and keeps your data safe.
- Improved Streaming Performance: NordVPN offers fast and stable server connections, ensuring smooth streaming of your favorite shows and movies on your Smart TV. It reduces the chances of buffering and enhances your overall streaming performance.
- Secure Internet Connection for IoT Devices: Many Smart TVs are connected to other Internet of Things (IoT) devices in your home, such as smart speakers and security cameras. By using NordVPN, you create a secure network for all your IoT devices, protecting them from potential vulnerabilities.
These are just a few of the benefits you can enjoy by using NordVPN on your Smart TV. Now that you understand the advantages, let’s explore the prerequisites for installing NordVPN on your Smart TV.
Prerequisites for Installing NordVPN on Smart TV
Before you begin the installation process, there are a few prerequisites you need to meet for installing NordVPN on your Smart TV:
- Smart TV with Internet Connectivity: Ensure that your Smart TV is connected to the internet. Whether through a wired connection or Wi-Fi, make sure your TV can access the internet.
- Access to TV Settings: In order to install NordVPN on your Smart TV, you need access to the TV settings menu. This may vary depending on your TV brand and operating system.
- Compatible Router: If you choose to install NordVPN through router setup (which we will cover in one of the methods), you need a compatible router that supports VPN configuration. Check NordVPN’s website or contact their support team to verify router compatibility.
- VPN Subscription: In order to use NordVPN on your Smart TV, you need an active NordVPN subscription. If you haven’t already subscribed, visit the NordVPN website to sign up for a plan that suits your needs.
- Computer or Mobile Device: Depending on the installation method you choose, you may need a computer or mobile device to configure and set up NordVPN on your Smart TV. Make sure you have a device on hand for this purpose.
By ensuring you meet these prerequisites, you can proceed to the next steps of installing NordVPN on your Smart TV. In the following sections, we will guide you through different installation methods to help you get NordVPN up and running on your Smart TV.
Step-by-Step Guide to Installing NordVPN on Smart TV
Installing NordVPN on your Smart TV may seem like a complex task, but with our step-by-step guide, you’ll be able to navigate through the installation process seamlessly. Below, we will outline three different methods you can use to install NordVPN on your Smart TV:
Method 1: Installing NordVPN via Router Setup
If you have a compatible router and want to protect all devices connected to your network, including your Smart TV, this method is recommended. Here’s how:
- Ensure your router supports VPN configuration. Check NordVPN’s website or contact their support team for compatibility information.
- Access your router’s settings page. You can usually do this by entering the router’s IP address in your web browser.
- Look for the VPN settings or configuration section in your router settings.
- Follow the instructions provided by NordVPN to set up the VPN connection on your router. This will involve entering the NordVPN server details and your account credentials.
- Once the VPN connection is set up on your router, all devices connected to your network, including your Smart TV, will be protected by NordVPN.
Method 2: Installing NordVPN via DNS Configuration
If your router does not support VPN configuration, you can still install NordVPN on your Smart TV using DNS configuration. Follow these steps:
- On your Smart TV, navigate to the network settings menu.
- Find the DNS settings option and select it.
- Change the DNS settings to the NordVPN DNS server addresses. These addresses can be found on the NordVPN website or obtained from their support team.
- Save the changes and restart your Smart TV. The DNS configuration will route your internet traffic through NordVPN’s servers, ensuring privacy and security.
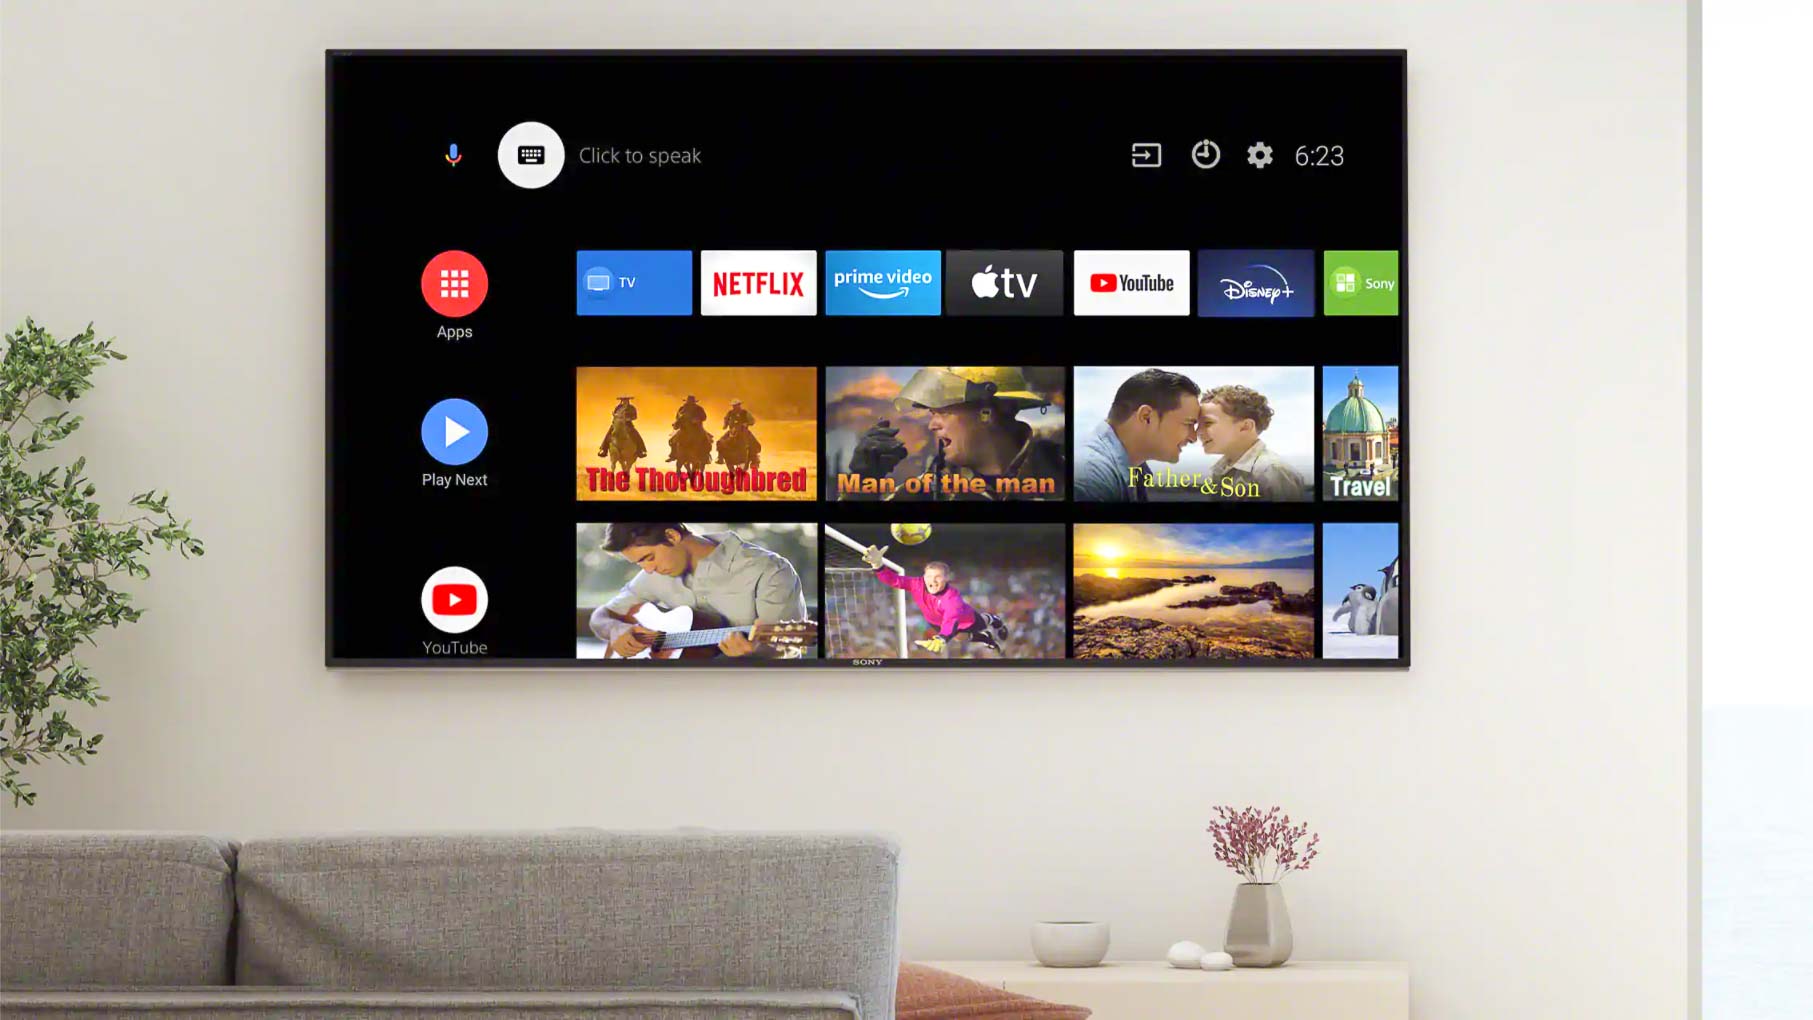
Method 3: Installing NordVPN via VPN-enabled Smart TV Apps
If your Smart TV has built-in support for VPN apps, you can install the NordVPN app directly on your Smart TV. Follow these steps:
- From your Smart TV’s home screen, navigate to the app store.
- Search for the NordVPN app in the app store.
- Select the NordVPN app and click on the download/install button.
- Once the installation is complete, launch the NordVPN app.
- Log in to the app using your NordVPN account credentials.
- Select a server location and connect to the NordVPN network.
These methods offer different approaches to installing NordVPN on your Smart TV. Choose the one that best suits your needs and follow the steps carefully to ensure a successful installation. Up next, we will provide troubleshooting tips to help you overcome any potential challenges you may encounter during the installation process.
Method 1: Installing NordVPN via Router Setup
If you want to protect all devices connected to your network, including your Smart TV, installing NordVPN via router setup is a recommended method. Follow the step-by-step instructions below:
- Ensure Router Compatibility: Check if your router supports VPN configuration. Visit the NordVPN website or contact their support team for compatibility details.
- Access Router Settings: Open your web browser and enter your router’s IP address in the address bar. This will take you to your router’s settings page.
- Locate VPN Settings: Once in the router settings page, look for the VPN settings or configuration section. The location may vary depending on your router’s brand and model.
- Set Up VPN Connection: Follow the instructions provided by NordVPN to set up the VPN connection on your router. Typically, this involves entering the NordVPN server details and your account credentials.
- Save and Apply Changes: After configuring the VPN settings on your router, save the changes and apply them. The router will establish a VPN connection with NordVPN’s servers.
- Connect Smart TV to VPN: With NordVPN set up on your router, your Smart TV will automatically connect to the VPN network. All devices connected to your network will have their internet traffic encrypted and protected.
Installing NordVPN via router setup ensures that all devices, including your Smart TV, benefit from the VPN protection without requiring manual configuration on individual devices. This method is ideal if you want comprehensive privacy and security for your entire network.
Note that the router setup method may have slight variations depending on the router’s interface and settings. If you encounter any difficulties during the installation process, consult the router manufacturer’s documentation or NordVPN’s support articles for further assistance.
Now that you have learned about installing NordVPN via router setup, let’s explore another method: installing NordVPN on your Smart TV via DNS configuration.
Method 2: Installing NordVPN via DNS Configuration
If your router does not support VPN configuration, you can still install NordVPN on your Smart TV using DNS configuration. Follow the step-by-step instructions below:
- Navigate to Network Settings: On your Smart TV, access the network settings menu. This can usually be found in the settings or preferences section of your Smart TV’s interface.
- Find DNS Settings: Locate the DNS settings option within the network settings menu. This is where you can configure the DNS server addresses for your Smart TV.
- Change DNS Settings: Change the DNS settings to the NordVPN DNS server addresses. You can find the specific DNS server addresses on the NordVPN website or by contacting their support team. Enter the primary and secondary DNS server addresses in the respective fields.
- Save Changes and Restart: After entering the NordVPN DNS server addresses, save the changes and restart your Smart TV. This allows the DNS configuration to take effect.
By configuring the DNS settings on your Smart TV to point to NordVPN’s DNS servers, your internet traffic will be routed through NordVPN’s network, ensuring privacy and security for your online activities.
Keep in mind that DNS configuration may have varying steps depending on your Smart TV’s brand and operating system. Refer to the TV manufacturer’s documentation or NordVPN’s support resources for specific guidance on DNS configuration for your particular Smart TV.
Now that you know how to install NordVPN via DNS configuration, let’s explore another method: installing NordVPN on your Smart TV using the VPN-enabled Smart TV apps.
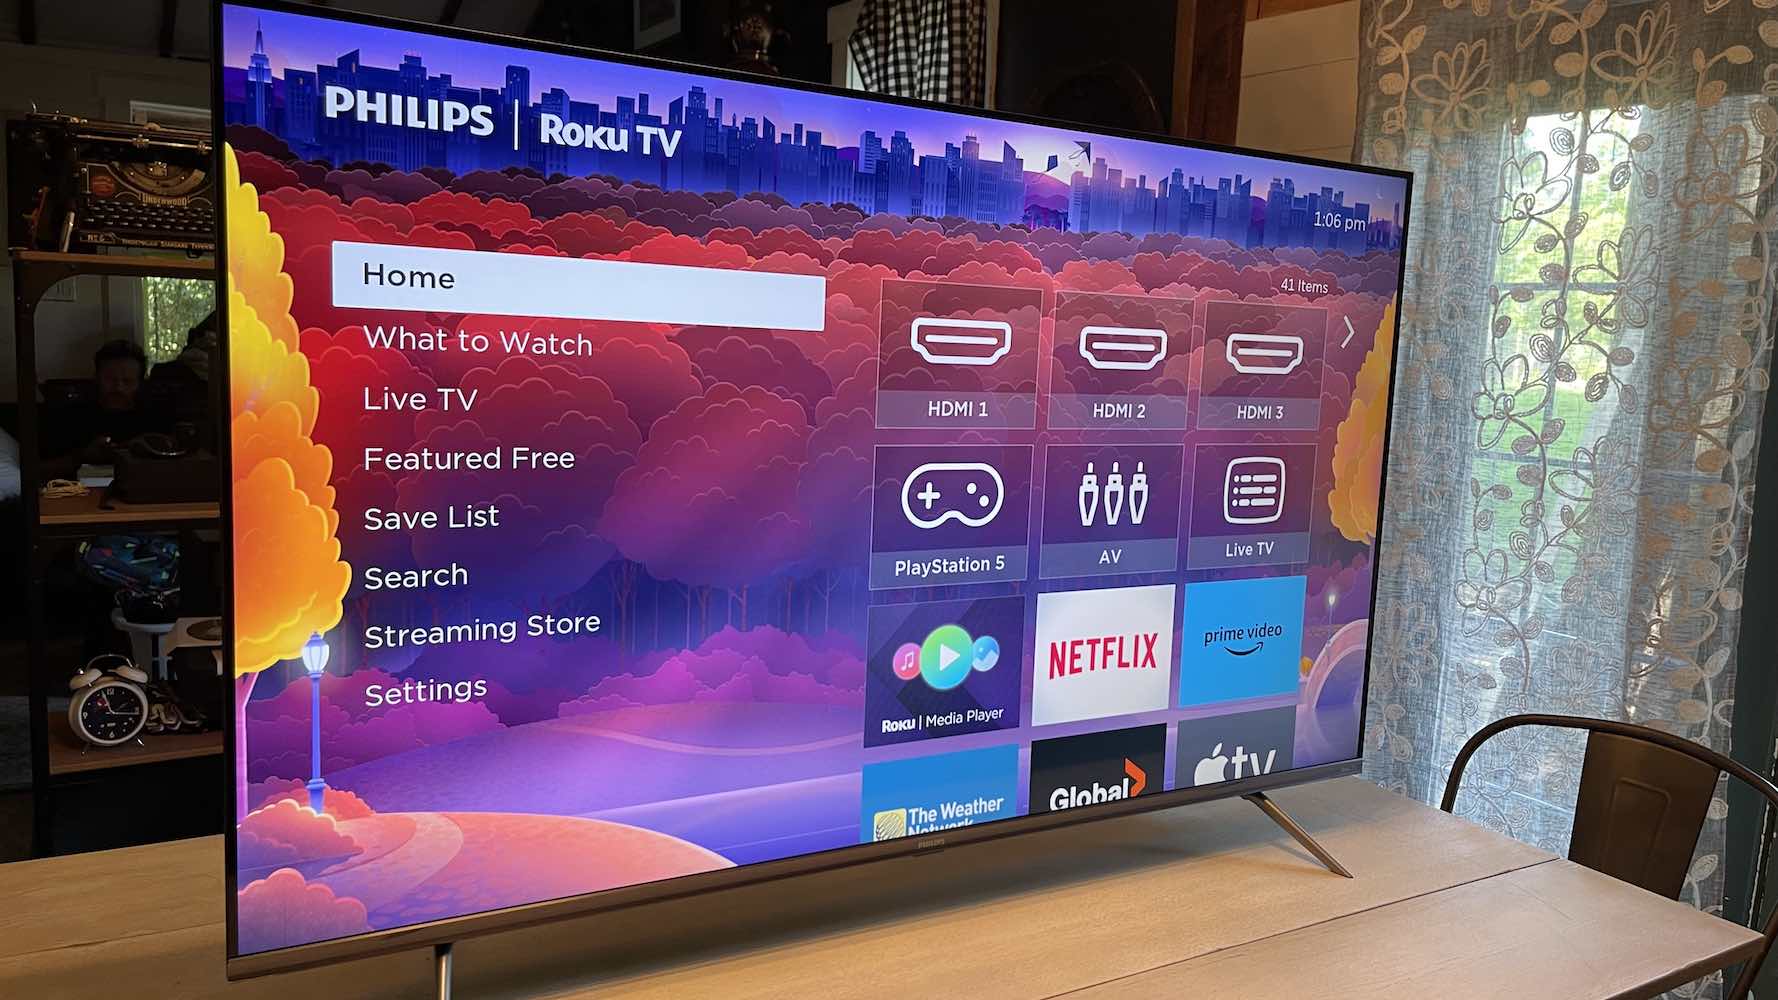
Method 3: Installing NordVPN via VPN-enabled Smart TV Apps
If your Smart TV has built-in support for VPN apps, installing NordVPN is as simple as downloading and installing the NordVPN app directly on your Smart TV. Follow the step-by-step instructions below:
- Access the App Store: From your Smart TV’s home screen, navigate to the app store specific to your TV’s operating system. This may be called the “LG Content Store,” “Samsung Apps,” or something similar.
- Search for NordVPN App: Once in the app store, use the search functionality to find the NordVPN app. Enter “NordVPN” in the search bar and select the app from the search results.
- Download and Install: Click on the download or install button to begin downloading and installing the NordVPN app on your Smart TV. Wait for the installation process to complete.
- Launch and Login: Once the installation is finished, locate the NordVPN app on your Smart TV’s home screen or app library. Launch the app and log in using your NordVPN account credentials.
- Select Server Location and Connect: After logging in, you will be presented with a list of server locations. Choose a server that suits your needs (e.g., for accessing geo-restricted content) and click on the connect button. The Smart TV will establish a VPN connection to the selected server.
With the NordVPN app installed and running on your Smart TV, all internet traffic from the TV will be encrypted and protected, ensuring your online privacy and security.
Note that not all Smart TVs have built-in app stores or support for VPN apps. In such cases, you can explore the other installation methods we discussed earlier, such as router setup or DNS configuration.
Now that you have learned how to install NordVPN via VPN-enabled Smart TV apps, let’s move on to the troubleshooting tips section to help you overcome any potential challenges you may encounter during the installation process.
Troubleshooting Tips
While installing NordVPN on your Smart TV, you may encounter some challenges. Here are some troubleshooting tips to help you resolve common issues:
1. Connection Issues:
If you are experiencing difficulties connecting to NordVPN from your Smart TV, ensure that your internet connection is stable. Check your network settings and restart your router if necessary. You can also try connecting to a different NordVPN server or contact NordVPN’s support team for further assistance.
2. Compatibility Issues:
If you are using an older Smart TV model, it may not be compatible with NordVPN or VPN apps in general. In such cases, consider using alternative installation methods such as router setup or DNS configuration. Refer to NordVPN’s website or support resources for a list of supported devices.
3. App Installation Issues:
If you encounter problems downloading or installing the NordVPN app from the Smart TV app store, ensure that you have a stable internet connection. Clear the app store cache or try restarting your Smart TV. If the issue persists, contact your Smart TV manufacturer’s support or NordVPN’s customer support for assistance.
4. DNS Configuration Issues:
If you are using the DNS configuration method and experiencing issues, double-check that you have entered the correct NordVPN DNS server addresses. Ensure that you have saved the changes and restarted your Smart TV. If problems persist, reach out to NordVPN’s support for troubleshooting guidance.
5. Router Compatibility Issues:
If you encounter difficulties during the router setup process due to compatibility issues, verify that your router supports VPN configuration. Ensure that you have followed the specific instructions provided by NordVPN for your router model. If you need further assistance, consult NordVPN’s support documentation or reach out to their support team.
If you encounter any other challenges or technical issues during the installation process, it is recommended to contact NordVPN’s support team for personalized assistance. They will be able to provide specific troubleshooting steps based on your Smart TV model and the installation method you are attempting.
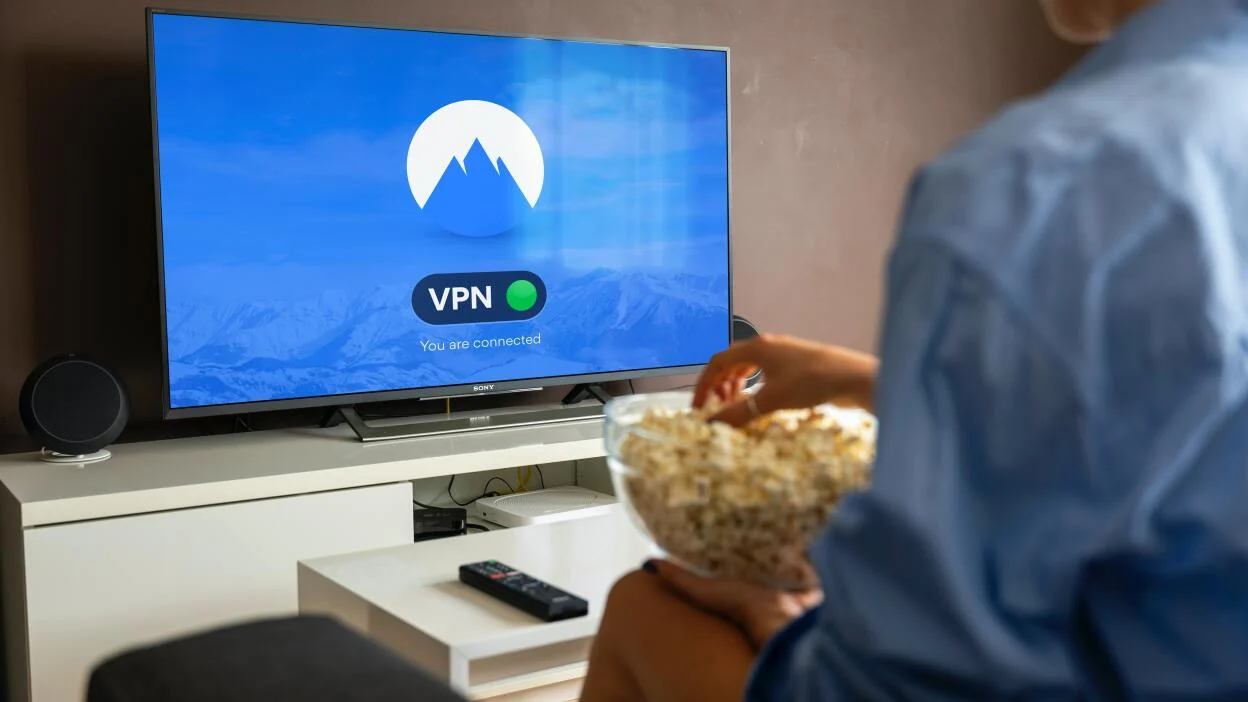
With these troubleshooting tips in mind, you should be able to overcome common hurdles and successfully install NordVPN on your Smart TV. Once installed, you can enjoy a secure, private, and unrestricted streaming experience.
Conclusion
Installing NordVPN on your Smart TV is a valuable step towards enhancing your online privacy, security, and streaming experience. By following the methods outlined in this guide, you can easily set up NordVPN on your Smart TV regardless of the brand or operating system.
We discussed three different methods for installing NordVPN on your Smart TV. You can opt for router setup, DNS configuration, or installing the NordVPN app directly on your Smart TV if it supports VPN-enabled apps. Each method offers its own advantages and may be more suitable depending on your specific requirements and device compatibility.
Regardless of the method you choose, NordVPN provides a secure and encrypted internet connection for your Smart TV, protecting your personal data and ensuring privacy while accessing your favorite streaming platforms.
Remember to troubleshoot any issues you encounter during the installation process using the tips provided in this guide. If you need further assistance, NordVPN’s support team is always available to assist you.
Now that you have successfully installed NordVPN on your Smart TV, you can enjoy worry-free streaming, unrestricted access to geo-restricted content, and a heightened level of online security. Sit back, relax, and let NordVPN take care of your privacy needs.
Thank you for using our guide to install NordVPN on your Smart TV. Enjoy a safer and more private streaming experience!