Introduction
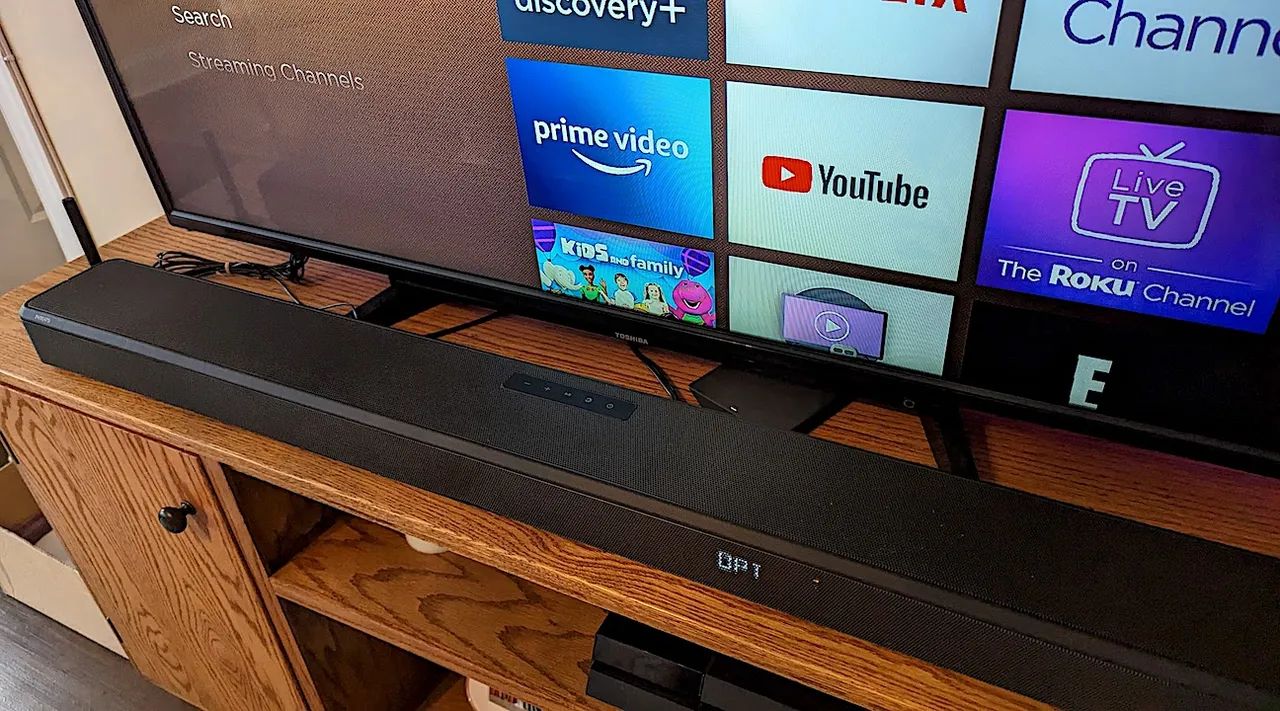
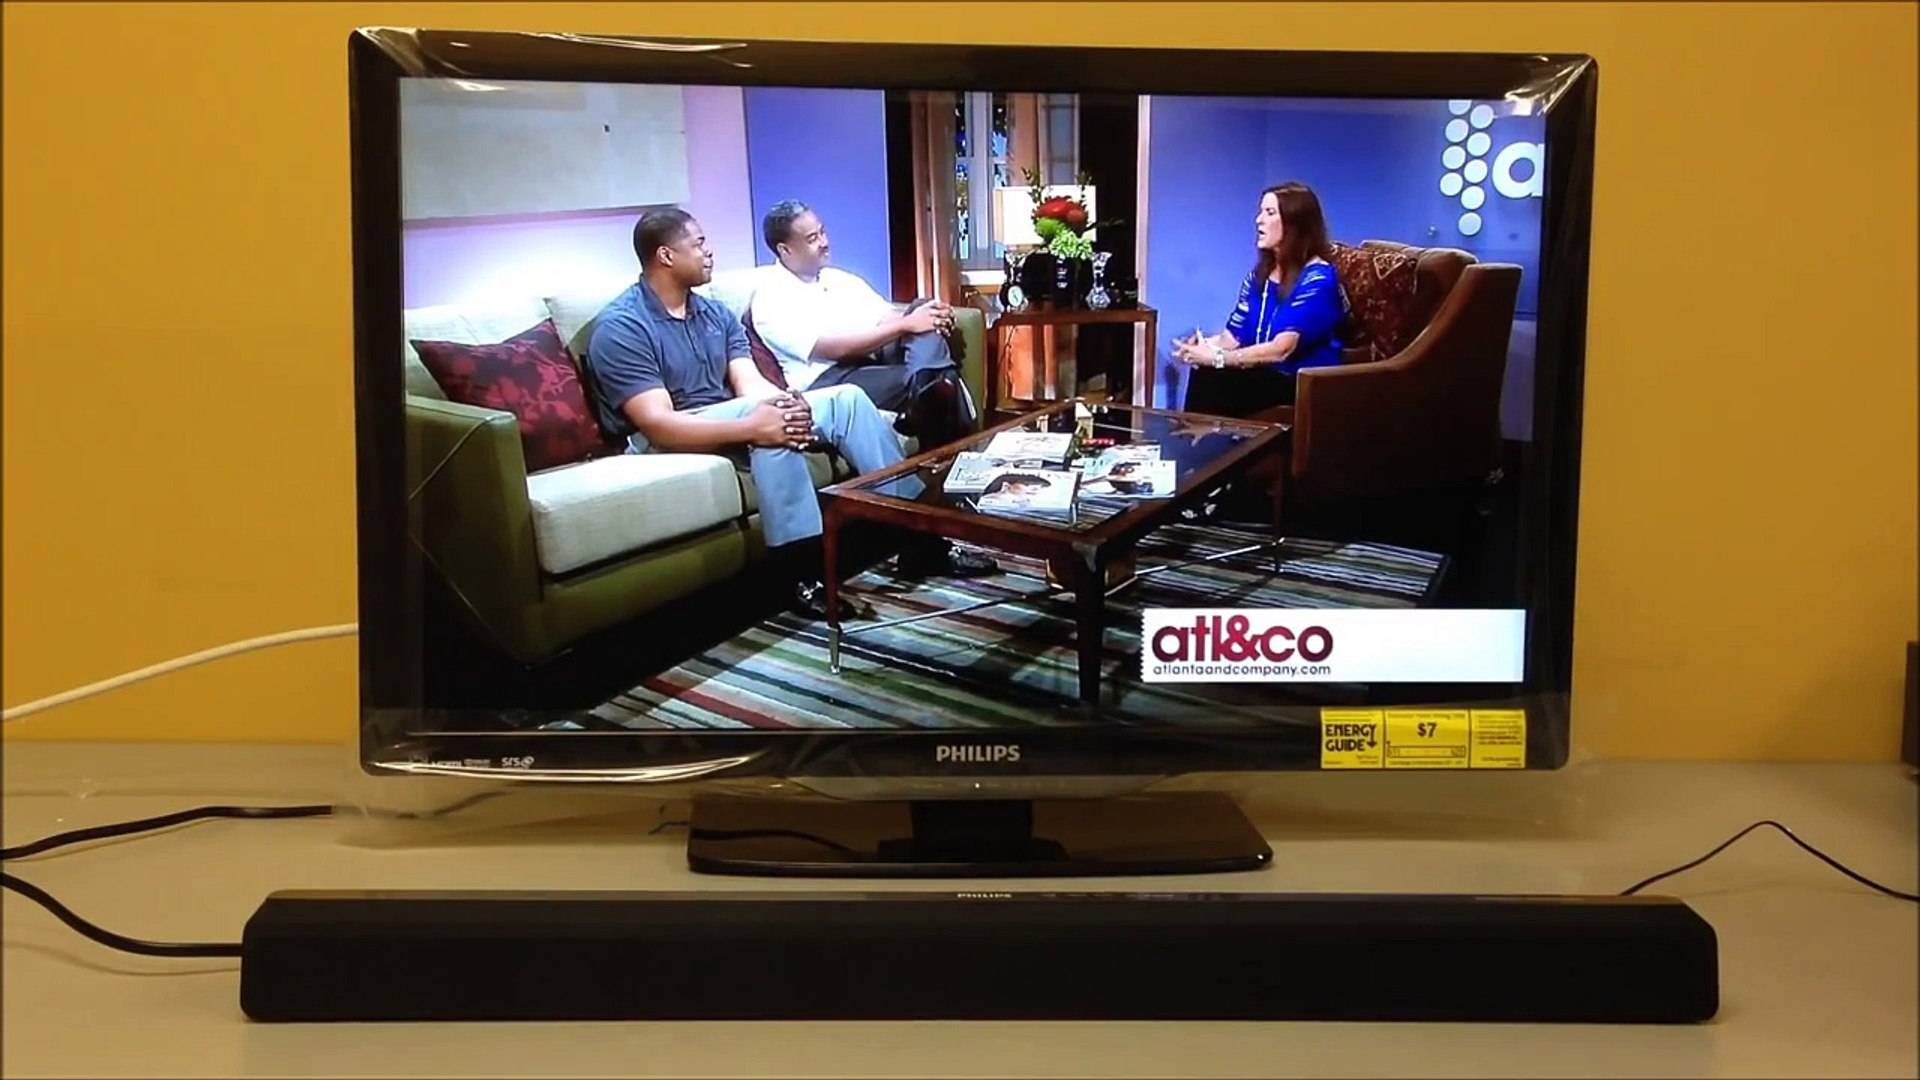
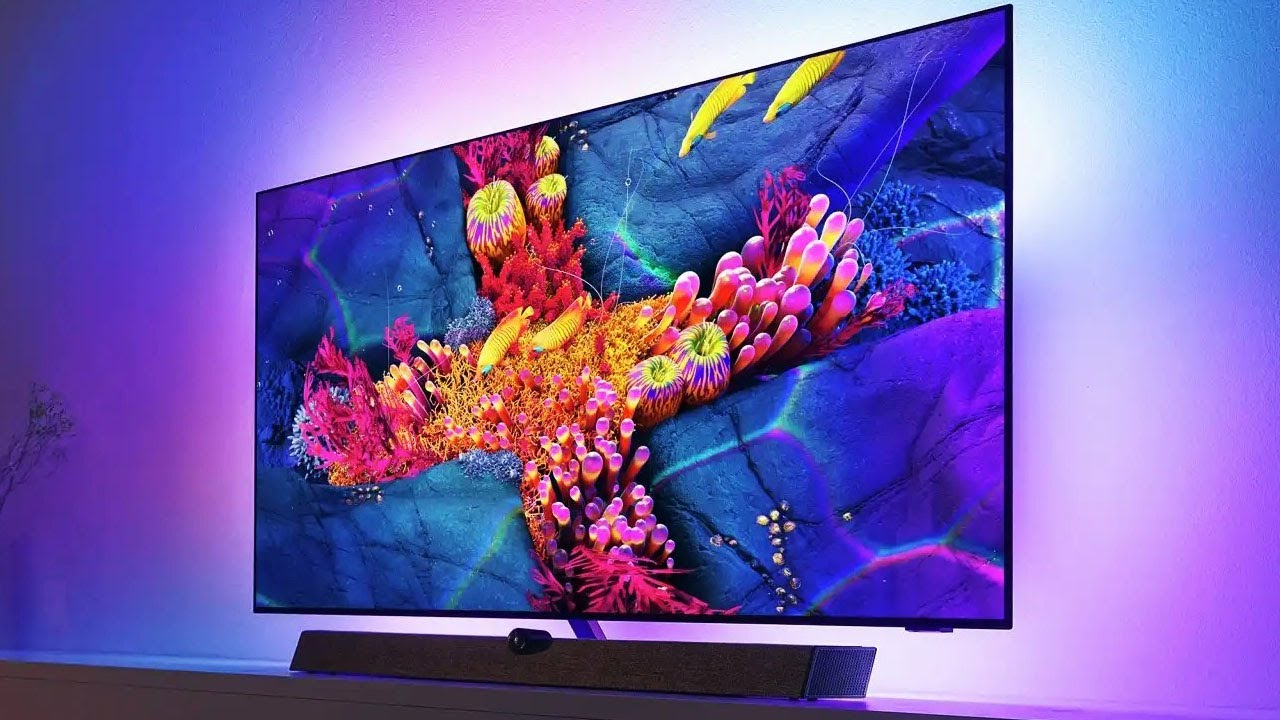
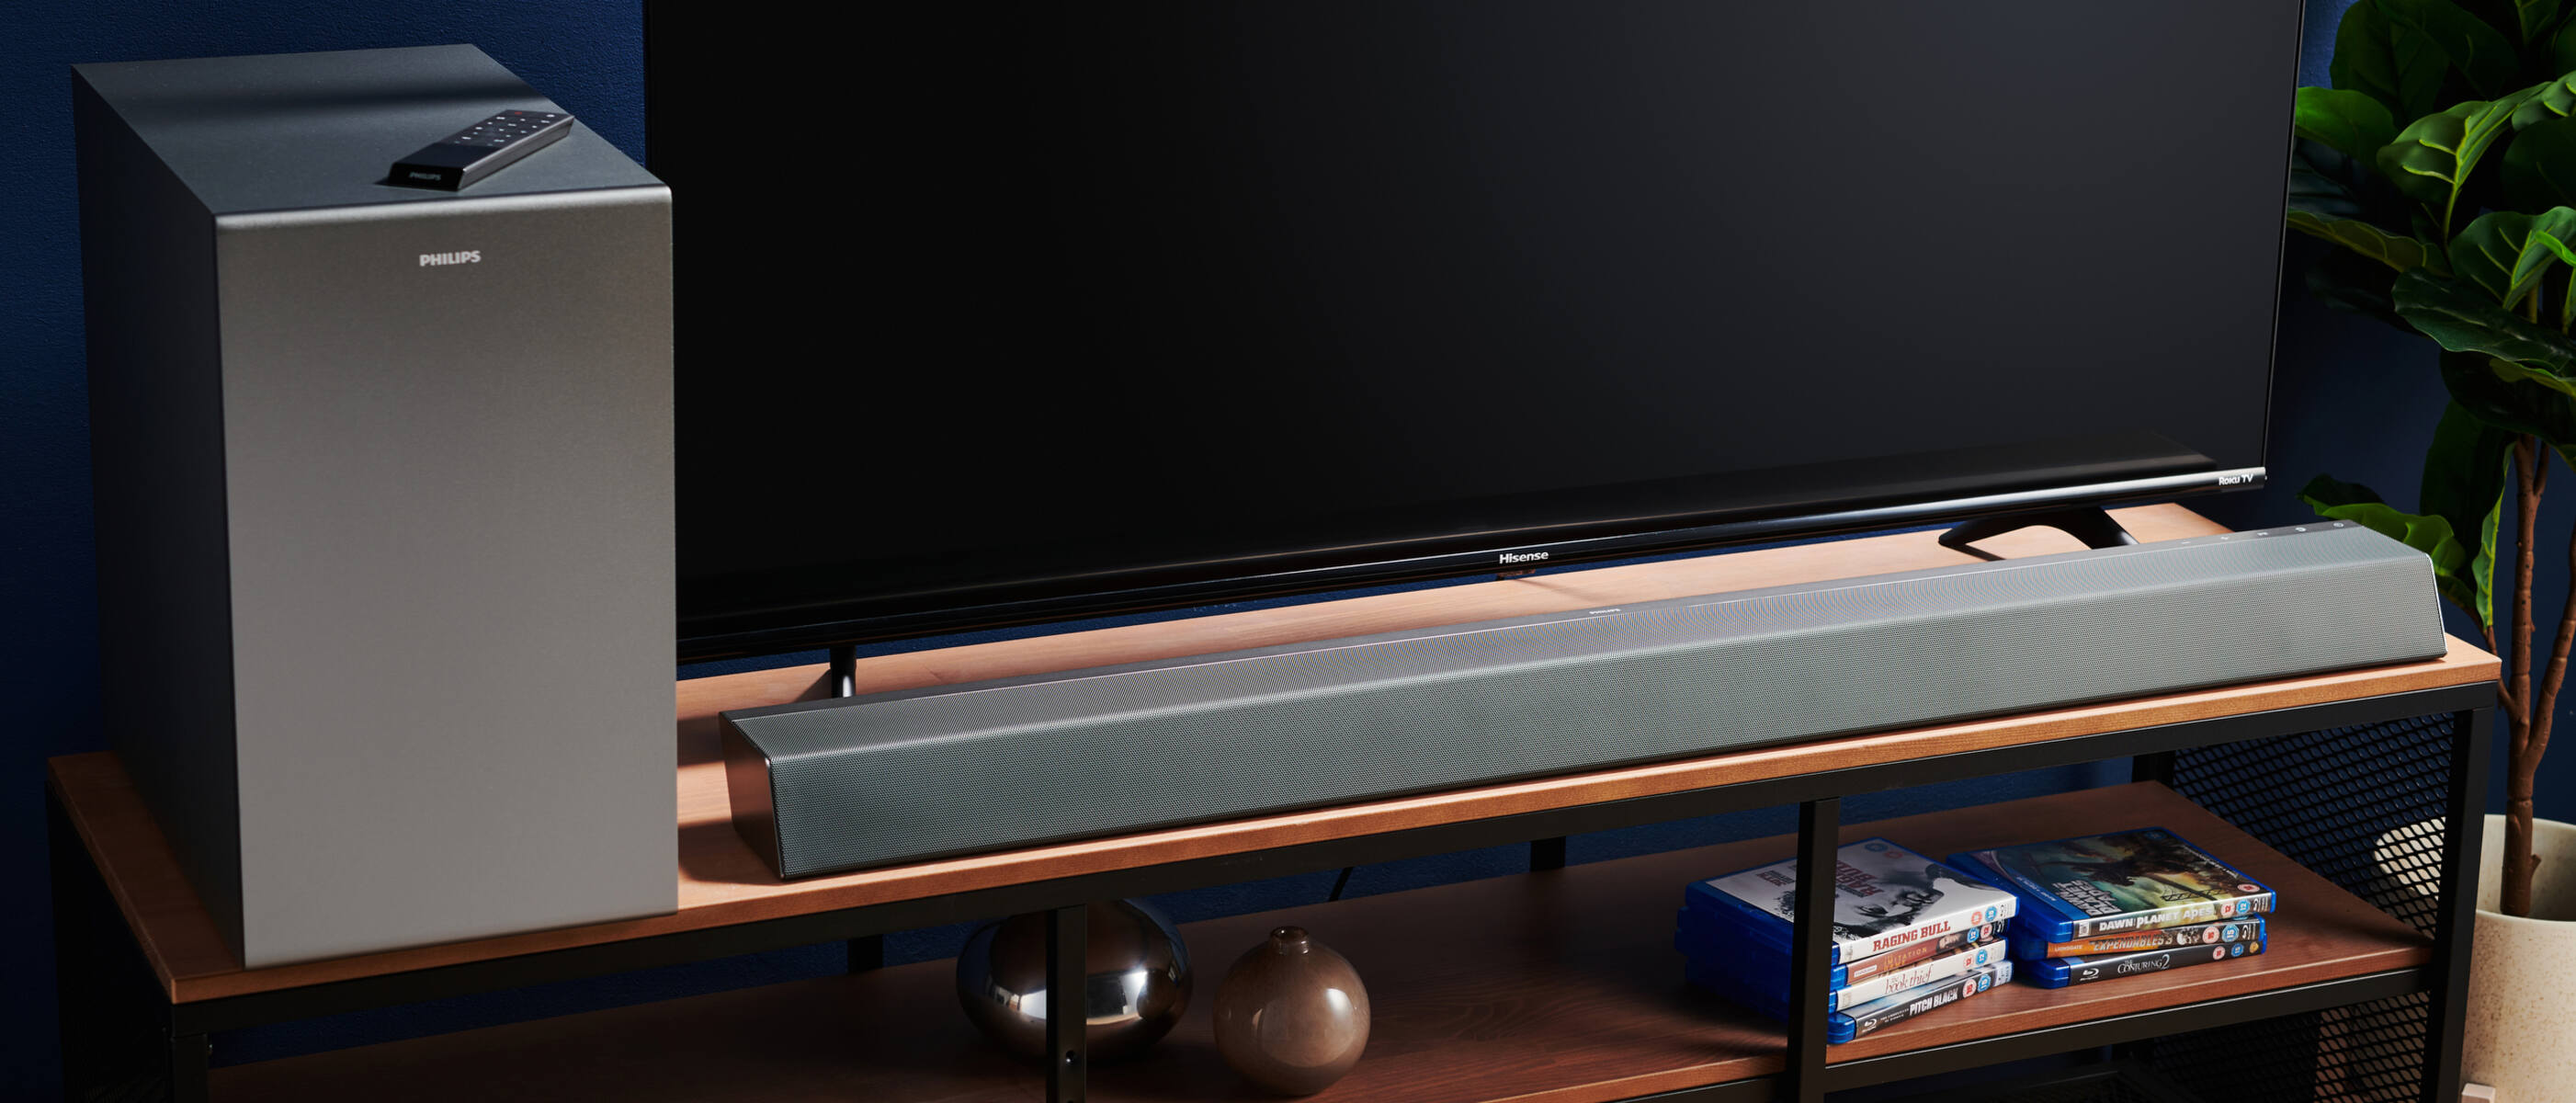
Connecting a soundbar to your Philips Smart TV can greatly enhance your audio experience and make your movie nights or TV viewing sessions more immersive. By adding a soundbar, you can enjoy richer and fuller sound quality, giving you a theater-like experience right in your living room.
However, knowing how to properly connect a soundbar to your Philips Smart TV might seem daunting, especially if you’re not familiar with the various audio ports and settings. But fear not, as this step-by-step guide will walk you through the process, ensuring that you have everything set up correctly for optimal sound output.
Before we dive into the connection process, it’s important to note that the availability of audio output options may vary depending on the model of your Philips Smart TV. Therefore, it’s recommended to consult your TV’s user manual or online support resources for specific information about your model.
In this guide, we will cover the general steps involved in connecting a soundbar to a Philips Smart TV. We’ll discuss how to identify the available audio ports on your TV, choose the appropriate connection method, and configure the sound settings for optimal performance.
Whether you’re a tech-savvy individual or a beginner, by following the steps outlined in this guide, you’ll be able to easily connect a soundbar to your Philips Smart TV and enjoy enhanced audio quality in no time.
Step 1: Identify the available ports on your Philips Smart TV
The first step in connecting a soundbar to your Philips Smart TV is to identify the available ports on your TV. Philips Smart TVs usually come equipped with a variety of audio output ports that can be used for connecting external audio devices like soundbars. Let’s take a look at some of the commonly found ports:
- HDMI Ports: HDMI ports are a popular choice for connecting a soundbar to a Philips Smart TV. These ports support high-definition audio and video signals, providing a seamless and high-quality connection. Look for HDMI input and output ports on your TV.
- Optical Audio Port: Another common audio output port found on Philips Smart TVs is the optical audio port, also known as a TOSLINK or SPDIF port. This port uses a fiber optic cable to transmit audio signals and is compatible with most soundbars.
- Auxiliary (AUX) Port: Some Philips Smart TVs may also have an auxiliary port, also known as a headphone jack. This port allows you to connect your soundbar using a 3.5mm audio cable. However, keep in mind that the audio quality may vary depending on the TV model.
- ARC (Audio Return Channel) HDMI Port: If your Philips Smart TV supports ARC, look for an HDMI port labeled “ARC” or “HDMI-ARC.” This port allows you to send audio signals from your TV to the soundbar, eliminating the need for an additional audio cable.
Once you’ve identified the available ports on your Philips Smart TV, it’s important to choose the appropriate connection method based on the ports available and the capabilities of your soundbar. In the next step, we’ll discuss how to determine the audio output options on your Philips Smart TV.
Step 2: Determine the audio output options on your Philips Smart TV
Before connecting your soundbar to your Philips Smart TV, it’s important to determine the audio output options available on your TV. These options will help you select the most appropriate connection method for your specific setup. Here are a few common audio output options you may encounter:
- Audio Pass-Through: Some Philips Smart TVs have the capability to pass audio directly from the incoming video source to the audio output, such as HDMI ARC or optical audio ports. This means that when you connect your soundbar to the TV through one of these ports, the TV will send the audio signals received from sources like cable boxes or streaming devices directly to the soundbar without any additional processing. This option ensures that you get the best audio quality possible.
- PCM (Pulse Code Modulation): If your Philips Smart TV does not support Audio Pass-Through, it might convert the incoming audio signals to PCM format before sending them out through the audio output ports. PCM is a standard digital audio format, and most soundbars can handle it. So, if your TV supports PCM audio output, you can connect your soundbar using an HDMI ARC or an optical audio cable to deliver high-quality audio.
- Dolby Digital and DTS: Some TVs can output audio in formats like Dolby Digital or DTS. These formats provide surround sound capability and are commonly used for movies and TV shows. If your TV supports these formats, you can connect your soundbar using an HDMI ARC or an optical audio cable to enjoy immersive audio experiences.
By understanding the audio output options on your Philips Smart TV, you can make an informed decision when selecting the connection method for your soundbar. In the next step, let’s discuss the various connection methods you can choose from.
Step 3: Choose the appropriate connection method for your soundbar
Once you have identified the audio output options on your Philips Smart TV, it’s time to choose the appropriate connection method for your soundbar. The method you choose will depend on the available ports on your TV and the capabilities of your soundbar. Here are a few common connection methods:
- HDMI Connection: If both your Philips Smart TV and soundbar have HDMI ARC ports, this is the recommended method. Simply connect one end of an HDMI cable to the HDMI ARC port on the TV and the other end to the HDMI ARC port on the soundbar. This method allows for easy control of volume and audio settings through the TV remote.
- Optical Audio Connection: If your Philips Smart TV has an optical audio port and your soundbar is equipped with an optical input, you can use an optical audio cable to connect the two devices. Connect one end of the cable to the TV’s optical audio port and the other end to the soundbar’s optical input. Remember to remove any plastic caps or covers from the ports before making the connection.
- Auxiliary (AUX) Connection: If your TV has an auxiliary port and your soundbar has a 3.5mm audio input, you can use a 3.5mm audio cable to connect the two devices. Simply plug one end of the audio cable into the TV’s auxiliary port and the other end into the soundbar’s 3.5mm audio input. Keep in mind that the audio quality may not be as optimal as with HDMI or optical connections.
- Wireless Connection: Some soundbars and Philips Smart TVs support wireless connectivity options such as Bluetooth or Wi-Fi. If both devices have wireless capabilities, you can pair them together and stream audio wirelessly from the TV to the soundbar. Refer to the user manuals of your TV and soundbar for specific instructions on how to set up a wireless connection.
When choosing the connection method, consider the available ports on your Philips Smart TV, the desired audio quality, and the capabilities of your soundbar. Once you have chosen the appropriate connection method, you’re ready to proceed to the next step and physically connect the soundbar to your Philips Smart TV.
Step 4: Connect the soundbar to your Philips Smart TV using the selected method
Now that you have chosen the appropriate connection method for your soundbar, it’s time to physically connect it to your Philips Smart TV. Follow the steps below based on the selected method:
- HDMI Connection: If you have chosen the HDMI connection method, start by locating the HDMI ARC (Audio Return Channel) ports on both your Philips Smart TV and the soundbar. Connect one end of the HDMI cable to the HDMI ARC port on the TV and the other end to the HDMI ARC port on the soundbar. Make sure to insert the cable securely. Once connected, power on both devices and set your TV’s audio output to the soundbar.
- Optical Audio Connection: For an optical audio connection, find the optical audio port on your Philips Smart TV and the soundbar. Insert one end of the optical audio cable into the TV’s optical audio port and the other end into the soundbar’s optical input. Ensure a snug fit. Power on both devices and configure the TV’s audio settings to output sound through the soundbar.
- Auxiliary (AUX) Connection: If you’re using an auxiliary connection, locate the auxiliary port on your Philips Smart TV and the 3.5mm audio input on the soundbar. Insert one end of the 3.5mm audio cable into the TV’s auxiliary port and the other end into the soundbar’s 3.5mm audio input. Make sure the connection is secure. Turn on both devices and adjust the TV’s audio settings to output audio through the soundbar.
- Wireless Connection: If you have opted for a wireless connection, refer to the user manuals of both your Philips Smart TV and soundbar for specific instructions on how to pair and connect the devices wirelessly. The process may involve accessing the TV’s settings menu to enable wireless connectivity and following the soundbar’s pairing instructions. Once connected, configure the audio settings on the TV to output sound through the soundbar.
After you have completed the connection, perform a sound test to ensure that the soundbar is functioning properly. Play some audio or a video on your Philips Smart TV and listen for the sound coming from the soundbar. If the sound is coming through the soundbar, you have successfully connected it to your TV using the selected method.
Keep in mind that the settings and procedures may vary depending on the specific model of your Philips Smart TV and soundbar. Consult the user manuals or online support resources for detailed instructions specific to your devices.
Step 5: Configure the sound settings on your Philips Smart TV
After connecting your soundbar to your Philips Smart TV, it’s important to configure the sound settings on your TV to ensure optimal audio performance. Here are a few settings you may need to adjust:
- Audio Output: Access the TV’s settings menu and navigate to the audio settings. Select the audio output option and choose the connected soundbar as the audio output device. This will ensure that the TV sends the audio signals to the soundbar for playback.
- Sound Mode: Check if your Philips Smart TV offers different sound modes or equalizer settings. Experiment with different sound modes to find the one that best suits your audio preferences. You may have options like “Standard,” “Movie,” “Music,” or “Sports.” Choose the mode that provides the desired sound experience.
- Audio Delay (Lip Sync): Some soundbars or TV setups may experience a slight delay between the video and audio output. If you notice any synchronization issues where the audio lags behind the video, look for the audio delay or lip sync settings in the TV’s audio menu. Adjust the settings to sync the audio with the video playback.
- Volume Control: Check if the volume control on your TV’s remote is set to control the soundbar’s volume. Some TVs allow you to sync the soundbar’s volume with the TV’s volume control. This way, you can control the soundbar’s volume directly from the TV remote without the need for a separate remote.
- Additional Sound Settings: Explore other sound settings on your Philips Smart TV, such as bass, treble, surround sound, or virtual sound enhancements. Adjust these settings according to your preferences to fine-tune the audio quality and create a more immersive audio experience.
Take your time to explore and experiment with the available sound settings on your TV. Make adjustments as needed to achieve the best audio performance from your soundbar and Philips Smart TV combination.
It’s important to note that the options, terminology, and locations of these settings may vary depending on the model of your Philips Smart TV. Refer to the user manual or online support resources for specific instructions tailored to your TV model.
Once you have configured the sound settings to your liking, you can proceed to the final step and test the connection between your Philips Smart TV and the soundbar.
Step 6: Test the connection and adjust the soundbar settings if needed
After connecting your soundbar to your Philips Smart TV and configuring the TV’s sound settings, it’s time to test the connection and ensure everything is working as expected. Follow these steps to test the connection and make any necessary adjustments:
- Play Audio/Video Content: Select an audio or video source on your Philips Smart TV and play a piece of content that you are familiar with. This can be a movie, TV show, music, or any other content that showcases a wide range of audio. Ensure that the sound is coming from the soundbar and not the TV’s built-in speakers.
- Volume Control: Adjust the volume using the TV’s remote control or the soundbar’s remote control, depending on how you have set up the volume control settings. Confirm that the volume control is working properly and that the soundbar responds accordingly.
- Audio Quality: Pay attention to the audio quality coming from the soundbar. Ensure that the sound is clear, crisp, and balanced. If you notice any audio distortion, muffled sound, or uneven volume levels, you may need to make adjustments to the soundbar’s own settings. Refer to the soundbar’s user manual for instructions on how to adjust its sound settings.
- Surround Sound (If Applicable): If your soundbar supports surround sound or has additional speakers, test the surround sound capabilities by playing content that is formatted for surround sound. Confirm that the sound is distributed correctly across the speakers and that you can hear the directional cues of the surround sound audio.
- Audio Sync: Keep an eye out for any audio syncing issues where the audio is not properly aligned with the video. If you notice any delay or lip-sync issues, you may need to adjust the audio sync settings on the soundbar or the TV to ensure that the audio and video are in perfect sync.
By testing the connection and making any necessary adjustments, you can ensure that your soundbar is functioning optimally with your Philips Smart TV. Enjoy the improved audio experience and immerse yourself in your favorite movies, shows, and music.
If you encounter any issues during the testing process or are not satisfied with the sound quality, refer to the troubleshooting section of the soundbar’s user manual or contact the manufacturer’s customer support for further assistance.
Congratulations! You have successfully connected and configured your soundbar to your Philips Smart TV. Sit back, relax, and enjoy the enhanced audio experience that your soundbar brings to your entertainment setup.
Conclusion
Connecting a soundbar to your Philips Smart TV can significantly enhance your audio experience, bringing immersive and high-quality sound to your entertainment setup. By following the steps outlined in this guide, you can easily connect your soundbar to your Philips Smart TV and enjoy a theater-like audio experience from the comfort of your living room.
In this guide, we covered the essential steps involved in connecting a soundbar to your Philips Smart TV. We started by identifying the available ports on your TV, determining the audio output options, choosing the appropriate connection method, and physically connecting the soundbar to your TV. We then discussed how to configure the sound settings on your TV and test the connection to ensure optimal audio performance.
Remember to consult the user manuals or online support resources specific to your Philips Smart TV and soundbar for detailed instructions and troubleshooting information. Each model may have slight variations in terms of available ports, settings, and connectivity options.
Now that you have successfully connected your soundbar to your Philips Smart TV, you can enjoy an enhanced audio experience while watching movies, TV shows, and playing music. Sit back, relax, and immerse yourself in the rich and dynamic sound that your soundbar brings to your entertainment setup.
Thank you for choosing this guide to help you with connecting your soundbar to your Philips Smart TV. We hope you find this information useful and enjoy your improved audio experience. Happy watching!


