Introduction
Welcome! If you’ve purchased a Philips Soundbar and are looking to connect it to your TV for an immersive audio experience, you’ve come to the right place. A soundbar is a convenient and space-saving device that enhances the sound quality of your TV, offering a more cinematic audio experience.
In this guide, we will walk you through the step-by-step process of connecting your Philips Soundbar to your TV. Whether you’re a tech enthusiast or a novice, don’t worry – we’ve got you covered. By following these instructions, you’ll be able to enjoy the full potential of your soundbar in no time.
Before we dive into the setup process, it’s worth mentioning that the specific steps may vary depending on the model of your Philips Soundbar and your TV. Be sure to consult the user manuals for both devices for any specific instructions or additional features.
But don’t worry, we’ll be covering the general steps and settings that are common for most Philips Soundbars and TVs. So let’s get started with unboxing and setting up your Philips Soundbar!
Step 1: Unpacking the Philips Soundbar
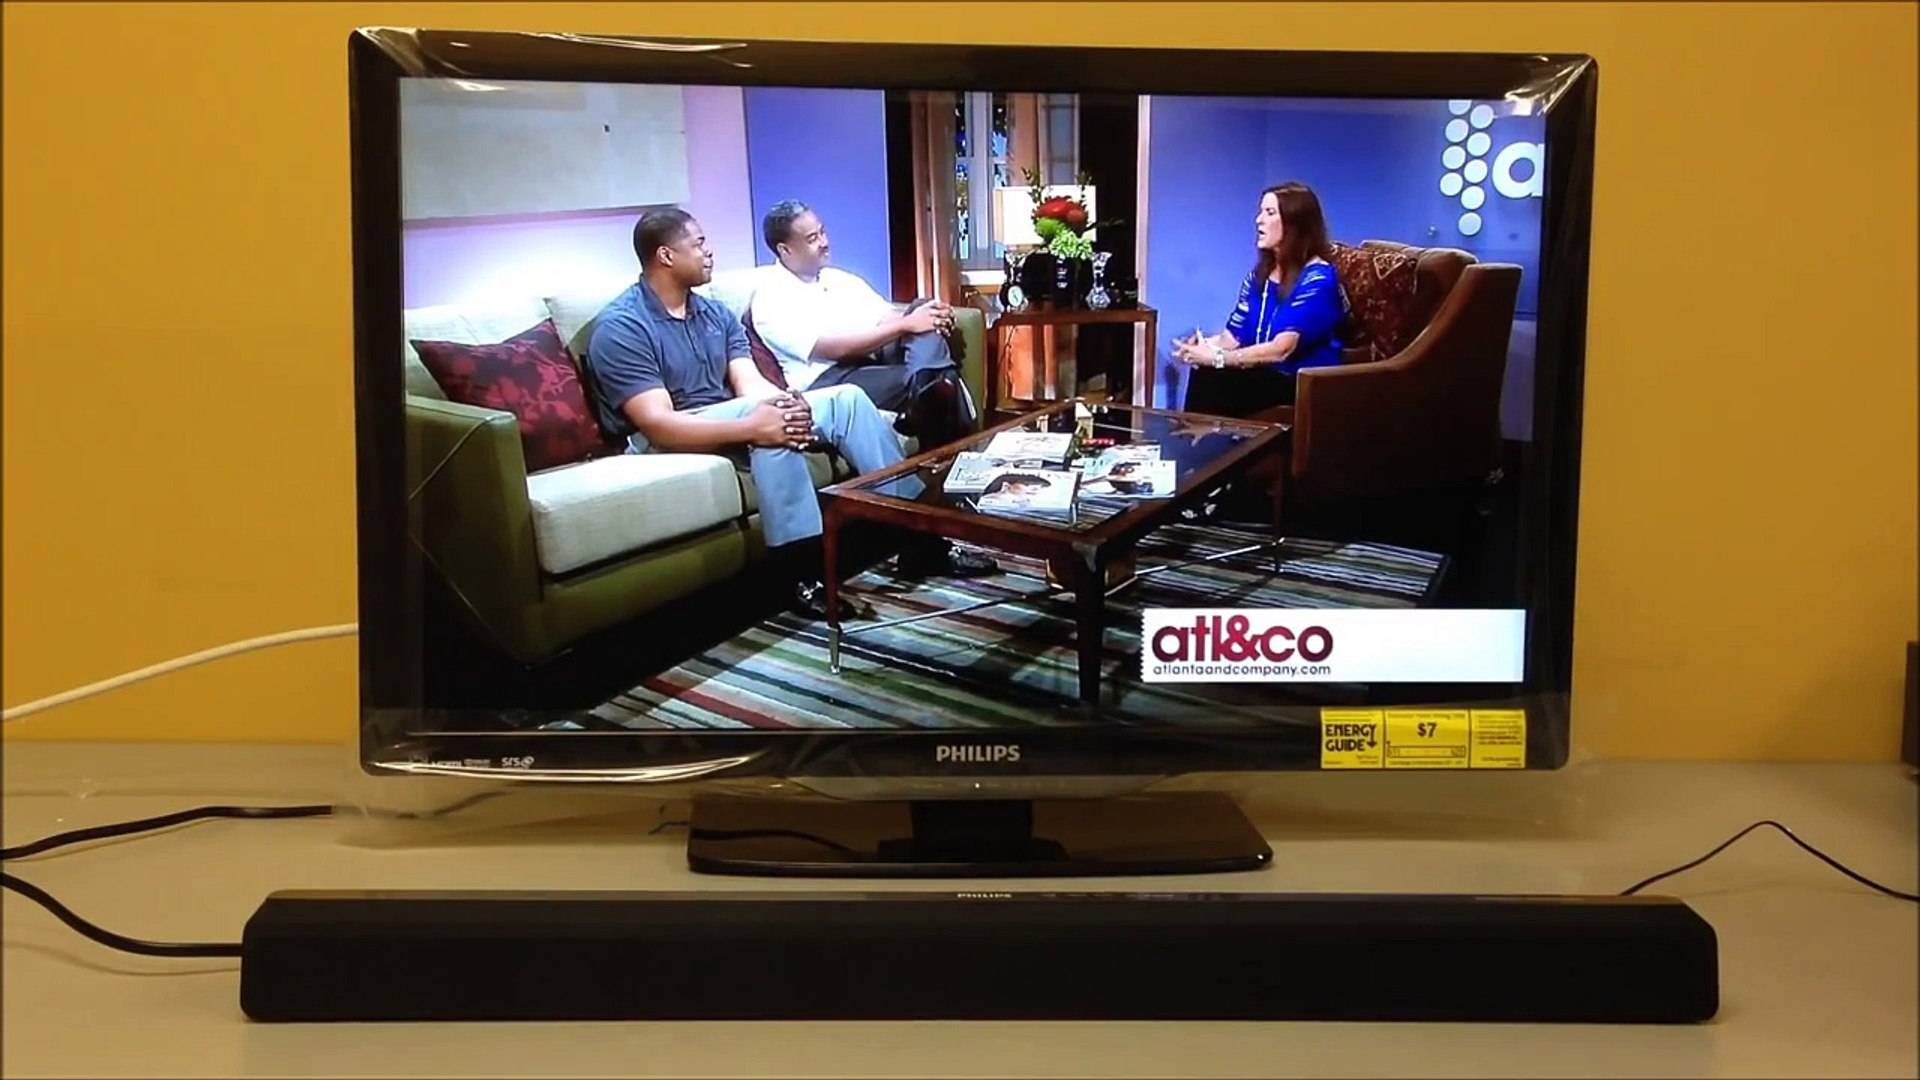
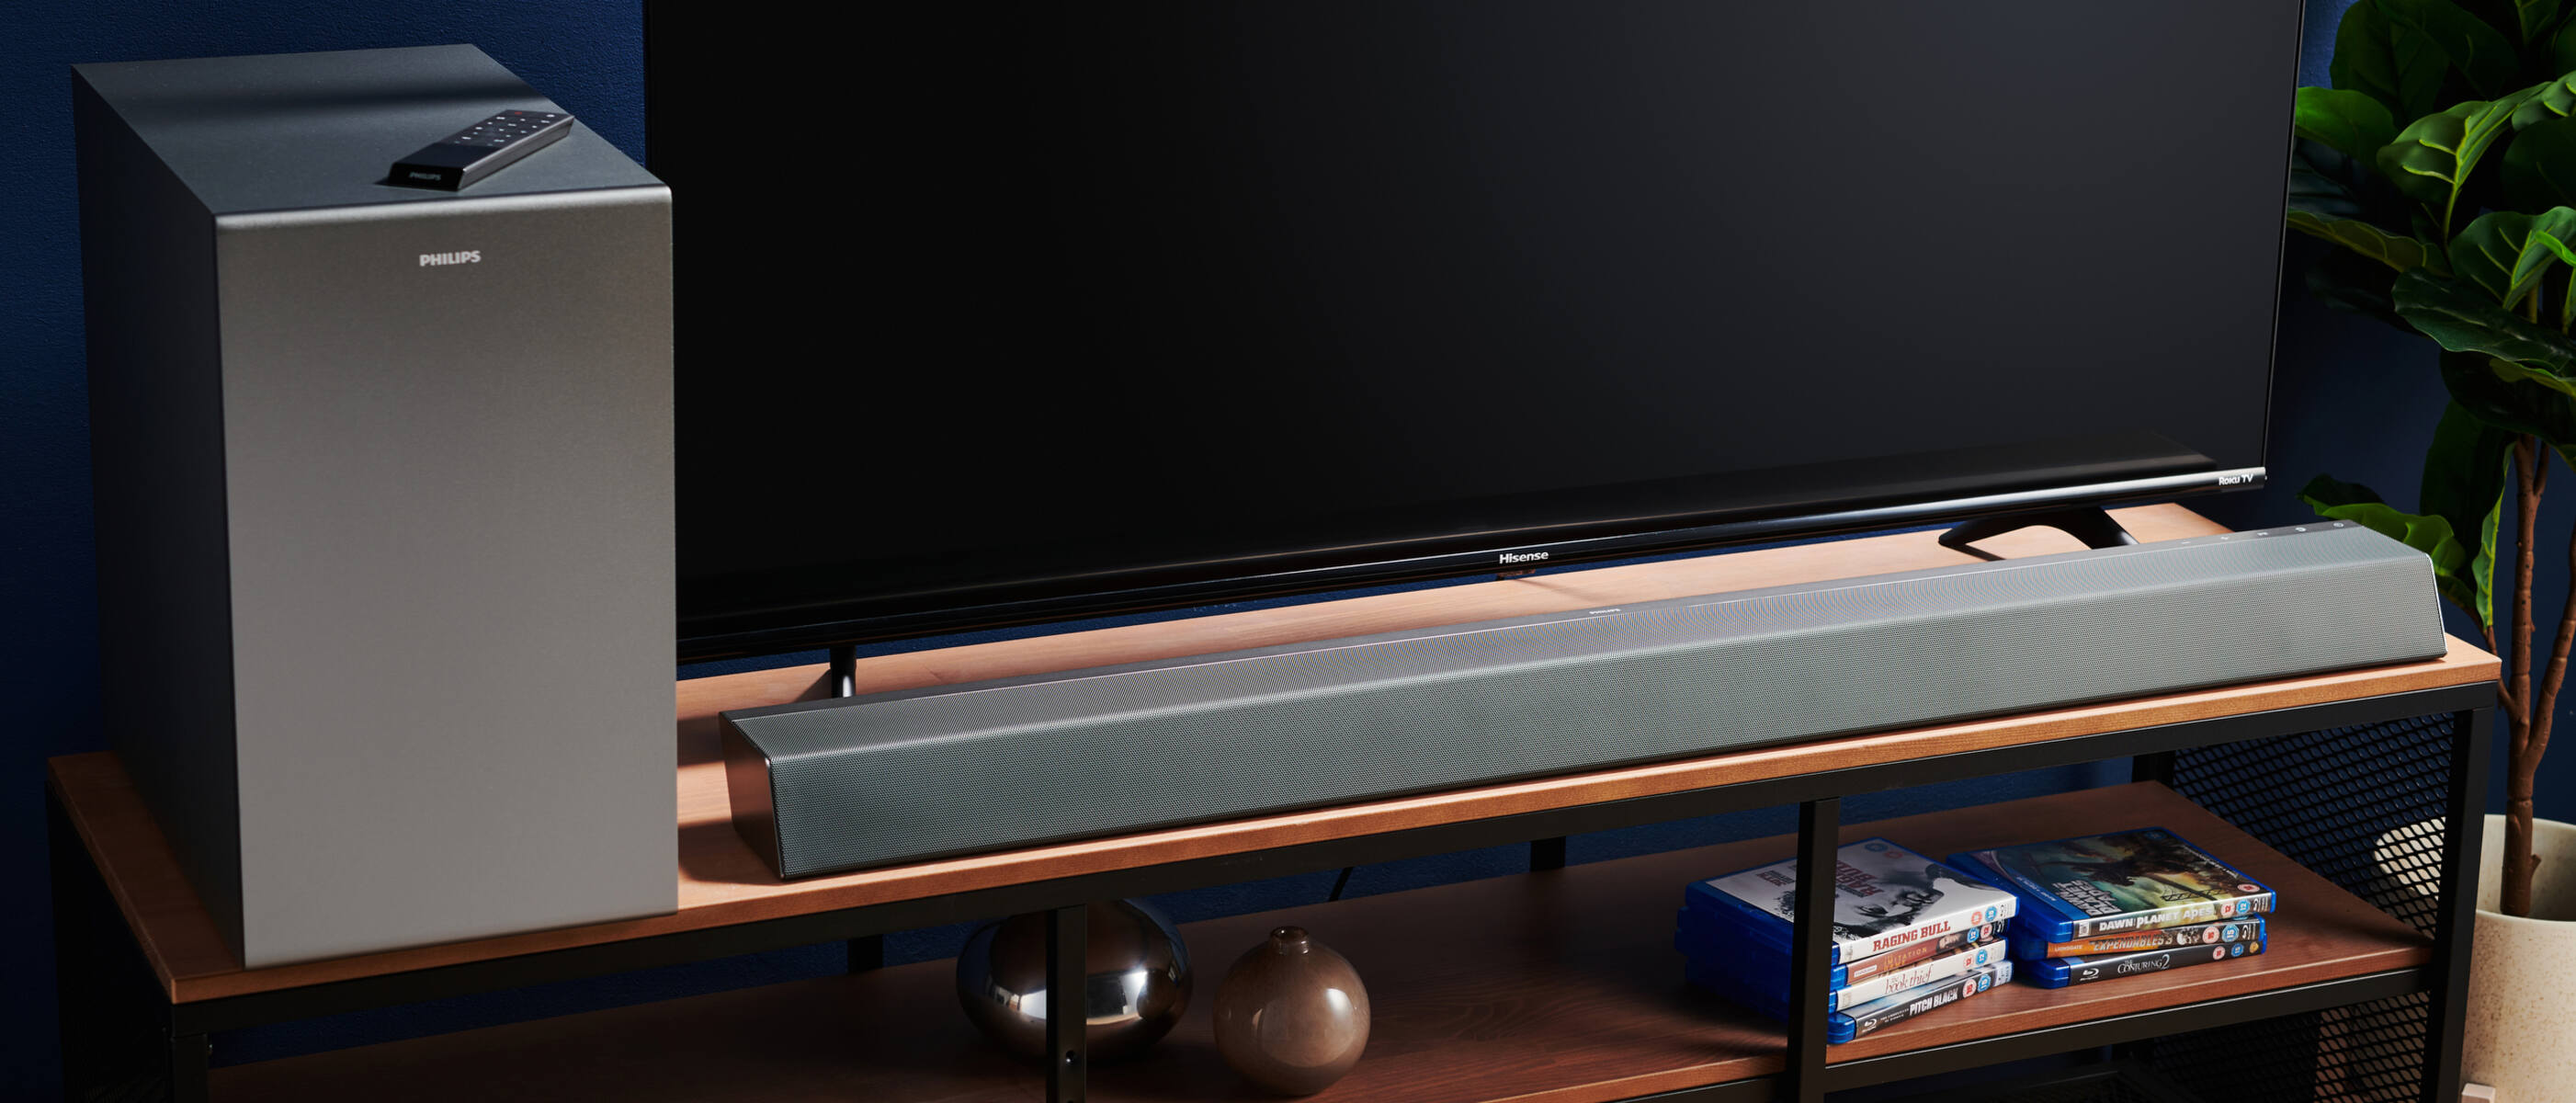
The first step in connecting your Philips Soundbar to your TV is unpacking the soundbar itself. When you open the box, you’ll find the soundbar, a power supply, and possibly some additional accessories like a remote control or wall mounting brackets.
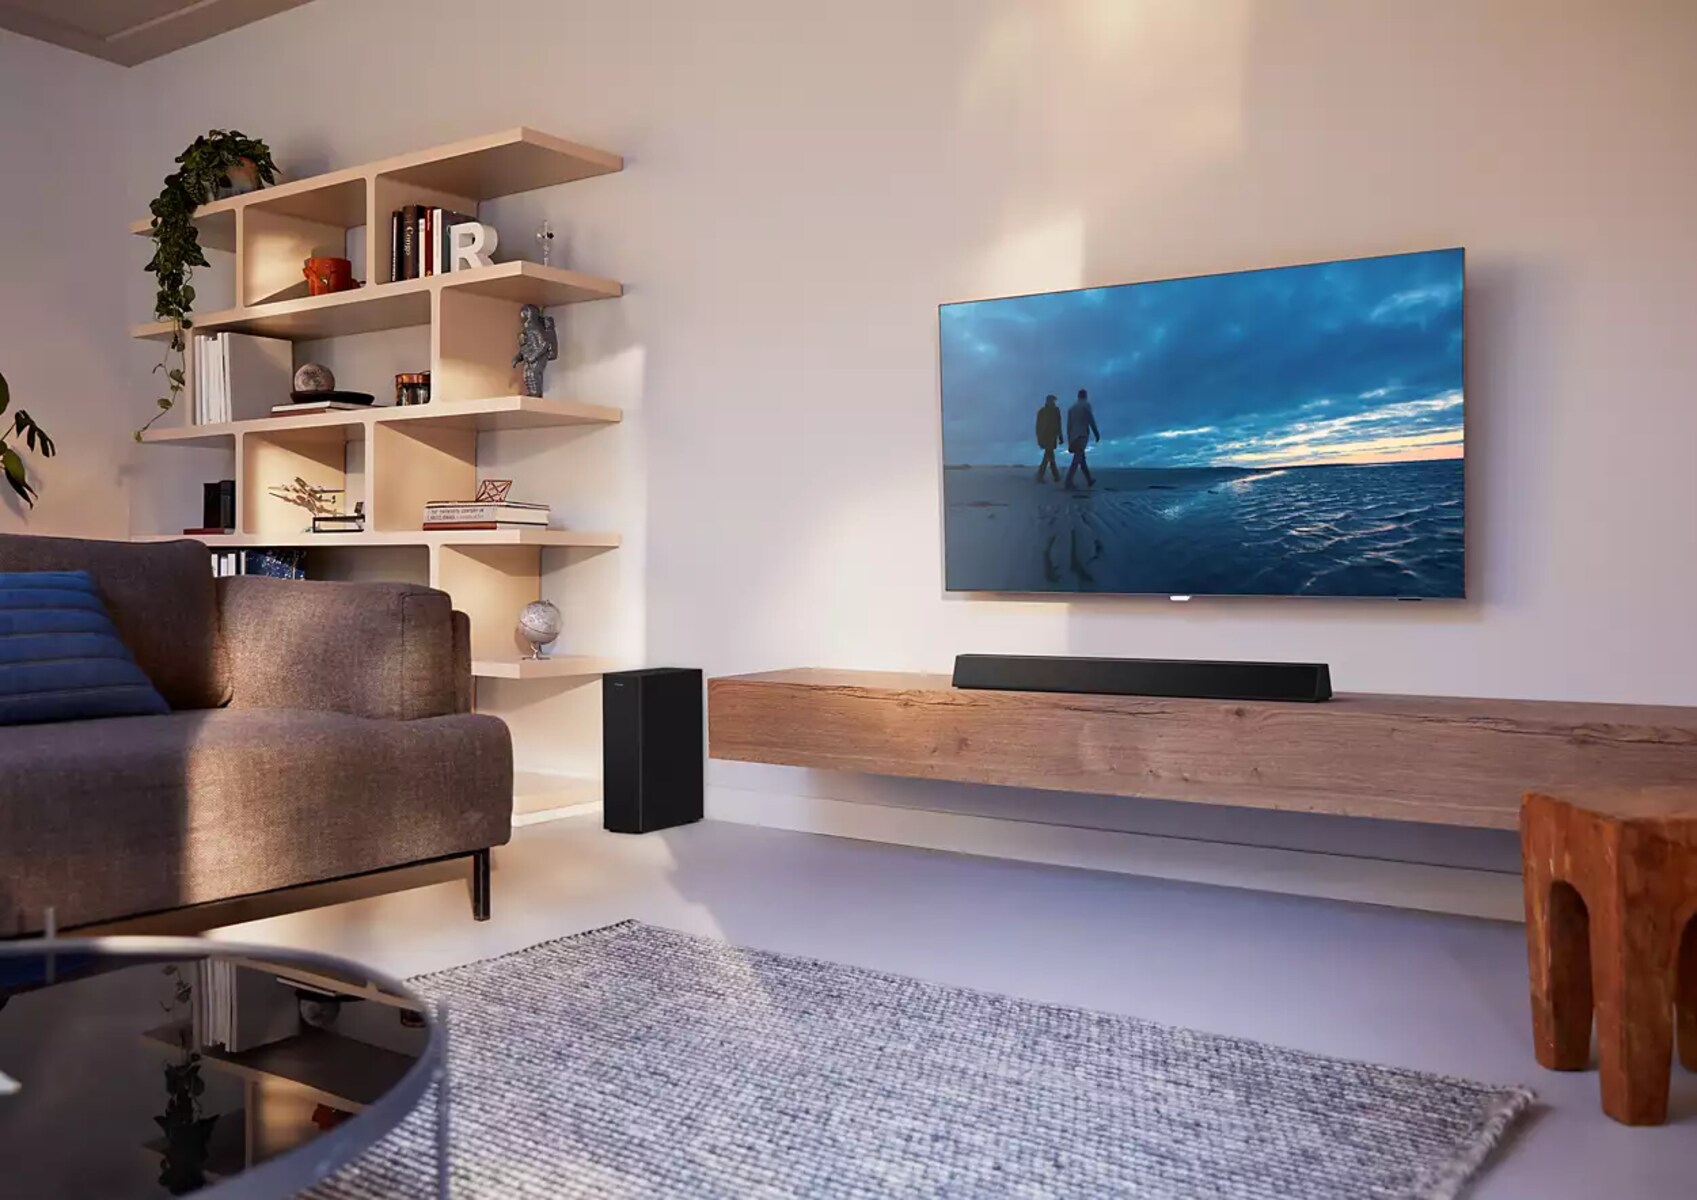
Carefully remove the soundbar from its packaging, taking care not to damage any of the delicate components. Place the soundbar on a sturdy surface near your TV, preferably centered for optimal sound distribution.
Next, take a few minutes to familiarize yourself with the different ports and buttons on the soundbar. Typically, you’ll find various inputs and outputs, such as HDMI ports, optical inputs, and USB ports. These connections will be crucial for establishing the connection between your soundbar and TV in the following steps.
It’s also a good idea to check the user manual for any specific instructions or recommendations regarding the setup of your particular soundbar model. This will ensure that you’re aware of any special features or settings that might enhance your audio experience.
Once you’ve unpacked and familiarized yourself with the soundbar, you’re ready to move on to the next step: connecting the power supply.
Step 2: Connecting the Power Supply
Now that you have your Philips Soundbar unpacked and ready, it’s time to connect the power supply. This step is essential to ensure that your soundbar has the necessary power to operate effectively.
Locate the power cable that came with your soundbar and plug one end into the power input on the back of the soundbar. Make sure the connection is secure but avoid applying excessive force.
Next, connect the other end of the power cable into a power outlet or surge protector. It’s a good practice to use a surge protector to protect your soundbar from power fluctuations and potential electrical damage.
Once you have securely connected the power supply, you should see a power indicator light on the soundbar indicating that it is receiving power. Take a moment to ensure that the soundbar is turned off before moving on to the next step.
Connecting the power supply is an essential first step in setting up your Philips Soundbar. Now that your soundbar is powered up, you’re ready to move on to the next step and establish the connection between your soundbar and TV.
Step 3: Connecting the Soundbar to Your TV
Now that you’ve unpacked the Philips Soundbar and connected the power supply, it’s time to establish the connection between the soundbar and your TV to enjoy an immersive audio experience.
There are several ways you can connect your soundbar to your TV, depending on the available ports and the capabilities of both devices. Here are some common methods:
- HDMI ARC (Audio Return Channel): If your TV and soundbar support HDMI ARC, this is the recommended method for connecting. Simply connect one end of the HDMI cable to the HDMI ARC port on your TV and the other end to the HDMI ARC port on your soundbar. This connection not only transfers audio from your TV to the soundbar, but it also allows you to control the soundbar with your TV remote.
- Optical Cable: If your TV does not have an HDMI ARC port, you can use an optical cable. Connect one end of the optical cable to the optical output on your TV and the other end to the optical input on your soundbar. Make sure to remove any protective caps before inserting the cable.
- 3.5mm Aux Cable: Some older TVs or soundbars may have a 3.5mm headphone jack. In this case, you can use a 3.5mm aux cable to connect the headphone jack on your TV to the 3.5mm audio input on your soundbar. This method, however, may result in lower audio quality compared to HDMI or optical connections.
- Bluetooth: If your soundbar and TV both support Bluetooth, you can wirelessly connect them. Enable Bluetooth on both devices, ensure they’re in pairing mode, and select the soundbar on your TV’s Bluetooth settings.
Once you’ve made the connection using the appropriate method for your devices, power on both the soundbar and your TV. Access the sound settings on your TV and select the appropriate audio output to ensure that the sound is being directed to the soundbar.
Congratulations! You have successfully connected your Philips Soundbar to your TV. In the next step, we will guide you through adjusting the soundbar settings to optimize your audio experience.
Step 4: Adjusting the Soundbar Settings
With your Philips Soundbar successfully connected to your TV, it’s time to fine-tune the settings to ensure the best audio experience. By adjusting the soundbar settings, you can customize the sound output to suit your preferences and the content you’re enjoying.
To begin, use the included remote control or the buttons on the soundbar to access the settings menu. The specific settings and options may vary depending on your soundbar model, but here are some common settings you may find:
- Sound Modes: Many soundbars offer different sound modes or presets, such as movie mode, music mode, or game mode. Experiment with these modes to find the one that enhances your audio experience depending on the content you’re watching or listening to.
- Bass and Treble: Adjusting the bass and treble settings can help you achieve the desired sound balance. Increase the bass for a more booming effect or adjust the treble for sharper, clearer audio.
- Volume Leveling: Some soundbars have a volume leveling feature that helps to equalize the volume across different types of content, preventing sudden volume changes during commercials or action scenes.
- Surround Sound: If your soundbar supports surround sound, make sure to enable it for an immersive audio experience. Refer to the user manual for instructions on how to configure and position any additional speakers for optimal surround sound performance.
- Audio Sync: If you notice a delay between the audio and video, you can adjust the audio sync settings to synchronize them. This is particularly useful when watching content where lip sync is important, such as movies or live performances.
Feel free to explore other settings and features offered by your Philips Soundbar to further enhance your listening experience. It’s a good idea to refer to the user manual for your specific soundbar model to fully understand the available options and their functions.
Once you’ve adjusted the soundbar settings to your liking, sit back, relax, and enjoy high-quality audio from your Philips Soundbar. If you encounter any issues or need further assistance, don’t worry – we’ll cover some common troubleshooting tips in the next step.
Step 5: Troubleshooting Common Issues
Even with the most careful setup, it’s possible to encounter some common issues when connecting and using your Philips Soundbar with your TV. Here are a few troubleshooting tips to help you resolve any problems you may encounter:
- No Sound: If you’re not getting any sound from your soundbar, start by checking the connections. Ensure that the cables are securely plugged into the correct ports and that all devices are powered on. Additionally, make sure the soundbar is set to the correct input source and that the volume is turned up.
- Poor Audio Quality: If the audio quality is not up to your expectations, check the sound settings on both the soundbar and your TV. Adjust the sound modes, bass, treble, or any other settings to see if it improves the audio quality. It’s also worth considering the placement of the soundbar and any other speakers for optimal sound distribution.
- Audio Sync Issues: If you notice a delay between the audio and video, adjust the audio sync settings on your soundbar. Increase or decrease the delay until the audio aligns with the visuals. If the delay persists, you may need to check if there are any software updates available for your soundbar or TV.
- Remote Control Issues: If you’re experiencing difficulties with the remote control, ensure that there are no obstructions between the remote and the soundbar. Replace the batteries if necessary. If the remote control still doesn’t work, it may require pairing or need to be replaced.
- No HDMI ARC Signal: If you’re using the HDMI ARC connection and not receiving any signal, check that both your TV and soundbar support HDMI ARC. Ensure that the HDMI cable is firmly connected to the correct HDMI ARC ports on both devices. You may also need to enable HDMI ARC on your TV’s settings menu.
If these troubleshooting tips do not resolve your issues, consult the user manual for your Philips Soundbar or consider reaching out to the manufacturer’s customer support for further assistance. They will be able to provide more specific guidance and troubleshooting steps based on your particular soundbar model and TV setup.
With the troubleshooting steps covered, you should now be able to enjoy uninterrupted audio from your Philips Soundbar. Happy listening!
Conclusion
Congratulations! You’ve successfully connected your Philips Soundbar to your TV and optimized the audio settings for a superior audio experience. By following the step-by-step instructions in this guide, you’ve unlocked the full potential of your soundbar and can now enjoy immersive sound with your favorite movies, shows, and music.
Remember, every soundbar and TV setup is unique, so you may encounter specific challenges or variations in the setup process. Consulting the user manuals for your soundbar and TV will provide you with the most accurate and detailed instructions for your specific models.
If you’re still experiencing issues or have questions about your Philips Soundbar, don’t hesitate to reach out to the manufacturer’s customer support. They are equipped with the expertise to assist you further and ensure that you get the most out of your soundbar.
We hope that this guide has helped you successfully connect your Philips Soundbar to your TV and enhance your audio experience. Now sit back, relax, and immerse yourself in high-quality sound as you enjoy all your favorite content. Happy watching and listening!