Introduction
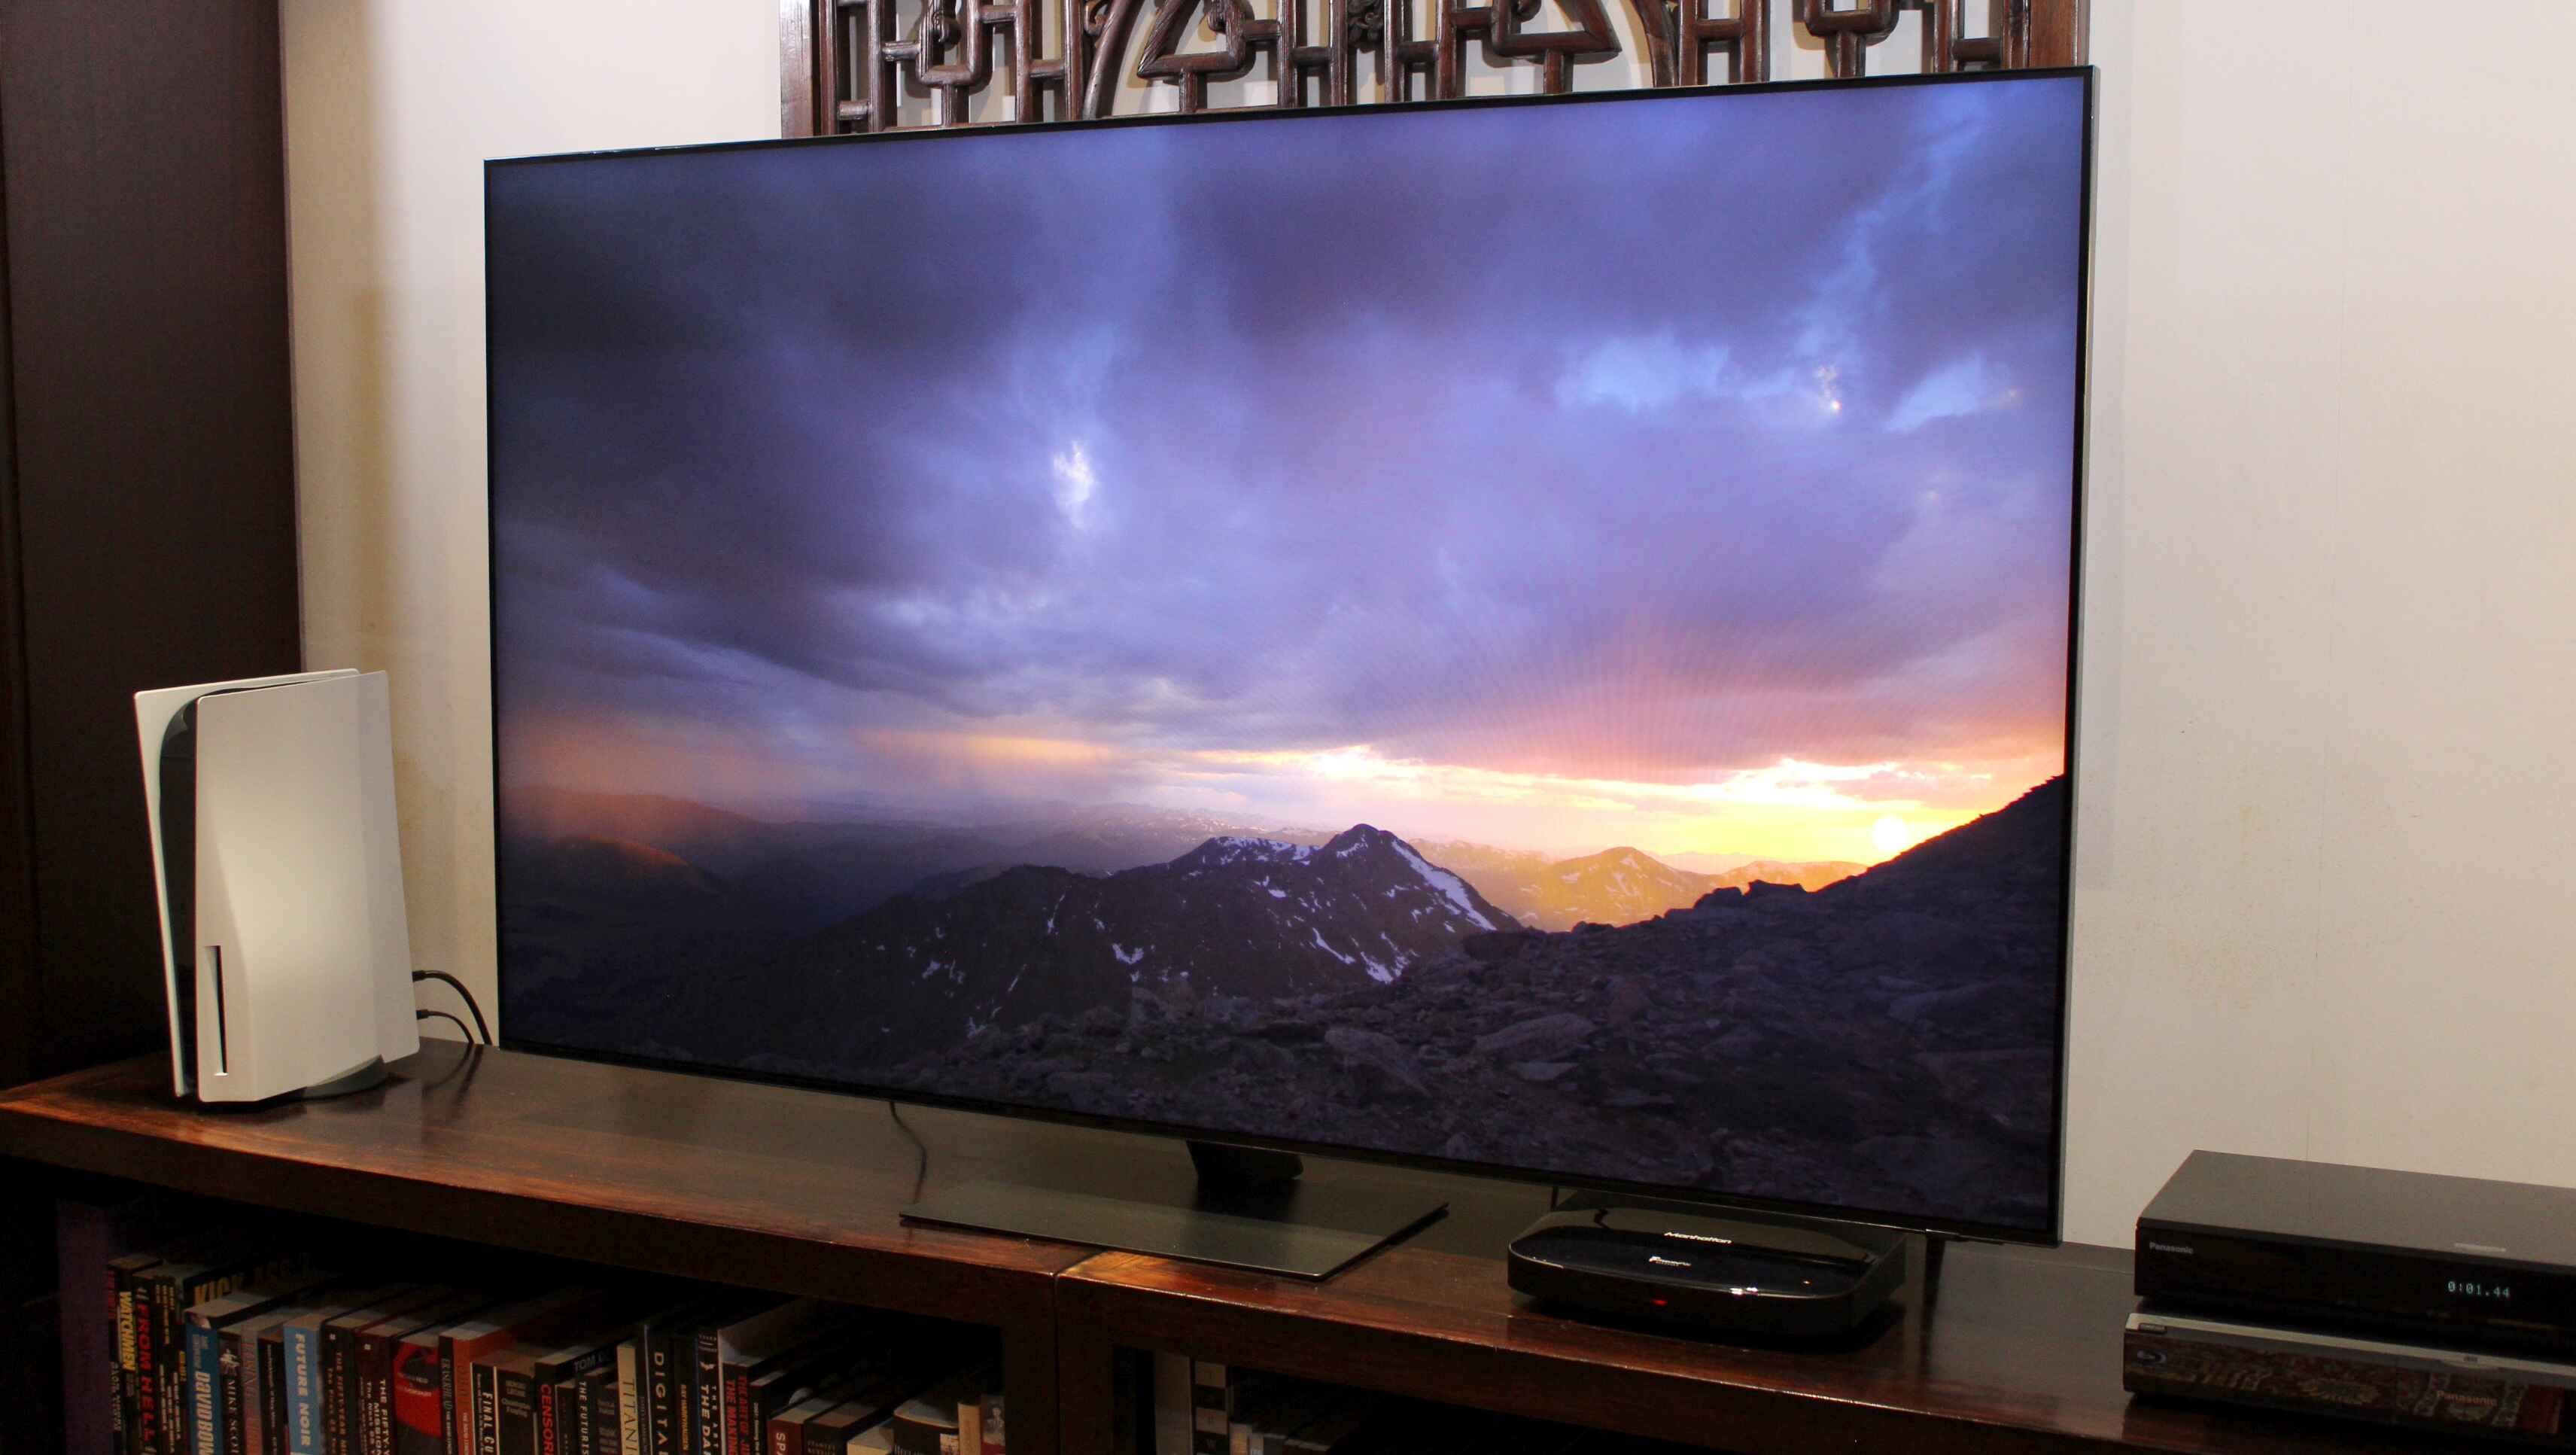
Connecting a soundbar to your Spectrum remote can greatly enhance your audio experience while watching your favorite movies, TV shows, or listening to music. A soundbar is a compact and powerful speaker system that can deliver immersive sound quality and eliminate the need for multiple speakers and complicated wiring setups. By integrating your soundbar with your Spectrum remote, you can conveniently control the volume, mute, and other audio settings with just one device.
In this guide, we will walk you through the step-by-step process of connecting your soundbar to your Spectrum remote. Before we begin, it’s important to note that the compatibility of your soundbar and Spectrum remote will play a crucial role in the success of the connection. Not all soundbars are compatible with all Spectrum remotes, so it’s essential to check the specifications and compatibility of your devices before proceeding.
By following the instructions provided in this guide, you’ll be able to enjoy enhanced audio quality without the hassle of juggling multiple remotes or dealing with complex setups. So, let’s get started and learn how to connect your soundbar to your Spectrum remote!
Step 1: Check the Compatibility of Your Soundbar and Spectrum Remote
Before you begin the process of connecting your soundbar to your Spectrum remote, it’s important to ensure that both devices are compatible with each other. This will save you time and frustration in trying to establish a connection that is ultimately not supported.
First, refer to the user manuals of your soundbar and Spectrum remote. Look for any specific information regarding compatibility requirements or instructions on connecting the two devices. Pay attention to any compatibility limitations or recommendations provided by the manufacturers.
If you don’t have the manuals, you can usually find them online on the manufacturer’s website or through a quick internet search. Alternatively, you can contact their customer support for assistance in determining compatibility.
Another way to check compatibility is to review the specifications of both your soundbar and Spectrum remote. Look for any matching features or compatibility indicators, such as HDMI ARC (Audio Return Channel) support or infrared (IR) connectivity.
Additionally, some soundbars come with a dedicated remote control that may offer better compatibility and functionality compared to using a universal remote like the Spectrum remote. If that’s the case, you may need to use the soundbar’s remote instead of integrating it with Spectrum’s remote control.
By taking the time to ensure compatibility beforehand, you can prevent any potential frustration or disappointment that may arise from attempting to connect incompatible devices. Once you’ve confirmed compatibility, you can proceed with the next steps to connect your soundbar to your Spectrum remote.
Step 2: Power on Your Soundbar and TV
Before you can start the connection process, make sure both your soundbar and TV are powered on. Locate the power buttons on both devices and press them to turn them on.
In most cases, the soundbar will have a dedicated power button. It’s typically located on the front or the side of the soundbar. Press this button to turn on the soundbar.
For your TV, the power button is usually located either on the remote control or on the TV itself. If you’re using the Spectrum remote, look for the power button at the top of the remote. Press it to turn on your TV.
It’s important to ensure that both the soundbar and TV are powered on before proceeding with the connection process. This will ensure that the devices are ready to communicate and establish a connection with each other.
If your soundbar or TV has any additional power settings or modes, such as standby or sleep mode, make sure they are deactivated. These settings can sometimes prevent the devices from establishing a proper connection.
Once both your soundbar and TV are powered on and in the active state, you’re ready to move on to the next step of connecting your soundbar to your Spectrum remote.
Step 3: Locate the Audio Output on Your TV
Before you can connect your soundbar to your Spectrum remote, you need to locate the audio output on your TV. The audio output is where you’ll be connecting one end of the audio cable that will transmit the audio signal from your TV to the soundbar.
The location of the audio output may vary depending on the make and model of your TV. However, the most common types of audio outputs you’ll find on modern TVs are:
- Optical Audio Output: This is a square-shaped port that uses a fiber optic cable. It’s labeled as “optical audio,” “digital audio out,” or “SPDIF” on the TV’s back or side panel.
- HDMI ARC (Audio Return Channel): This is an HDMI port with ARC support. It allows both audio and video to be transmitted through a single HDMI cable. Look for an HDMI port specifically labeled as “ARC” or “HDMI ARC.”
- 3.5mm Headphone Jack: Some TVs may have a headphone jack or AUX output that can be used as an audio output. It’s usually a small circular port labeled as “headphone,” “audio out,” or “AUX.”
Once you’ve located the audio output on your TV, take note of its type and location. This will be important in the next step when you connect the audio cable from the TV to the soundbar.
If you’re unsure about the audio output or can’t locate it, refer to your TV’s user manual or consult the manufacturer’s website for more information. You can also seek assistance from customer support if you need further guidance.
Now that you’ve found the audio output on your TV, let’s move on to the next step of connecting your soundbar to your Spectrum remote.
Step 4: Connect the Soundbar to Your TV Using an Audio Cable
Now that you’ve located the audio output on your TV, it’s time to connect your soundbar to the TV using an audio cable. The type of cable you’ll need will depend on the audio output of your TV and the input options on your soundbar.
If your TV has an optical audio output, you’ll need an optical audio cable. This cable has a square-shaped connector on both ends and transmits audio signals through light. Connect one end of the optical audio cable to the optical audio output on your TV and the other end to the optical audio input on your soundbar.
If your TV has an HDMI ARC port and your soundbar has an HDMI ARC input, you can use an HDMI cable. Connect one end of the HDMI cable to the HDMI ARC port on your TV and the other end to the HDMI ARC input on your soundbar.
If your TV has a 3.5mm headphone jack or an AUX output, you’ll need a 3.5mm audio cable. This cable has a small plug on both ends, similar to a headphone jack. Connect one end of the 3.5mm audio cable to the headphone jack or AUX output on your TV and the other end to the corresponding input on your soundbar.
Ensure that the cable connections are secure and properly inserted into the audio output and input ports. If you’re using an optical audio cable, be careful not to bend or damage the thin fiber optic cable.
Once the audio cable is connected, power on your soundbar and TV if they’re not already on. You should now hear audio coming from your soundbar instead of the TV’s built-in speakers.
If you don’t hear any sound or experience any issues, double-check the cable connections and ensure that the soundbar is set to the correct input mode. Some soundbars have multiple input options, so make sure you select the one corresponding to the audio cable you used.
With the soundbar successfully connected to your TV using an audio cable, you’re ready to proceed to the next step of setting the soundbar to the correct input mode.
Step 5: Set the Soundbar to the Correct Input Mode
After connecting your soundbar to your TV using an audio cable, you need to set the soundbar to the correct input mode. This ensures that it receives the audio signal from your TV and plays it through its speakers.
The exact method for setting the input mode may vary depending on the make and model of your soundbar. However, most soundbars offer a few common input options:
- Optical Input: If you connected your soundbar to your TV using an optical audio cable, set the soundbar’s input mode to “Optical,” “Digital,” or “SPDIF.” This allows the soundbar to receive audio signals through the optical input.
- HDMI Input: If you connected your soundbar to your TV using an HDMI cable and both devices support HDMI ARC, set the soundbar’s input mode to “HDMI ARC” or the corresponding HDMI input number.
- AUX Input: If you connected your soundbar to your TV using a 3.5mm audio cable, set the soundbar’s input mode to “AUX,” “Line-In,” or the corresponding input option.
Refer to your soundbar’s user manual for specific instructions on how to change the input mode. This may involve pressing a dedicated button on the soundbar’s remote or using the control buttons on the soundbar itself.
Once you’ve selected the correct input mode, the soundbar is ready to receive the audio signal from your TV. You should now be able to enjoy enhanced audio quality through your soundbar’s speakers.
Remember that whenever you want to use the soundbar with your Spectrum remote, you also need to ensure that the TV’s input is set to the correct audio source. This ensures that the audio signal is being routed from the TV to the soundbar.
With the soundbar successfully set to the correct input mode, you’re now ready to move on to the final step: programming your Spectrum remote to control the soundbar.
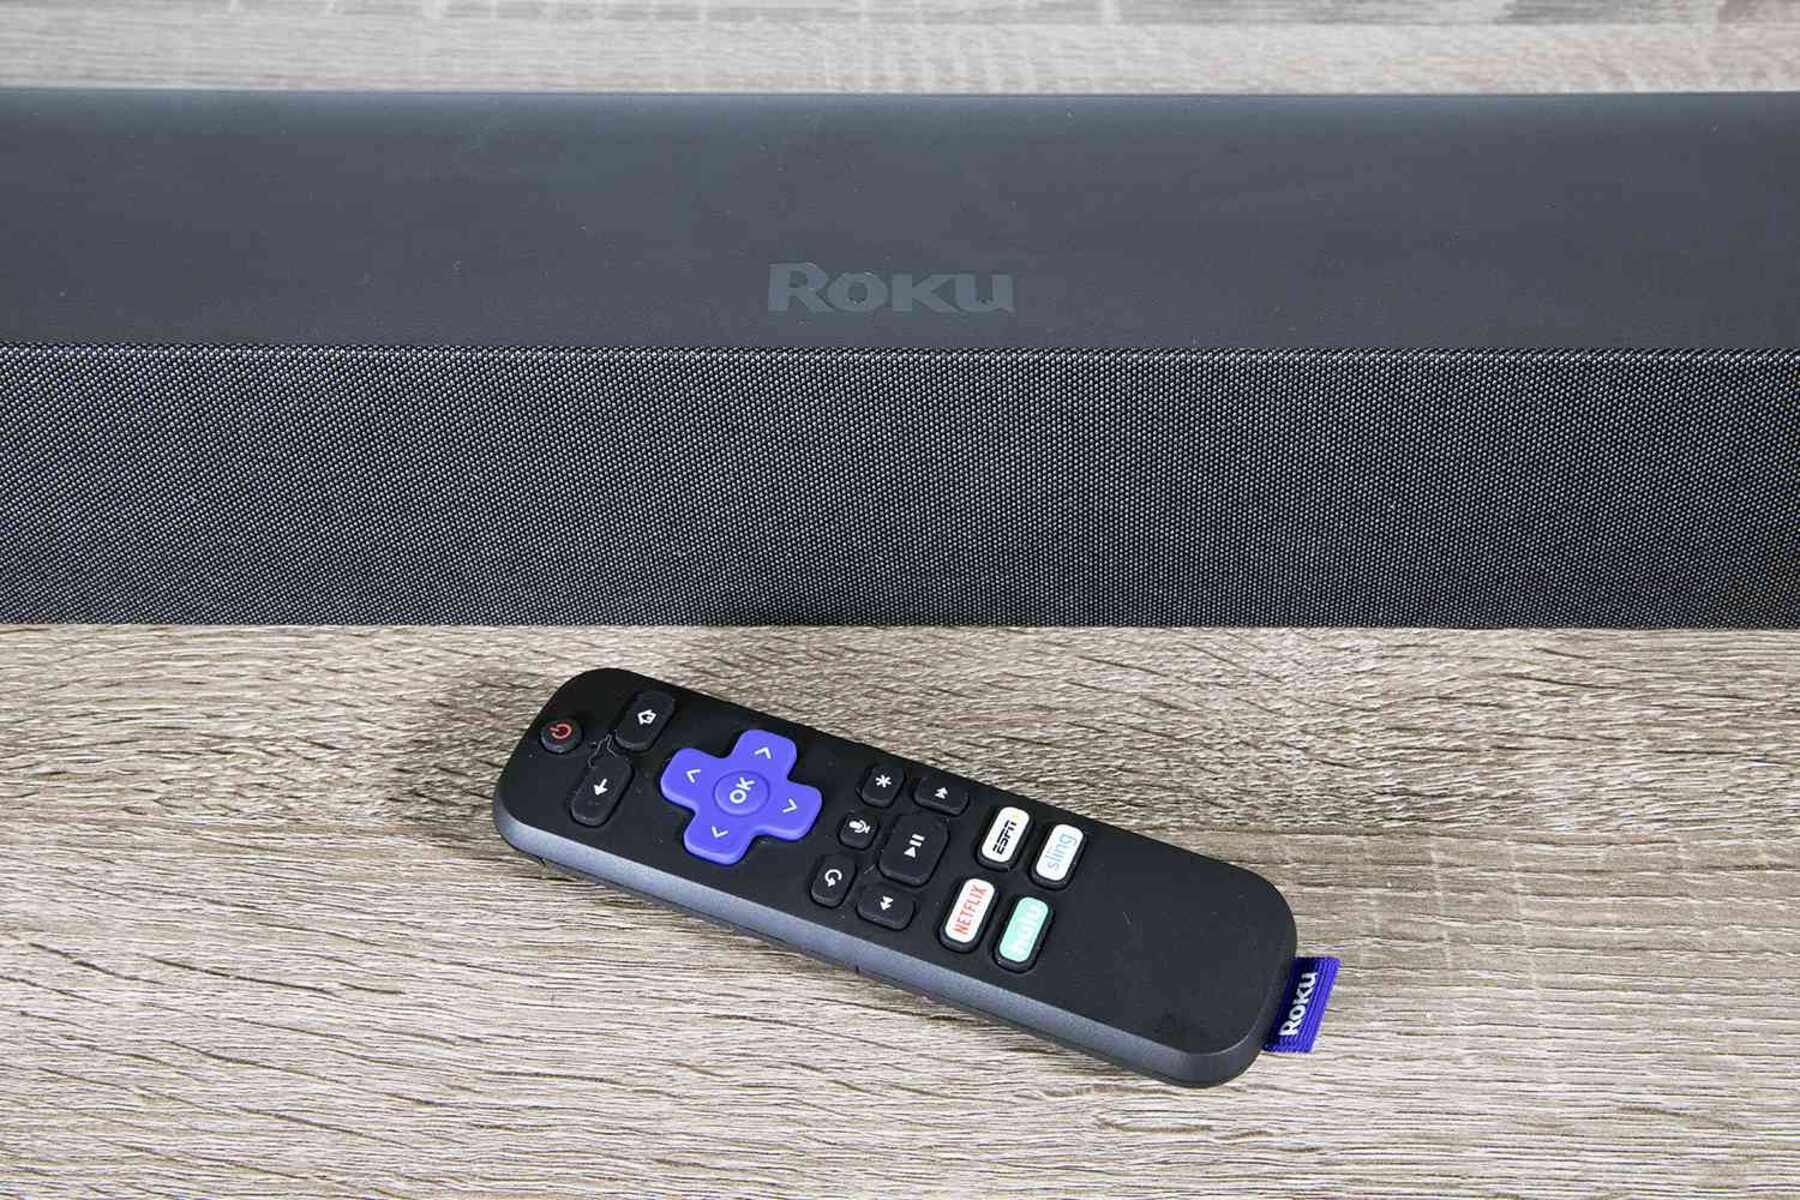
Step 6: Program Your Spectrum Remote to Control the Soundbar
To fully integrate your soundbar with your Spectrum remote, you’ll need to program the remote to control the soundbar’s volume, power, and other audio settings. Follow these steps to program your Spectrum remote:
- Ensure that your Spectrum remote is in “Cable” mode. Press the “CBL” button at the top of the remote to switch to cable mode if necessary.
- Locate the manufacturer’s code for your soundbar. This code is a unique numerical sequence that enables the Spectrum remote to communicate with your soundbar. You can find the code in the soundbar’s user manual or by referring to the manufacturer’s website.
- Turn on your soundbar and your TV.
- On your Spectrum remote, press and hold the “Setup” button until the LED at the top of the remote flashes twice.
- Enter the manufacturer’s code for your soundbar using the numeric keypad on the remote.
- The LED on the remote will flash twice to indicate that the code has been successfully entered.
- Test the programmed functions by pressing the volume buttons on the Spectrum remote. Check if the soundbar’s volume adjusts accordingly.
- If the volume control doesn’t work, repeat steps 4-7 with a different manufacturer’s code until you find the one that successfully programs your Spectrum remote to control the soundbar’s volume.
Once your Spectrum remote is successfully programmed to control the soundbar, you’ll be able to adjust the volume, power the soundbar on or off, and control other audio settings using the remote’s dedicated buttons.
Keep in mind that the functions available on the Spectrum remote for your specific soundbar may vary. Consult the remote’s user manual or Spectrum’s customer support for more information on the available features and button controls.
Congratulations! You have now successfully connected your soundbar to your Spectrum remote, allowing you to control the audio experience with ease.
Conclusion
Connecting your soundbar to your Spectrum remote can greatly enhance your audio experience while watching TV shows, movies, or listening to music. By following the step-by-step process outlined in this guide, you can seamlessly integrate your soundbar with your Spectrum remote and enjoy superior sound quality.
First, it’s crucial to check the compatibility of your soundbar and Spectrum remote to ensure they are suitable for connecting. Refer to the user manuals or contact customer support for more information.
Next, power on both your soundbar and TV, ensuring they are in an active state. Locate the audio output on your TV, which can be an optical audio output, HDMI ARC port, or 3.5mm headphone jack.
Connect the soundbar to the TV using the appropriate audio cable, such as an optical audio cable, HDMI cable, or 3.5mm audio cable. Ensure the connections are secure and properly inserted.
Set the soundbar to the correct input mode, depending on the type of cable used for connection. This allows the soundbar to receive audio signals from the TV.
Finally, program your Spectrum remote to control the soundbar’s volume, power, and other audio settings by entering the manufacturer’s code. Test the programmed functions to ensure they work correctly.
With the successful completion of these steps, you can now enjoy a seamless audio experience with your soundbar controlled by your Spectrum remote.
If you encounter any issues during the process or have additional questions, refer to the user manuals, check the manufacturer’s website, or reach out to customer support for assistance.
Now, sit back, relax, and immerse yourself in a whole new level of audio quality with your connected soundbar and Spectrum remote!