Introduction
Setting up a wireless router can seem like a daunting task, but with the right guidance, it can be a straightforward and rewarding experience. A TP-Link wireless router offers fast and reliable internet connectivity for your home or office. Whether you’re a tech-savvy individual or a beginner, this guide will walk you through the step-by-step process of installing a TP-Link wireless router.
Before we dive into the installation process, let’s understand the benefits of having a wireless router. A wireless router allows you to connect multiple devices, such as laptops, smartphones, and tablets, to the internet without the need for cumbersome Ethernet cables. It provides the convenience of accessing the internet from anywhere within the router’s range. Additionally, a TP-Link wireless router offers advanced security features, ensuring a safe and protected network environment for your devices.
In this article, we will cover everything you need to know to successfully install a TP-Link wireless router. We’ll start by unboxing the router and proceed with connecting it to the power source and modem. We’ll then guide you through the process of accessing the router’s web interface and configuring the internet connection. You’ll also learn how to set up a secure wireless network and create a strong password to protect against unauthorized access. Furthermore, we’ll discuss the importance of updating the router’s firmware and finally connect your devices to the wireless network.
By following this comprehensive guide, you’ll be able to install your TP-Link wireless router with ease, ensuring seamless connectivity and internet access for all your devices. So, let’s get started on this exciting journey to bring fast and reliable internet to your home or office!
Step 1: Unboxing the TP-Link Wireless Router
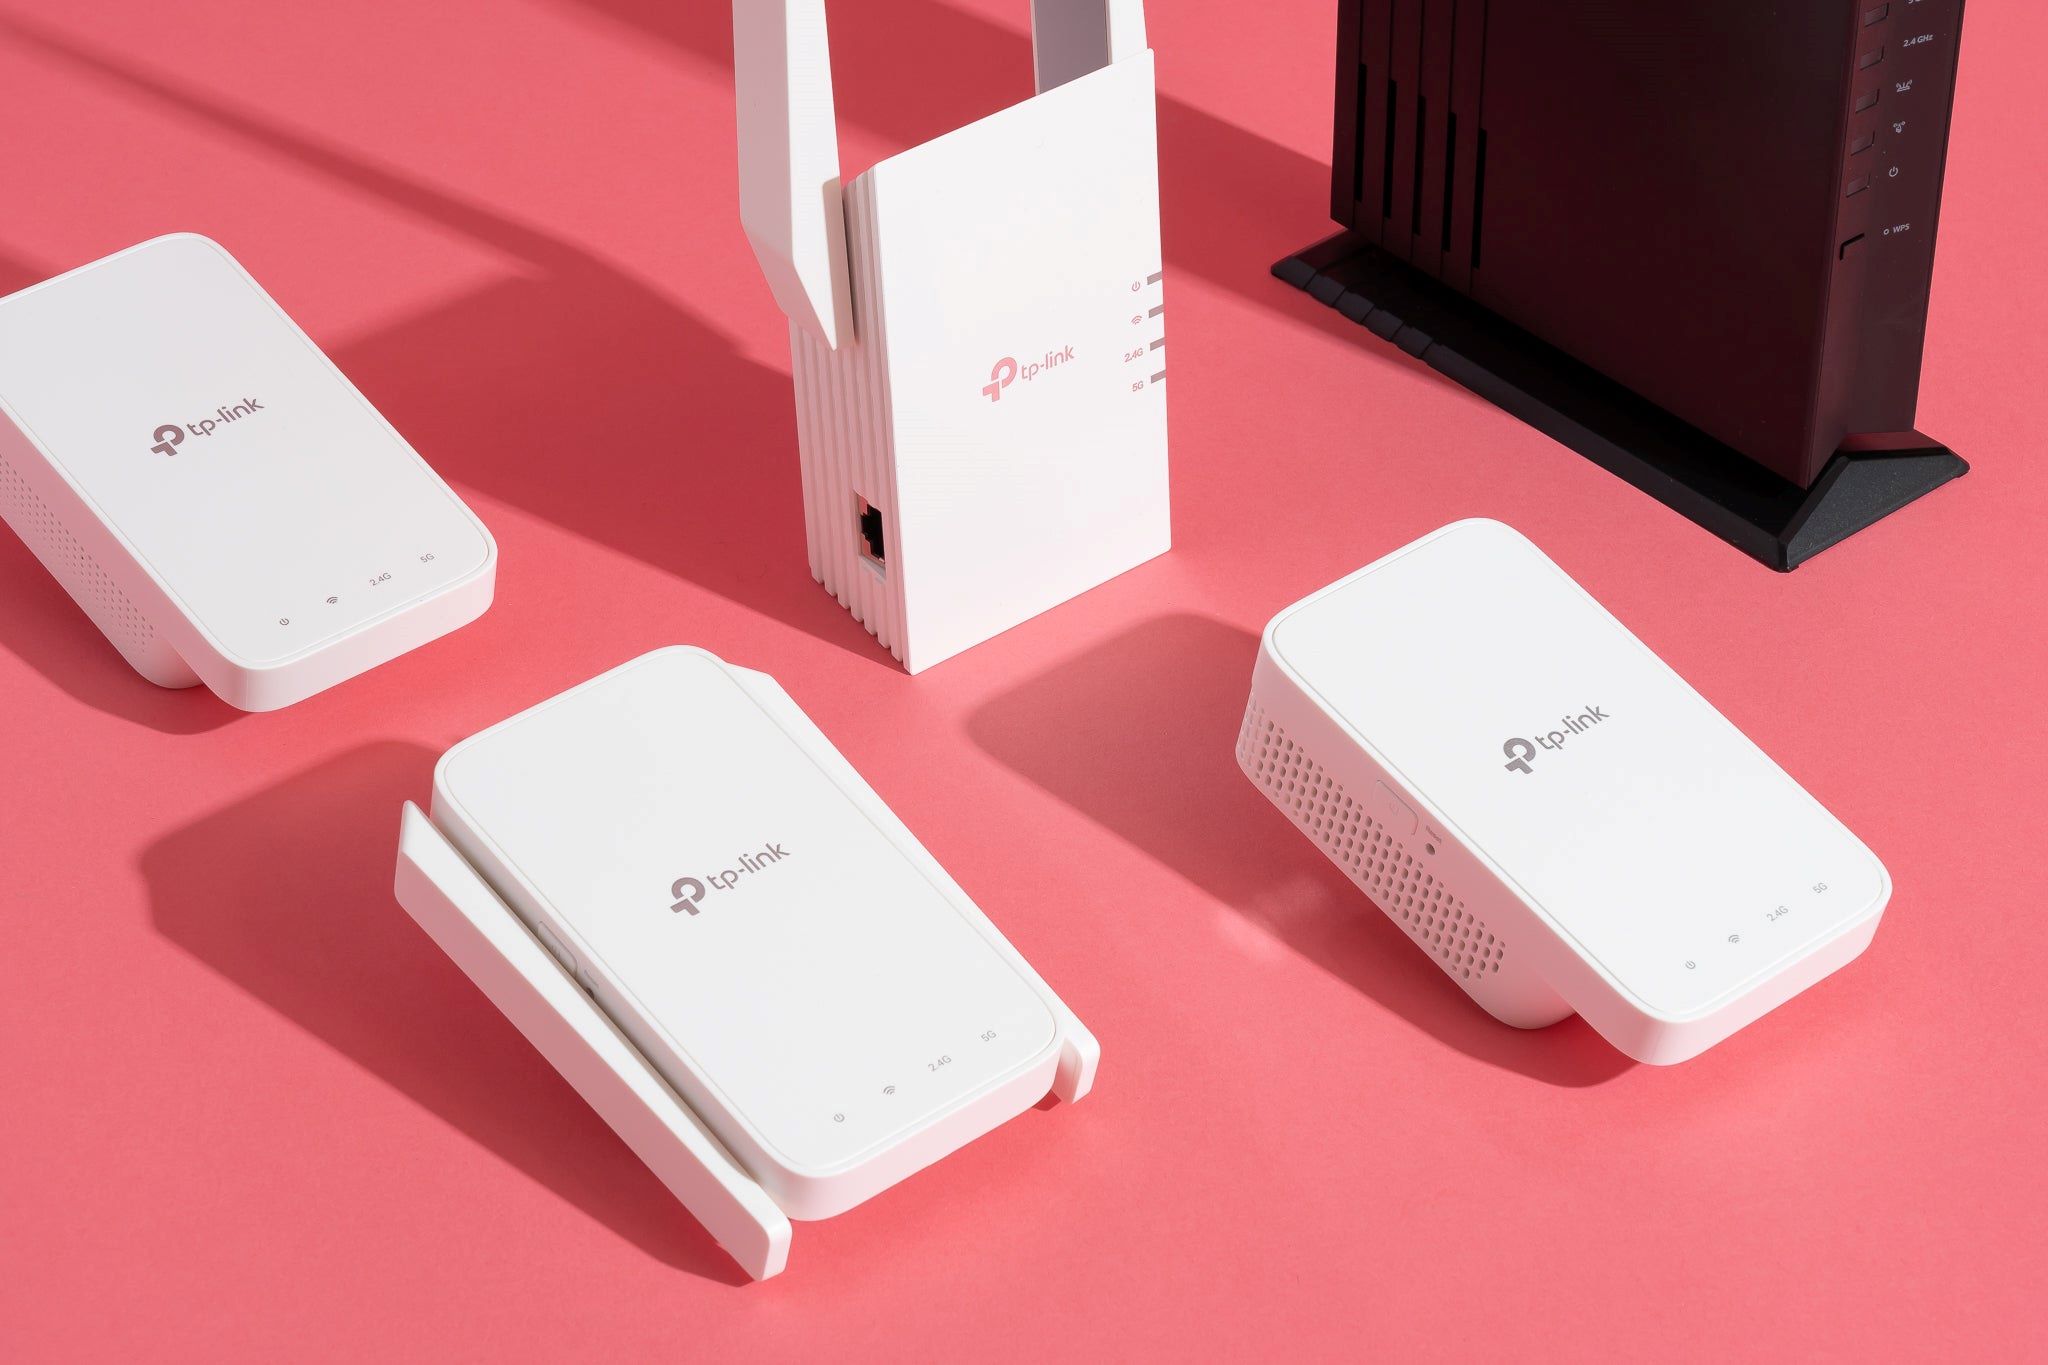
The first step in installing a TP-Link wireless router is to unbox it and familiarize yourself with the contents. When you open the box, you’ll typically find the following items:
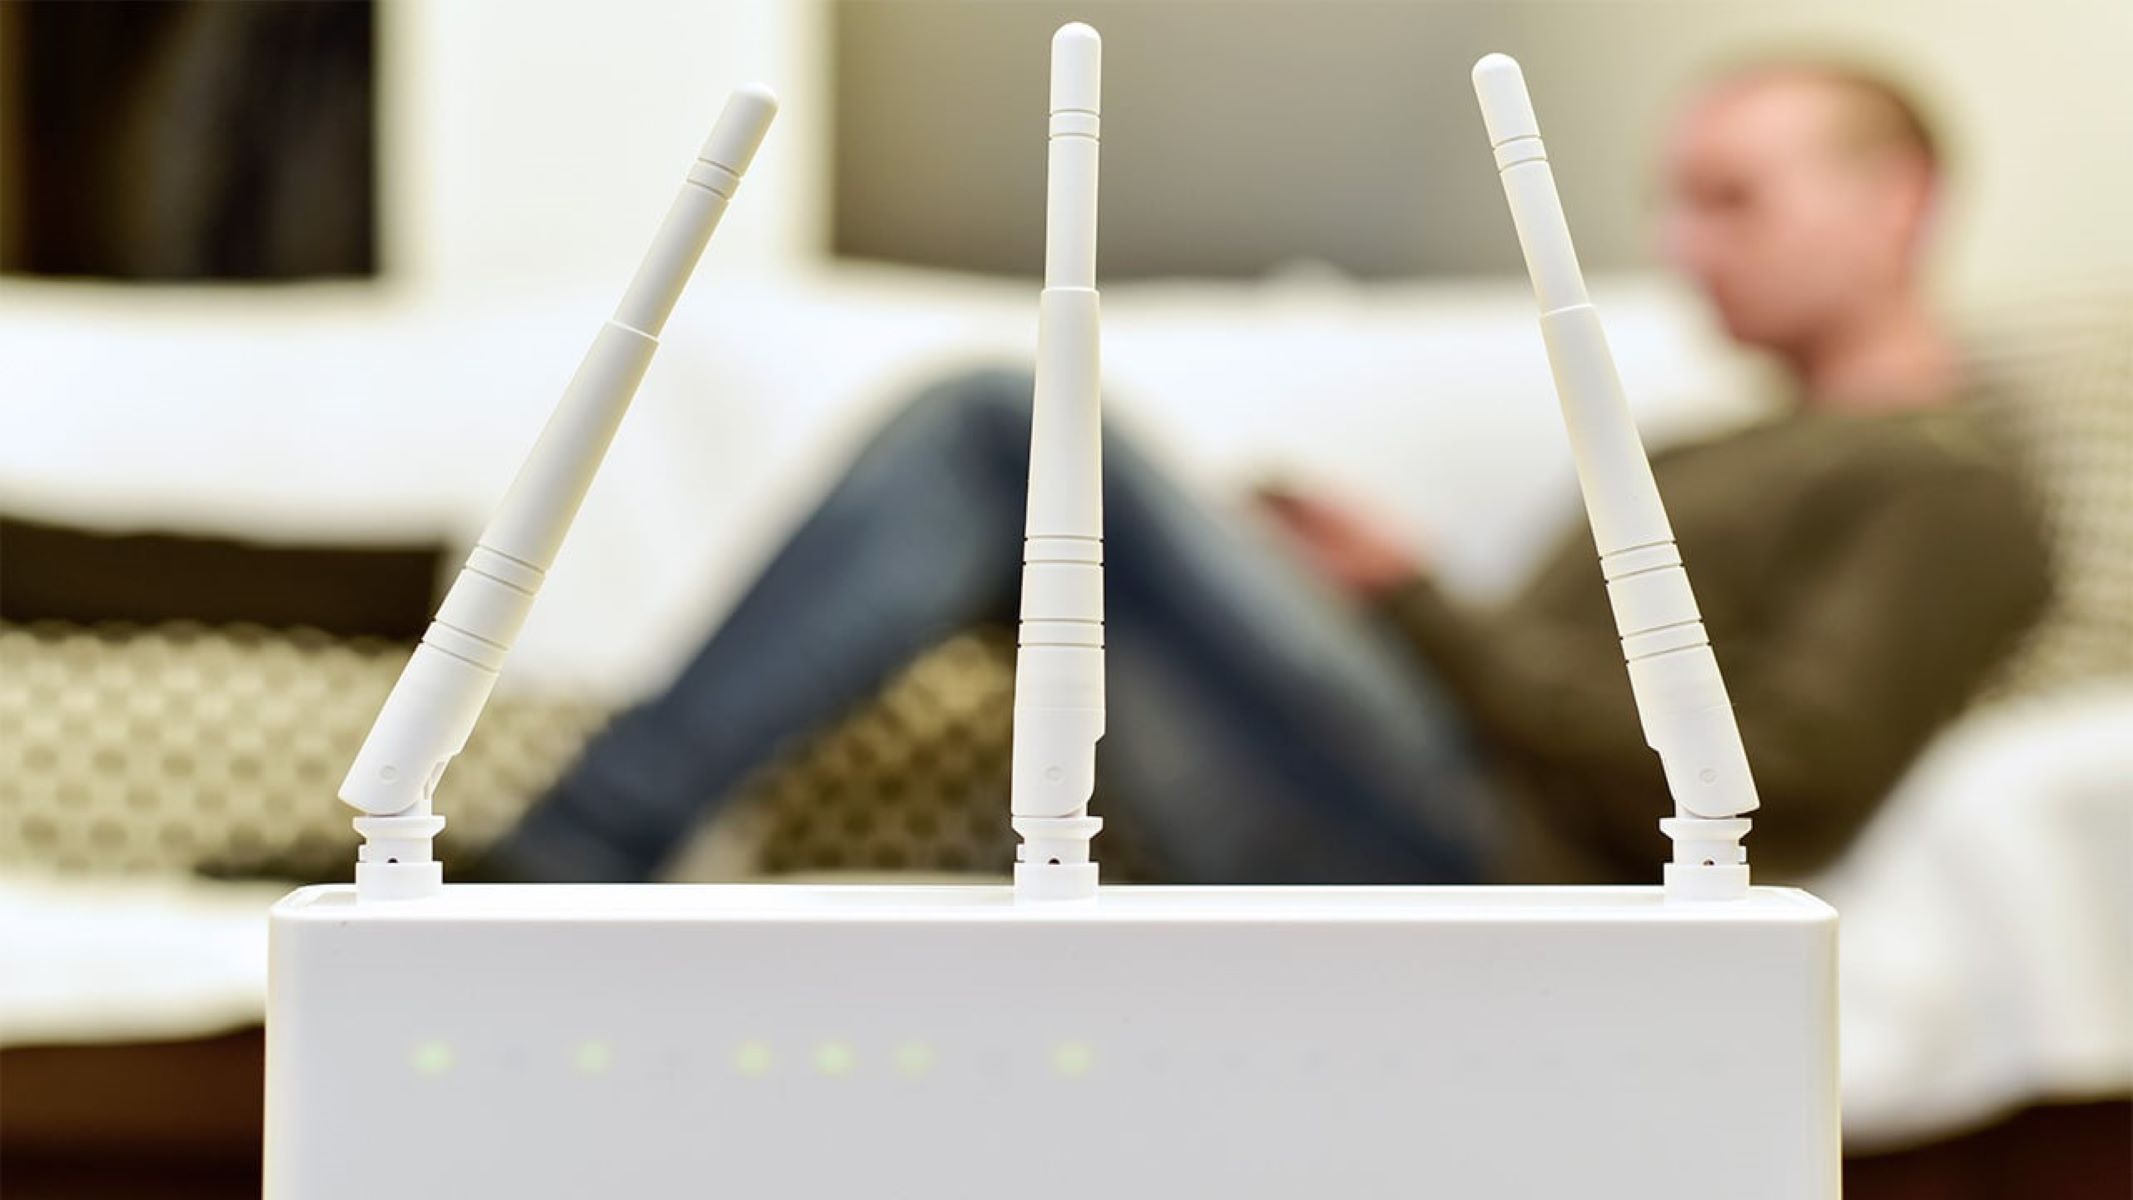
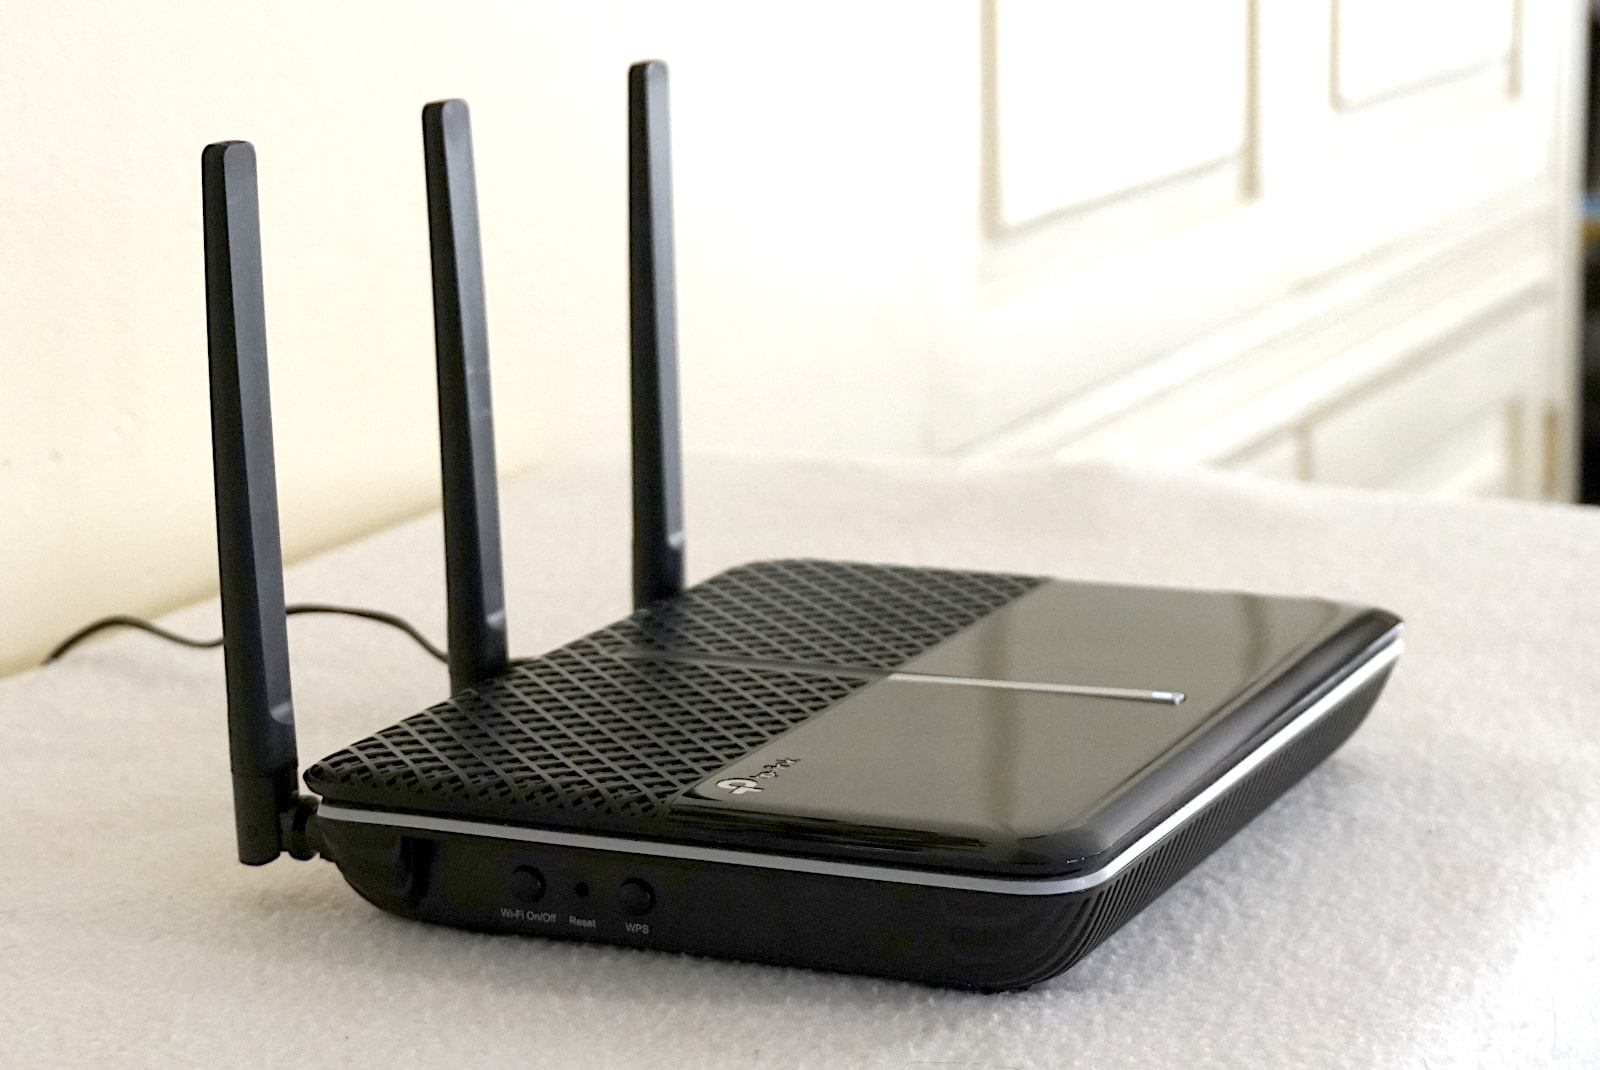
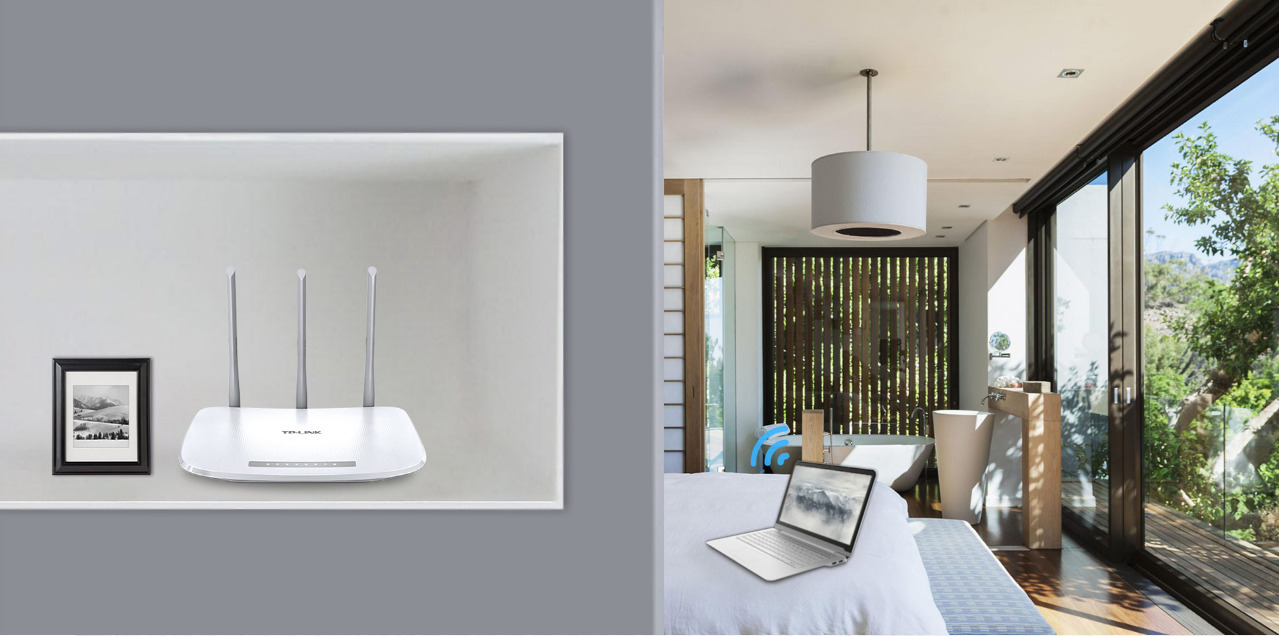
- The TP-Link wireless router: This is the main device that will broadcast the wireless signal and connect it to the internet. It will typically have antennas and multiple LAN ports.
- A power adapter: This is used to power the router and connect it to a power source.
- An Ethernet cable: This cable will be used to connect the router to your modem or ISP’s designated gateway.
- A Quick Installation Guide: This guide will provide you with specific instructions on how to set up the router.
Once you have all the necessary items, carefully remove the router from its packaging. Place it on a stable surface near the modem or gateway. Ensure that there is enough space around the router for proper ventilation.
Next, connect the antennas to the designated ports on the router. Most TP-Link routers come with detachable antennas that need to be screwed into place. Make sure to tighten them securely, as they play a crucial role in providing optimal wireless coverage.
After attaching the antennas, locate the power adapter and connect it to the appropriate port on the router. Then, plug the other end into a nearby power outlet. The power LED on the router should light up, indicating that it is receiving power.
It’s essential to note that some TP-Link routers have an on/off switch located on the back or side. Make sure the switch is in the “on” position to enable the router to function properly.
With the router powered on, you have successfully unboxed and prepared it for the installation process. Now you’re ready to move on to the next step: connecting the router to the power source.
Step 2: Connecting the Router to the Power Source
Now that you have unboxed the TP-Link wireless router, the next step is to connect it to the power source. This will provide the necessary electricity to power on and operate the router.
Locate the power adapter that came with the router. It usually has a DC plug at one end and a standard power plug at the other end. Take the end with the DC plug and insert it into the corresponding port on the router. Ensure that it is securely connected.
Once you have connected the power adapter to the router, find a nearby power outlet. Plug the power plug into the outlet, ensuring a snug fit. The power outlet should have a stable power supply to ensure uninterrupted router operation.
After plugging in the power adapter, look for the power button on the router. This button may be located on the back, front, or side of the device, depending on the model. Press the power button to turn on the router. You should see indicator lights on the front of the router illuminate, indicating that it is receiving power.
Each TP-Link router may have different LED indicators. Commonly, you’ll find lights indicating power, internet connectivity, Wi-Fi status, and LAN port activity. Take a moment to familiarize yourself with these lights and their functions by referring to the user manual or the router’s documentation.
It’s important to note that some routers may not have a power button and will automatically power on when connected to the power source.
Once the router is connected to the power source and powered on, it will start initializing and establishing a connection with the modem or gateway. This process may take a few moments, so be patient.
That’s it! You have successfully connected the TP-Link wireless router to the power source. In the next step, we will guide you through connecting the router to the modem, allowing you to access the internet.
Step 3: Connecting the Router to the Modem
After powering on the TP-Link wireless router, the next crucial step is to connect it to the modem. This connection will allow the router to access the internet and distribute the connection to your devices wirelessly.
Locate the Ethernet cable that came with the router. One end of the cable has an RJ-45 connector, which is slightly larger than a telephone plug, while the other end has the same or similar connector, depending on your modem.
Take one end of the Ethernet cable and insert it into the LAN port on the back of your modem. The LAN port is usually labeled “LAN” or “Ethernet” and is separate from the modem’s primary WAN port, which is used for connecting to the ISP’s network.
Next, take the other end of the Ethernet cable and plug it into the WAN port on the router. The WAN port is typically labeled as “WAN” or “Internet” and is usually a different color than the LAN ports. This connection ensures that the router can receive an internet signal from the modem.
Once you have connected the Ethernet cable to both the modem and router, check to ensure that the connections are secure. Gently tug on the cables to ensure they are firmly inserted into the ports. Loose connections can result in a loss of internet connectivity.
Now that the modem and router are physically connected, power cycle both devices. Start by turning off the modem, followed by the router. Leave them powered off for about 30 seconds to allow any residual power to dissipate.
After the 30-second period, power on the modem first by plugging it back into the power source. Wait for it to fully initialize and establish a connection with your ISP. Once the modem is online and its indicator lights stabilize, power on the router by plugging it back into the power source.
Give the router a few moments to establish a connection with the modem. During this time, the LED lights on the front of the router should indicate that it is receiving an internet signal and is ready for setup.
Congratulations! You have successfully connected the TP-Link wireless router to the modem, ensuring a pathway for internet access. In the next step, we will guide you through accessing the router’s web interface to configure your internet connection.
Step 4: Accessing the Router’s Web Interface
Now that you have connected the TP-Link wireless router to the modem, it’s time to access the router’s web interface. This interface is where you will configure various settings for your router, including establishing an internet connection, setting up wireless networks, and enabling security features.
To access the router’s web interface, you need to open a web browser on a device connected to the router. This can be any device with a browser, such as a laptop, desktop computer, or smartphone.
Open your preferred web browser and in the address bar, type in the default IP address of the TP-Link router. The default IP address is often “192.168.0.1” or “192.168.1.1”. Press the Enter key after entering the IP address.
A login page will appear, prompting you to enter the username and password to access the router’s web interface. By default, the username and password are usually “admin” for both fields. However, if you have changed these credentials in the past, use the updated login information.
Once you have entered the correct login credentials, click on the Login or Submit button to proceed.
Note that if you are unsure of the default IP address or login credentials for your specific TP-Link router model, refer to the documentation provided or visit the TP-Link support website for assistance.
After logging in, you will be greeted with the router’s web interface, which may vary slightly depending on the router model. The interface will provide different options and settings that you can customize according to your preferences and network requirements.
Take your time to explore the various sections of the web interface and familiarize yourself with the available options. You will find settings related to internet setup, wireless configuration, network security, parental controls, and more.
Remember, it is important to change the default login username and password to enhance the security of your router. Look for the Administration or Security section in the web interface and change the login credentials to something unique and secure.
Congratulations! You have successfully accessed the TP-Link router’s web interface. In the next step, we will guide you through setting up the internet connection on your TP-Link wireless router.
Step 5: Setting Up the Internet Connection
After accessing the TP-Link router’s web interface, the next step is to set up the internet connection. This process will vary depending on the type of internet connection you have, such as DSL, cable, or fiber.
In the router’s web interface, navigate to the Internet or WAN settings section. Here, you will find options to configure the internet connection type and input the necessary parameters.
If you have a DHCP connection, which is the most common type, select “Dynamic IP” or “Obtain an IP Automatically” as the internet connection type. This allows the router to automatically obtain the required network settings from your ISP.
If you have a PPPoE (Point-to-Point Protocol over Ethernet) connection, select “PPPoE” as the internet connection type. You will need to enter your PPPoE username and password, which are provided by your ISP. These credentials are usually found in the documentation or account information provided by your ISP.
For other connection types like static IP or PPTP, consult your ISP or the router’s documentation for specific instructions on how to configure the settings.
Once you have selected the appropriate internet connection type and entered the required parameters, click on the Save or Apply button to save the settings. The router will then attempt to establish the internet connection using the provided information.
During the connection establishment process, the router’s LED lights will indicate the status of the internet connection. It may take a few moments for the router to successfully establish the connection.
After the internet connection is established, you should see the corresponding indicators on the router’s web interface as well. You can verify the status of the internet connection by navigating to the Status or Internet section of the web interface.
At this point, you have successfully set up the internet connection on your TP-Link wireless router. You can now enjoy high-speed internet connectivity on all the devices connected to your network. In the next step, we will guide you through configuring the wireless network settings to enable wireless connectivity.
Step 6: Configuring the Wireless Network
Now that the internet connection is set up, it’s time to configure the wireless network settings on your TP-Link router. This will allow you to connect your devices, such as laptops, smartphones, and tablets, wirelessly to the router.
In the router’s web interface, navigate to the Wireless or Wi-Fi settings section. Here, you will find options to configure the wireless network name (SSID), security settings, and other relevant parameters.
Start by entering a unique and easily identifiable name for your wireless network in the SSID field. This is the name that will appear when you search for available Wi-Fi networks on your devices.
Next, select the appropriate wireless security protocol. It is strongly recommended to use WPA2-PSK (Wi-Fi Protected Access 2 with Pre-Shared Key) as it provides the best security for your wireless network. Enter a strong and secure password in the Passphrase or Password field. The password should be at least 8 characters long and include a mix of uppercase and lowercase letters, numbers, and symbols.
Enabling the WPA2-PSK security protocol and setting a strong password will help protect your wireless network from unauthorized access and ensure the privacy of your data.
After configuring the wireless network settings, click on the Save or Apply button to save the changes. The router will apply the new settings and restart the wireless network.
Once the wireless network is restarted, you should see the new network name (SSID) and security settings being broadcasted by the router. You can now connect your devices to the wireless network using the network name (SSID) and the password you have set.
Additionally, some TP-Link routers offer advanced features like guest networks, which allow you to create a separate network for guests to connect to without sharing your main network’s password. You can explore these additional features in the router’s web interface to enhance your wireless network’s functionality and security.
With the wireless network settings configured, you can now enjoy the convenience of connecting your devices wirelessly to the TP-Link router. In the next step, we will guide you through creating a strong password for your router to further enhance its security.
Step 7: Creating a Strong Password for the Router
Creating a strong password for your TP-Link router is crucial for maintaining the security of your network. A strong password helps protect your router from unauthorized access and ensures that only trusted individuals can make changes to its settings.
To create a strong password for your router, follow these guidelines:
- Length: Aim for a password that is at least 8 characters long. The longer the password, the stronger it is.
- Complexity: Include a mix of uppercase and lowercase letters, numbers, and symbols in your password. This makes it harder for someone to guess or crack your password.
- Avoid common passwords: Avoid using obvious and commonly used passwords, such as “password” or your name. These passwords are easily guessable and compromise the security of your network.
- No personal information: Do not use personal information, such as your date of birth or address, in your password. This information can be easily found or guessed by others.
- Use a password manager: Consider using a password manager to generate and securely store your passwords. This eliminates the need to remember complex passwords and helps ensure that each password is unique and strong.
Once you have created a strong password for your TP-Link router, navigate to the Administration or Security section of the router’s web interface. Look for the option to change the router’s password or administrator password.
Enter your new strong password in the designated field and click on the Save or Apply button to save the changes. The router will update the password and prompt you to re-enter it for confirmation.
Remember to store your new password in a secure location or password manager. Avoid sharing your password with unauthorized individuals.
A strong password provides an additional layer of security to your TP-Link router, protecting your network and ensuring peace of mind. In the next step, we will guide you through updating the router’s firmware to ensure optimal performance and security.
Step 8: Updating the Router’s Firmware
Updating the firmware of your TP-Link router is an essential step to ensure optimal performance, stability, and security. Firmware updates often contain bug fixes, feature improvements, and security patches that address vulnerabilities.
To update your router’s firmware, follow these steps:
- Check for firmware updates: Visit the TP-Link support website or access the router’s web interface to check for available firmware updates. Look for the “Firmware” or “Router Upgrade” section.
- Download the latest firmware: If a new firmware version is available, download it to your computer. Follow the instructions provided by TP-Link to ensure a successful download.
- Access the router’s web interface: Open a web browser and enter the router’s IP address in the address bar. Enter your router’s login credentials to access the web interface.
- Locate the firmware upgrade section: In the web interface, navigate to the “Firmware Upgrade” or “Router Upgrade” section. This section may be located under the “System Tools” or “Maintenance” tab.
- Select the firmware file: Click on the “Browse” or “Choose File” button in the firmware upgrade section. Locate and select the firmware file you downloaded earlier.
- Start the firmware upgrade: Once the firmware file is selected, click on the “Upgrade” or “Update” button to start the firmware upgrade process. Avoid interrupting the process or turning off the router during the upgrade.
- Wait for the upgrade to complete: The firmware upgrade can take a few minutes to complete. During this time, do not disconnect or disrupt the router’s power supply.
- Restart the router: After the firmware upgrade is complete, the router will automatically restart. Allow the router to restart and apply the new firmware.
It is important to note that during the firmware upgrade process, any settings or configurations you have made on the router may be reset to their default values. Therefore, it is advisable to take note of your custom settings beforehand to easily reapply them after the upgrade.
Regularly checking and updating your router’s firmware is essential for maintaining its performance and security. By keeping the firmware up to date, you ensure that your TP-Link router operates at its best and remains protected against potential threats.
In the next step, we will guide you through the process of connecting your devices to the wireless network created by your TP-Link router.
Step 9: Connecting Devices to the Wireless Network
After setting up and configuring your TP-Link wireless router, it’s time to connect your devices to the wireless network you have created. Whether it’s a laptop, smartphone, tablet, or any other Wi-Fi-enabled device, connecting to the network is a straightforward process.
To connect your device to the wireless network, follow these steps:
- Enable Wi-Fi: Ensure that Wi-Fi is turned on and enabled on your device. Most devices have a Wi-Fi toggle switch or an option in the settings menu to enable Wi-Fi.
- Search for available networks: On your device, search for available Wi-Fi networks. The network name (SSID) of your TP-Link wireless router should appear in the list of available networks.
- Select your network: Select the network name (SSID) of your TP-Link router from the list of available networks. Ensure that you are connecting to your own network and not a nearby one with a similar name.
- Enter the password: If prompted, enter the password you have created for your wireless network. Make sure to enter it correctly, paying attention to uppercase and lowercase letters, as well as any numbers or symbols.
- Connect to the network: After entering the correct password, click on the “Connect” or “Join” button to establish the connection between your device and the TP-Link router.
- Wait for the connection: Your device will now attempt to connect to the wireless network. This process may take a few moments. Once connected, you should see a confirmation message or an indication that you are now connected to the network.
After successfully connecting your device to the wireless network, you can begin enjoying the benefits of a high-speed internet connection without the need for any physical cables.
Repeat these steps for each device you want to connect to the network, ensuring that you enter the correct password each time. Remember, each device may have a slightly different interface for connecting to Wi-Fi networks, but the general steps remain the same.
In the future, your devices will automatically reconnect to the wireless network created by your TP-Link router whenever they are within range.
Congratulations! You have successfully connected your devices to the wireless network created by your TP-Link router. Enjoy the convenience of wireless connectivity and take full advantage of your high-speed internet connection.
Conclusion
Setting up a TP-Link wireless router may seem daunting at first, but by following the step-by-step process outlined in this guide, you can easily install and configure your router with confidence. Starting from unboxing the router and connecting it to the power source and modem, to accessing the router’s web interface, setting up the internet connection, configuring the wireless network, and connecting your devices, each step brings you closer to enjoying a fast and secure wireless network.
A strong password for your router and regular firmware updates are essential for maintaining the security and performance of your TP-Link router. It ensures that your router operates optimally and protects against potential vulnerabilities. Additionally, connecting your devices to the wireless network allows you to enjoy the convenience of wireless connectivity and access the internet from anywhere within your router’s range.
Remember to keep your router and its firmware up to date, periodically check for firmware updates, and change the default login credentials to enhance security. Exploring the various settings and features of your router’s web interface can also help you customize and optimize your network according to your specific needs.
We hope that this guide has provided you with the knowledge and guidance necessary to successfully install and configure your TP-Link wireless router. By following these steps, you can create a reliable, fast, and secure wireless network for your home or office, ensuring seamless connectivity for all your devices.
Now, it’s time to enjoy the benefits of a properly installed and configured TP-Link wireless router. Connect your devices, browse the web, stream your favorite shows, and experience a smooth and uninterrupted internet connection.
Thank you for choosing TP-Link, and we wish you a great wireless networking experience!