Introduction
Having a stable and reliable internet connection is essential in today’s connected world. However, there are instances where the Wi-Fi signal from the router might not be strong enough to reach all corners of your home or office. This can result in frustratingly slow speeds and weak connections in certain areas.
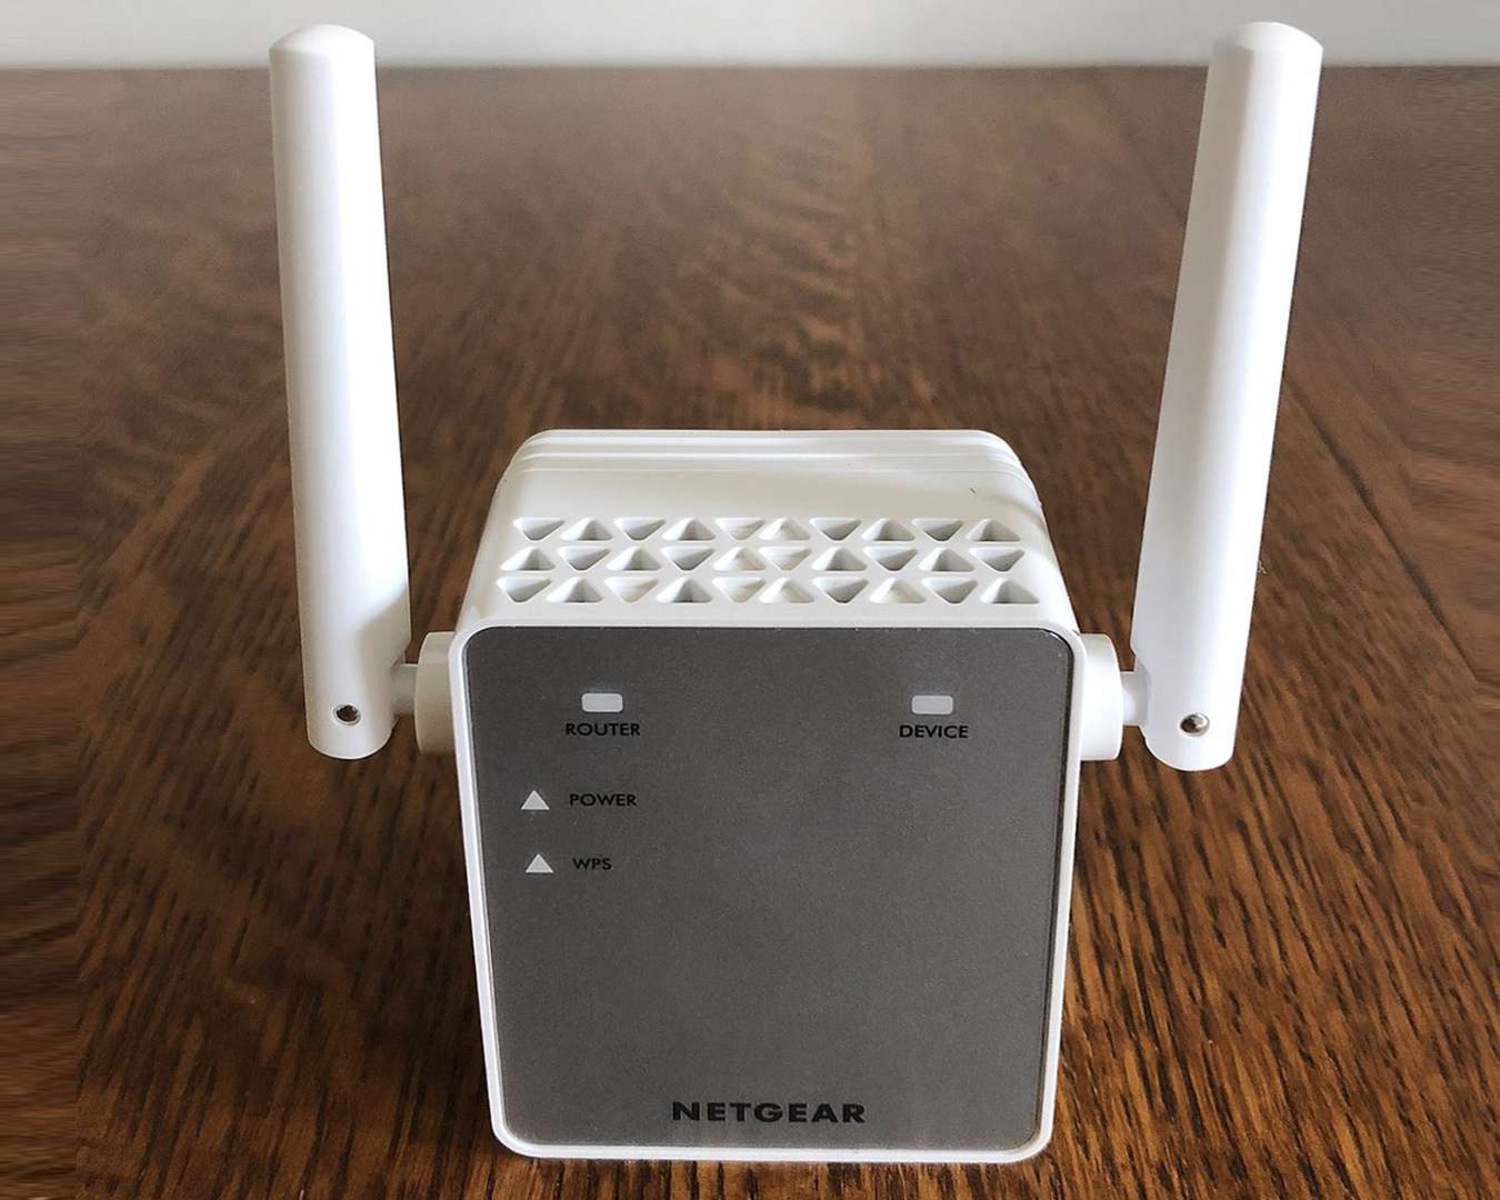
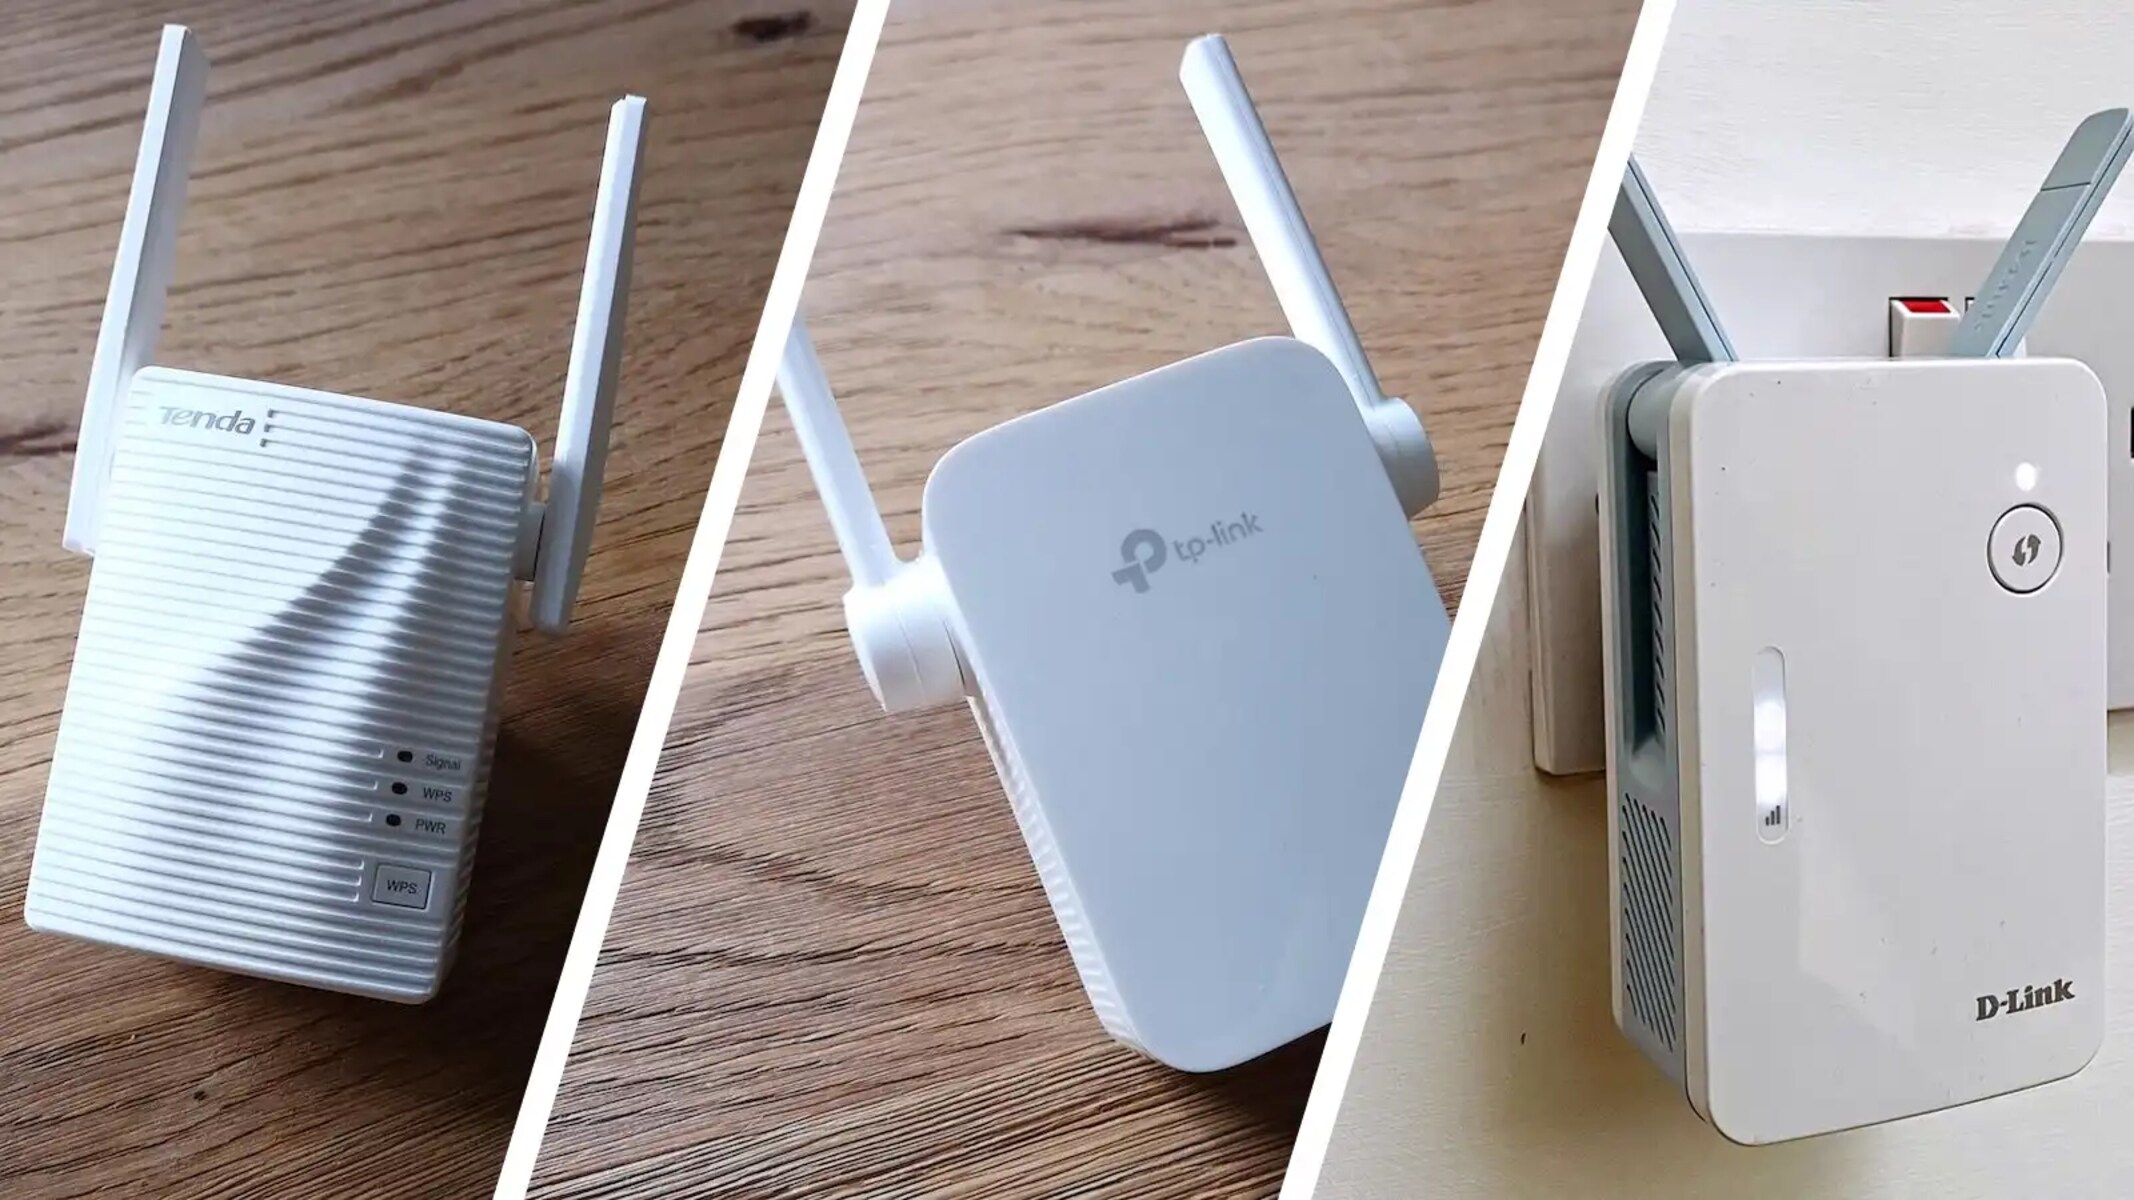
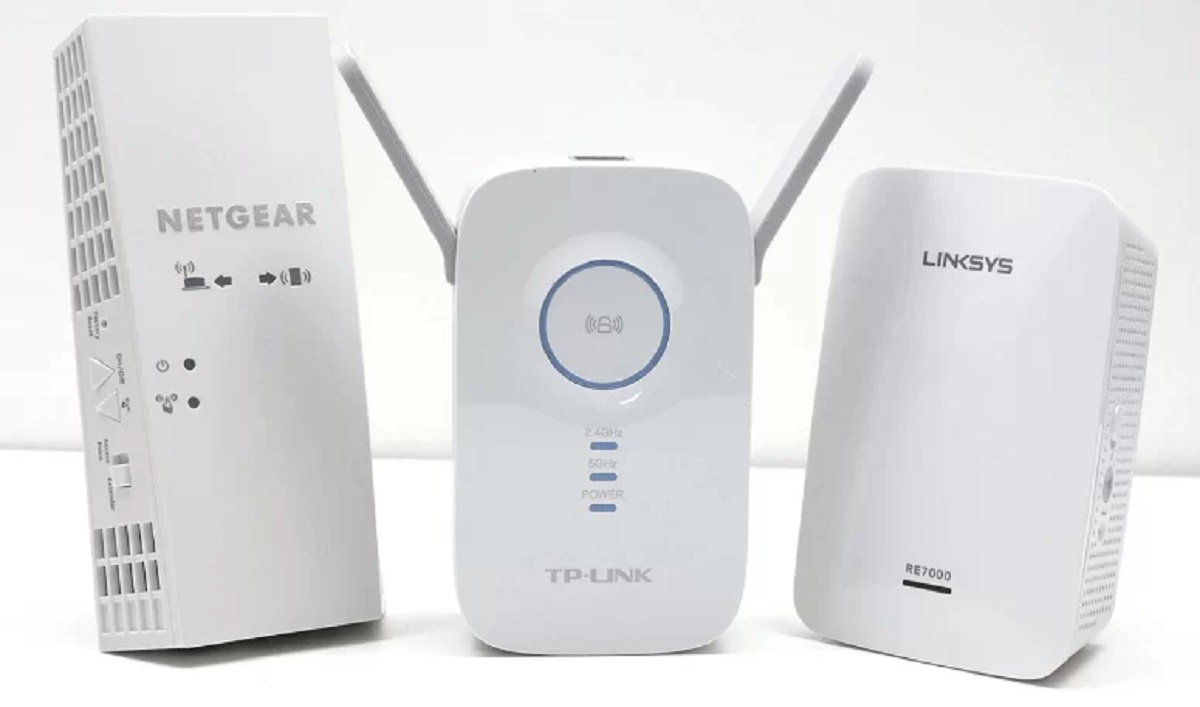
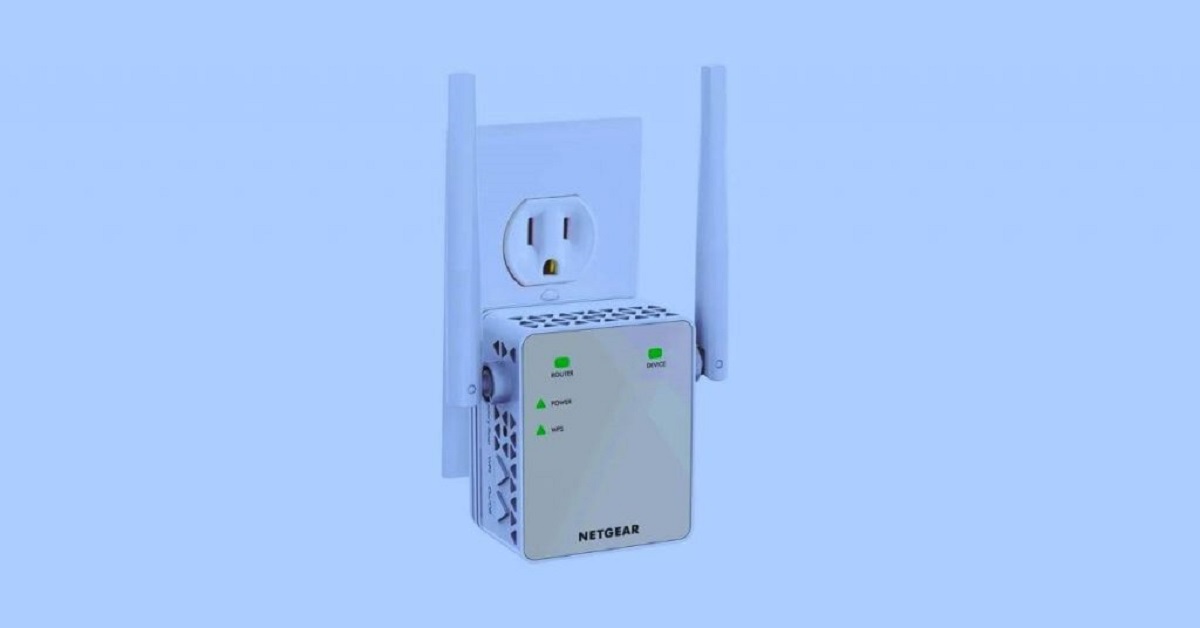
This is where a Wi-Fi extender comes in handy. A Wi-Fi extender, also known as a range extender, is a device that helps boost your existing Wi-Fi signal and extends its coverage area. By placing a Wi-Fi extender strategically, you can overcome Wi-Fi dead zones and enjoy seamless connectivity throughout your space.
While most Wi-Fi extenders support a quick and straightforward setup process using the WPS (Wi-Fi Protected Setup) button on your router, some routers may not have this feature. In such cases, you will need to connect the Wi-Fi extender to the router manually.
In this article, we will explore two methods to connect a Wi-Fi extender to a router without WPS. These methods involve accessing the web-based setup page of the extender or using the WPS pin method. By following these steps, you can extend your Wi-Fi network effectively and enjoy uninterrupted connectivity throughout your home or office.
Why use a Wi-Fi extender?
A Wi-Fi extender is a valuable tool in enhancing your Wi-Fi network coverage and improving internet connectivity throughout your home or office. Here are a few reasons why you should consider using a Wi-Fi extender:
- Eliminate Wi-Fi dead zones: Wi-Fi dead zones are areas in your space where the Wi-Fi signal is weak or non-existent. These can be frustrating, especially if you need reliable internet access in every room. A Wi-Fi extender bridges the gap between your router and these dead zones, ensuring a strong and stable connection everywhere.
- Expand coverage range: A standard Wi-Fi router has a limited coverage range, which might not be sufficient to reach every corner of your home or office. A Wi-Fi extender extends this coverage range, ensuring that you can access the internet throughout your space without any dead spots or weak signals.
- Improved performance: By extending the Wi-Fi network coverage, a Wi-Fi extender can significantly improve the performance of your internet connection. With a stronger and more stable signal, you can enjoy faster download and upload speeds, seamless video streaming, and smooth online gaming experiences.
- Convenience: Wi-Fi extenders are easy to install and use, making them a convenient solution to enhance your Wi-Fi network. They typically come with user-friendly setup processes and intuitive interfaces, allowing you to get your extended network up and running in no time.
- Cost-effective: In comparison to other options, such as installing additional routers or running Ethernet cables, Wi-Fi extenders offer a cost-effective solution to improve Wi-Fi coverage. They provide a seamless way to boost your existing Wi-Fi signal without the need for expensive infrastructure changes.
Overall, a Wi-Fi extender is a reliable and practical solution for extending Wi-Fi coverage, eliminating dead spots, and improving internet performance. Whether you have a large home, office, or a space with structural obstacles, a Wi-Fi extender can help ensure consistent and reliable connectivity throughout.
Connecting a Wi-Fi extender to a router without WPS
Connecting a Wi-Fi extender to a router without the WPS (Wi-Fi Protected Setup) feature requires manual configuration. While it may seem intimidating at first, the process is relatively straightforward. Here are two methods to connect a Wi-Fi extender to a router without WPS:
Method 1: Using the web-based setup page
This method involves accessing the web-based setup page of your Wi-Fi extender and manually configuring the connection. Follow these steps:
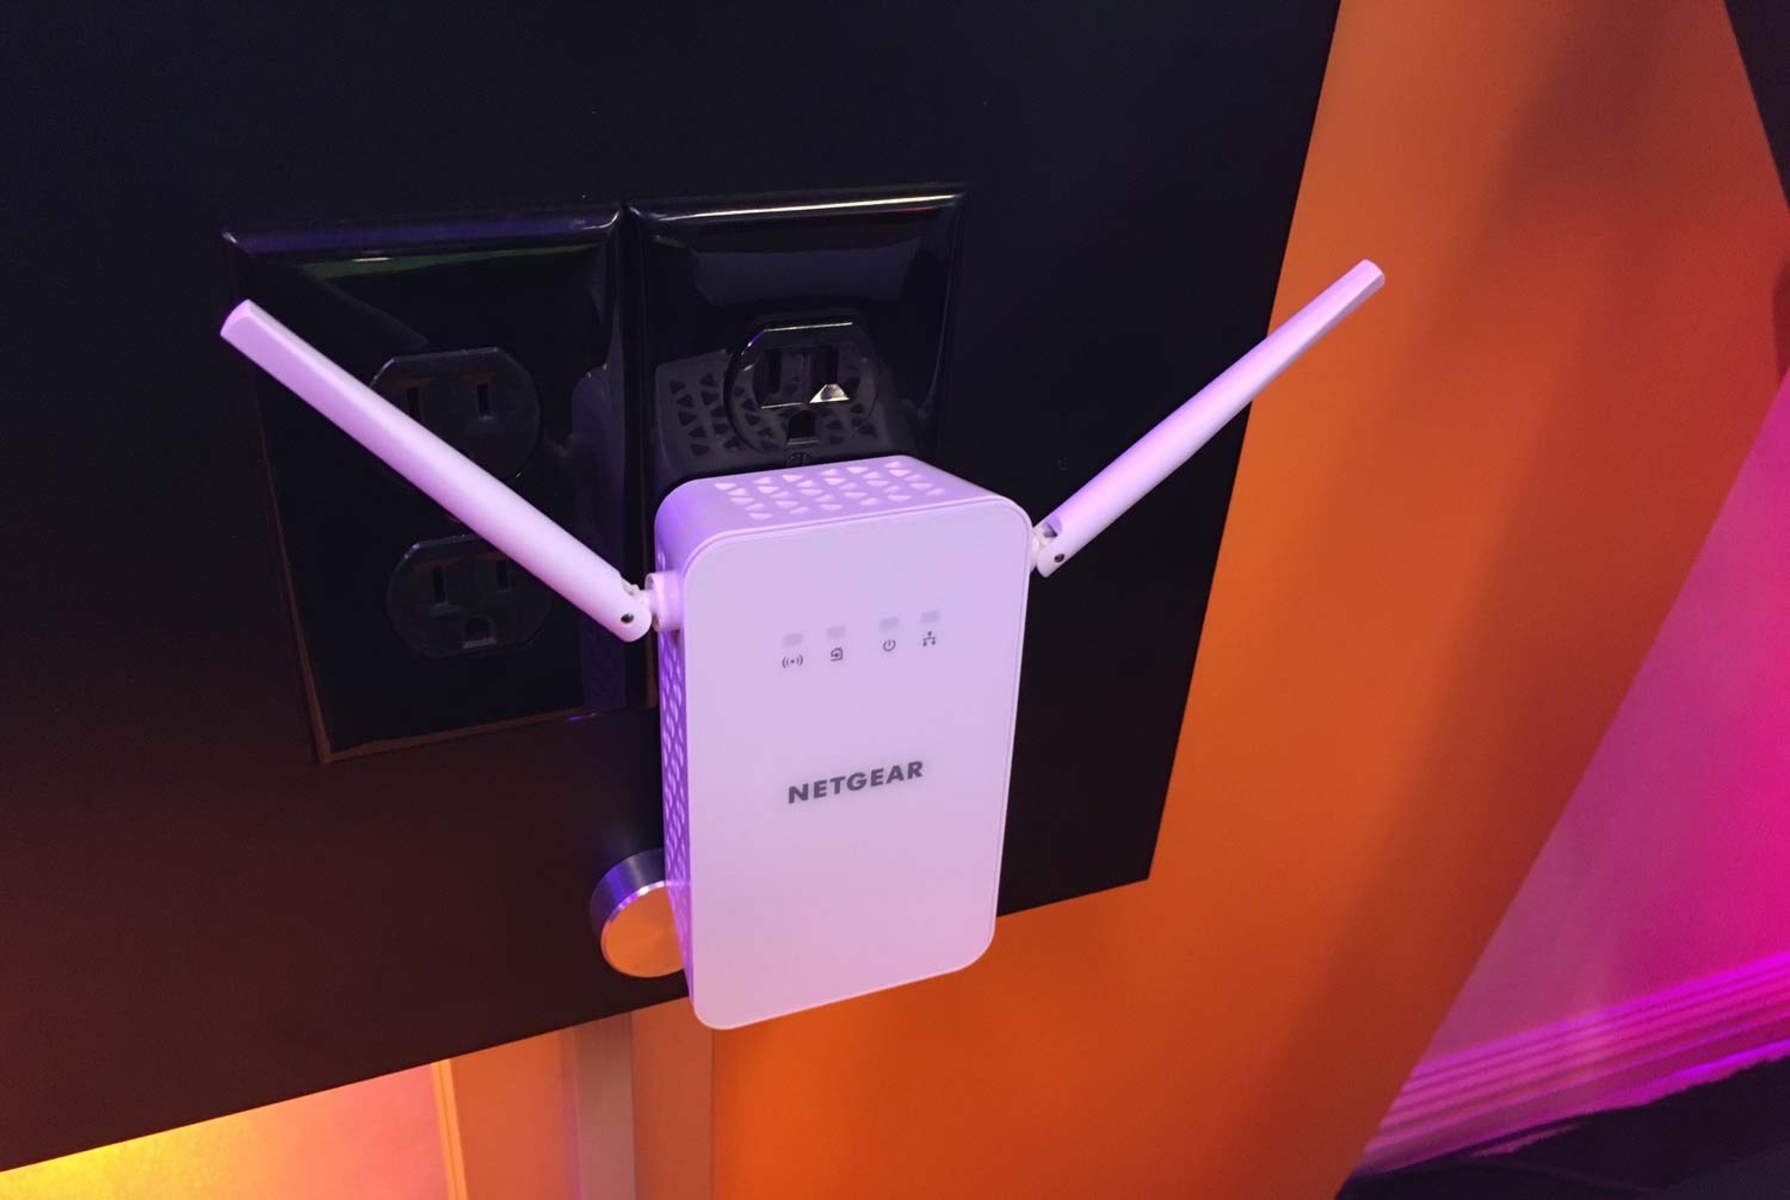
- Connect your Wi-Fi extender to a power source and ensure it is within range of your router’s Wi-Fi signal.
- Use a device (such as a laptop or smartphone) and connect to the Wi-Fi network broadcasted by the extender. Look for the network name (SSID) on the extender or in the user manual.
- Open a web browser and enter the default IP address of the extender in the address bar. The IP address can usually be found on the extender or in the user manual.
- You will be prompted to enter a username and password to access the web-based setup page. Refer to the user manual for the default credentials. If you have changed them previously, use the updated login details.
- Once logged in, navigate to the setup or configuration section of the extender’s interface.
- Choose the option to manually configure the connection or set up a new network.
- Select your router’s Wi-Fi network from the list of available networks and enter the router’s Wi-Fi password when prompted.
- Follow any additional instructions provided by the extender’s setup wizard to complete the connection.
- Once the setup is complete, the Wi-Fi extender will establish a connection with your router, extending the Wi-Fi network’s coverage area.
Method 2: Using the WPS pin method
If your Wi-Fi extender supports the WPS pin method, you can use this method to connect it to the router manually. Here’s how:
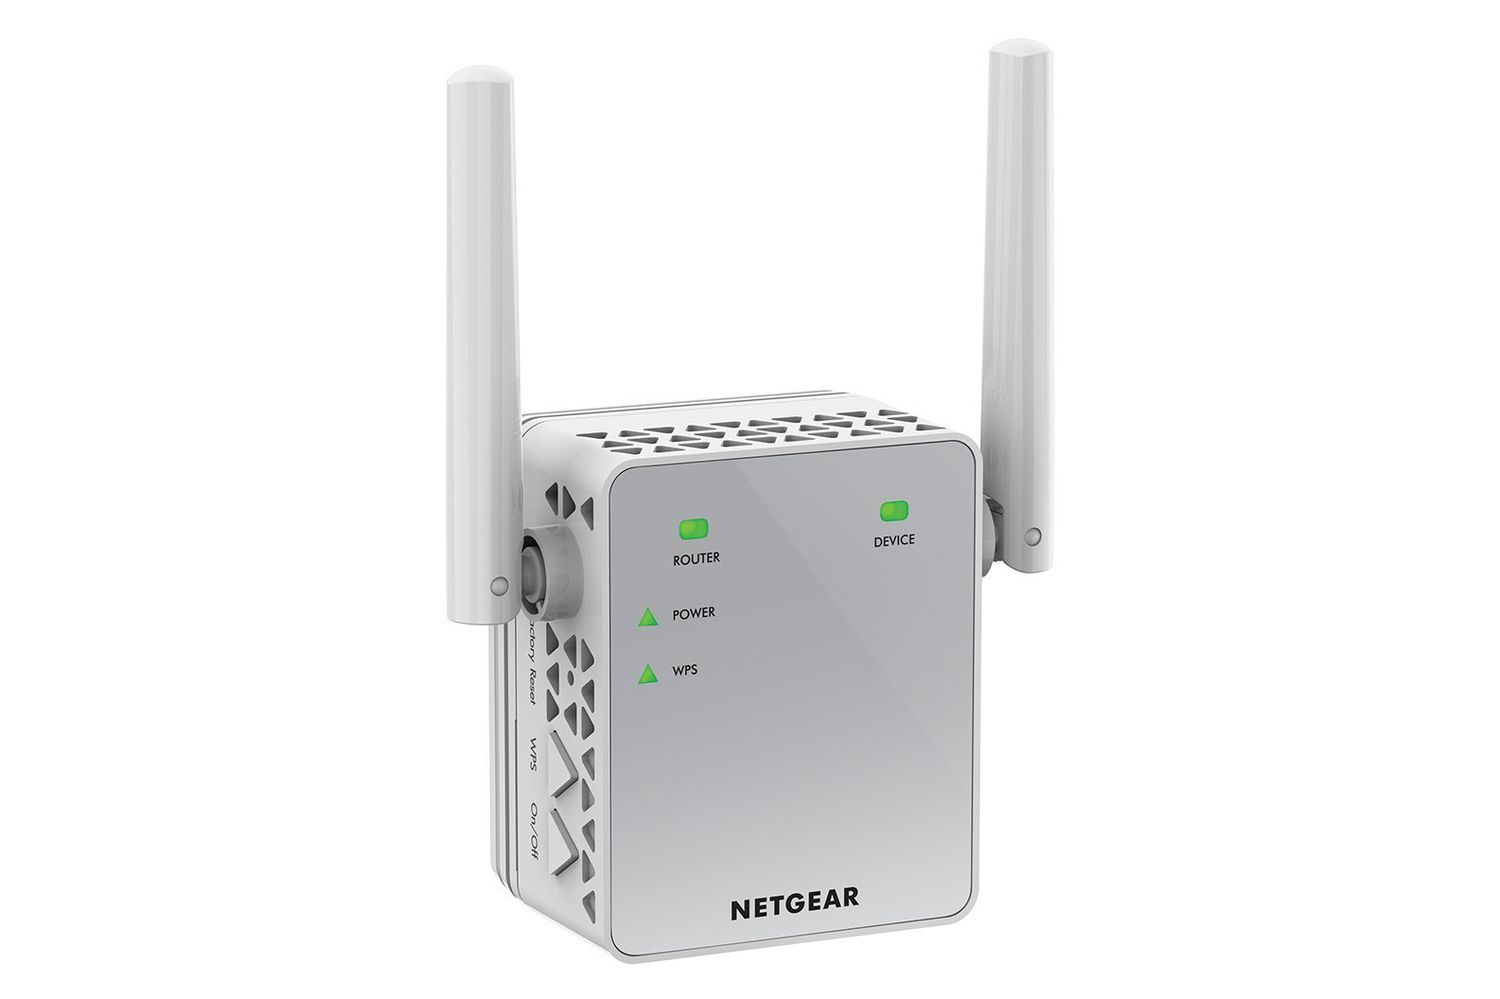
- Locate the WPS pin on your Wi-Fi extender. It is usually printed on a label or found in the user manual.
- On your router, access the WPS aackscable.comureau by pressing the WPS button. The location of the WPS button may vary depending on the router model, so refer to the router’s manual.
- Within a specific timeframe (usually a couple of minutes), enter the WPS pin from the extender into the WPS setup on your router.
- Wait for the router and the Wi-Fi extender to establish a connection. This can take a few moments.
- Once the connection is established, the Wi-Fi extender will extend the range of your router’s Wi-Fi network.
By following these methods, you can successfully connect your Wi-Fi extender to a router without WPS. Enjoy extended Wi-Fi coverage and improved connectivity throughout your space!
Method 1: Using the web-based setup page
Connecting a Wi-Fi extender to a router without WPS can be done by accessing the web-based setup page of the extender. This method allows you to manually configure the connection and is suitable for routers that lack the WPS feature. Here’s a step-by-step guide:
- Ensure that your Wi-Fi extender is powered on and placed within the range of your router’s Wi-Fi signal.
- Using a device such as a laptop or smartphone, connect to the Wi-Fi network broadcasted by the extender. You can find the network name (SSID) on the extender itself or in the user manual.
- Open a web browser on your device and type the default IP address of your Wi-Fi extender into the address bar. Usually, this information can be found on the extender or in the user manual.
- You will be prompted to enter a username and password to access the web-based setup page. Refer to the user manual for the default login credentials. If you have previously changed them, use the updated login details.
- Once logged in, navigate to the setup or configuration section of the extender’s interface.
- Select the option to manually configure the connection or set up a new network.
- From the list of available networks, choose your router’s Wi-Fi network and enter the router’s Wi-Fi password when prompted.
- Follow any additional instructions provided by the extender’s setup wizard to complete the connection process.
- After the setup is complete, the Wi-Fi extender will establish a connection with your router, extending the coverage area of your Wi-Fi network.
It is important to note that the steps provided here are general guidelines, and the exact process may vary depending on the make and model of your Wi-Fi extender. It is recommended to consult the user manual or manufacturer’s website for specific instructions.
By using the web-based setup page, you can successfully connect your Wi-Fi extender to a router without WPS. This method offers a reliable way to extend your Wi-Fi coverage and ensure a strong and stable connection throughout your space. Once the connection is established, you can enjoy improved internet performance and eliminate Wi-Fi dead zones.
Method 2: Using the WPS pin method
If your Wi-Fi extender supports the WPS (Wi-Fi Protected Setup) pin method, you can use this method to manually connect the extender to your router. This method is convenient and typically involves fewer steps. Here’s how to use the WPS pin method:
- Locate the WPS pin on your Wi-Fi extender. This pin is usually printed on a label attached to the extender or can be found in the user manual.
- On your router, locate the WPS button. The location of this button may vary depending on the router model, so it’s best to consult your router’s manual.
- Press and hold the WPS button on your router for a few seconds to activate the WPS setup mode.
- Within a specific timeframe, usually a couple of minutes, enter the WPS pin from the Wi-Fi extender into the WPS setup on your router. This can be done by accessing the router’s administration interface through a web browser.
- Wait for the router and the Wi-Fi extender to establish a connection. This process may take a few moments.
- Once the connection is established, the Wi-Fi extender will extend the range of your router’s Wi-Fi network, providing you with enhanced coverage.
It is important to note that the WPS pin method may not be supported by all Wi-Fi extenders or routers. Some newer models may have replaced the WPS pin method with other connection options. Therefore, it is advisable to check the user manual or the manufacturer’s website for specific instructions related to your Wi-Fi extender and router.
By using the WPS pin method, you can easily connect your Wi-Fi extender to a router that doesn’t have the WPS feature. This method provides a quick and hassle-free way to extend your Wi-Fi coverage and eliminate dead spots in your home or office. Enjoy seamless connectivity throughout your space without having to go through complex manual configurations.
Tips and Precautions
When connecting a Wi-Fi extender to a router, there are some helpful tips and precautions to keep in mind. Following these suggestions will ensure a smooth setup process and optimal performance:
- Choose the ideal location: Place your Wi-Fi extender in a central location between your router and the areas where you need better coverage. Ensure there are no obstructions, such as walls or large objects, that can hinder the Wi-Fi signal.
- Use the same Wi-Fi network name (SSID): To avoid confusion, use the same Wi-Fi network name (SSID) for both your router and extender. This allows your devices to seamlessly switch between the two networks without any manual intervention.
- Secure your Wi-Fi networks: Set strong passwords for both your router and Wi-Fi extender to prevent unauthorized access. Use a combination of uppercase and lowercase letters, numbers, and special characters for enhanced security.
- Keep firmware up to date: Regularly check for firmware updates for your Wi-Fi extender and router. Updating the firmware can fix bugs, improve performance, and add new features.
- Monitor signal strength: Use Wi-Fi analyzers or smartphone apps to check signal strength and identify potential interference from other devices. Make necessary adjustments, such as changing channels, if you notice any performance issues.
- Follow manufacturer instructions: Read and follow the instructions provided by the manufacturer for setting up and configuring your specific Wi-Fi extender and router. These guidelines will ensure compatibility and optimal performance.
- Consider dual-band extenders: If your router supports dual-band (2.4 GHz and 5 GHz) Wi-Fi, consider getting a dual-band Wi-Fi extender. This allows you to extend both Wi-Fi bands for improved coverage and reduced congestion.
It is important to note that while Wi-Fi extenders can enhance your network coverage, they cannot increase the speed or bandwidth provided by your internet service provider (ISP). The overall performance of your extended network will depend on the capabilities of your router and the internet plan you subscribe to.
Additionally, if you experience any issues with your Wi-Fi extender, such as erratic connections or slow speeds, consider resetting the extender and going through the setup process again. This can often resolve common problems.
By following these tips and taking the necessary precautions, you can maximize the effectiveness of your Wi-Fi extender and enjoy a seamless internet experience throughout your space.
Conclusion
Connecting a Wi-Fi extender to a router without WPS may seem challenging at first, but with the right methods and guidance, it can be a straightforward process. By using the web-based setup page or the WPS pin method, you can easily extend the coverage of your Wi-Fi network and eliminate dead spots in your home or office.
A Wi-Fi extender offers numerous benefits, including the elimination of Wi-Fi dead zones, expanded coverage range, improved performance, convenience, and cost-effectiveness. These devices provide a practical solution for enhancing your Wi-Fi network without the need for expensive infrastructure changes.
When connecting your Wi-Fi extender manually, remember to choose the ideal location, use the same Wi-Fi network name (SSID), secure your networks with strong passwords, keep firmware up to date, monitor signal strength, and follow manufacturer instructions. These tips and precautions will ensure a smooth setup process and optimal performance.
Remember, Wi-Fi extenders can enhance network coverage but cannot increase your internet speed or bandwidth. The overall performance of your extended network depends on your router’s capabilities and the internet plan you subscribe to.
Whether you choose to use the web-based setup page or the WPS pin method, connecting a Wi-Fi extender to a router without WPS is an effective way to extend your Wi-Fi coverage and enjoy seamless connectivity throughout your space.
So, don’t let Wi-Fi dead zones limit your internet experience. Take advantage of Wi-Fi extenders and unlock the full potential of your network!