To empty shark robot vacuum, you need to know which type you own: models with a manual onboard dustbin require you to remove and empty the bin by hand, while models with a self-empty base automatically transfer debris into a sealed bag in the dock. This guide covers both methods, plus how to clean the bin and check for clogs to keep suction strong.
How to empty a Shark robot vacuum: two main types
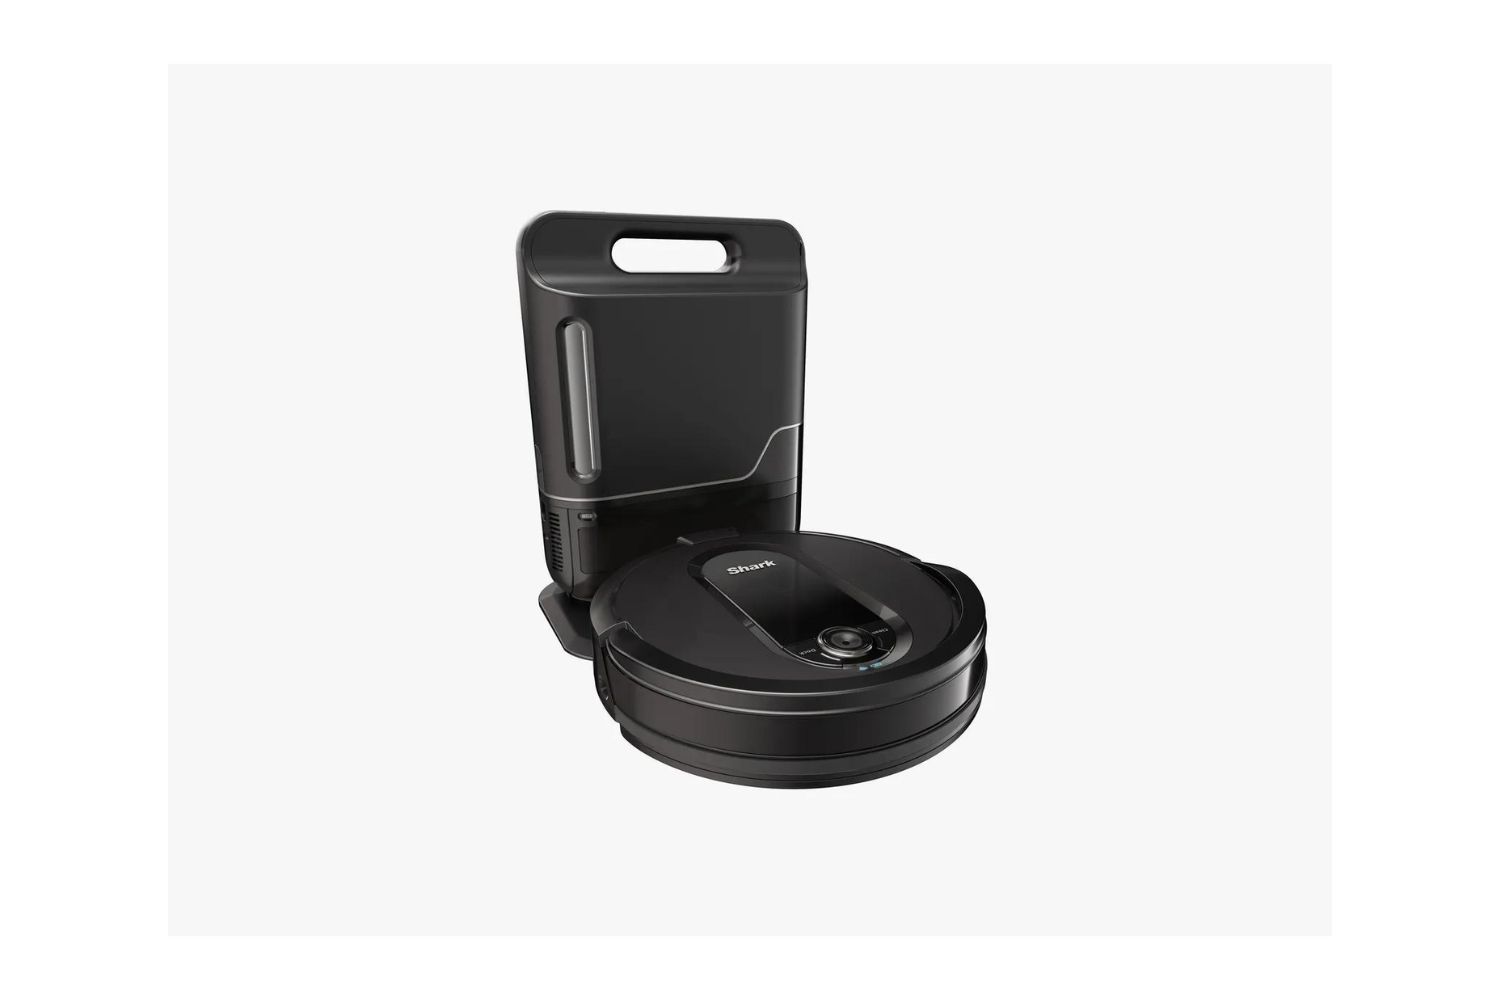
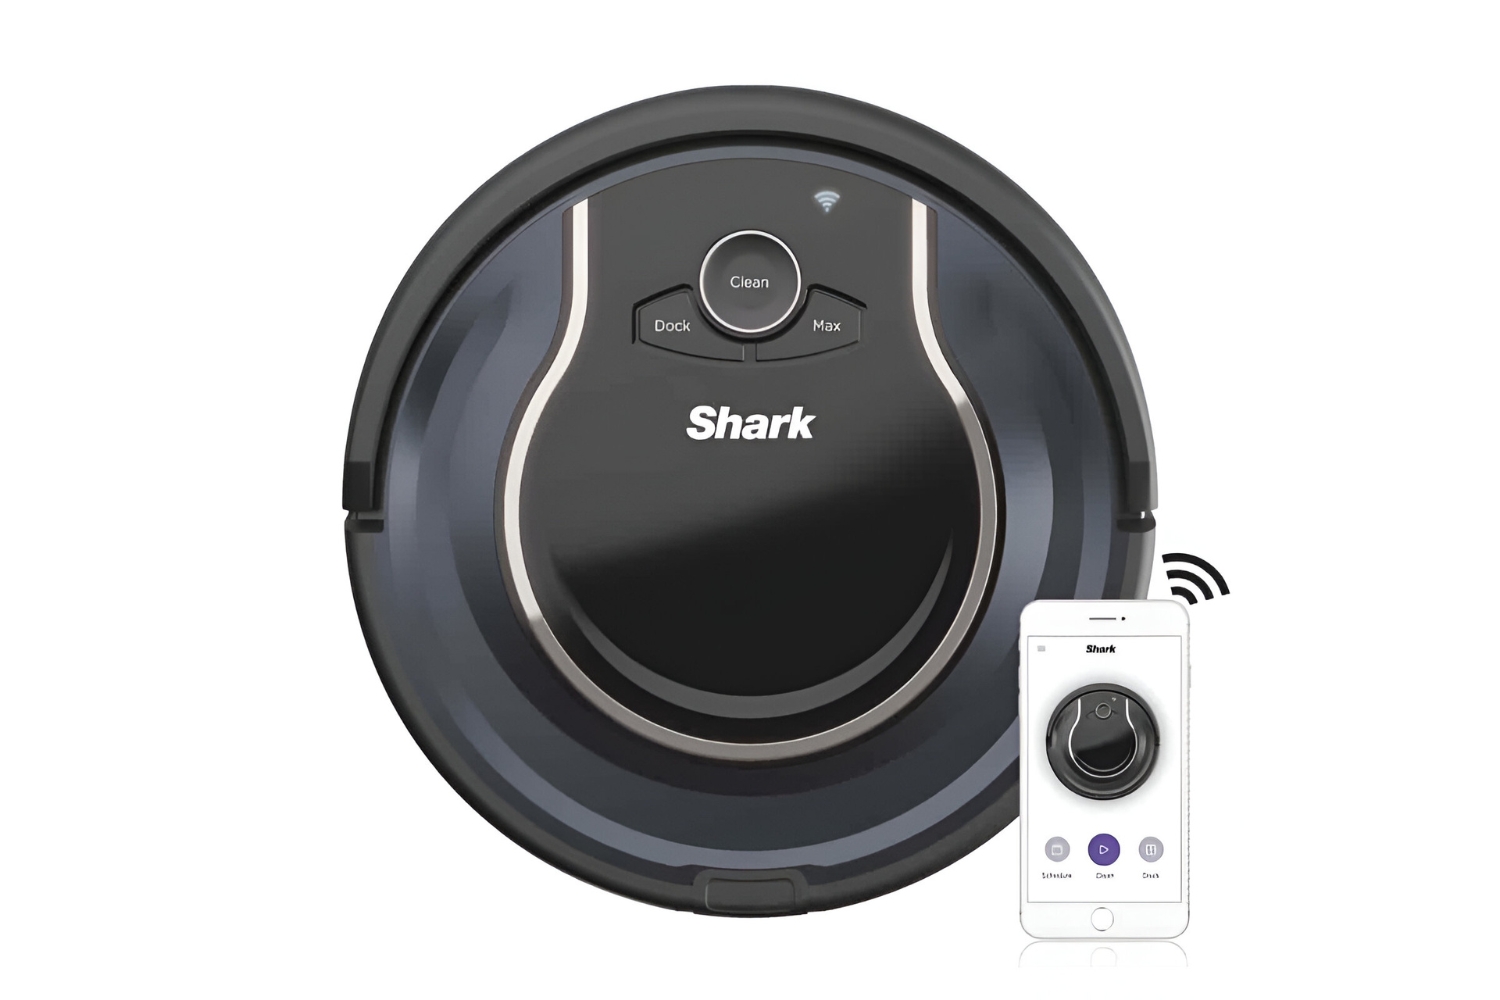
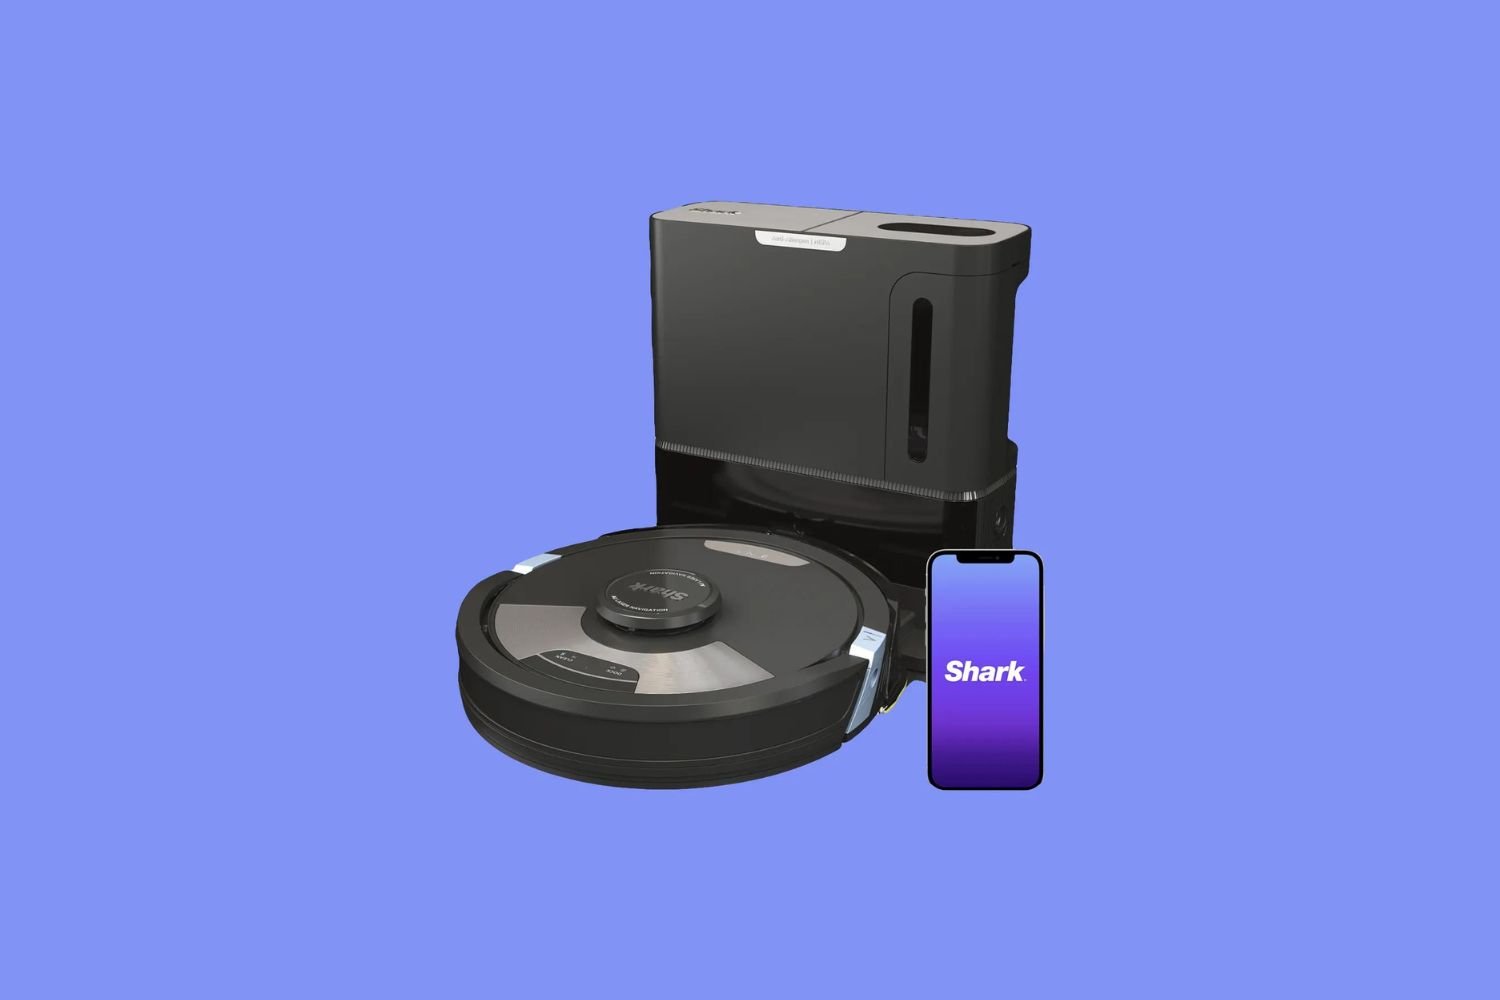
Shark robot vacuums fall into two categories. The first includes models where you manually remove the onboard dustbin, empty it into a trash can, and reattach it. The second includes models with a self-empty base that sucks debris from the robot into a larger dust bag inside the dock. Identify your model to follow the correct section below.
Emptying the onboard dustbin manually
- Press the release button on the back of the robot to slide the dustbin out.
- Hold the dustbin over a trash can.
- Pull up the dry debris access lid on top of the bin to empty the dry debris.
- Reattach the dustbin by sliding it back into the robot until it clicks securely.
Emptying a Shark robot vacuum with a self-empty base
If your Shark robot vacuum includes a self-empty base, the robot will automatically empty its onboard bin into a dust bag inside the base after each cleaning cycle. When the indicator light on the base turns on, it signals that the dust bag is full and needs replacement. If the light stays on even with a fresh bag, a hard reset shark robot vacuum can clear the persistent sensor error, but if the robot stopped mid-cycle, you may also need to check the charge time of a Shark robot vacuum to ensure it has enough power to finish the job. Open the base compartment, remove the full bag, and install a new one according to the manufacturer’s instructions.
Cleaning the dustbin and checking for clogs
Rinsing the dustbin
- Remove the filter from the dustbin before washing.
- Rinse the dustbin with water only, do not use soap or cleaning agents.
- Allow the dustbin to air-dry completely before reinstalling.
- Never rinse the filter; see the filter maintenance section below.
Checking for blockages
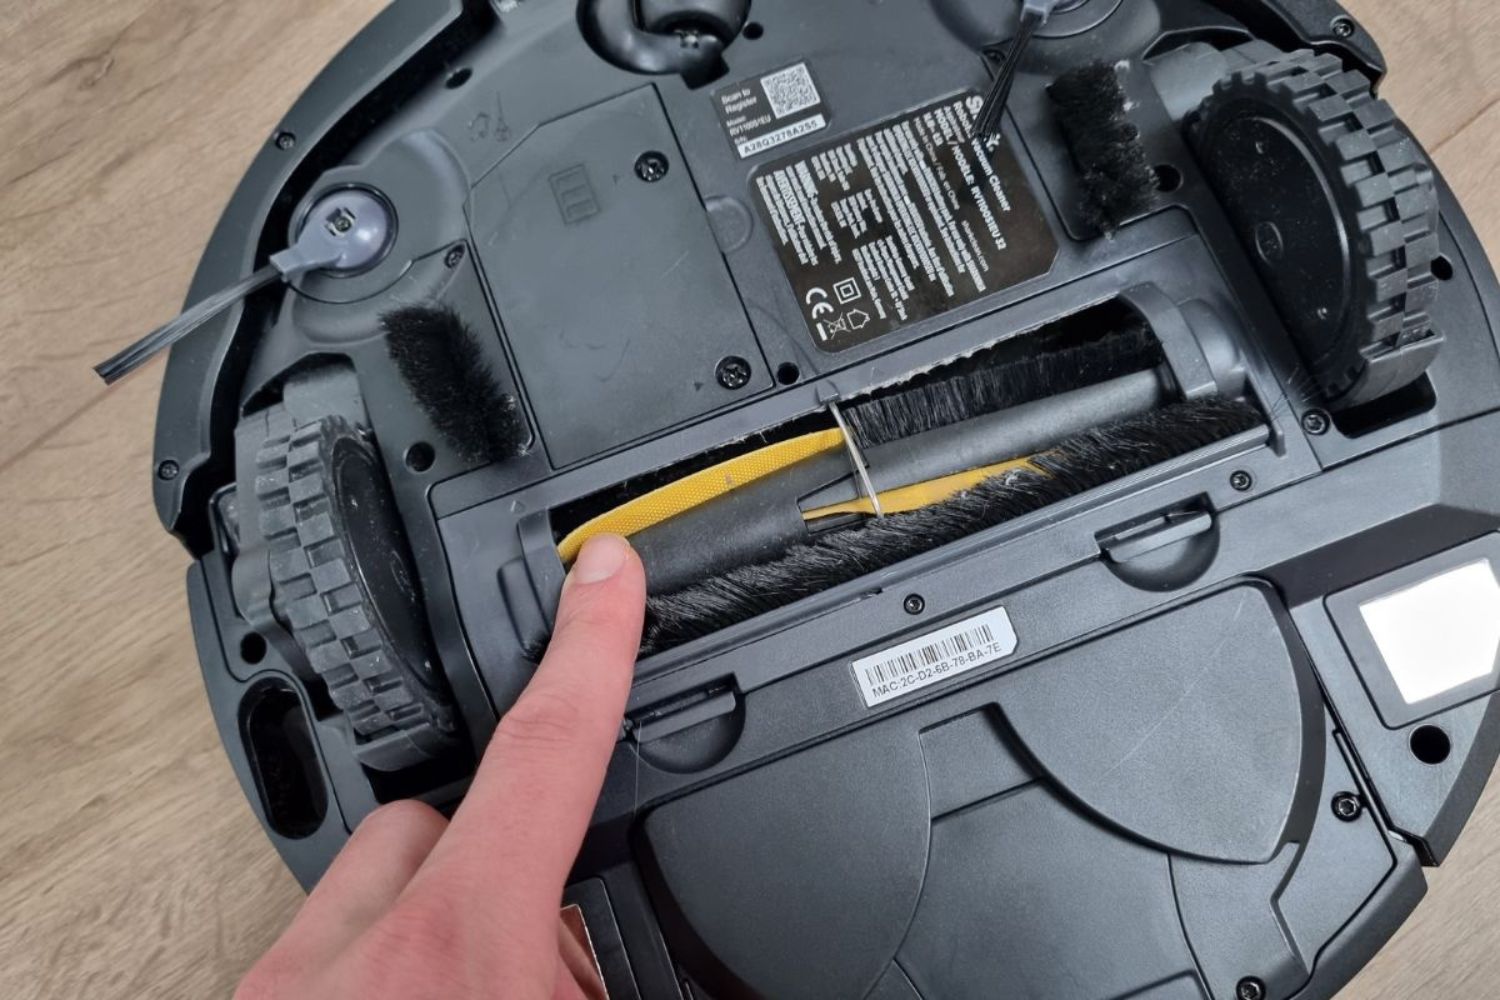
If suction seems weak, inspect the brush roll and nozzle for hair or debris tangles. Clear any blockages you find. This step is essential when you need to fix your Shark robot vacuum after a drop in performance.
Maintaining your Shark robot vacuum's filters
Proper filter care keeps your vacuum running efficiently. If you need to clean the filter on your Shark robot vacuum, follow this schedule for models with a self-empty base:
- Pre-motor foam and felt filters: Clean once a month. Replace every 6 to 12 months.
- Post-motor filter: Clean every two months. Replace every 6 to 12 months.
Never wash these filters with water. Instead, tap them gently to remove loose dust. For troubleshooting issues, refer to the Shark robot vacuum error codes and what they mean in your user manual to identify specific problems.
For the wider topic, see fix my shark robot vacuum.