Introduction
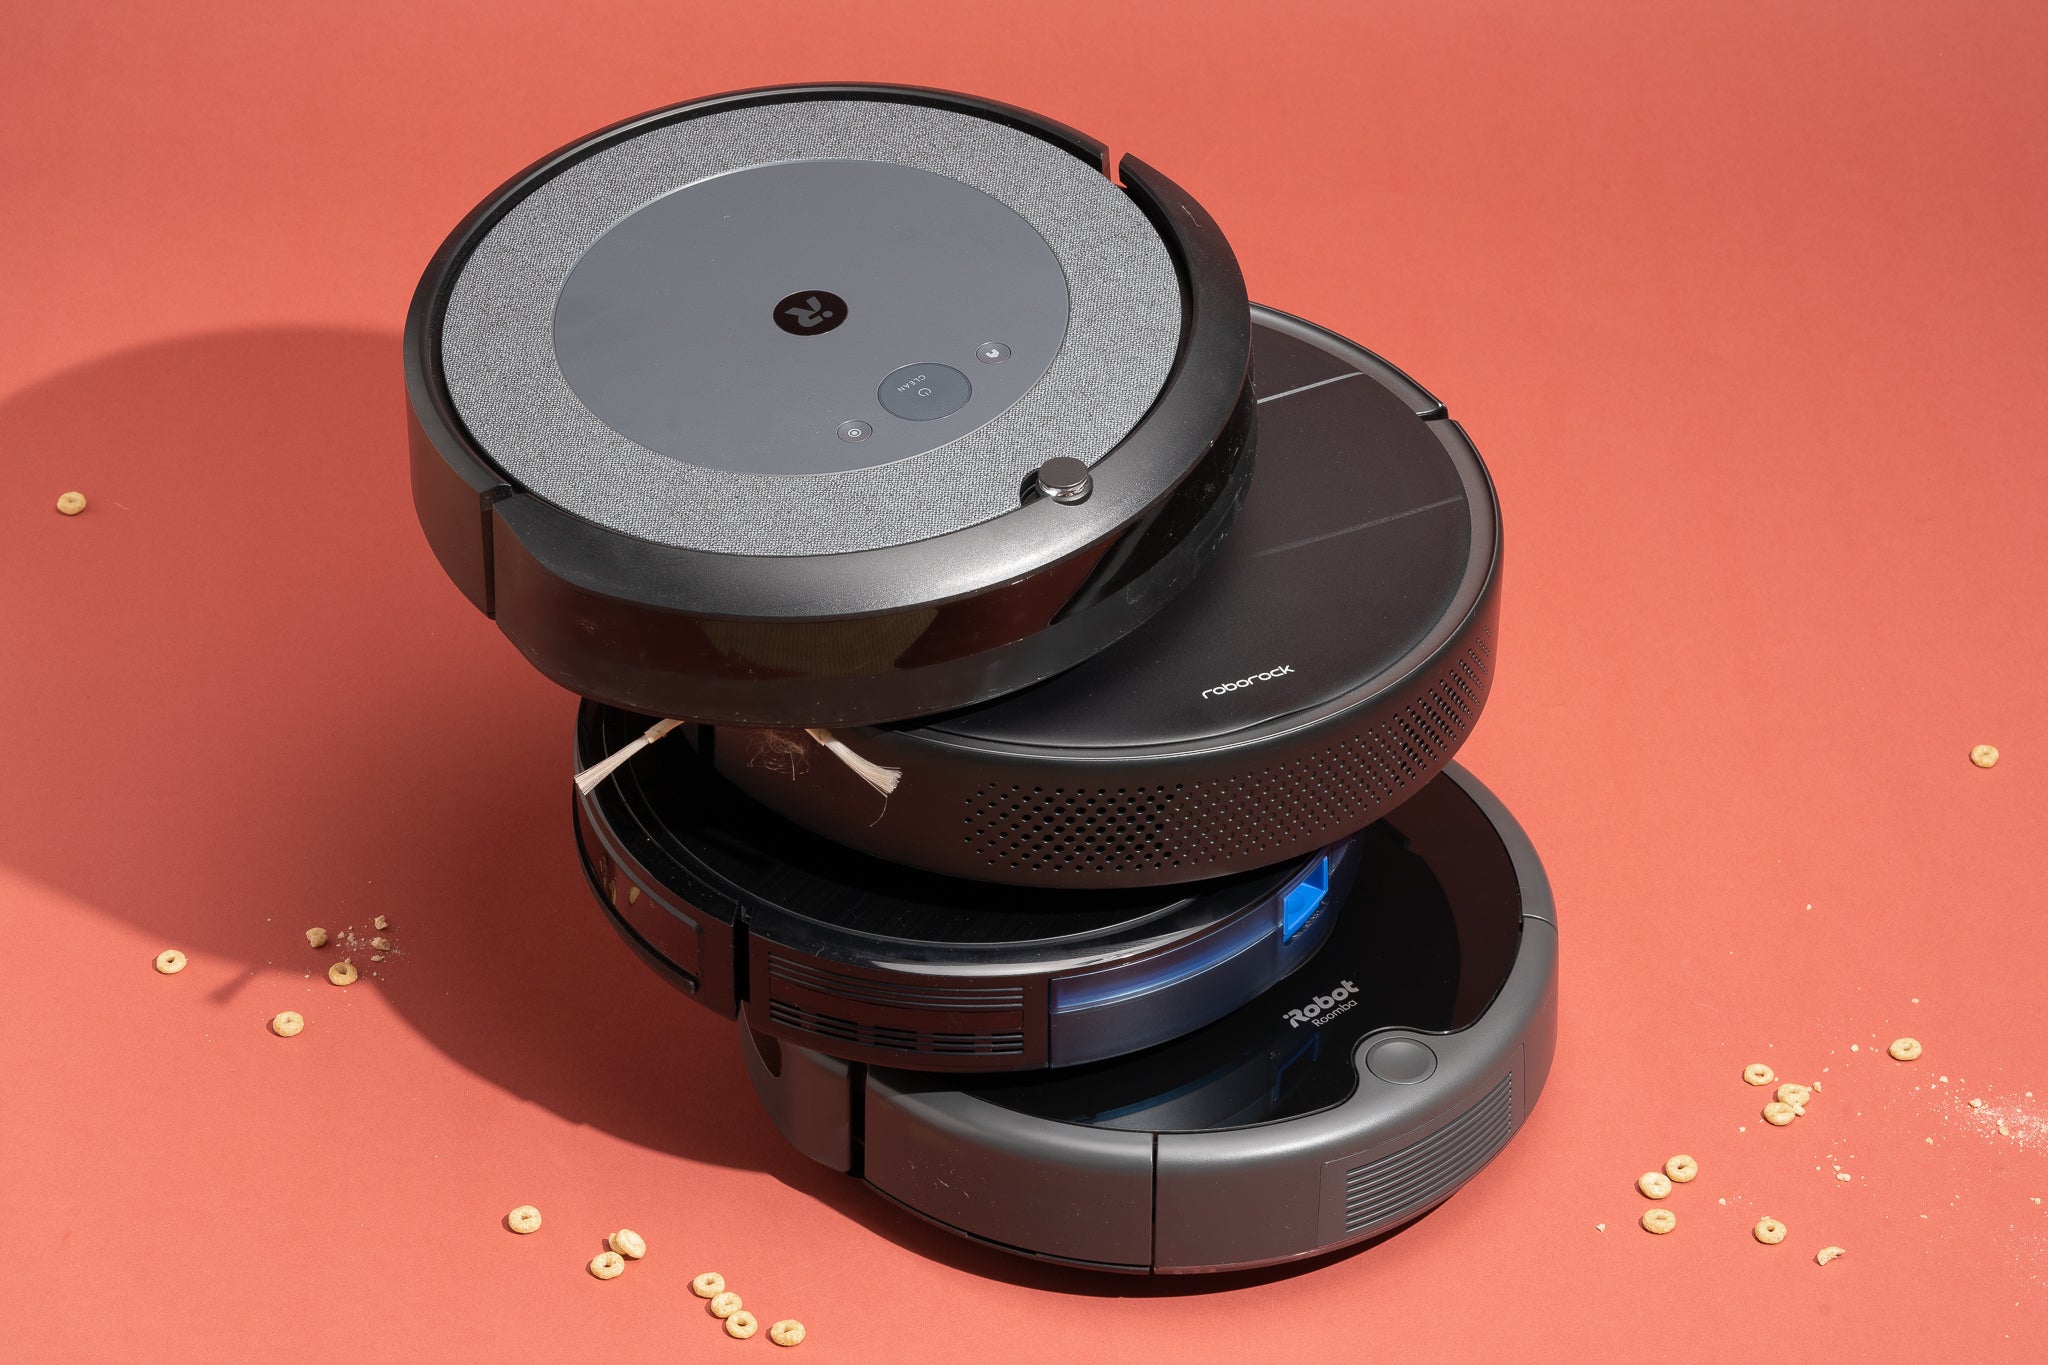
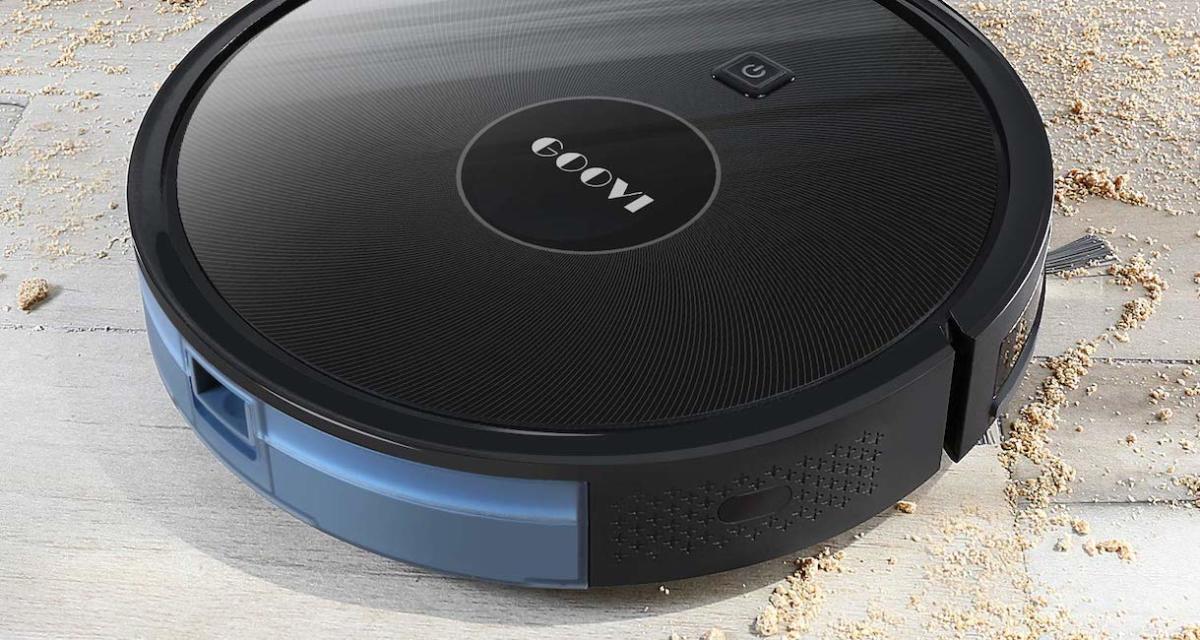
Welcome to the world of the Goovi Robot Vacuum, your new cleaning companion. With its advanced features and smart technology, the Goovi Robot Vacuum revolutionizes the way you clean your home. Say goodbye to manual vacuuming and hello to effortless cleaning.
In this comprehensive guide, we will walk you through every aspect of programming the Goovi Robot Vacuum. From its initial setup to scheduling cleaning sessions, navigating obstacles, and troubleshooting, we have got you covered.
The Goovi Robot Vacuum is designed with convenience in mind. Whether you have hardwood floors, carpets, or a combination of both, this smart device adapts to different surfaces and effectively removes dirt, dust, and debris. Its sleek design allows it to easily maneuver around furniture and reach those hard-to-reach areas, ensuring a thorough cleaning every time.
One of the standout features of the Goovi Robot Vacuum is its ability to connect to Wi-Fi. This allows you to control and monitor the device remotely using the mobile app. You can schedule cleaning sessions, adjust cleaning modes, and even receive notifications, all from the convenience of your smartphone.
In this guide, we will explain how to set up the Goovi Robot Vacuum, connect it to Wi-Fi, and utilize the mobile app to maximize its functionality. We will also dive into the various cleaning modes and how to navigate obstacles effectively.
Additionally, we will cover maintenance tips and troubleshooting techniques to keep your Goovi Robot Vacuum running smoothly. From cleaning the dustbin to checking the brushes and sensors, we will ensure that you have all the necessary knowledge to keep your device in top-notch condition.
So, if you are ready to say goodbye to tedious vacuuming and hello to a more convenient and efficient cleaning routine, let’s get started with programming your Goovi Robot Vacuum.
Getting Started
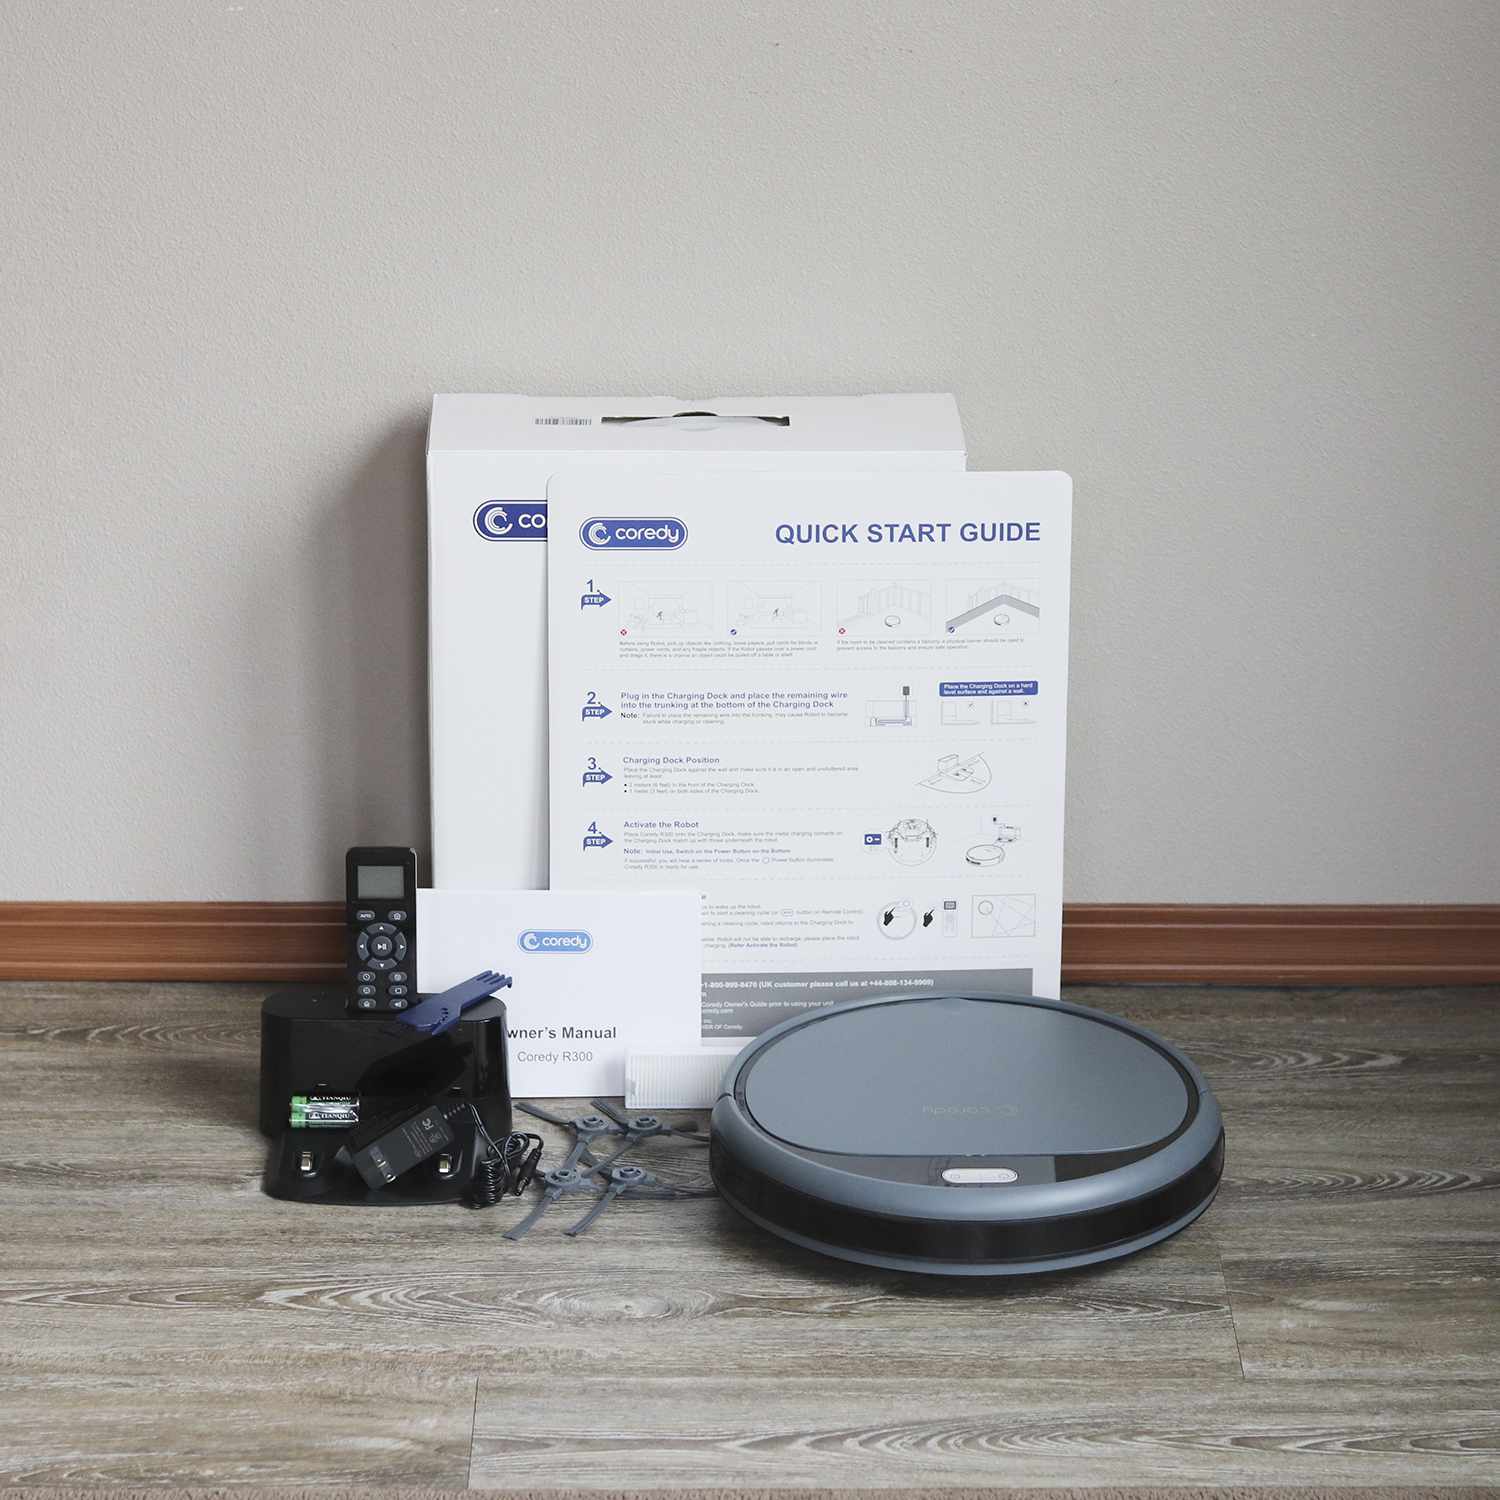
Before you can start enjoying the benefits of the Goovi Robot Vacuum, it’s important to ensure that you have everything you need and are familiar with the components of the device. Here’s a step-by-step guide to help you get started:
- Unbox the Goovi Robot Vacuum and remove all packaging materials.
- Inspect the device for any visible damage. If you notice any issues, contact customer support for assistance.
- Check the contents of the box. Along with the robot vacuum, you should find a charging dock, power adapter, remote control (if included), and user manual.
- Find an ideal location for the charging dock. It should be placed in an easily accessible area with enough space for the robot vacuum to dock and recharge.
- Locate a power outlet near the charging dock and plug in the power adapter.
- Place the robot vacuum on the charging dock and wait for it to fully charge. This usually takes a few hours.
- While the robot vacuum is charging, take the time to familiarize yourself with the user manual. This will provide you with important information about using and maintaining the device.
- Once the robot vacuum is fully charged, you’re ready to move on to the next steps of setting it up and connecting to Wi-Fi.
By following these simple steps, you will ensure that your Goovi Robot Vacuum is ready for action. Now, let’s dive into the process of setting up the device and connecting it to your Wi-Fi network.
Setting up the Goovi Robot Vacuum
Once you have completed the initial setup steps and your Goovi Robot Vacuum is fully charged, it’s time to set up the device and prepare it for cleaning. Follow these steps to get your Goovi Robot Vacuum up and running:
- Remove the robot vacuum from the charging dock and place it in the desired starting position. This should be a cleared area with easy access to different parts of your home.
- Turn on the power switch located on the side of the robot vacuum.
- Press the “Home” button to start the device.
- Allow the Goovi Robot Vacuum to calibrate and map out its surroundings. This may take a few moments.
- Once the calibration is complete, the robot vacuum is ready for cleaning.
- If you want to set boundaries for the cleaning area, use the included magnetic strips or virtual walls (if applicable). Place them in doorways or other areas you want the robot vacuum to avoid.
- Before proceeding with your first cleaning session, it’s important to ensure that the brushes and filters are properly installed. Refer to the user manual for instructions on how to install and maintain these components.
- Now that the Goovi Robot Vacuum is set up, you can move on to connecting it to your Wi-Fi network for remote control and access to additional features.
With these simple steps, you can quickly set up your Goovi Robot Vacuum and have it ready to clean your home. The next section will explain how to connect your device to your Wi-Fi network for enhanced control and convenience.
Connecting to Wi-Fi
Connecting your Goovi Robot Vacuum to your Wi-Fi network allows you to control and monitor the device remotely using the mobile app. This provides convenience and flexibility in managing your cleaning routine. Follow these steps to connect your Goovi Robot Vacuum to Wi-Fi:
- Make sure your smartphone or tablet is connected to the Wi-Fi network that you want to connect the robot vacuum to.
- Download and install the Goovi Robot Vacuum mobile app from the App Store or Google Play Store onto your device.
- Open the app and create an account if you don’t have one already. If you do, log in to your existing account.
- Ensure that the Goovi Robot Vacuum is turned on and in a location where it has a stable Wi-Fi signal.
- In the app, tap on the “Add Device” or similar option to begin the pairing process.
- Follow the on-screen instructions in the app to select your specific robot vacuum model and initiate the pairing mode.
- The app will search for available devices. Once it detects your Goovi Robot Vacuum, select it to proceed.
- Enter your Wi-Fi network name (SSID) and password when prompted. Make sure to enter the correct information to ensure a successful connection.
- Allow the app to configure the connection between your Goovi Robot Vacuum and your Wi-Fi network. This may take a few moments.
- Once the connection is established, you will receive a notification confirming the successful pairing.
Now, you can enjoy the convenience of controlling your Goovi Robot Vacuum through the mobile app. You can start or stop cleaning sessions, adjust cleaning modes, schedule cleanings, and receive notifications about the status of the device – all from your smartphone or tablet.
Note: It’s important to keep your robot vacuum within range of your Wi-Fi network for a reliable connection. If you experience any issues with the Wi-Fi connection, try moving the robot vacuum closer to your router or ensuring that there are no signal interferences.
Now that your Goovi Robot Vacuum is connected to Wi-Fi, let’s explore the functionalities and features of the mobile app in the next section.
Using the Mobile App
The Goovi Robot Vacuum mobile app provides a convenient and user-friendly interface for controlling and managing your cleaning sessions. Whether you’re at home or away, you can easily access and control your Goovi Robot Vacuum using your smartphone or tablet. Here’s a guide on how to use the mobile app:
- Launch the Goovi Robot Vacuum app on your mobile device and log in to your account.
- Once you are logged in, you will be presented with the main interface of the app. Here, you will find various options and controls to manage your robot vacuum.
- To start a cleaning session, tap on the “Start” or “Clean” button. The robot vacuum will begin cleaning the designated area.
- For a more customized cleaning experience, you can choose from different cleaning modes, such as “Auto,” “Edge,” or “Spot.” These modes cater to different cleaning needs and preferences.
- If you want to schedule regular cleaning sessions, navigate to the “Schedule” or “Timer” section of the app. Set the desired time and frequency for cleaning, and the robot vacuum will automatically start cleaning at the specified intervals.
- Want to keep an eye on the cleaning progress? The app provides a real-time view of the robot vacuum’s movements and cleaning path, allowing you to monitor the cleaning process remotely.
- If you encounter any issues during cleaning or want to manually control the robot vacuum, the app offers manual control options. Use the virtual joystick or arrow buttons to guide the robot vacuum to specific areas.
- Additionally, you can access a variety of settings and preferences in the app. Adjust the suction power, select language preferences, and customize other features to suit your needs.
- Take advantage of the “Notifications” feature to receive alerts and updates about the cleaning progress, battery status, maintenance reminders, and more.
- Regularly check for app updates to ensure that you have the latest features and improvements for an optimal user experience.
The Goovi Robot Vacuum mobile app provides a seamless and intuitive way to control and manage your cleaning routine. Explore the app’s features and options to make the most out of your Goovi Robot Vacuum and enjoy a clean and tidy home with minimal effort.
Now that you are familiar with using the mobile app, let’s explore how you can schedule cleaning sessions to automate the cleaning process.
Scheduling Cleaning
One of the most convenient features of the Goovi Robot Vacuum is the ability to schedule cleaning sessions. With this feature, you can ensure that your home stays clean and fresh without having to manually start the robot vacuum every time. Here’s how you can schedule cleaning sessions:
- Open the Goovi Robot Vacuum mobile app on your smartphone or tablet.
- Navigate to the “Schedule” or “Timer” section of the app. Here, you can set up a cleaning schedule according to your preferences.
- Choose the desired days and times for the cleaning sessions. You can select specific days of the week or set a recurring schedule for daily cleaning.
- Specify the cleaning mode you want the robot vacuum to use during scheduled sessions. You can choose from options like “Auto,” “Edge,” or “Spot” cleaning modes.
- Once you have configured the schedule, save the settings and exit the schedule section of the app.
- The Goovi Robot Vacuum will now automatically start cleaning at the scheduled times. You can relax and have peace of mind knowing that your home will stay clean without any effort on your part.
- If needed, you can easily edit or modify the cleaning schedule through the app. Adjust the days or times as per your changing needs.
- To temporarily pause or cancel a scheduled cleaning session, navigate back to the schedule section of the app and make the necessary changes.
The scheduling feature allows you to maintain a clean home even when you’re busy or away. It ensures that your Goovi Robot Vacuum operates on your desired cleaning schedule, offering convenience and flexibility in managing your cleaning routine.
Take advantage of this feature to enjoy clean floors at your preferred times, without the need for manual intervention.
In the next section, we will explore the different cleaning modes offered by the Goovi Robot Vacuum, allowing you to customize your cleaning experience.
Selecting Cleaning Modes
The Goovi Robot Vacuum offers a variety of cleaning modes to suit different cleaning needs and preferences. Whether you want a thorough cleaning of the entire room or a targeted clean around the edges and corners, you can easily select the appropriate cleaning mode. Here are the available cleaning modes:
- Auto mode: This is the default cleaning mode for the Goovi Robot Vacuum. In this mode, the robot vacuum intelligently navigates the room, using its sensors to detect and avoid obstacles while thoroughly cleaning the floor.
- Edge mode: If you want the robot vacuum to focus on cleaning along the edges and corners of the room, select the edge mode. It will move along the walls and furniture, capturing dust and debris that often accumulate in these areas.
- Spot mode: When you spot a particularly dirty area or a localized spill, the spot mode is the ideal choice. Simply position the robot vacuum near the area and select spot mode. The device will concentrate on thoroughly cleaning that specific spot before returning to its original position.
To select a cleaning mode:
- Open the Goovi Robot Vacuum mobile app on your smartphone or tablet.
- Navigate to the cleaning modes section or look for a button/icon that represents the different cleaning modes.
- Tap on the desired cleaning mode to select it.
- The robot vacuum will now operate in the selected mode, providing you with the specific cleaning experience you desire.
Depending on your specific cleaning needs, you can switch between cleaning modes to achieve the desired results. Experiment with different modes to find the one that works best for your home and flooring surfaces.
Selecting the appropriate cleaning mode ensures that the Goovi Robot Vacuum effectively targets the areas that require more attention, contributing to a thorough and efficient cleaning experience.
In the next section, we will explore how the Goovi Robot Vacuum navigates obstacles in your home, making cleaning a seamless process.
Navigating Obstacles
The Goovi Robot Vacuum is equipped with advanced sensors and intelligent navigation capabilities, allowing it to navigate and maneuver around obstacles with ease. These sensors help the robot vacuum to avoid collisions and efficiently clean your home. Here’s how the Goovi Robot Vacuum handles different types of obstacles:
- Furniture and obstacles: The robot vacuum uses a combination of sensors, including infrared sensors, to detect furniture, walls, and other obstacles in its path. It will slow down and adjust its course to avoid collisions, ensuring that your furniture remains unharmed while thorough cleaning is still achieved.
- Stairs and drop-offs: To prevent falls and accidents, the Goovi Robot Vacuum is equipped with drop sensors. These sensors detect changes in floor height and prevent the robot vacuum from tumbling down stairs or steep drop-offs.
- Carpets and rugs: The robot vacuum is designed to seamlessly transition between different floor surfaces, including carpets and rugs. It uses sensors to determine the surface type and adjusts its cleaning performance accordingly to ensure efficient cleaning on all floor types.
- Cords and cables: To avoid entanglement in cords and cables, it’s important to keep the area clear of any loose wires. However, if the robot vacuum does encounter a cord or cable, it will attempt to avoid getting tangled by changing its direction.
- Pet bowls and small objects: The robot vacuum is programmed to recognize and avoid small objects, such as pet bowls and toys, to prevent damage and ensure a safe cleaning experience.
While the Goovi Robot Vacuum is designed to navigate obstacles effectively, it’s still important to prepare your home before each cleaning session. Clearing the floor of any potential hazards, such as loose objects or tangled cords, will enhance the performance and safety of the robot vacuum.
In the rare event that the robot vacuum becomes stuck or encounters a challenging obstacle, it’s equipped with a “Pause” or “Stop” button that you can use to halt the cleaning operation. You can then manually assess the situation and make the necessary adjustments before resuming the cleaning session.
The Goovi Robot Vacuum’s ability to navigate obstacles makes it a reliable and efficient cleaning companion. You can have peace of mind knowing that it will clean your home thoroughly while avoiding any potential damage or accidents.
In the next section, we will discuss important maintenance tips and troubleshooting techniques to keep your Goovi Robot Vacuum in optimal condition.
Maintaining and Troubleshooting
To ensure optimal performance and longevity of your Goovi Robot Vacuum, regular maintenance and troubleshooting are essential. By following these tips and techniques, you can keep your device in top-notch condition:
Maintaining the Goovi Robot Vacuum:
- Empty the dustbin regularly: To maintain optimal suction power, empty the dustbin after each cleaning session or when it reaches its maximum capacity.
- Clean the brushes and filters: Regularly remove any hair, debris, or dust that may accumulate on the brushes and filters. This will prevent clogging and ensure efficient cleaning.
- Check the sensors: Inspect the sensors for any obstructions or dirt buildup. Clean them gently using a soft cloth or cotton swab to maintain accurate navigation.
- Keep the charging dock clean: Dust and debris can accumulate on the charging dock, affecting the robot vacuum’s ability to dock and recharge. Wipe down the dock regularly to ensure a proper connection.
- Inspect and clean the wheels: The wheels may accumulate dirt or hair, hindering the robot vacuum’s movement. Check the wheels regularly and remove any debris to maintain smooth operation.
Troubleshooting common issues:
- If the robot vacuum is not cleaning properly, ensure that the brushes and filters are clean and in good condition.
- If the device is not docking properly, check if there are any obstacles blocking the dock’s contact points. Also, ensure that the dock is placed on a stable surface and that the robot vacuum has a clear path to the dock.
- If the robot vacuum gets stuck frequently, check for any objects or potential obstacles in the cleaning area. Remove them to allow uninterrupted cleaning.
- If the battery life seems shorter than usual, it may be time to replace the batteries or check if the charging dock is functioning properly.
- If you are experiencing Wi-Fi connectivity issues, ensure that your device is within range of your Wi-Fi network and that the network itself is stable. You may also try restarting both the robot vacuum and your Wi-Fi router.
If you encounter any persistent issues or technical difficulties with your Goovi Robot Vacuum, refer to the user manual for specific troubleshooting steps. You can also contact the Goovi customer support team for further assistance.
By staying proactive with maintenance and promptly addressing any issues that arise, you can keep your Goovi Robot Vacuum performing at its best and enjoy a hassle-free cleaning experience.
Now that you have a firm grasp on maintaining and troubleshooting your Goovi Robot Vacuum, let’s wrap up this comprehensive guide.
Conclusion
Congratulations! You are now equipped with the knowledge and know-how to program and utilize the Goovi Robot Vacuum to its fullest potential. Through this guide, we have covered everything from the initial setup and connecting to Wi-Fi, to using the mobile app, scheduling cleanings, selecting different cleaning modes, navigating obstacles, and maintaining and troubleshooting the device.
The Goovi Robot Vacuum offers a convenient, efficient, and automated cleaning solution for your home. With its advanced sensors and intelligent navigation system, it can effortlessly navigate through your living spaces while avoiding obstacles and providing a thorough clean.
By utilizing the mobile app, you can take control of your cleaning routine and enjoy the flexibility of scheduling cleanings, adjusting cleaning modes, and monitoring the progress from the convenience of your smartphone or tablet.
Remember to regularly maintain your Goovi Robot Vacuum by emptying the dustbin, cleaning the brushes and filters, checking the sensors, and keeping the charging dock clean. Troubleshoot any common issues that may arise to ensure that your device continues to deliver optimal performance.
We hope that this guide has provided you with the necessary information and insights to maximize the functionality of your Goovi Robot Vacuum. Sit back, relax, and let your cleaning companion handle the tedious task of keeping your home clean and tidy.
If you need further assistance or have any questions, please refer to the user manual or reach out to the Goovi customer support team. Happy cleaning!