Introduction
Are you tired of spending hours cleaning your floors manually? With the advancement of technology, robot vacuums have become a popular solution for hassle-free cleaning. These autonomous devices can effortlessly navigate through your home, sucking up dirt and debris, leaving you with more time and energy for other tasks.
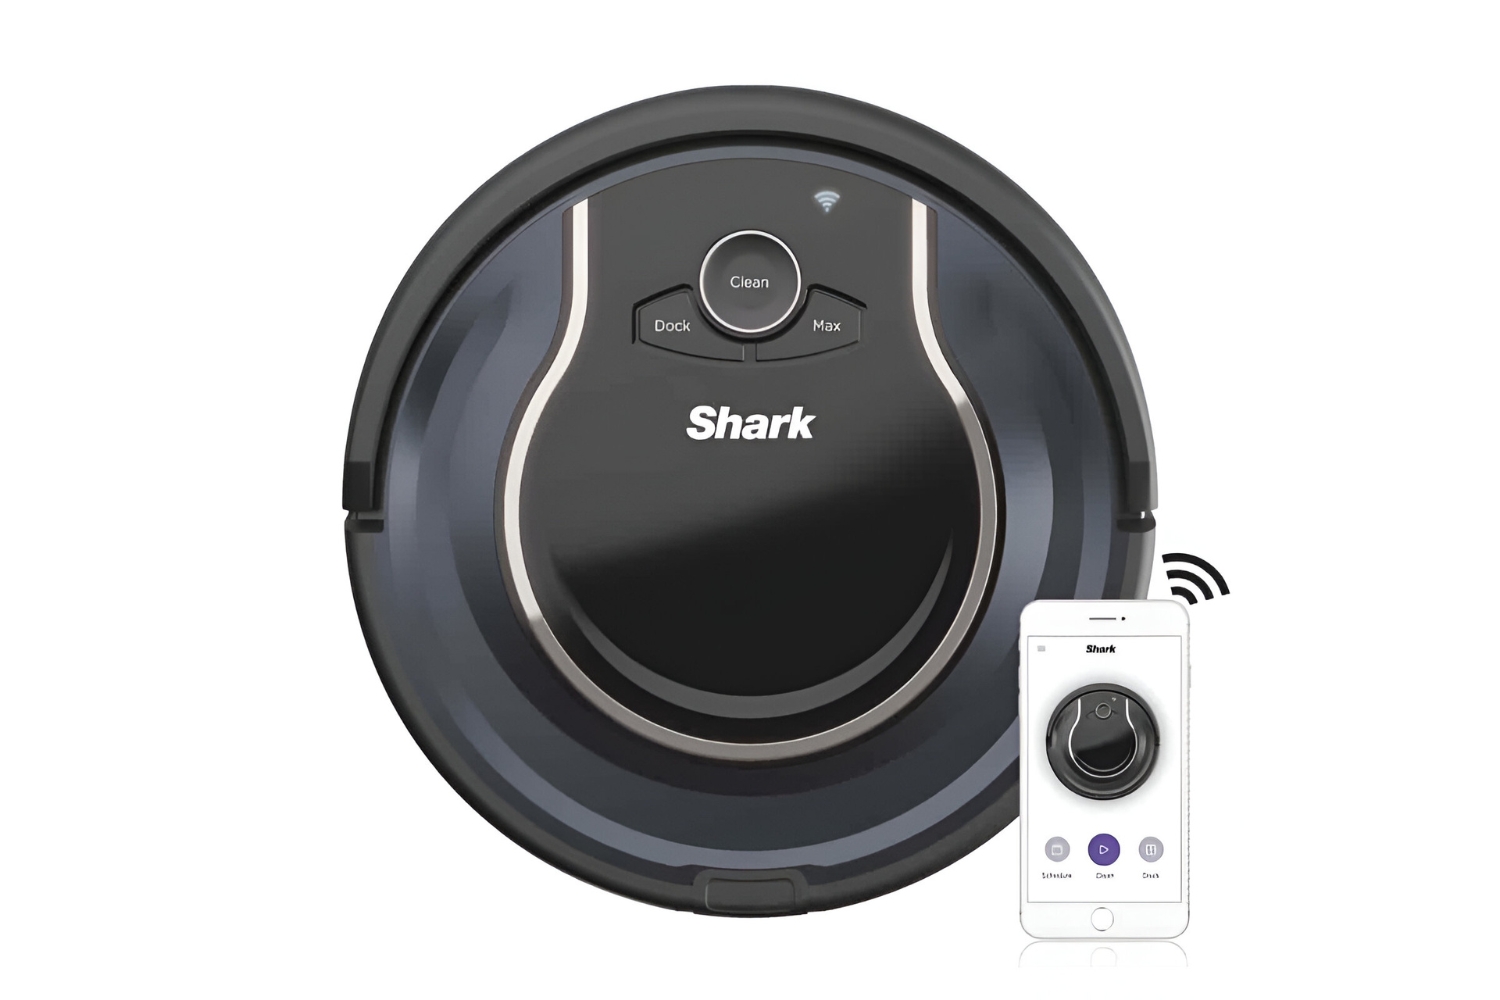
However, to fully enjoy the convenience of a robot vacuum, you need to connect it to your Wi-Fi network. By doing so, you can control and monitor your vacuum remotely using a smartphone app, schedule cleaning sessions, and even integrate it with smart home systems.
In this article, we will guide you through the process of connecting your robot vacuum to Wi-Fi. Whether you have just unboxed your vacuum or are facing connection issues, we will provide you with the necessary steps and troubleshooting tips to ensure a successful setup.
Before we dive into the details, keep in mind that the specific steps may vary slightly depending on the brand and model of your robot vacuum. However, the general principles and settings discussed here should apply to most Wi-Fi-enabled robot vacuums.
So, if you are ready to discover the world of smart cleaning and bring your robot vacuum online, let’s get started!
Step 1: Unboxing and assembling your robot vacuum
Before connecting your robot vacuum to Wi-Fi, you need to first unbox and assemble the device. Each vacuum may have different components, so be sure to refer to the user manual for specific instructions. However, here are the general steps to get you started:
- Unbox the robot vacuum: Carefully open the package and take out all the components. These may include the main vacuum unit, charging dock, remote control, side brushes, filters, and user manual.
- Charge the robot vacuum: Find a suitable location for the charging dock and plug it into a power outlet. Place the robot vacuum on the dock to begin charging. It is essential to ensure that the vacuum is fully charged before proceeding to the next steps.
- Assemble the robot vacuum: Attach the side brushes and filters according to the instructions provided. These accessories help in reaching corners and filtering out dirt and dust for optimal cleaning performance.
- Prepare the cleaning area: Before your robot vacuum starts its first cleaning session, it’s essential to prepare the area. Clear any obstacles such as loose cables, toys, or cluttered objects that may hinder the vacuum’s movement and ensure a thorough cleaning process.
Once you have completed these steps, your robot vacuum is now ready for setup and connection to your Wi-Fi network. It is important to note that the exact assembly process may vary depending on the model, so always refer to the manufacturer’s guidelines for precise instructions.
Now that you have unboxed and assembled your robot vacuum, let’s move on to the next step: Powering on the vacuum and accessing Wi-Fi settings.
Step 2: Powering on the vacuum and accessing Wi-Fi settings
After unboxing and assembling your robot vacuum, the next step is to power it on and gain access to the Wi-Fi settings. Here’s how you can do it:
- Locate the power button: Look for the power button on the vacuum’s main unit or remote control. It is usually indicated by a power symbol.
- Power on the vacuum: Press and hold the power button until you see the robot vacuum’s indicators light up or hear a startup sound. This signifies that the vacuum is turned on and ready for setup.
- Access the Wi-Fi settings: Most robot vacuums have built-in Wi-Fi connectivity, allowing you to connect it to your home network. To access the Wi-Fi settings, refer to the user manual for specific instructions for your vacuum model. It may involve pressing a combination of buttons or navigating through the vacuum’s control panel or smartphone app.
- Enter setup mode: Once you have accessed the Wi-Fi settings, look for an option to enter setup or pairing mode. This mode enables the vacuum to search for nearby Wi-Fi networks.
Depending on the vacuum brand and model, the steps to access the Wi-Fi settings may vary. Some vacuums have dedicated buttons or icons on their control panels, while others require you to navigate through menus on the smartphone app. Carefully follow the instructions provided by the manufacturer.
Now that you have powered on the vacuum and accessed the Wi-Fi settings, you are one step closer to connecting your robot vacuum to your Wi-Fi network. In the next section, we will guide you through the process of connecting the vacuum to your Wi-Fi network.
Step 3: Connecting the robot vacuum to your Wi-Fi network
Connecting your robot vacuum to your Wi-Fi network allows you to control and monitor it remotely using a smartphone app, schedule cleaning sessions, and even integrate it with other smart home devices. Here’s how you can connect your robot vacuum to Wi-Fi:
- Choose your Wi-Fi network: In the Wi-Fi settings of your robot vacuum, you will see a list of available networks. Select your home Wi-Fi network from the list.
- Enter your Wi-Fi password: Once you have selected your network, you will be prompted to enter your Wi-Fi password. Use the vacuum’s control panel or an on-screen keyboard on the app to input your password. Double-check for any typos or incorrect characters.
- Connect to the network: After entering your password, instruct the robot vacuum to connect to your Wi-Fi network. It may take a few moments for the vacuum to establish a connection. Some vacuums have LED indicators that show the connection status.
- Confirm the connection: Once the robot vacuum successfully connects to the Wi-Fi network, you may receive a confirmation message on the control panel or smartphone app. This indicates that the connection has been established.
It is vital to ensure that you have a stable Wi-Fi connection during the setup process. Weak or intermittent Wi-Fi signals can hinder the connection and result in connectivity issues.
Once your robot vacuum is connected to your Wi-Fi network, you can start exploring the features and functionalities offered by the accompanying smartphone app. This may include setting cleaning schedules, controlling the vacuum remotely, and accessing cleaning history and statistics.
Now that you have successfully connected your robot vacuum to your Wi-Fi network, it’s time to troubleshoot any common connection issues you may encounter. Let’s move on to the next section to learn some helpful tips for troubleshooting.
Step 4: Troubleshooting common connection issues
While connecting your robot vacuum to your Wi-Fi network is generally a smooth process, you may encounter some common connection issues. Here are a few troubleshooting tips to help you resolve them:
- Check your Wi-Fi signal strength: Make sure that your robot vacuum is within range of your Wi-Fi router. If the signal is weak, consider moving the router closer to the vacuum’s location or use Wi-Fi range extenders to improve the signal strength.
- Restart your robot vacuum and Wi-Fi router: Sometimes, a simple restart can resolve connection issues. Turn off and unplug both your robot vacuum and Wi-Fi router. Wait for a few minutes, then power them back on. This can refresh the connection and allow for a successful setup.
- Double-check your Wi-Fi credentials: Ensure that you are entering the correct Wi-Fi name (SSID) and password during the setup process. Typos or incorrect credentials can prevent your robot vacuum from connecting to the network. If you are uncertain about the credentials, check your router’s settings or consult your internet service provider.
- Update your robot vacuum’s firmware: Manufacturers often release firmware updates that address known issues and introduce improvements. Check for available firmware updates for your robot vacuum and apply them if necessary. These updates can help resolve connection problems and enhance the overall performance of your vacuum.
- Reset your robot vacuum to factory settings: If all else fails, you may need to reset your robot vacuum to its factory settings. This will erase all previous configuration settings, including Wi-Fi connections. Consult your user manual for instructions on how to reset your specific vacuum model.
If you have followed these troubleshooting steps and are still experiencing connection issues with your robot vacuum, it is recommended to reach out to the manufacturer’s customer support for further assistance. They can provide you with specific guidance based on your vacuum model and troubleshoot any technical issues that may be affecting the connection.
With the troubleshooting tips provided, you should be able to overcome common connection issues and enjoy the convenience of controlling and monitoring your robot vacuum over Wi-Fi.
Conclusion
Connecting your robot vacuum to your Wi-Fi network opens up a world of convenience and control, allowing you to schedule cleanings, monitor progress, and integrate with other smart home devices. By following the steps outlined in this guide, you can successfully connect your robot vacuum to Wi-Fi and optimize its functionality.
Remember to start by unboxing and assembling your robot vacuum, ensuring that it is fully charged and ready for setup. Then, power it on and access the Wi-Fi settings to connect it to your home network. Double-check your Wi-Fi credentials and troubleshoot any common connection issues that may arise along the way.
If you encounter difficulties during the setup process, refer to the user manual provided by the manufacturer or contact their customer support for assistance. They can provide guidance specific to your robot vacuum model and help you troubleshoot any technical issues.
Once your robot vacuum is connected to Wi-Fi, you can enjoy the convenience of controlling and monitoring it remotely through a smartphone app. Set cleaning schedules, adjust settings, and track cleaning history with ease.
With your robot vacuum connected to Wi-Fi, you can say goodbye to manual floor cleaning and enjoy more free time for other activities. Sit back and let your intelligent cleaning assistant take care of your floors, ensuring a cleaner and more comfortable home.
So, go ahead and connect your robot vacuum to Wi-Fi today, and experience the future of effortless cleaning!