Introduction
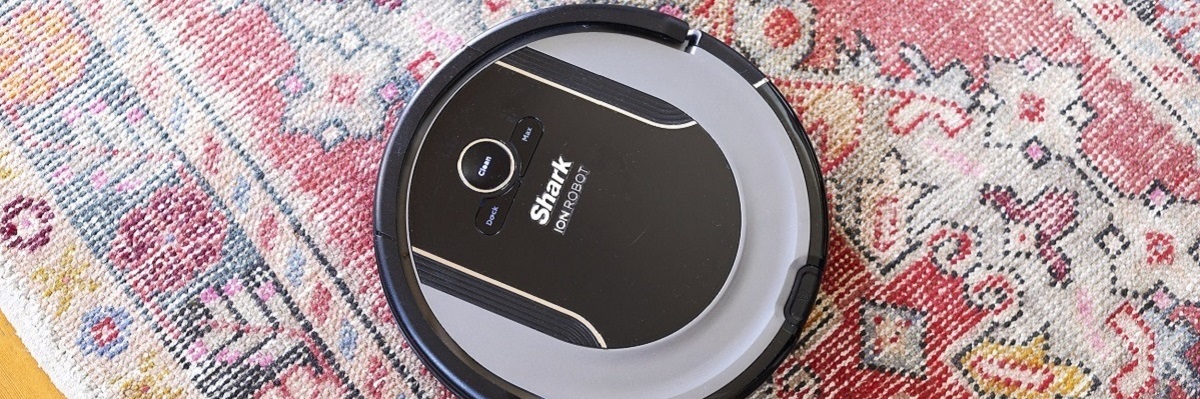
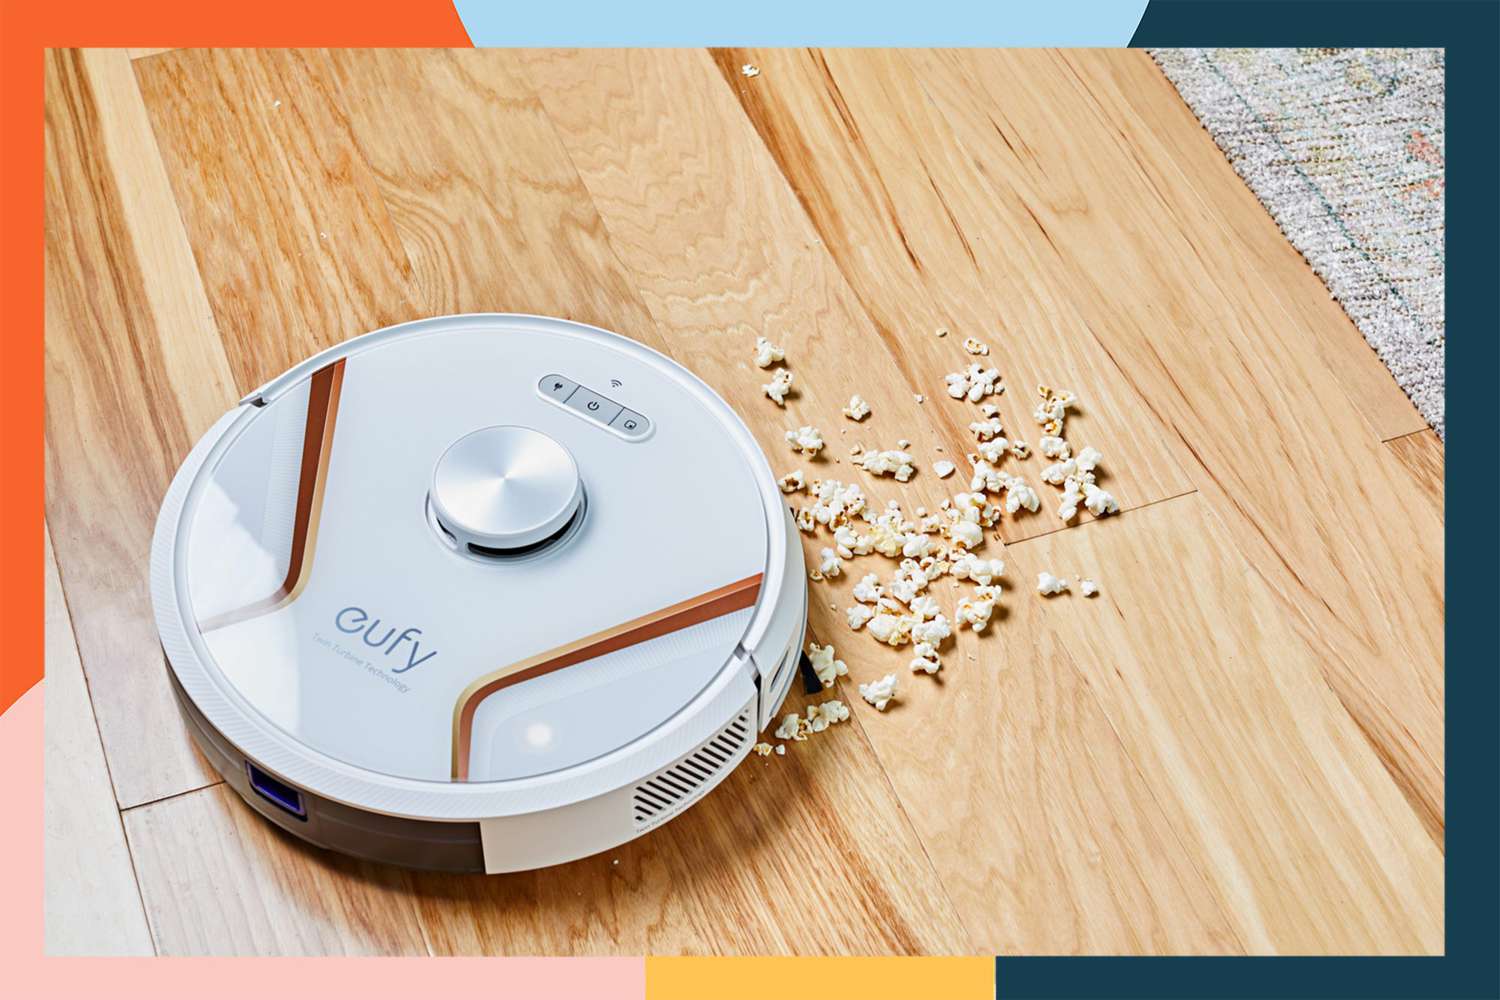
Welcome to the world of automated cleaning with the Shark Robot Vacuum. Say goodbye to tedious hours spent pushing around a traditional vacuum cleaner and hello to the convenience of a smart cleaning companion. The Shark Robot Vacuum is designed to effortlessly navigate your home and keep your floors looking spotless, all with just the touch of a button.
With advanced features and cutting-edge technology, the Shark Robot Vacuum is a game-changer in the world of household cleaning. Whether you have carpeted floors, hardwood surfaces, or a combination of both, this smart cleaning device is equipped to handle it all. Plus, with its sleek and modern design, it blends seamlessly into any home decor.
In this guide, we will walk you through the process of setting up your Shark Robot Vacuum and getting it ready for cleaning duty. From choosing the right model to understanding the different cleaning modes, we will cover all the essential information you need to make the most of your new cleaning companion.
But before we dive into the specifics, let’s take a moment to appreciate the convenience and time-saving benefits of owning a robot vacuum. No more dragging a heavy vacuum cleaner up and down the stairs or trying to squeeze it into tight corners. The Shark Robot Vacuum does it all for you, ensuring that every nook and cranny of your home is thoroughly cleaned.
So, if you’re ready to experience the wonders of automated cleaning, let’s get started with setting up your Shark Robot Vacuum.
Choosing the Right Model
When it comes to choosing the right Shark Robot Vacuum model for your home, there are a few factors to consider. From the size of your living space to the specific cleaning needs, finding the perfect fit is essential to ensure optimal performance and efficiency.
Firstly, you’ll want to assess the size of the area you plan on cleaning. If you have a smaller apartment or a handful of rooms, a compact model, such as the Shark Robot Vacuum S1000, might be a suitable option. These models are designed to navigate through tight spaces and are equipped with sufficient battery life to clean smaller areas efficiently.
On the other hand, if you reside in a larger home with multiple levels, you might want to consider a more advanced model, like the Shark Robot Vacuum IQ R101AE. These models often come with features like room-mapping technology and self-emptying bases, providing a more seamless cleaning experience for larger spaces.
Another crucial aspect to consider is the type of flooring in your home. If you have a predominantly carpeted area, you’ll want to opt for a model that excels in carpet cleaning. The Shark Robot Vacuum IQ R101AE and Shark Robot Vacuum RV1000S are known for their exceptional carpet cleaning capabilities, thanks to their powerful suction and brush roll design.
For homes with a mix of carpet and hard flooring, models like the Shark Robot Vacuum AV752 and Shark Robot Vacuum IQ R101AE offer versatile cleaning options. These models can efficiently transition between different floor types, providing effective cleaning performance on both surfaces.
Now that you have a better understanding of the factors to consider, take some time to evaluate your specific needs and priorities. Whether it’s the size of your home, the types of flooring, or the desired features, choosing the right Shark Robot Vacuum model will ensure that your cleaning tasks are handled with ease and efficiency.
Unboxing and Checking the Components
Excitement fills the air as you eagerly unbox your brand new Shark Robot Vacuum. Before diving into the setup process, it’s essential to familiarize yourself with the components that come with your purchase. This step ensures that you have everything you need to get started and allows you to double-check for any missing or damaged parts.
Start by carefully opening the packaging and removing the contents. You should find the robot vacuum itself, along with other essential components such as the charging dock, power adapter, remote control (if applicable), and user manual. Some models may include additional accessories like boundary strips or extra filters. Take a moment to inspect each item and ensure they are in good condition.
Next, locate the user manual and give it a thorough read. Although it might be tempting to skip this step, the manual provides valuable information regarding the setup process and how to operate the robot vacuum effectively. Familiarize yourself with the instructions and keep the manual handy for future reference.
Now, let’s take a closer look at the robot vacuum itself. Examine the body of the vacuum for any visible damage or defects. Check that all parts, such as the brushes and wheels, are securely attached and free from obstructions. If you notice any issues, contact customer support or the retailer for assistance.
Ensure that the charging dock is intact and free from any debris. This dock is where your Shark Robot Vacuum will return for recharging between cleaning cycles. It’s crucial to have a stable and clean area for the docking station to ensure uninterrupted charging.
Lastly, inspect the power adapter to ensure it is the correct voltage and compatible with your electrical outlets. If you have any doubts, refer to the user manual or consult the manufacturer’s website for clarification.
By attending to these simple steps of unboxing and checking the components, you ensure that you have everything you need and that your Shark Robot Vacuum is in optimal condition. With all the necessary parts accounted for, you’re now ready to move on to the setup process and begin enjoying the convenience of automated cleaning.
Charging the Robot Vacuum
Before your Shark Robot Vacuum can start its cleaning duties, it needs to be charged and ready to go. The initial charging process is essential for ensuring optimal battery performance and longevity. Let’s go through the steps to get your robot vacuum charged up and ready for action.
Firstly, find a suitable location for the charging dock. It should be placed in an easily accessible area, preferably against a wall, and away from any obstacles that might obstruct the robot vacuum’s path. Make sure the dock is plugged into a power source that is compatible with the voltage requirements of your model.
Next, position the robot vacuum close to the charging dock and ensure that the metal charging contacts on the vacuum’s underside align with the contacts on the dock. Once they are properly lined up, the vacuum should securely dock itself.
Once the vacuum is docked, you’ll notice the indicator lights on the charging dock. These lights indicate the charging status of the robot vacuum. Typically, a solid green light means the vacuum is fully charged, while a flashing green light indicates that it is currently charging. Give your robot vacuum enough time to reach a full charge before moving on to the next step.
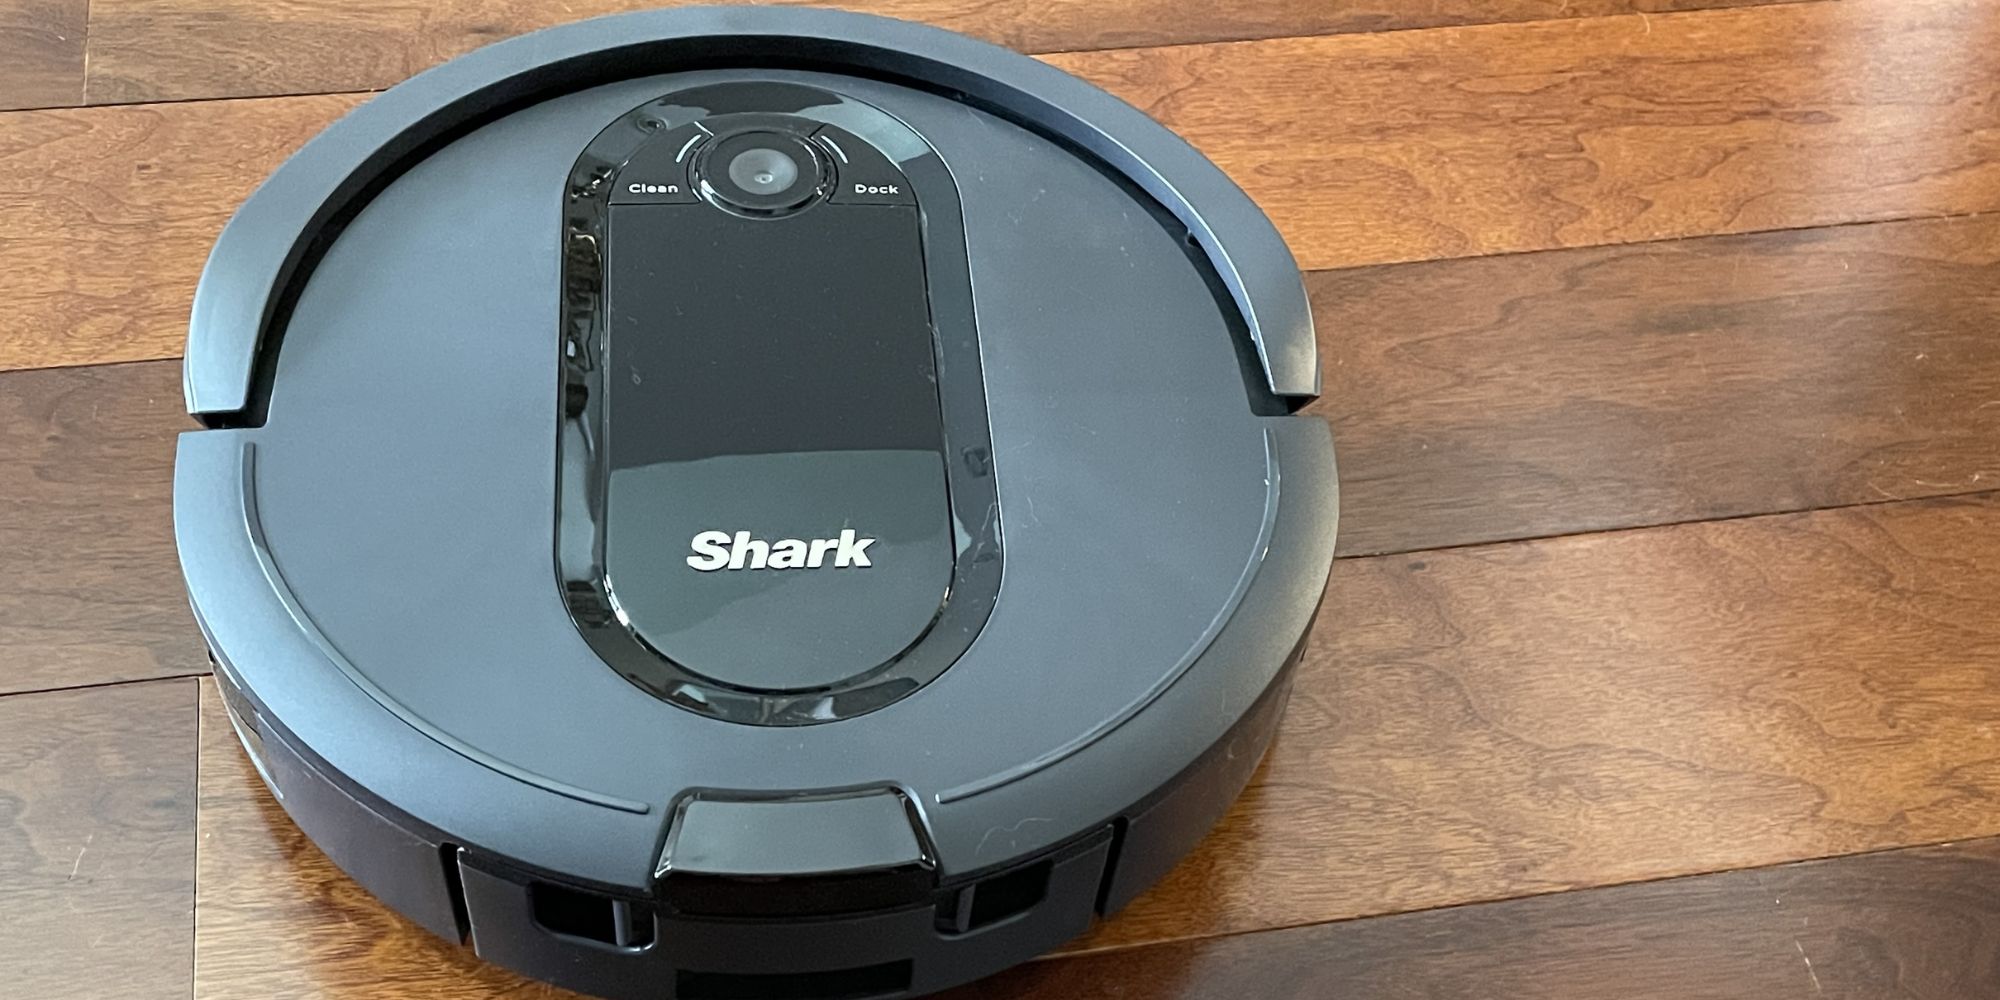
While your Shark Robot Vacuum is charging, take the time to familiarize yourself with other features of your model. Explore the control panel on the vacuum or consult the user manual to learn more about the various buttons and settings. Understanding the controls will allow you to make the most of your cleaning experience.
Once the robot vacuum is fully charged, it will be ready to tackle your cleaning tasks. Some models may have a battery life indicator that shows how much charge is remaining, giving you an idea of when it’s time for another charging session.
Remember to always return the robot vacuum to the charging dock after each cleaning cycle. Not only does this ensure that the vacuum is ready for the next session, but it also allows it to maintain its battery health and longevity.
Charging your Shark Robot Vacuum is a simple yet vital step in setting up your cleaning companion. By following these instructions and allowing for full charging cycles, you can optimize the performance and lifespan of your robot vacuum to keep your floors looking their best.
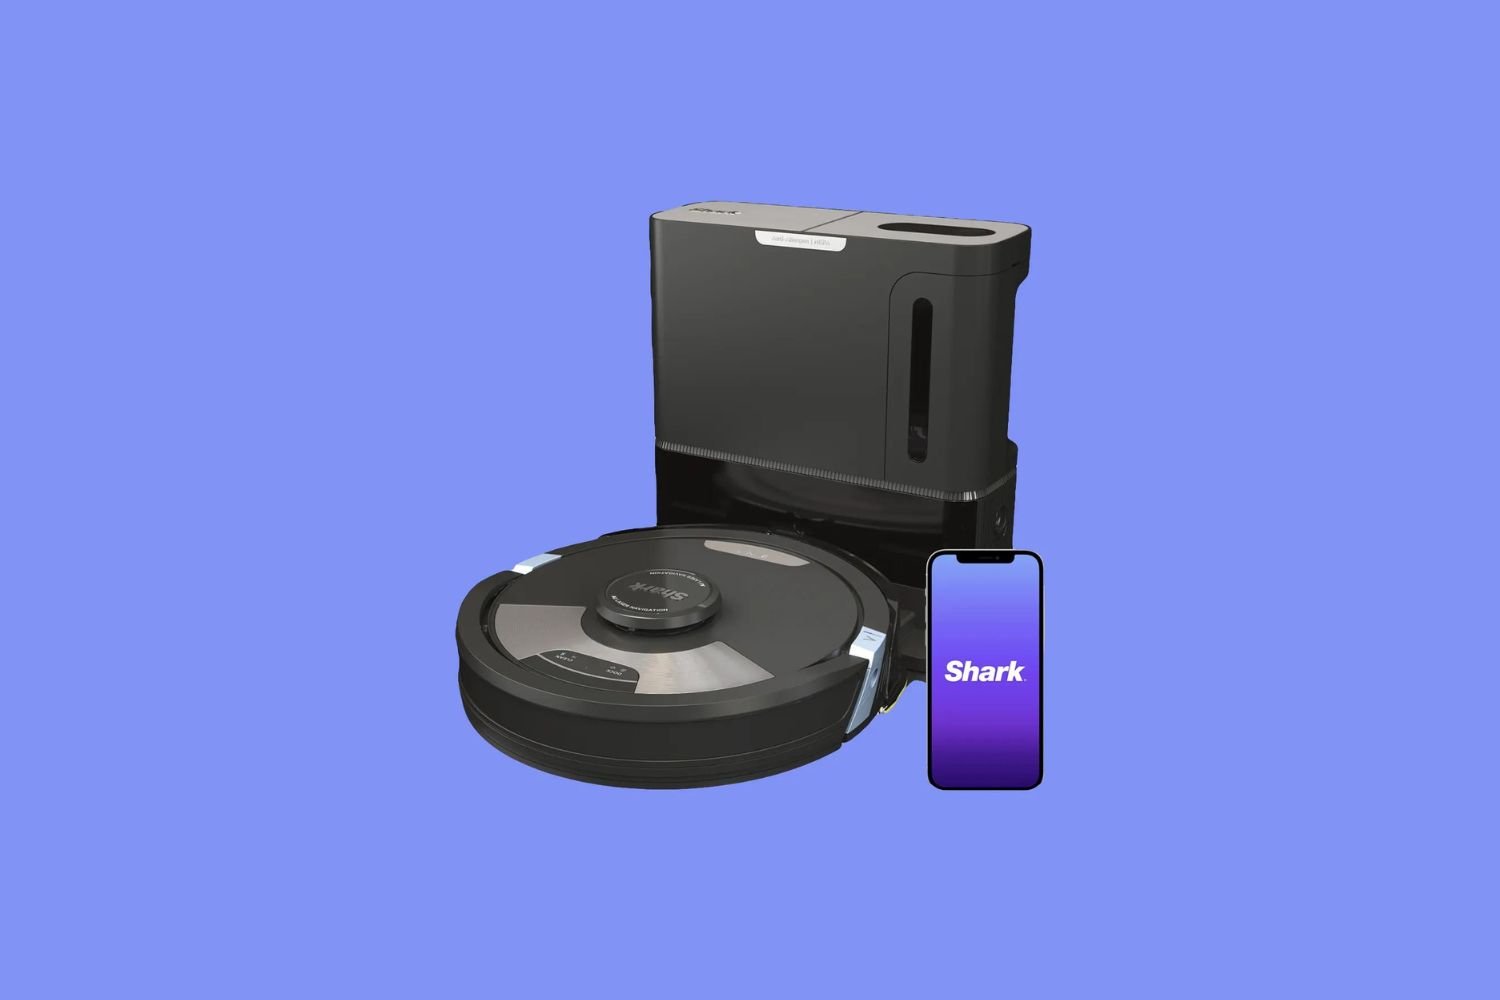
Connecting the Robot Vacuum to the App
One of the standout features of the Shark Robot Vacuum is its ability to connect to a dedicated smartphone app. This app enables you to control and monitor your robot vacuum from the convenience of your mobile device. To take advantage of this feature, follow the steps below to connect your robot vacuum to the app.
1. Download the App: Start by downloading the official Shark Clean app from the App Store or Google Play Store. Ensure that you have a compatible smartphone or tablet running on a supported operating system.
2. Create an Account: Once the app is installed, open it and follow the prompts to create a new account. This usually involves providing an email address, setting up a password, and agreeing to any terms of service.
3. Enable Wi-Fi on the Robot Vacuum: Ensure that your robot vacuum is turned on and within range of your home’s Wi-Fi network. On the vacuum, locate the Wi-Fi button or control and press it to enable the Wi-Fi connection mode. The vacuum will search for available networks.
4. Connect the App to the Vacuum: On your smartphone or tablet, navigate to the Wi-Fi settings and select the network name provided by the robot vacuum. Return to the Shark Clean app and follow the prompts to connect the app to the vacuum’s Wi-Fi network.
5. Add the Robot Vacuum to Your Account: In the app, select the option to add a new device or robot vacuum. Follow the on-screen instructions to pair the app with your vacuum by entering any required information, such as the vacuum’s serial number or unique identification code. This information can usually be found on the vacuum itself or in the user manual.
6. Connect to Your Home’s Wi-Fi Network: After completing the pairing process, the app will prompt you to select your home’s Wi-Fi network. Choose your network from the available options and enter the Wi-Fi password if required. Once connected, the app will establish a connection between your smartphone and the robot vacuum.
7. Explore the App Features: Now that your robot vacuum is successfully connected to the app, take some time to explore the features and functionalities available. You can use the app to start or schedule cleaning cycles, specify cleaning preferences, and even monitor the cleaning progress in real-time.
Connecting your Shark Robot Vacuum to the app enhances the convenience and control over your cleaning routine. By following these steps, you can seamlessly integrate your vacuum into your smart home ecosystem and enjoy the advanced features that the app has to offer.
Setting the Cleaning Schedule
One of the key advantages of owning a Shark Robot Vacuum is the ability to set a personalized cleaning schedule. This means you can program the robot vacuum to automatically clean your floors at specific times and on specific days, even when you’re not at home. Setting up a cleaning schedule ensures that your floors stay clean and fresh without any manual intervention. Here’s how you can do it:
1. Open the App: Launch the Shark Clean app on your smartphone or tablet, which should already be connected to your robot vacuum. If you haven’t connected your vacuum to the app yet, refer to the “Connecting the Robot Vacuum to the App” section for instructions.
2. Access the Scheduler: In the app’s main menu, navigate to the “Schedule” or “Scheduler” section. This is where you can set up your cleaning schedule. Some models may have a physical scheduler button on the robot vacuum itself, allowing you to set the schedule directly on the device.
3. Choose Cleaning Days and Times: Select the days of the week on which you want your robot vacuum to clean. You can usually choose multiple days or set it to clean every day. Once you’ve selected the cleaning days, choose the specific times that you want the vacuum to start its cleaning cycle.
4. Select Cleaning Preferences: Some robot vacuums offer cleaning preferences, such as selecting specific cleaning modes (e.g., normal, eco, or turbo) or specifying areas of your home that need more attention. Take advantage of these options to customize the cleaning process according to your needs and preferences.
5. Save Your Schedule: After selecting the desired cleaning days and times, review your schedule to ensure it aligns with your routine. Double-check that you haven’t inadvertently scheduled cleaning during times when you would prefer the vacuum to be idle. Once you’re satisfied, save your schedule in the app.
6. Monitor and Adjust as Needed: Once your cleaning schedule is set, you can monitor its activity through the app. Check if the vacuum starts and completes the cleaning cycles as planned. If you need to make changes to the schedule, simply access the scheduler in the app and make the necessary adjustments.
Setting a cleaning schedule for your Shark Robot Vacuum eliminates the need for manual intervention and ensures that your floors are cleaned on a regular basis. By following these steps, you can create a customized cleaning routine that fits your lifestyle and keep your home effortlessly clean and tidy.
Using the Remote Control
In addition to controlling your Shark Robot Vacuum through the mobile app, many models also come with a remote control for convenient manual operation. The remote control allows you to have quick and direct control over the cleaning process without needing to use your smartphone or tablet. Here’s how you can use the remote control:
1. Familiarize Yourself with the Buttons: Take a moment to familiarize yourself with the buttons on the remote control. Each button has a specific function that controls different aspects of the robot vacuum’s operation. Common buttons include power on/off, start/pause, cleaning mode selection, and navigation controls.
2. Power On: Before you can start using the remote control, ensure that the robot vacuum is powered on, either by pressing the power button on the vacuum itself or in the mobile app.
3. Basic Controls: The start/pause button on the remote control allows you to start or pause the cleaning cycle at any time. Press the button once to start the vacuum, and press it again to pause the cleaning process. This is useful if you need to temporarily stop the vacuum or if you want to manually control its movement.
4. Navigation Controls: Most remote controls have navigation buttons that allow you to manually direct the robot vacuum’s movement. These buttons typically include forward, backward, left, and right arrows. Use these arrows to guide the vacuum to specific areas that require extra cleaning attention.
5. Cleaning Mode Selection: Depending on your model, the remote control may have buttons to select different cleaning modes. These modes can include normal cleaning, spot cleaning, and edge cleaning. Experiment with these modes to see which one best suits your cleaning needs.
6. Return to Dock: Many remote controls have a “Return to Dock” button that instructs the robot vacuum to stop cleaning and return to its charging dock. This button is especially useful when you want to place the robot vacuum back to its home base without using the app.
7. Range and Line of Sight: Keep in mind that the remote control has a limited range, typically around 15-20 feet. Make sure you are within the range and have a clear line of sight between the remote control and the robot vacuum for optimal functionality.
Using the remote control gives you the flexibility to control your Shark Robot Vacuum manually and make specific adjustments without relying on the mobile app. By understanding the functions of each button and experimenting with different cleaning modes, you can achieve a customized cleaning experience that suits your preferences and cleaning needs.
Understanding and Utilizing the Different Cleaning Modes
Shark Robot Vacuums are equipped with various cleaning modes designed to tackle different types of messes and areas in your home. Understanding and utilizing these different cleaning modes will help you optimize the cleaning performance of your robot vacuum. Let’s explore some of the common cleaning modes and how to use them effectively:
1. Normal Cleaning Mode: This is the default mode for everyday cleaning. In normal cleaning mode, the robot vacuum follows its regular cleaning pattern, covering the entire floor area. It’s ideal for routine maintenance and keeping your floors free of dust and debris. To activate this mode, simply press the start button on the vacuum or in the app.
2. Spot Cleaning Mode: If you have a specific area with concentrated dirt or spills, spot cleaning mode comes in handy. Place the robot vacuum in the center of the spot and activate spot cleaning mode using the remote control or app. The vacuum will intensively clean the surrounding area in a spiral or zigzag pattern, focusing on the specified spot.
3. Edge Cleaning Mode: As the name suggests, edge cleaning mode is designed to specifically target the edges and corners of your rooms, where dirt and debris tend to accumulate. Activating edge cleaning mode instructs the robot vacuum to navigate along wall edges and furniture legs, ensuring a thorough cleaning in hard-to-reach areas.
4. Max/Turbo Mode: For a more powerful and deep cleaning experience, some Shark robot vacuums offer a max or turbo mode. This mode increases the suction power and brush rotation speed to tackle stubborn dirt and pet hair. Max mode is particularly useful for high-traffic areas or when dealing with tougher messes.
5. Customized Schedule Mode: Many robot vacuums allow you to customize the cleaning schedule by setting up specific modes for different days or times. For example, you can schedule a spot cleaning mode for after mealtime or edge cleaning mode on specific cleaning days. This gives you the flexibility to adapt the cleaning approach based on your needs and preferences.
Understanding the different cleaning modes of your Shark Robot Vacuum allows you to optimize its performance and efficiency for various cleaning scenarios. Experiment with these modes and observe how they handle different types of messes in your home. By leveraging the appropriate cleaning modes for specific situations, you can enjoy a consistently clean home with minimal effort.
Emptying and Cleaning the Dustbin
Regularly emptying and cleaning the dustbin of your Shark Robot Vacuum is crucial for maintaining its optimal performance and ensuring efficient cleaning. Here’s a step-by-step guide on how to properly empty and clean the dustbin:
1. Locate the Dustbin: Depending on the model of your Shark Robot Vacuum, the dustbin is typically located on the top or back of the vacuum. Refer to your user manual if you’re unsure about the exact location.
2. Remove the Dustbin: To access the dustbin, press the release button or latch, and gently remove it from the robot vacuum. Take care not to spill any debris during this process.
3. Empty the Dustbin: Find a trash can or bag and empty the collected dirt, dust, and debris from the dustbin. You may need to shake or tap the dustbin lightly to remove any residue. Consider wearing gloves or using a dustbin liner to minimize direct contact with the dirt.
4. Clean the Dustbin: After emptying the dustbin, rinse it with water or use a soft brush to remove any remaining dirt or debris. Be sure to follow the manufacturer’s recommendations for cleaning the dustbin, as materials may vary. Let the dustbin air dry completely before reattaching it to the robot vacuum.
5. Clean the Filter (if applicable): Some Shark Robot Vacuums have a filter inside the dustbin that needs regular cleaning. If your model has a filter, remove it from the dustbin and rinse it under water. Gently tap the filter to remove excess water and let it air dry completely before placing it back into the dustbin.
6. Reattach the Dustbin: Once the dustbin is clean and dry, carefully reattach it to the robot vacuum, making sure it clicks or locks into place securely. Ensure that the dustbin is correctly aligned with the vacuum to prevent any debris from bypassing the dustbin and entering the vacuum’s motor or filters.
7. Dispose of Debris Properly: Dispose of the collected debris from the dustbin in a sanitary manner. Depending on your local regulations, you may be able to empty it directly into your household trash or need to dispose of it separately, such as in a designated waste bin for small appliances or vacuum cleaner waste.
Remember to empty and clean the dustbin on a regular basis, ideally after each cleaning session or as needed. This practice will promote optimal performance, prevent clogs, and ensure a hygienic cleaning experience with your Shark Robot Vacuum.
Maintaining the Robot Vacuum for Optimal Performance
Regular maintenance is essential for keeping your Shark Robot Vacuum performing at its best. By following a few simple steps, you can prolong the lifespan of your vacuum and ensure that it continues to deliver efficient and effective cleaning. Here are some tips for maintaining your robot vacuum:
1. Clean the Brushes: Over time, the brushes of your robot vacuum can get tangled with hair and debris. Regularly remove any hair or tangled fibers from the brushes to prevent them from becoming clogged. Use a pair of scissors or a brush cleaning tool to carefully cut or pull the hair away from the brushes.
2. Check and Clean Sensors: The sensors on your robot vacuum help it navigate and avoid obstacles. Periodically check these sensors for any dust or dirt buildup that could impair their functionality. Use a soft cloth or cotton swab to gently clean the sensors and ensure they are free from obstructions.
3. Maintain the Wheels: Inspect the wheels of your robot vacuum and ensure they are clean and free of debris. If you notice any dirt or hair stuck in the wheel mechanisms, remove it carefully to prevent any impairment in the vacuum’s mobility. Clean the wheels regularly to maintain smooth movement across different surfaces.
4. Replace Filters as Needed: Some models of Shark Robot Vacuums come with filters that need regular replacement. Follow the manufacturer’s guidelines regarding filter replacement intervals. When a filter becomes dirty or clogged, replace it with a new one to maintain optimal filtration and airflow, which is essential for effective cleaning performance.
5. Clean the Charging Contacts: The charging dock’s contacts and the robot vacuum’s charging pins can accumulate dirt or debris over time. Periodically wipe these contacts with a soft, dry cloth to remove any buildup. Clean charging contacts ensure reliable power transfer and uninterrupted charging of your robot vacuum.
6. Check for Blockages: Regularly check the dustbin and air pathways for any blockages that could impede airflow. Clear any obstructions using a small brush or by running water through the dustbin and air pathways. Remember to allow all components to dry completely before reassembling or using the robot vacuum.
7. Keep the Environment Tidy: Reduce the chances of your robot vacuum encountering unnecessary obstacles by keeping the surrounding area tidy. Ensure that loose wires, clothing, or toys are safely stored away to prevent them from interfering with the vacuum’s movement.
By following these maintenance practices, you can help prolong the life of your Shark Robot Vacuum and ensure that it continues to provide optimal cleaning performance. Regular cleaning and checks will keep the various components in good condition and ensure that your vacuum operates at its best for years to come.
Troubleshooting Common Issues
While Shark Robot Vacuums are designed to operate smoothly, occasionally, you may encounter some common issues. Understanding how to troubleshoot these issues can save you time and frustration. Here are some common problems you may encounter and their potential solutions:
1. Robot Vacuum Not Starting: If your robot vacuum isn’t starting, ensure that it is properly connected to the charging dock. Check that the power adapter is securely connected, and the charging contacts are clean. If the vacuum still doesn’t start, try resetting it by pressing and holding the power button for a few seconds. If the issue persists, consult the user manual for further troubleshooting steps.
2. Poor Cleaning Performance: If you find that your robot vacuum is not cleaning as effectively as before, first check the brushes and sensors for any obstructions that may hinder proper cleaning. Ensure that the dustbin is empty and the filter is clean. If cleaning performance is still subpar, it may be necessary to replace the brushes or filters to restore optimal cleaning performance.
3. Navigation Issues: If your robot vacuum is having trouble navigating or getting stuck frequently, check for any obstacles or wires that could be obstructing its path. Clean the sensors and ensure they are free from dirt or debris. If navigation problems persist, resetting the vacuum or re-mapping the cleaning areas in the app may resolve the issue.
4. Falling Down Stairs or Off Edges: To prevent your robot vacuum from falling down stairs or off edges, ensure that the cliff sensors are clean and functioning properly. Check if there is enough clearance for the vacuum to safely maneuver around edges and drop-offs. If necessary, use boundary strips or magnetic boundary markers to create virtual boundaries and restrict the areas where the vacuum can access.
5. Short Battery Life: If you notice a decrease in the battery life of your robot vacuum, check if the brushes or wheels are obstructed. Clean the dustbin and filter to promote better airflow. If the battery life continues to be short, it may be time to replace the battery. Refer to the user manual or contact customer support for battery replacement instructions.
6. Error Codes or Error Messages: If your robot vacuum displays error codes or error messages, consult the user manual for the specific meaning of the code or message. Error codes often indicate issues such as a tangled brush, a full dustbin, or an obstruction in the wheel. Follow the recommended troubleshooting steps provided to resolve the problem.
Should you encounter any persistent issues or troubleshooting efforts prove unsuccessful, reach out to the manufacturer’s customer support for further assistance. They can provide specialized guidance and solutions tailored to your specific model.
By understanding these common issues and their troubleshooting steps, you can quickly resolve problems and ensure that your Shark Robot Vacuum continues to perform at its best, keeping your floors clean and tidy with minimum effort on your part.
Conclusion
Congratulations! You are now equipped with the knowledge and understanding to set up, use, and maintain your Shark Robot Vacuum. The convenience of automated cleaning is at your fingertips, allowing you to enjoy a cleaner home with minimal effort.
Through this guide, we have covered essential aspects such as choosing the right model for your needs, unboxing and checking the components, charging the robot vacuum, connecting it to the app, setting the cleaning schedule, using the remote control, understanding and utilizing different cleaning modes, emptying and cleaning the dustbin, maintaining the robot vacuum, and troubleshooting common issues.
By following the recommended steps and incorporating proper maintenance practices, you can ensure that your Shark Robot Vacuum operates at its best, delivering efficient cleaning performance throughout your home. With its advanced features and versatile cleaning capabilities, your robot vacuum will tackle dust, dirt, and debris, leaving your floors spotless and saving you valuable time and energy.
Remember, regular maintenance, such as cleaning the brushes and sensors, emptying the dustbin, and staying vigilant for any obstacles or issues, will keep your robot vacuum in excellent condition and extend its lifespan.
Should you encounter any specific concerns or challenges during the setup or usage of your Shark Robot Vacuum, refer to the user manual provided by the manufacturer or reach out to their customer support for further assistance. They are equipped with the expertise and knowledge to help address and resolve any issues you may encounter.
Enjoy the convenience and efficiency of your Shark Robot Vacuum as it effortlessly keeps your floors clean. Embrace the freedom from manual vacuuming and instead focus on the things that matter most to you. Sit back, relax, and let your Shark Robot Vacuum take care of the cleaning, ensuring a fresh and tidy home for you and your loved ones.