Introduction
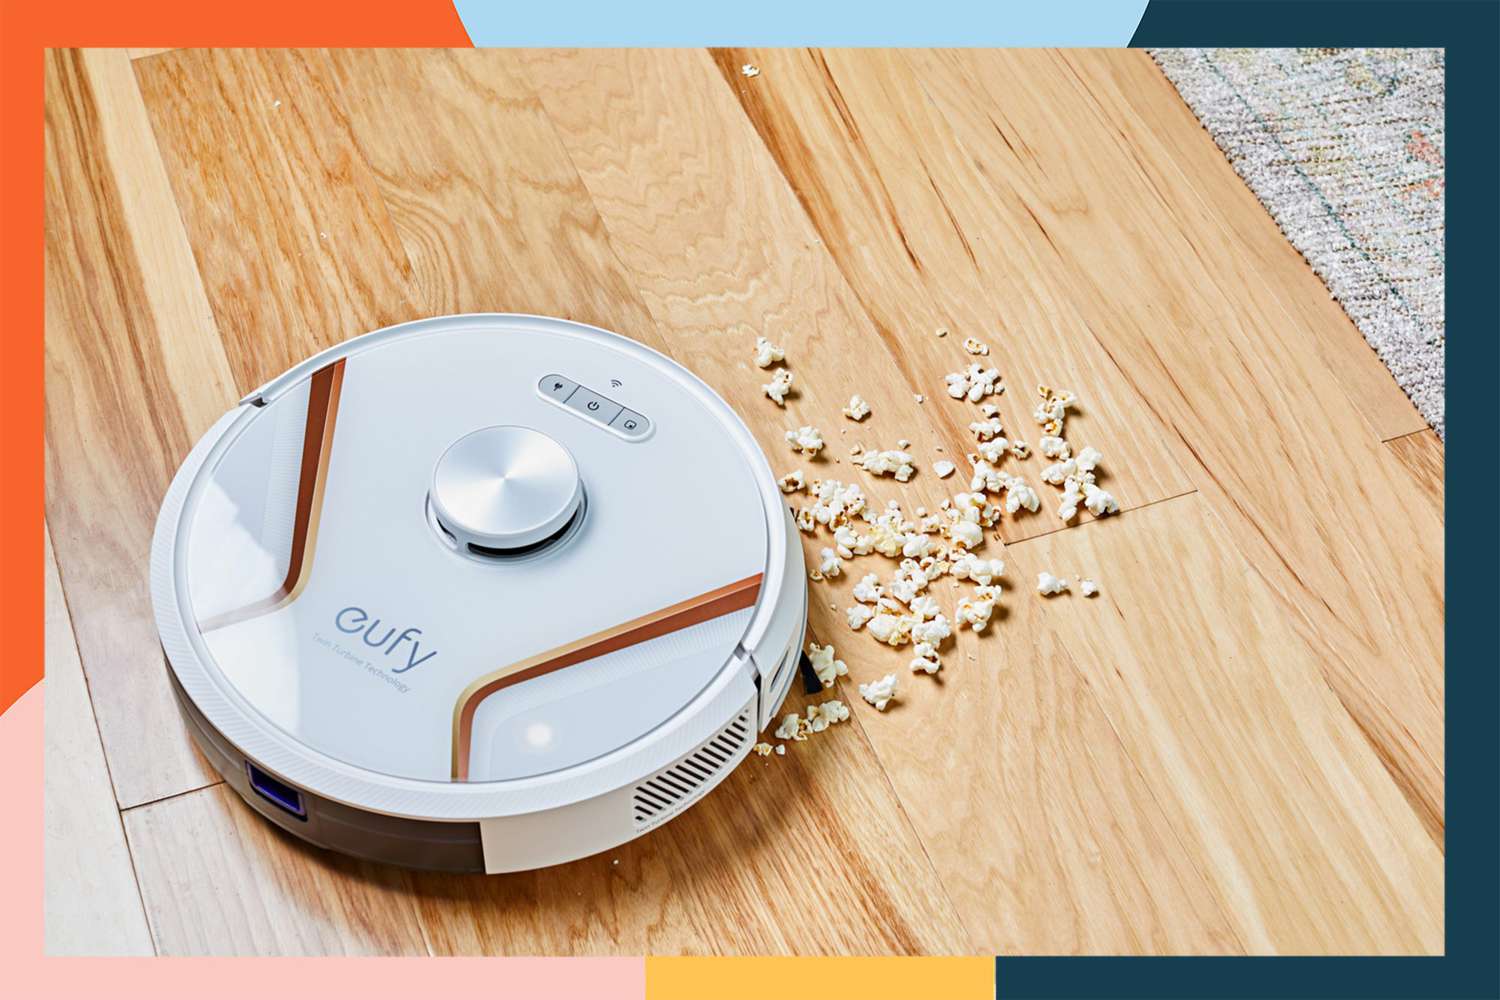
Welcome to this guide on how to clean the filter on your Shark robot vacuum. As a proud owner of a Shark robot vacuum, you already know how convenient and efficient these devices are when it comes to keeping your floors clean. However, to ensure that your robot vacuum continues to perform at its best, it’s important to regularly clean and maintain its filter.
The filter plays a crucial role in trapping dust, dirt, and debris, preventing them from being recirculated back into the air or clogging the vacuum system. Over time, the filter can become dirty, which can negatively impact the vacuum’s suction power and performance. By following the steps outlined in this guide, you’ll be able to easily clean the filter and ensure that your Shark robot vacuum keeps your home clean and pristine.
Before we jump into the process of cleaning the filter, it’s important to note that the specific instructions may vary slightly depending on the model of your Shark robot vacuum. It’s always a good idea to consult the user manual or the manufacturer’s website for any model-specific instructions. Now, let’s get started with the step-by-step process of cleaning the filter on your Shark robot vacuum.
Step 1: Remove the Dust Bin
The first step in cleaning the filter on your Shark robot vacuum is to remove the dust bin. The dust bin is where all the dirt, dust, and debris collected by the vacuum are stored. Removing the dust bin will give you access to the filter and allow you to clean it thoroughly.
To remove the dust bin, locate the release latch or button on your Shark robot vacuum. This is usually located near the back or side of the vacuum. Press the latch or button and carefully pull the dust bin out of the vacuum.
Once the dust bin is removed, you may notice that it is filled with dirt and debris. Empty the contents of the dust bin into a trash bag or bin. This will ensure that the vacuum is ready for the next cleaning session.
After emptying the dust bin, take a moment to inspect it for any signs of damage or buildup. If you notice any cracks or clogs, it may be necessary to clean or replace the dust bin. However, regular maintenance and cleaning should help prevent any major issues.
Now that you have successfully removed the dust bin, you can move on to the next step: locating the filter. Let’s proceed to the next section for further instructions.
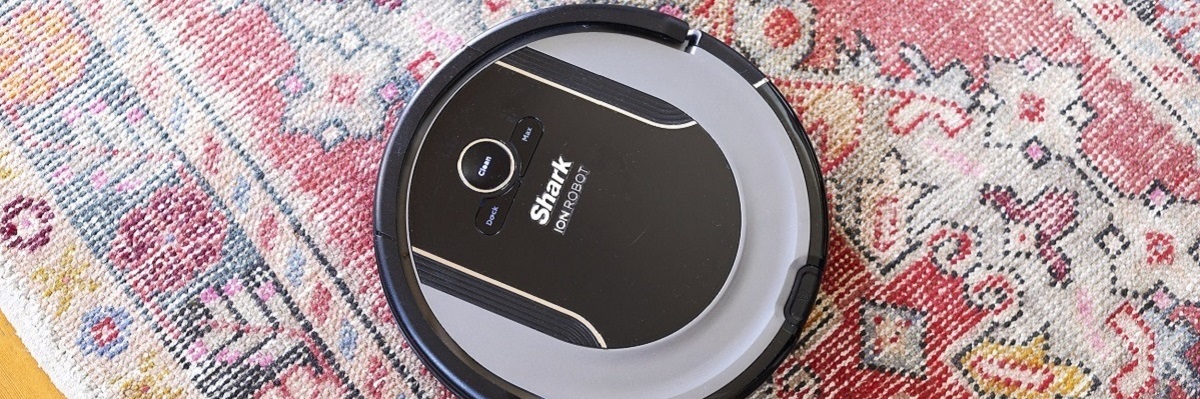
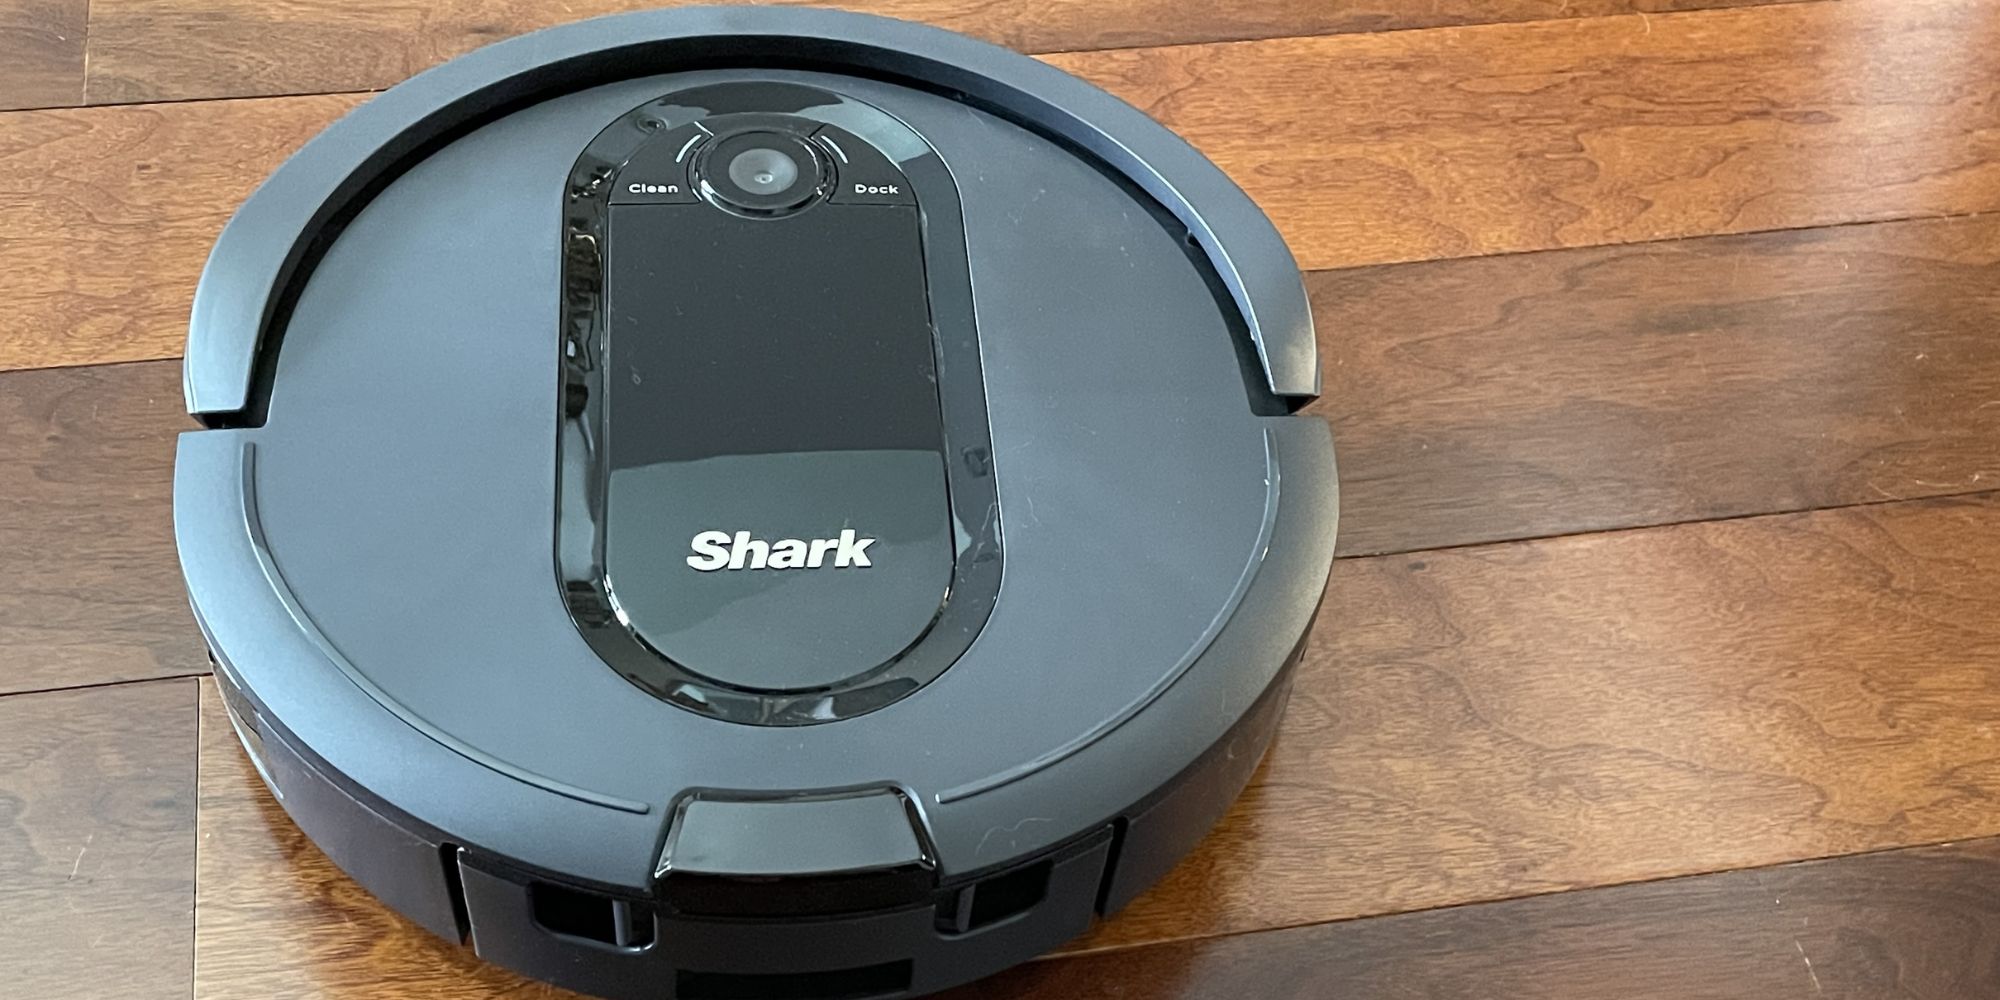
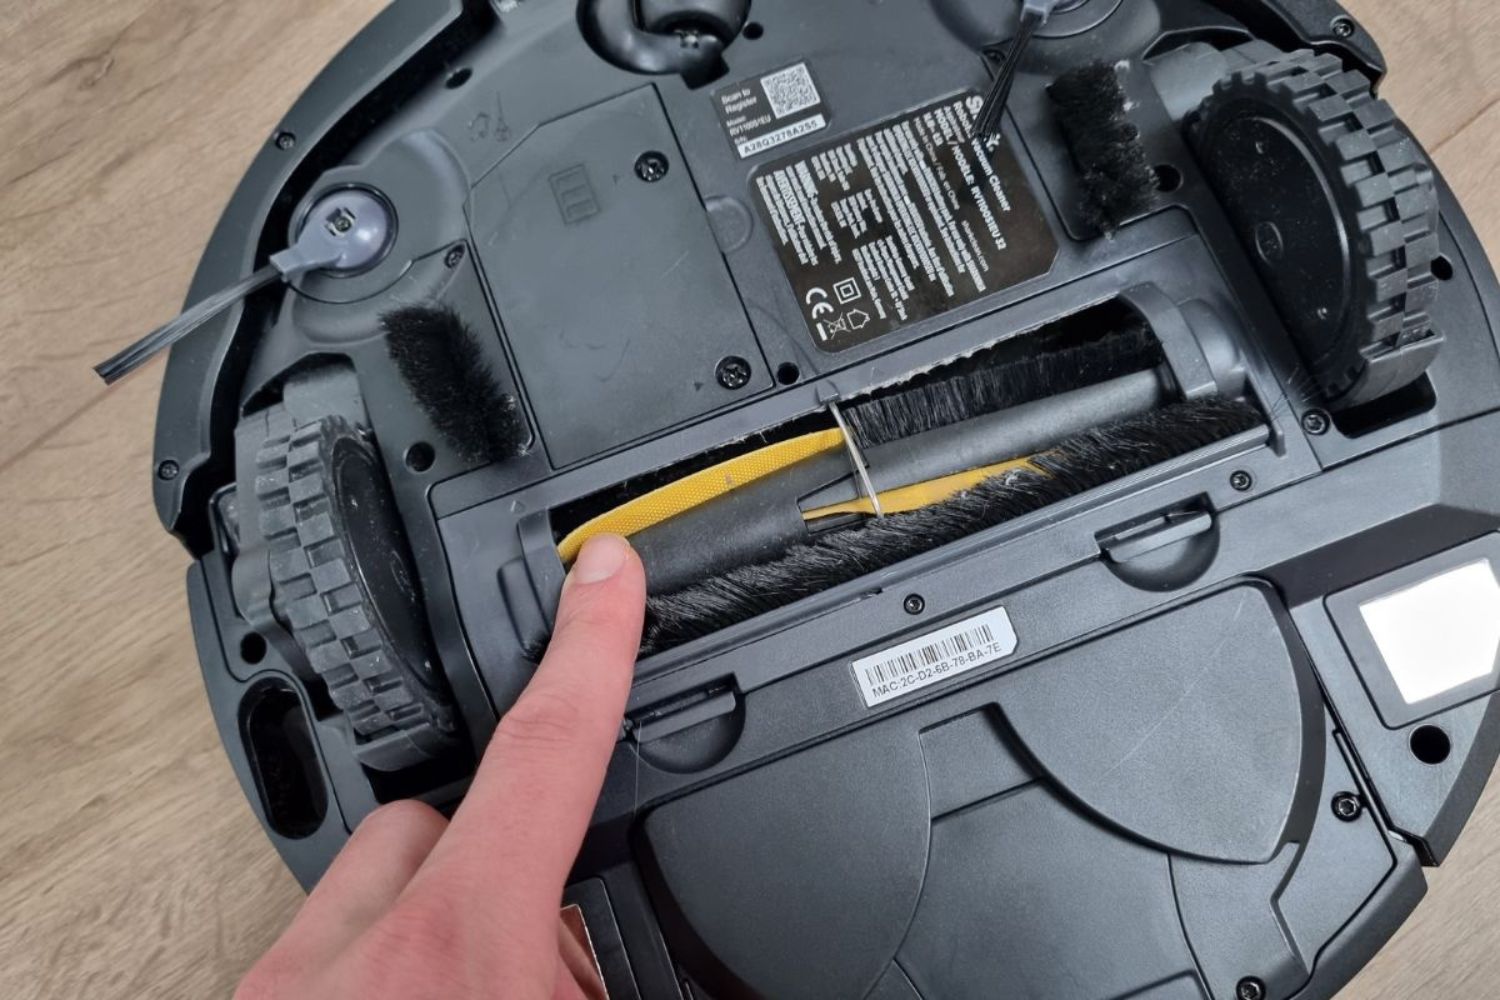
Step 2: Locate the Filter
Once you have removed the dust bin, it’s time to locate the filter on your Shark robot vacuum. The filter is responsible for trapping dust and dirt, ensuring that the air expelled from the vacuum is clean and filtered.
The location of the filter can vary depending on the model of your Shark robot vacuum. In most cases, you will find the filter near the dust bin area. Look for a cover or compartment that houses the filter.
On some models, the filter may be easily accessible and can be removed by simply pulling it out. Other models may have a release button or latch that needs to be pressed to unlock the filter compartment.
Refer to your user manual or the manufacturer’s website for specific instructions on how to locate and access the filter on your particular Shark robot vacuum model.
It’s important to note that some Shark robot vacuums use multiple filters, such as HEPA filters or foam filters. Take note of the number and type of filters in your vacuum so that you can perform a thorough cleaning.
Once you have located the filter, you’re ready to move on to the next step: removing the filter for cleaning. Continue reading to learn how to remove the filter from your Shark robot vacuum.
Step 3: Remove the Filter
Now that you have located the filter on your Shark robot vacuum, it’s time to remove it for cleaning. Removing the filter will allow you to thoroughly clean it and ensure optimum performance of your vacuum.
The process of removing the filter may vary depending on the model of your Shark robot vacuum. Some filters can be easily pulled out by hand, while others may require you to press a release button or unlock a latch to remove the filter.
Refer to your user manual or the manufacturer’s website for specific instructions on how to remove the filter from your particular Shark robot vacuum model.
When removing the filter, it’s important to handle it with care to avoid any damage. Gently pull the filter out of its housing, being mindful of any clips or attachments that may be holding it in place. If necessary, consult the user manual or manufacturer’s instructions for further guidance.
Once the filter is removed, take a closer look at it to assess its condition. Inspect the filter for signs of dirt, dust, or debris buildup. If the filter appears clogged or excessively dirty, it may be necessary to clean or replace it.
Cleaning the filter regularly is essential to maintain the vacuum’s suction power and overall performance. In the next step, we will explain how to clean the filter effectively. Continue reading to learn more.
Step 4: Clean the Filter
Now that you have removed the filter from your Shark robot vacuum, it’s time to clean it thoroughly. Cleaning the filter will help remove any dirt, dust, and debris that may have accumulated, ensuring optimal performance of your vacuum.
There are different methods you can use to clean the filter, depending on the type of filter your Shark robot vacuum uses. Here are a few common cleaning methods:
- Rinsing with water: For washable filters, such as foam filters or some HEPA filters, you can rinse them under running water to remove dirt and debris. Gently shake off any excess water and let the filter dry completely before reinserting it into the vacuum.
- Brushing or tapping: For non-washable filters, such as some HEPA filters or pre-filters, you can use a soft brush or tap the filter gently to dislodge any trapped dirt or debris. Be careful not to damage the filter while brushing or tapping.
- Using compressed air: If you have access to compressed air, you can use it to blow away any dirt or debris from the filter. Hold the can of compressed air a few inches away from the filter and blow in short bursts. Ensure that you are in a well-ventilated area when using compressed air.
It’s important to follow the manufacturer’s recommendations for cleaning the specific type of filter used in your Shark robot vacuum. Refer to the user manual or the manufacturer’s website for any specific guidelines or restrictions.
After cleaning the filter, take a moment to inspect it for any signs of damage or wear. If the filter is torn, damaged, or excessively worn, it may need to be replaced. Contact the manufacturer or consult the user manual for information on obtaining a replacement filter.
Once the filter is clean and dry, you’re ready to move on to the next step: reinstalling the filter. Continue reading to learn how to properly reinsert the filter into your Shark robot vacuum.
Step 5: Reinstall the Filter
After cleaning the filter of your Shark robot vacuum, it’s time to reinstall it. Properly reinstalling the filter is crucial to ensure efficient performance and maintain the longevity of your vacuum.
Start by inspecting the filter to ensure it is completely dry and free from any residual moisture. Damp or wet filters can negatively impact the performance of your vacuum and may lead to mold or mildew growth.
Next, locate the filter compartment or housing in your Shark robot vacuum. Refer to your user manual or the manufacturer’s website for specific instructions on where and how to properly place the filter.
Place the filter back into its designated spot, ensuring that it is securely in place. If there are any clips or attachments, make sure they snap or lock into position to hold the filter in place.
Double-check that the filter is properly aligned and inserted, making sure there are no gaps or loose areas. A properly installed filter ensures that the vacuum operates at optimal efficiency and captures the maximum amount of dirt and dust.
Once the filter is securely in place, it’s time to move on to the next step: reattaching the dust bin. Continue reading to learn how to properly reattach the dust bin to your Shark robot vacuum.
Step 6: Reattach the Dust Bin
With the filter securely installed, it’s time to reattach the dust bin to your Shark robot vacuum. The dust bin holds all the dirt, dust, and debris collected by the vacuum, and properly reattaching it is essential for the vacuum’s functionality.
To reattach the dust bin, align it with the vacuum’s body and ensure that it is positioned correctly. Look for any grooves or slots where the dust bin should fit into place. The dust bin should slide smoothly and lock securely into position.
When attaching the dust bin, make sure there are no obstructions or debris present that could prevent it from fitting properly. Check the dust bin for any signs of damage or wear, such as cracks or broken parts. If the dust bin is damaged, it may need to be repaired or replaced.
Once the dust bin is in place, you can secure it by pressing down or using any locking mechanisms provided. Give it a gentle tug to ensure that it is firmly attached and won’t detach during vacuuming.
After reattaching the dust bin, take a moment to check if any dirt or debris has accumulated on the vacuum’s body or in the surrounding area. Use a clean cloth or gentle brush to wipe away any residue.
Now that the dust bin is securely reattached, you’re almost ready to start using your Shark robot vacuum again. However, there’s one more crucial step to perform before you can vacuum with confidence: testing the vacuum. Let’s move on to the final step to ensure everything is functioning correctly.
Step 7: Test the Vacuum
Before you start using your newly cleaned Shark robot vacuum, it’s important to test it to ensure that everything is working properly and that the filter cleaning has not affected its performance.
Place the fully assembled vacuum on a clean floor surface, free from any obstacles or loose debris. Make sure the vacuum is properly charged or connected to a power source.
Turn on the vacuum and observe its operation. Check if the suction power feels strong and consistent as it moves across the floor. Listen for any unusual noises that could indicate a problem with the vacuum’s motor or other components.
Observe the vacuum’s navigation and movement patterns to ensure that it is functioning as expected. It should smoothly navigate around furniture, corners, and other obstacles without getting stuck or malfunctioning.
If you notice any issues with the performance of the vacuum or if it seems to be having trouble navigating, refer to the user manual or the manufacturer’s troubleshooting guide for assistance. They may provide specific instructions or recommendations for resolving common issues.
Performing a test run also allows you to assess the battery life of your Shark robot vacuum. Take note of how long the vacuum operates on a single charge and compare it to the manufacturer’s specifications. If there are any significant deviations, it may be necessary to contact customer support for further assistance.
By testing your vacuum after cleaning the filter, you can ensure that it is in great working condition and ready to tackle your cleaning needs. Now, you can confidently enjoy the convenience of a clean and efficient home with your Shark robot vacuum.
Conclusion
Cleaning the filter on your Shark robot vacuum is an essential maintenance task that ensures your vacuum performs at its best. By following the step-by-step guide provided in this article, you can easily clean and maintain the filter, allowing your Shark robot vacuum to continue keeping your floors clean and pristine.
Throughout the cleaning process, it is important to handle the filter with care and follow the manufacturer’s instructions specific to your Shark robot vacuum model. Different types of filters may require different cleaning methods, whether it’s rinsing with water, brushing or tapping, or using compressed air. Ensuring the filter is completely dry before reinstalling it is crucial to prevent any performance issues.
Once the filter is clean and dry, make sure to reinstall it securely and reattach the dust bin properly. Performing a test run afterward allows you to assess the vacuum’s performance and ensure it is functioning optimally.
Regularly cleaning the filter will help maintain your Shark robot vacuum’s suction power and overall performance. It is recommended to clean the filter at least once a month, or more frequently if you have a particularly dusty or high-traffic home.
By following these steps and incorporating regular filter cleaning into your vacuuming routine, you can enjoy the convenience and efficiency of a well-maintained Shark robot vacuum for years to come.