Introduction
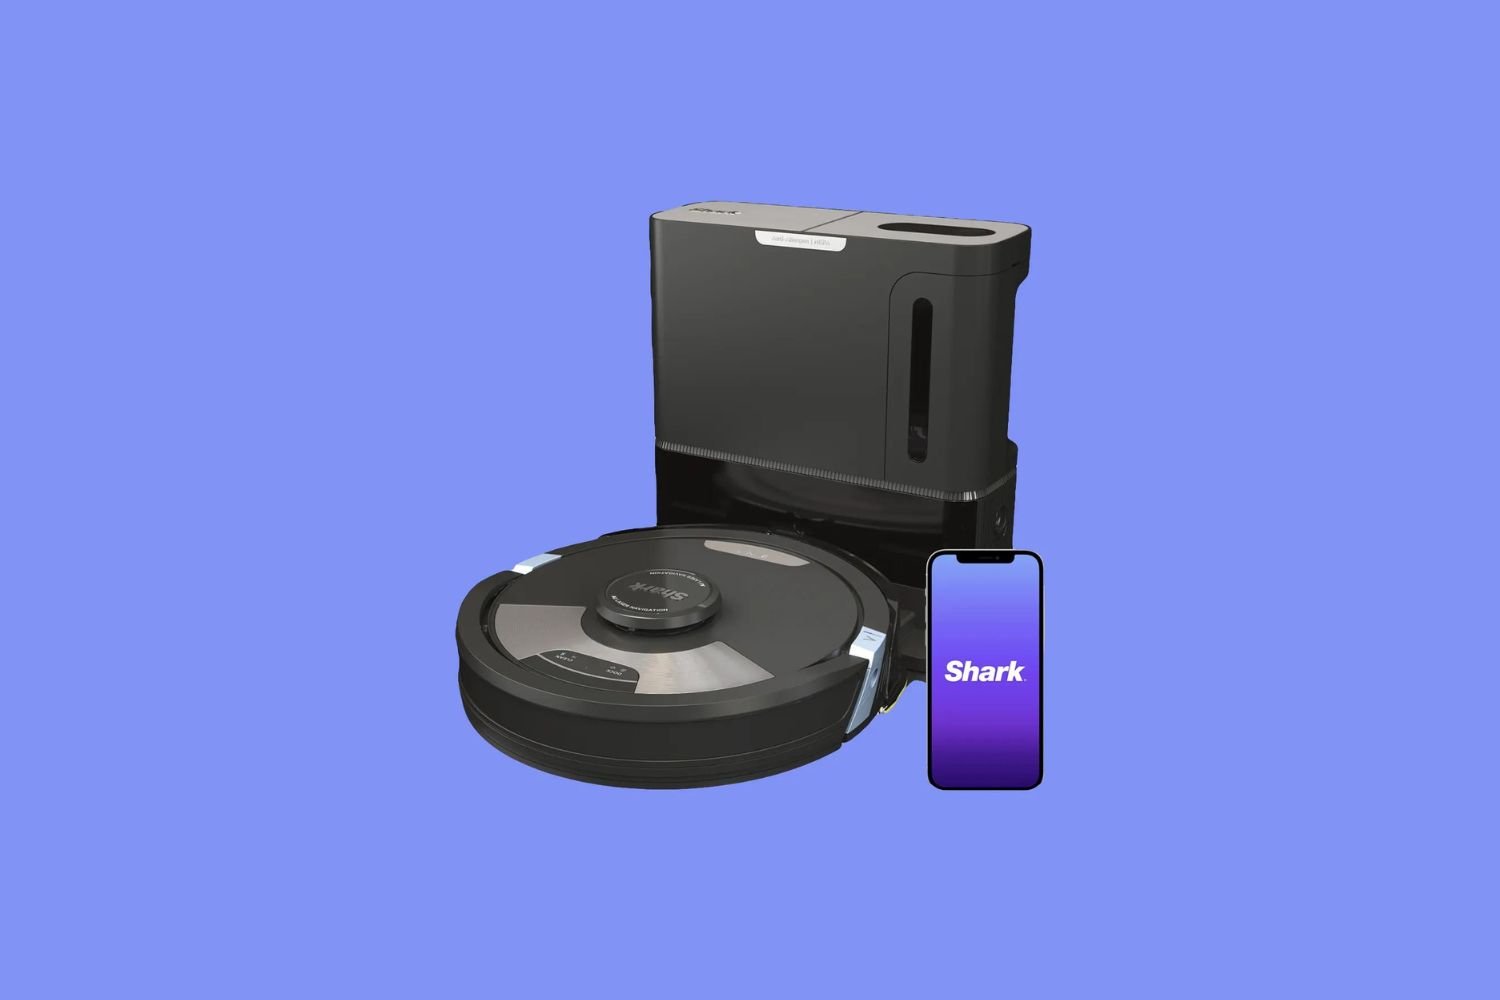
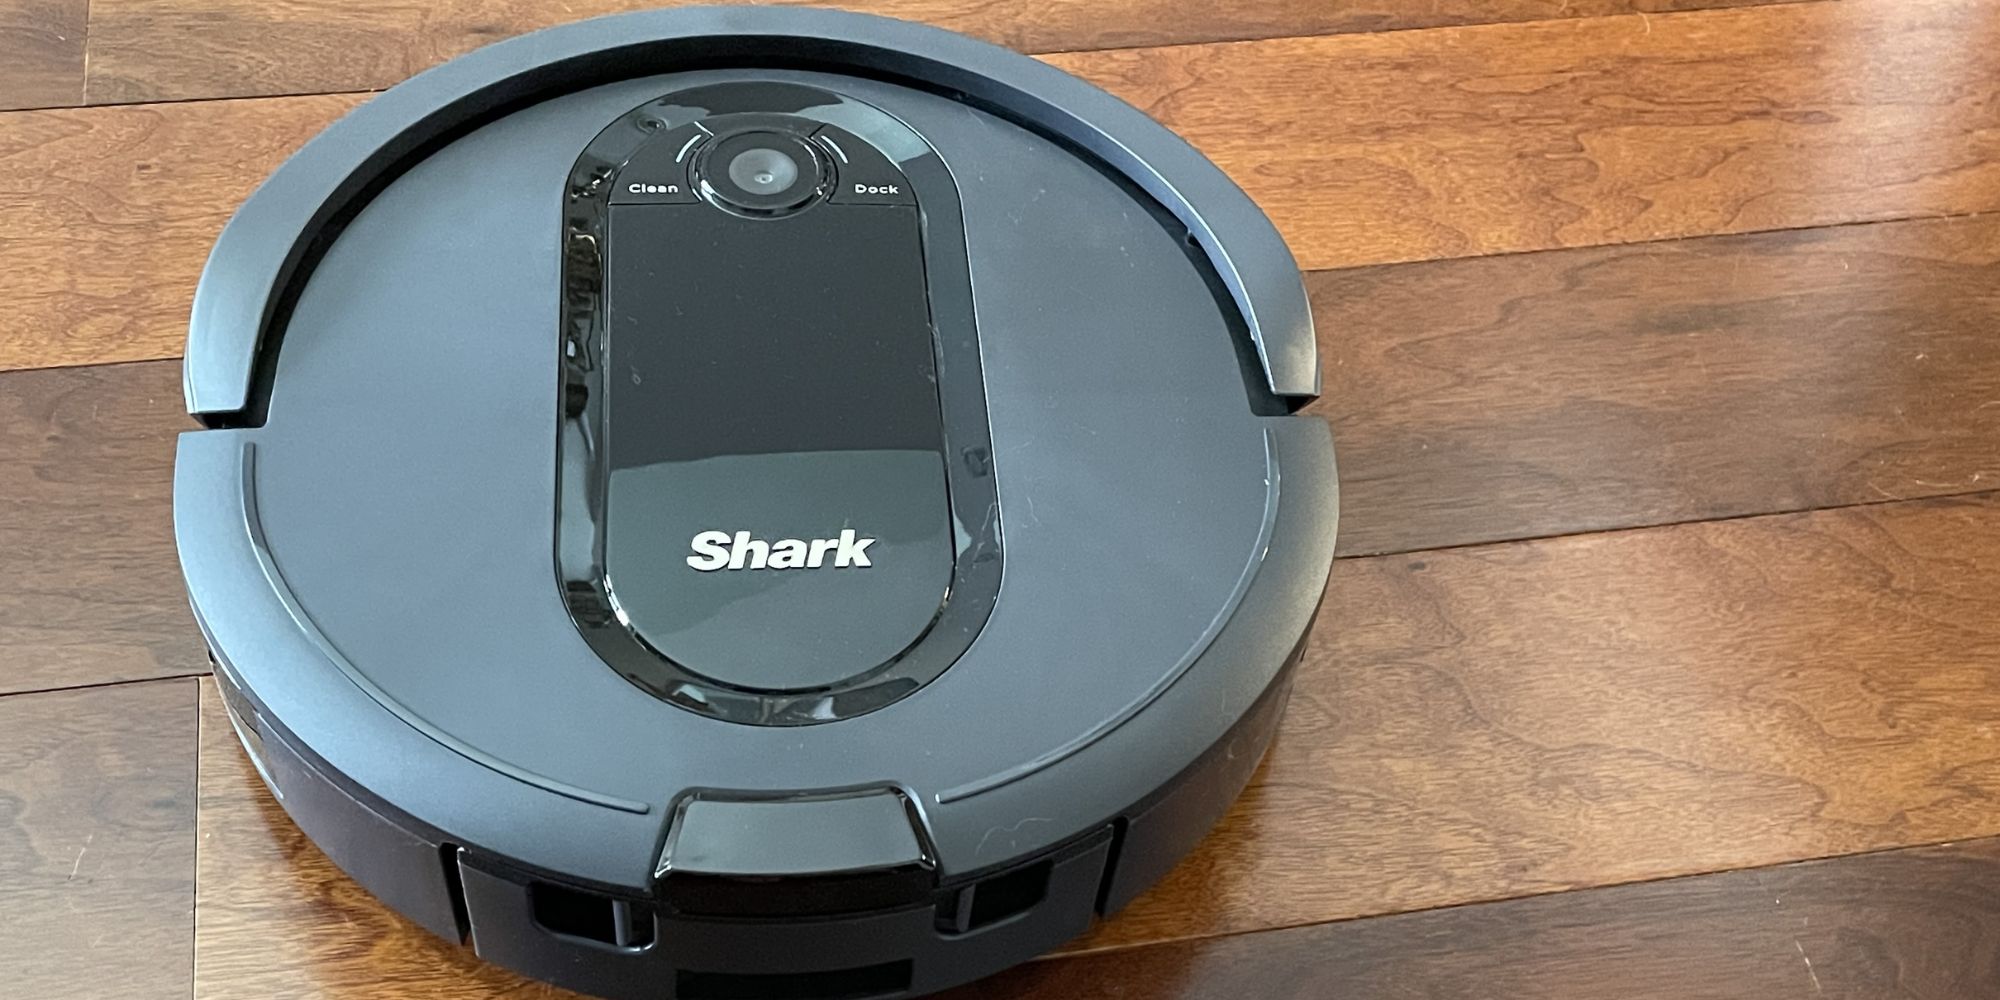
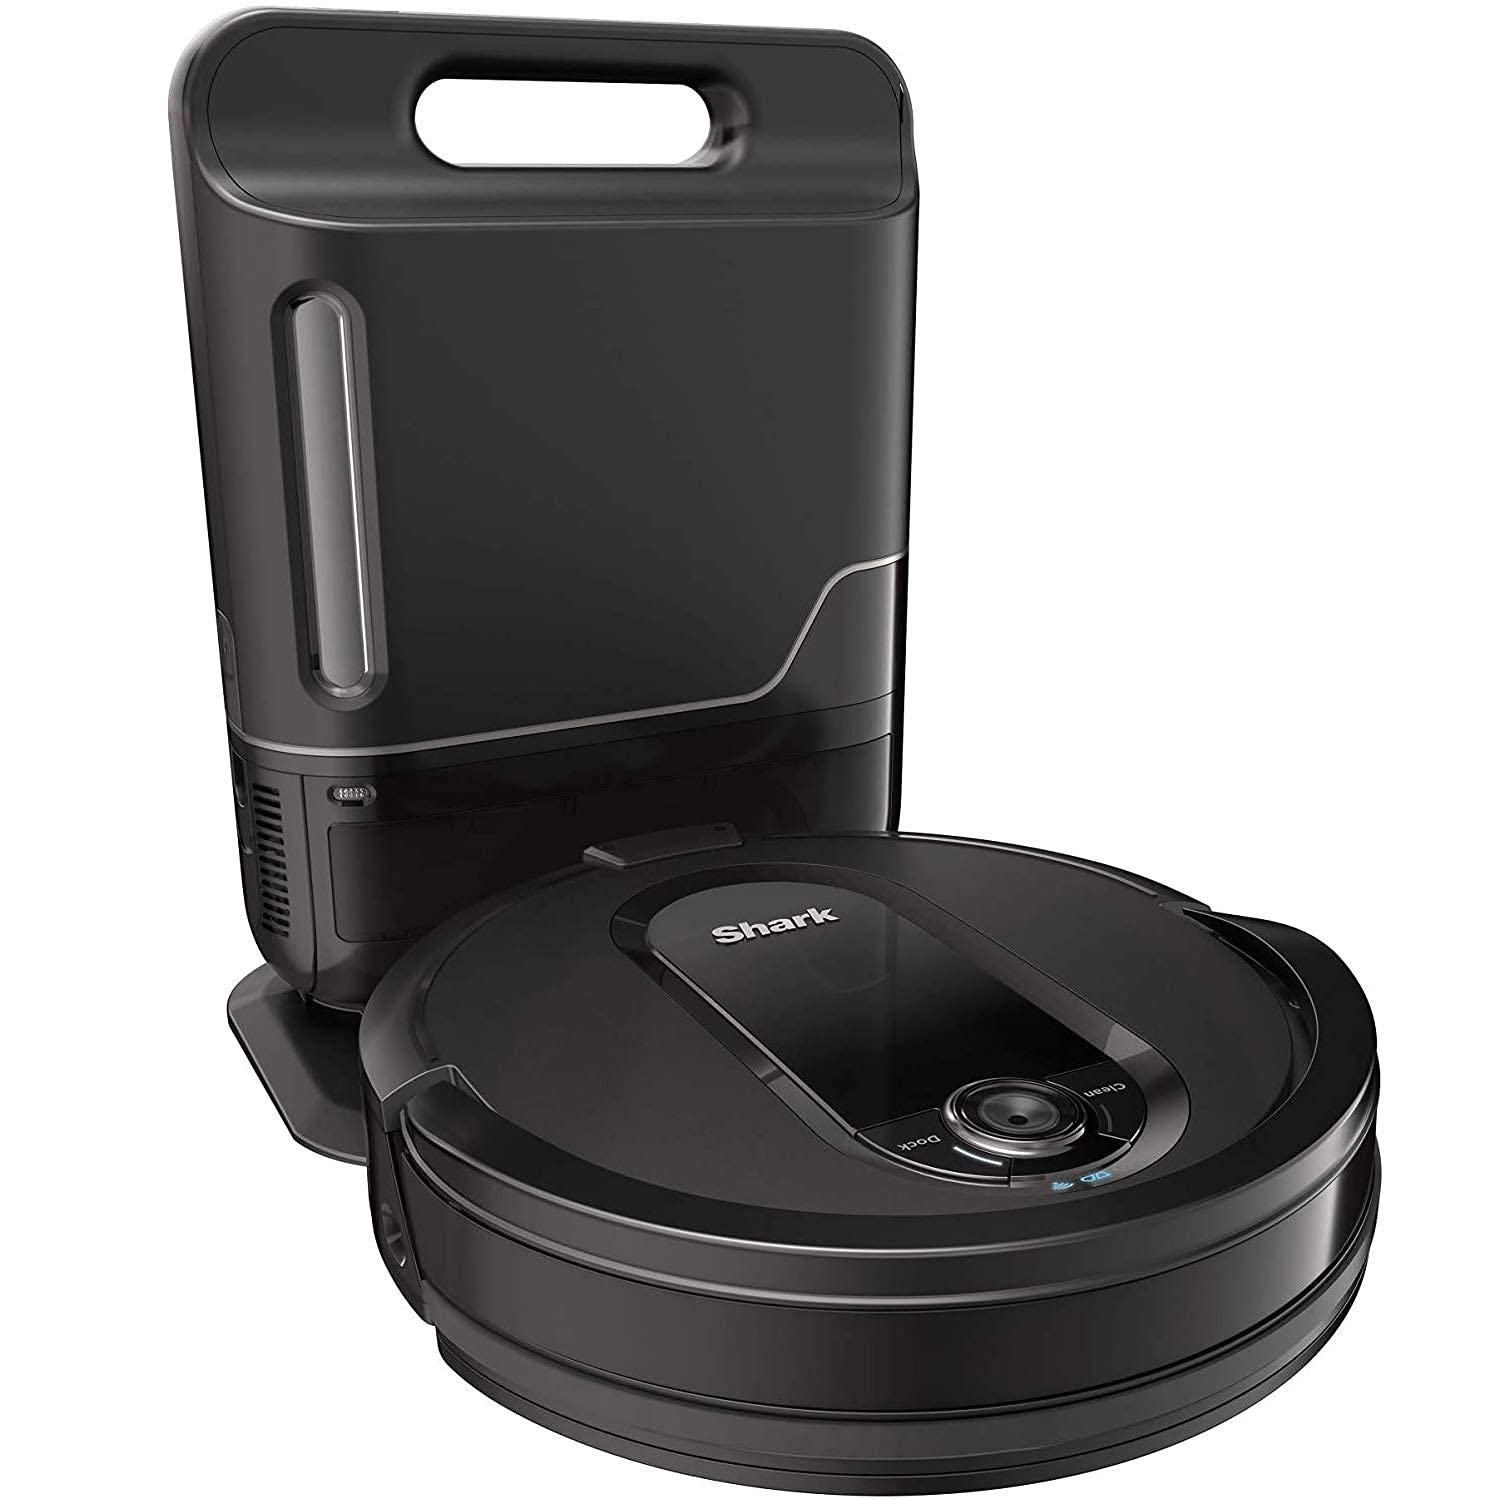
The Shark robot vacuum is a convenient and efficient device that helps to keep your floors clean and dust-free. However, to maintain its performance and prolong its lifespan, it is essential to regularly empty and clean the dustbin. Knowing how to properly empty the Shark robot vacuum will ensure that it continues to work effectively and efficiently in picking up dirt, debris, and pet hair.
In this guide, we will walk you through the step-by-step process of emptying the Shark robot vacuum. We will cover all the necessary steps, from gathering the required tools to disposing of the collected debris. By following these instructions, you can ensure that your Shark robot vacuum remains in optimal condition, providing you with a clean and healthy living environment.
Emptying the dustbin of your Shark robot vacuum is a simple task that can be done in just a few minutes. It is recommended to empty the dustbin after each cleaning session or whenever it reaches the maximum fill level indicated by the device. Regularly emptying the dustbin will prevent any potential blockages, maximize suction power, and maintain the overall performance of your Shark robot vacuum.
Gather the necessary tools
Before you begin the process of emptying the Shark robot vacuum, make sure you have the necessary tools to complete the task. Having these tools handy will ensure a smooth and hassle-free experience.
Here are the tools you will need:
- Trash bag or bin: Choose a sturdy trash bag or bin that is large enough to hold the contents of the dustbin.
- Gloves: It is a good idea to wear gloves to protect your hands from any dirt, dust, or allergens that may be present in the dustbin.
- Cleaning brush: A small cleaning brush with firm bristles will help you remove any debris or hair that may be stuck in the dustbin or filter.
- Microfiber cloth: A microfiber cloth can be used to wipe down the interior of the dustbin and any other areas that may need cleaning.
By having these tools ready, you will be prepared to effectively clean and empty the Shark robot vacuum. Now that you have gathered the necessary tools, let’s proceed to the next step.
Turn off and unplug the Shark robot vacuum
Before you start emptying the Shark robot vacuum, it is essential to turn off the device and unplug it from the power source. This step is crucial for your safety and to prevent any accidental activation of the vacuum while you are handling it.
Follow these steps to turn off and unplug the Shark robot vacuum:
- Locate the power button on the Shark robot vacuum. It is usually located on the top or side of the device.
- Press and hold the power button until the vacuum turns off. You may hear a beep or see a light indicator indicating that the device has powered down.
- Once the Shark robot vacuum is turned off, locate the power cord and unplug it from the wall outlet.
By turning off and unplugging the Shark robot vacuum, you are ensuring your safety and preventing any potential accidents. It is important to always follow this step before handling or performing any maintenance on the device. Now that the vacuum is powered off and unplugged, we can proceed to the next step.
Locate the dustbin
In order to empty the Shark robot vacuum, you first need to locate the dustbin. The dustbin is where all the dirt, debris, and pet hair collected by the vacuum are stored.
Follow these steps to find the dustbin on your Shark robot vacuum:
- Look for a latch or release button on the top or side of the vacuum. This latch or button is used to unlock and access the dustbin.
- If your Shark robot vacuum has a removable dustbin, you may need to press the latch or release button and lift the dustbin out of the vacuum. In some models, the dustbin may slide out from the front or back of the device.
- If your Shark robot vacuum has a non-removable dustbin, locate the access panel or door on the vacuum. This panel or door will provide access to the dustbin for emptying.
Once you have located the dustbin, you are ready to proceed to the next step of emptying the Shark robot vacuum. It is important to handle the dustbin with care to avoid any spills or messes. Now that you have found the dustbin, let’s move on to the next step.
Remove the dustbin from the Shark robot vacuum
Now that you have located the dustbin on your Shark robot vacuum, the next step is to remove it from the device. Removing the dustbin will allow you to empty its contents and clean it thoroughly.
Follow these steps to successfully remove the dustbin from your Shark robot vacuum:
- If your robot vacuum has a removable dustbin, locate the release button or latch that secures the dustbin in place.
- Press the release button or flip the latch to unlock the dustbin from the vacuum. This may require some force or a gentle push in the designated direction.
- Once the dustbin is unlocked, carefully lift it out of the vacuum. Be cautious not to spill the contents of the dustbin while removing it.
- If your robot vacuum has a non-removable dustbin, look for the access panel or door that provides access to the dustbin.
- Open the access panel or door to reveal the dustbin inside the vacuum.
- With the access panel or door open, you can now proceed to empty the contents of the dustbin.
By successfully removing the dustbin from the Shark robot vacuum, you will be one step closer to emptying and cleaning it. Make sure to handle the dustbin with care to prevent any spills or messes. Now that you have removed the dustbin, let’s move on to the next step.
Empty the contents of the dustbin into a trash bag
Now that you have successfully removed the dustbin from your Shark robot vacuum, it’s time to empty its contents into a trash bag. This step will help you get rid of the collected dirt, debris, and pet hair.
Follow these steps to efficiently empty the contents of the dustbin into a trash bag:
- Hold the dustbin over a trash bag or bin, making sure to keep it steady and upright to prevent any spills.
- Use your other hand to open the bottom or release lever of the dustbin, allowing the contents to easily fall into the trash bag.
- Gently shake the dustbin to ensure that all the debris and dirt are emptied into the trash bag. You can tap the sides of the dustbin to dislodge any stuck particles.
- Give the dustbin a visual inspection to ensure that it is completely emptied. If you notice any remaining debris, use a small cleaning brush or microfiber cloth to remove them.
It is important to note that emptying the dustbin over a trash bag will help contain the dirt and prevent it from spreading around your home. Be mindful of any allergens or fine particles that may become airborne during the emptying process. Consider wearing a mask or performing this step in a well-ventilated area if needed.
Once you have emptied the contents of the dustbin into the trash bag, you are ready to move on to the next step of cleaning the dustbin itself. Ensuring a clean dustbin will help maintain the performance and efficiency of your Shark robot vacuum. Now that the dustbin is emptied, let’s proceed to the next step.
Clean the dustbin
After emptying the contents of the dustbin, it is important to clean the dustbin thoroughly. This step helps to remove any leftover debris or dirt, ensuring the optimal performance of your Shark robot vacuum.
Follow these steps to effectively clean the dustbin of your Shark robot vacuum:
- Take the dustbin to a sink or large basin where you can easily clean it.
- If the dustbin is detachable, separate any additional components such as filters or screens that can be removed for cleaning. Refer to your user manual for specific instructions.
- Use warm water and mild dish soap to clean the dustbin. Apply a small amount of dish soap to a clean cloth or sponge and gently scrub the interior of the dustbin.
- Rinse the dustbin thoroughly with water to remove any soap residue.
- Inspect the filters or screens and clean them according to the manufacturer’s instructions. Some filters may be washable, while others may need to be replaced periodically.
- Dry the dustbin and any removable components completely before reassembling them. You can let them air dry or use a clean towel to speed up the drying process.
By regularly cleaning the dustbin, you can maintain the suction power and efficiency of your Shark robot vacuum. Removing any debris or dirt buildup from the dustbin ensures that it does not obstruct airflow, allowing the vacuum to pick up dirt effectively.
Once the dustbin and its components are thoroughly cleaned and dried, you can proceed to the next step of checking for any clogs or blockages in your Shark robot vacuum. Cleaning the dustbin is an essential maintenance task that keeps your vacuum performing at its best. Now that you have cleaned the dustbin, let’s move on to the next step.
Check for any clogs or blockages
After cleaning the dustbin of your Shark robot vacuum, it’s important to check for any clogs or blockages in the vacuum’s system. Clogs can hinder the suction power and prevent the vacuum from effectively picking up dirt and debris.
Follow these steps to check for any clogs or blockages in your Shark robot vacuum:
- Inspect the nozzle or brush head of the vacuum for any tangled hair, strings, or other debris. Use a pair of scissors or your fingers to carefully remove any obstructions.
- Check the vacuum’s hose and attachments for any blockages. Detach the hose and visually inspect it for any clogs. You can use a long, flexible brush or a bent coat hanger to dislodge any debris that may be blocking the hose.
- Examine the filters of your Shark robot vacuum. Depending on the model, there may be one or more filters that need regular maintenance or replacement. Remove the filters and clean as instructed by the manufacturer. Ensure they are completely dry before reinserting them.
- If your Shark robot vacuum has a roller brush, remove it and clear any tangled hair or debris from the bristles. Trim any excess hair or fibers to prevent future clogs.
- Once you have checked for clogs or blockages in all the necessary areas, reassemble the components and ensure they are securely in place. Double-check that all the access doors and panels are closed properly.
Regularly checking for and clearing any clogs or blockages in your Shark robot vacuum will maintain its performance and prolong its lifespan. By keeping the vacuum’s system clean and free from obstructions, you can ensure that it continues to run efficiently and effectively.
Now that you have inspected and cleared any clogs or blockages, you can proceed to the next step of reattaching the dustbin to the Shark robot vacuum. Checking for and resolving any blockages will help your vacuum operate at its full capacity. Let’s move on to the next step.
Reattach the dustbin to the Shark robot vacuum
After you have emptied the dustbin, cleaned it thoroughly, and checked for any clogs or blockages, it’s time to reattach the dustbin to your Shark robot vacuum. Ensuring that the dustbin is securely attached is crucial for the vacuum to operate effectively.
Follow these steps to reattach the dustbin to your Shark robot vacuum:
- Align the dustbin with the designated slot or opening on the vacuum. Make sure it is positioned correctly for a proper fit.
- If your vacuum has a removable dustbin, carefully slide or push it back into place until you hear or feel a click indicating that it is securely attached.
- If your vacuum has a non-removable dustbin, close the access panel or door to secure the dustbin inside the vacuum.
- Give the dustbin a gentle push or press down on it to ensure a tight connection. It should not wiggle or feel loose.
- Double-check that all the latches, buttons, or locks are properly engaged to keep the dustbin securely in place.
By reattaching the dustbin correctly, you can prevent any accidental spills or malfunctions while using your Shark robot vacuum. It’s important to ensure a secure attachment to maintain the vacuum’s suction power and avoid any potential damage.
Now that you have successfully reattached the dustbin, you are ready to dispose of the collected debris responsibly. Let’s move on to the next step to learn how to properly dispose of the trash bag containing the dirt and debris from your Shark robot vacuum.
Dispose of the trash bag appropriately
After emptying the dustbin and cleaning your Shark robot vacuum, it is crucial to dispose of the trash bag containing the dirt, debris, and pet hair in a responsible and proper manner. This step ensures proper hygiene and prevents the spread of allergens and contaminants.
Follow these guidelines to dispose of the trash bag appropriately:
- Tie the trash bag securely to prevent any spills or leaks. Make sure it is tightly sealed to avoid any odors or messes.
- If the collected debris is non-biodegradable, such as plastic or paper, place the bag in your regular household trash bin or as designated by your local waste disposal guidelines.
- If the collected debris is biodegradable, such as food scraps or organic matter, consider composting if you have a compost bin available. This helps to reduce waste and creates nutrient-rich soil.
- For items that may be recyclable, check your local recycling guidelines to see if they can be separated and recycled appropriately.
- If you have any hazardous materials, such as batteries, dispose of them separately according to your local hazardous waste guidelines. These should not be put in regular household trash.
Properly disposing of the trash bag ensures that the collected debris is handled in an environmentally friendly and safe manner. It helps to keep your living space clean, prevents the buildup of waste, and promotes sustainability.
Now that you have disposed of the trash bag responsibly, you can proceed to the final step of turning on and using your Shark robot vacuum.
Turn on and resume using the Shark robot vacuum
Now that you have completed the process of emptying, cleaning, and maintaining your Shark robot vacuum, you are ready to turn it on and resume using it to keep your floors clean and dust-free.
Follow these simple steps to turn on and resume using your Shark robot vacuum:
- Make sure the dustbin is securely attached to the vacuum, as we discussed in the previous step.
- Plug the vacuum back into a power outlet.
- Locate the power button on the vacuum and press it to turn on the device.
- Depending on the model, you may need to select the appropriate cleaning mode or program for your desired cleaning preferences.
- Place the Shark robot vacuum on the floor in the area you want to be cleaned.
- Allow the vacuum to navigate and clean your floors, taking advantage of its automated features.
- You can also set a cleaning schedule or use additional features available in your Shark robot vacuum, such as boundary markers or spot cleaning.
By properly turning on and using your Shark robot vacuum, you can effortlessly maintain a clean and tidy home. Regularly utilizing your vacuum will help keep your floors free from dirt, debris, and pet hair, promoting a healthy living environment.
Remember to periodically repeat the process of emptying the dustbin, cleaning the vacuum, and checking for any clogs or blockages to ensure the continued efficiency and effectiveness of your Shark robot vacuum.
Congratulations! You have successfully learned how to empty and maintain your Shark robot vacuum. Enjoy the convenience and cleanliness it brings to your home!
Conclusion
Emptying and maintaining your Shark robot vacuum is essential for its optimal performance and longevity. By following the step-by-step guide outlined above, you can ensure that your vacuum continues to effectively clean your floors and provide a healthy living space.
Starting with gathering the necessary tools, turning off and unplugging the vacuum, locating the dustbin, and removing it from the device, each step plays a crucial role in the overall cleaning process. Emptying the contents of the dustbin, cleaning it thoroughly, and checking for any clogs or blockages are important maintenance activities that keep your vacuum in top condition.
Properly reattaching the dustbin, disposing of the trash bag responsibly, and finally turning on and resuming the use of your Shark robot vacuum completes the maintenance routine. Regularly repeating these steps will ensure consistent performance and extend the lifespan of your vacuum.
Remember, a clean dustbin and a well-maintained vacuum will maximize suction power, improve cleaning efficiency, and promote a healthy environment. Enjoy the convenience and ease of use that your Shark robot vacuum brings to your home, and leverage its automated features to keep your floors sparkling clean.
By following these guidelines and incorporating them into your cleaning routine, you can guarantee that your Shark robot vacuum remains a valuable tool in maintaining a tidy and hygienic living space.


