Introduction
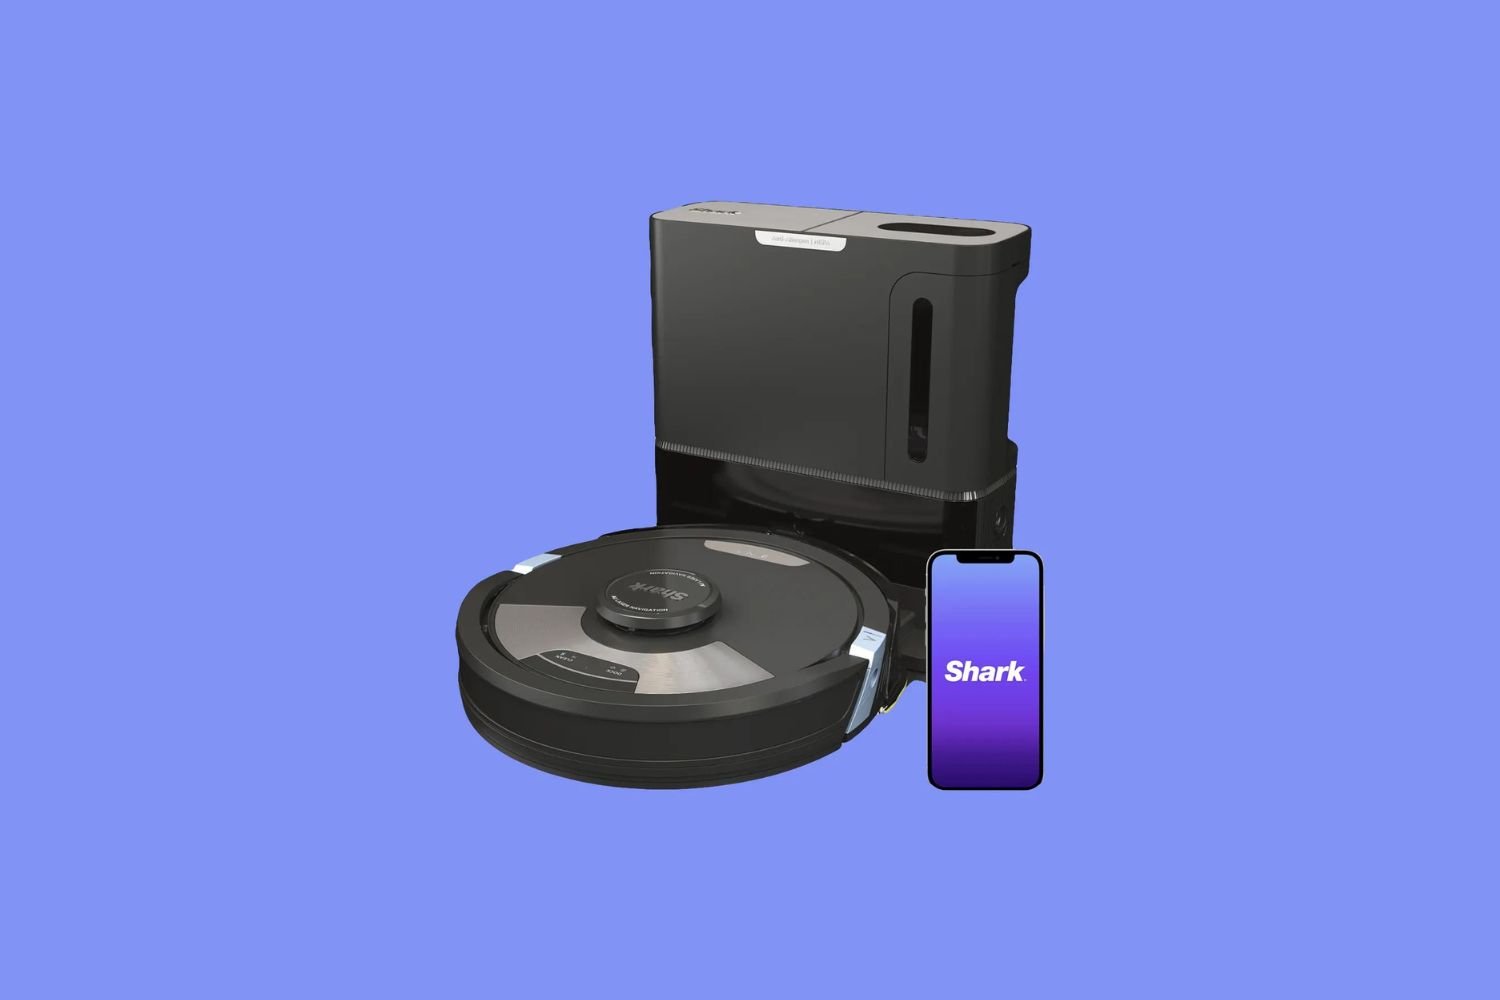
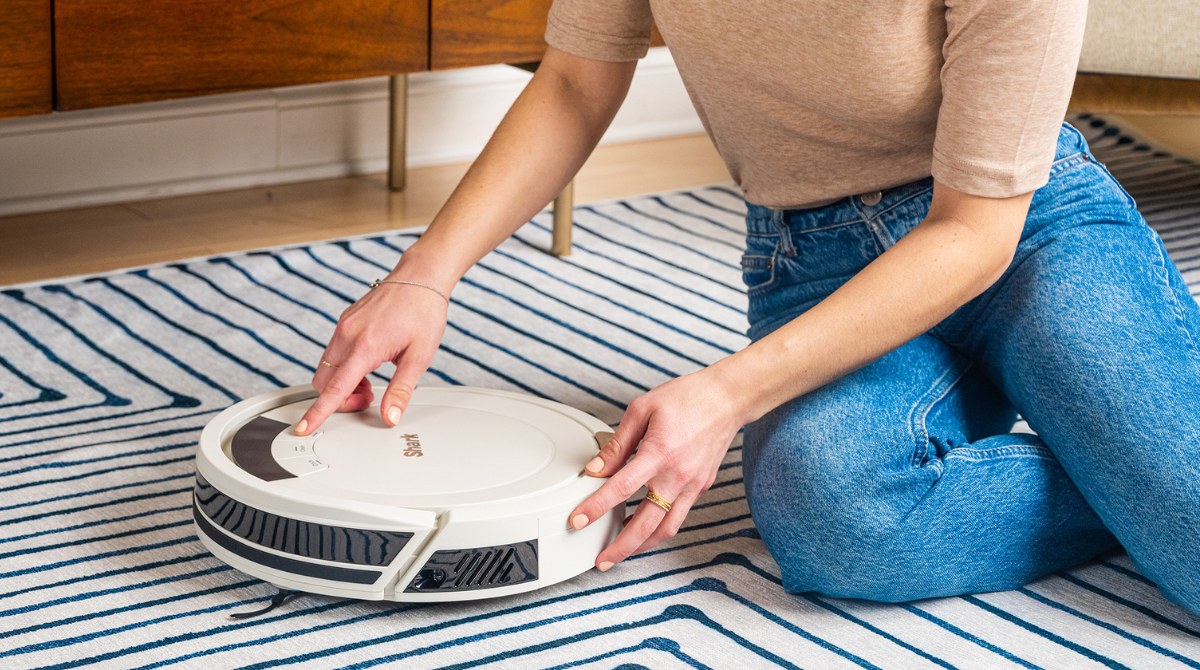
Welcome to our comprehensive guide on how to clean your Shark Robot Vacuum! Investing in a robot vacuum has undoubtedly made your life easier by taking care of your everyday cleaning tasks. However, to ensure optimum performance and longevity of your Shark Robot Vacuum, proper maintenance and regular cleaning are essential.
In this article, we will provide you with step-by-step instructions on how to effectively clean your Shark Robot Vacuum, from the main brush and side brushes to the dustbin, filter, sensors, and charging contacts. By following these instructions, you’ll be able to keep your robot vacuum in great condition and maintain its optimal cleaning capabilities.
Regular cleaning of your Shark Robot Vacuum not only improves its performance but also ensures that it can maneuver around your home efficiently, picking up every bit of dirt and debris. With proper maintenance, you can enjoy the convenience and efficiency of your robot vacuum for years to come.
So, let’s get started with the cleaning process and make sure your Shark Robot Vacuum is operating at its best!
Preparing for Cleaning
Before you begin cleaning your Shark Robot Vacuum, it’s important to take a few preparatory steps to ensure a smooth and effective cleaning process:
- Find a well-lit and spacious area: Choose a well-lit area with enough space to maneuver the robot vacuum and its accessories conveniently. This will allow you to inspect and clean all the components properly.
- Turn off the robot vacuum: Before cleaning, make sure to turn off the robot vacuum and unplug it from the charging dock. This will prevent any accidents or injuries during the cleaning process.
- Remove any obstacles: Clear the floor of any large objects, cables, or items that may obstruct the robot vacuum’s movement. This will prevent the vacuum from getting stuck or damaging any items.
- Gather necessary cleaning tools: Collect all the cleaning tools you will need for the process. These may include a small brush, a microfiber cloth, mild soap, and water.
- Familiarize yourself with the user manual: Take a moment to refer to the user manual provided with your Shark Robot Vacuum. This will give you a better understanding of the specific cleaning recommendations and precautions for your model.
By following these pre-cleaning steps, you’ll create a conducive environment for efficient and safe maintenance of your Shark Robot Vacuum. Now that you’re prepared, let’s move on to cleaning the various components of the vacuum to keep it in optimal condition.
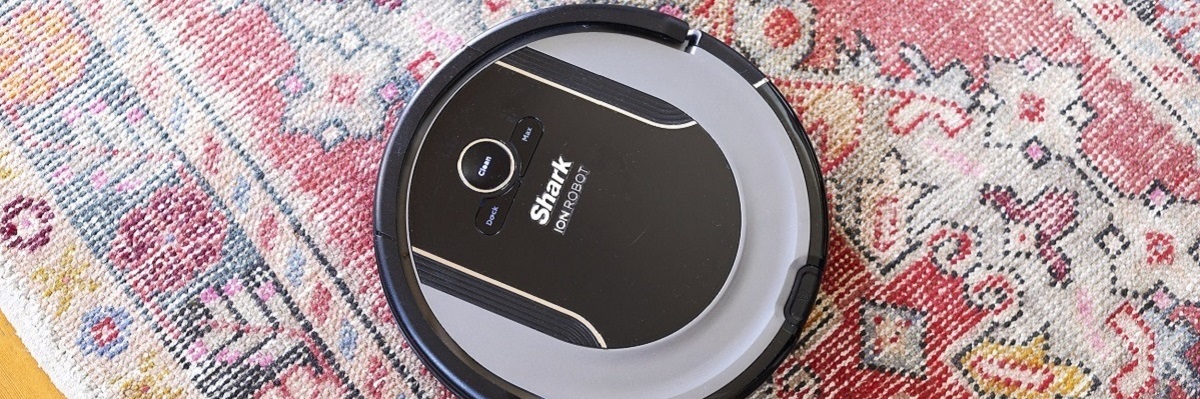
Cleaning the Main Brush and Side Brushes
The main brush and side brushes of your Shark Robot Vacuum play a crucial role in picking up dirt, debris, and pet hair from your floors. Over time, these brushes can accumulate tangled hair and fibers, which can reduce their cleaning effectiveness. Follow the steps below to clean the main brush and side brushes:
- Turn the robot vacuum upside down: Carefully flip your Shark Robot Vacuum upside down to access the underside of the vacuum.
- Remove the main brush: Locate the main brush on the vacuum’s underside and carefully remove it from its housing. Check for any hair or debris tangled around the brush.
- Clean the main brush: Use your fingers or a small brush to remove any hair or debris from the bristles of the main brush. Ensure that all the bristles are free from any obstructions.
- Clean the side brushes: Locate the side brushes on either side of the main brush. Gently remove them from their slots and inspect them for any tangled hair or debris.
- Remove hair and debris from the side brushes: Use your fingers or a small brush to remove any tangled hair or debris from the side brushes. Make sure that they are clean and free from any obstructions.
- Reattach the main brush and side brushes: Once the main brush and side brushes are clean, carefully reattach them to their respective slots on the vacuum’s underside.
Regularly cleaning the main brush and side brushes of your Shark Robot Vacuum will ensure optimal performance and prevent clogs that can hinder its cleaning capabilities. Now that we’ve cleaned the brushes, it’s time to move on to the next step: removing and emptying the dustbin.
Removing and Emptying the Dustbin
The dustbin of your Shark Robot Vacuum is where all the dirt, dust, and debris are stored during cleaning. Regularly emptying the dustbin is crucial to maintain optimal cleaning performance. Follow the steps below to remove and empty the dustbin:
- Locate the dustbin: The dustbin is usually located on the back or side of your Shark Robot Vacuum. It is designed to be easily removable for quick and convenient cleaning.
- Remove the dustbin: Depending on the model, there might be a release button or latch that you need to press or slide to remove the dustbin from the vacuum. Follow the instructions in your user manual to ensure proper removal.
- Open the dustbin: Once the dustbin is removed, locate the opening or lid of the dustbin. Some models have a hinged lid, while others may require you to lift it off.
- Empty the contents: Hold the dustbin over a trash can and gently tap or shake it to release the dirt, dust, and debris. You can also use a small brush or cloth to remove any stubborn particles stuck inside.
- Clean the dustbin: After emptying the dustbin, rinse it with water and mild soap to thoroughly clean it. Be sure to dry it completely before reattaching it to the vacuum.
- Reattach the dustbin: Once the dustbin is clean and dry, align it with the vacuum and firmly push it back into place. Ensure that it is securely attached to prevent any leakage or loss of suction.
By regularly removing and emptying the dustbin of your Shark Robot Vacuum, you’ll ensure that it continues to effectively collect dirt and debris during each cleaning cycle. Now, let’s move on to another important component: cleaning the filter.
Cleaning the Filter
The filter of your Shark Robot Vacuum plays a vital role in trapping fine particles, dust, and allergens during the cleaning process. Regularly cleaning the filter is essential to maintain optimal suction power and prevent clogs. Follow the steps below to clean the filter:
- Locate the filter: The filter is typically located inside the dustbin or in a separate compartment. Consult your user manual to find the exact location of the filter in your specific model.
- Remove the filter: Once you’ve located the filter, carefully remove it from the vacuum. Depending on the model, it may be a reusable filter that can be easily detached or a disposable filter that needs to be replaced.
- Clean reusable filters: If you have a reusable filter, gently tap it against a hard surface, such as the edge of a trash can, to dislodge any loose dirt or debris. You can also use a soft brush or a handheld vacuum with a brush attachment to remove stubborn particles.
- Wash the filter (if applicable): For reusable filters, wash them with mild soap and water. Use your hands to gently scrub away any dirt or trapped particles. Rinse the filter thoroughly and allow it to air dry completely before reinserting it into the vacuum.
- Replace disposable filters (if applicable): If your Shark Robot Vacuum uses disposable filters, check the user manual for the recommended replacement interval. Dispose of the used filter properly and replace it with a new one.
- Reinsert the filter: Once the reusable filter is dry or the disposable filter is replaced, carefully reinsert it into the vacuum. Ensure that it sits securely in its designated slot.
Regularly cleaning or replacing the filter of your Shark Robot Vacuum will help maintain optimal air quality and ensure that the vacuum performs at its best. Now that we’ve cleaned the filter, let’s move on to the next step: cleaning the sensors.
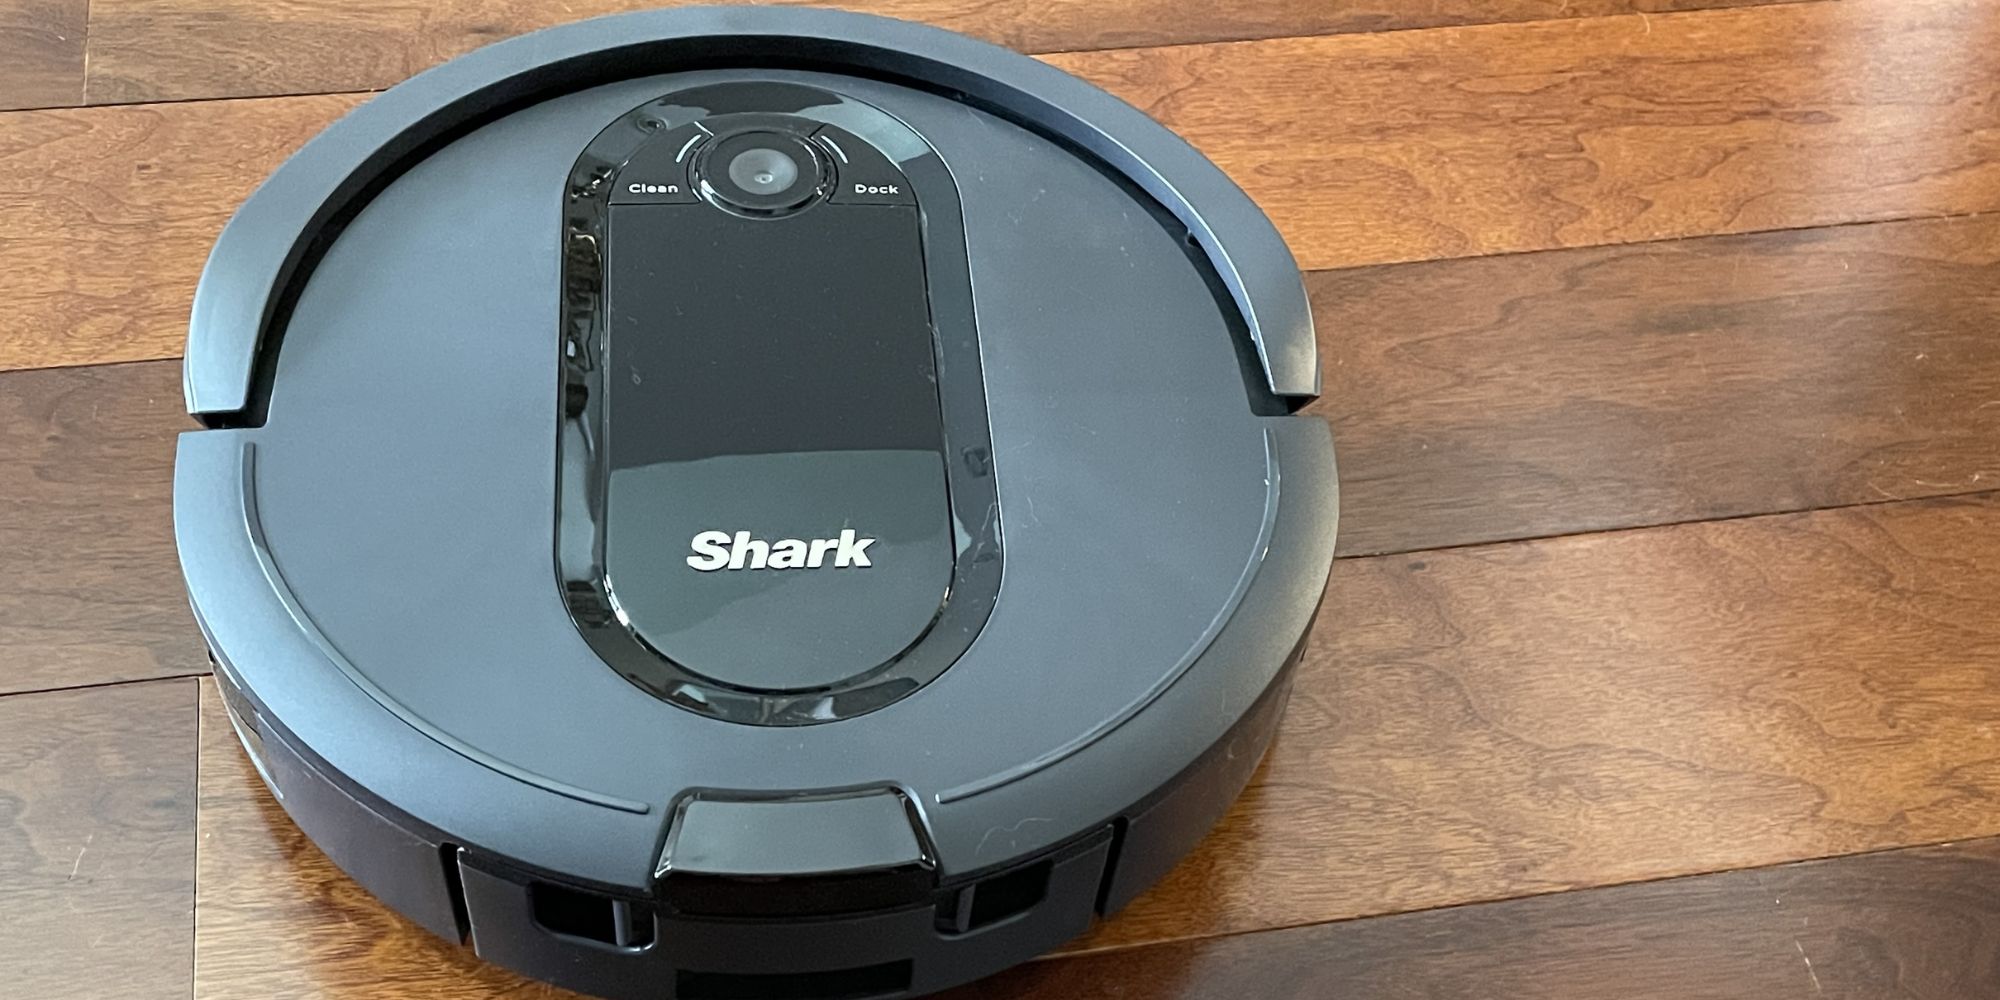
Cleaning the Sensors
The sensors in your Shark Robot Vacuum are responsible for detecting obstacles, stairs, and other objects in its path, allowing it to navigate and clean efficiently. Regularly cleaning the sensors is crucial to ensure accurate detection and prevent any issues during cleaning. Follow the steps below to clean the sensors:
- Identify the sensors: The sensors are usually located on the front, sides, and bottom of your Shark Robot Vacuum. They may appear as small, round or rectangular protrusions.
- Inspect the sensors: Carefully examine each sensor for any visible dirt, dust, or smudges. Dust or debris on the sensors can affect their performance and accuracy.
- Clean the sensors: Use a soft, lint-free cloth or a cotton swab moistened with water to gently clean the sensors. Be cautious not to press too hard or use harsh cleaning solutions that may damage the sensors.
- Wipe the sensors: Gently wipe the sensors in a circular motion, ensuring that you remove any dirt, dust, or smudges that may have accumulated. Take your time to clean each sensor thoroughly.
- Check for any remaining residue: After cleaning, examine the sensors to ensure that all dirt and residues have been removed. If necessary, repeat the cleaning process until the sensors are clean and free from any obstructions.
- Dry the sensors: To avoid any moisture damage, use a dry cloth or allow the sensors to air dry completely before turning the vacuum back on.
Regularly cleaning the sensors of your Shark Robot Vacuum will help maintain its navigation capabilities and prevent any issues during cleaning cycles. Now, let’s move on to the final step: cleaning the charging contacts.
Cleaning the Charging Contacts
The charging contacts of your Shark Robot Vacuum are crucial for maintaining a reliable connection with the charging dock. Regularly cleaning the charging contacts will ensure effective charging and prevent any interruptions in the vacuum’s performance. Follow the steps below to clean the charging contacts:
- Locate the charging contacts: The charging contacts are usually located on the bottom of your Shark Robot Vacuum and the corresponding connectors on the charging dock.
- Inspect the charging contacts: Carefully examine the charging contacts on both the vacuum and the charging dock for any visible dirt, debris, or corrosion. Build-up on the contacts can affect the charging process.
- Clean the charging contacts: Use a soft, lint-free cloth or a cotton swab slightly dampened with water or rubbing alcohol to gently clean the charging contacts. Ensure that you remove any dirt, debris, or corrosion that might have accumulated on the contacts.
- Gently wipe the contacts: Wipe the charging contacts on both the vacuum and the charging dock in a back-and-forth motion. Be careful not to apply excessive pressure or damage the contacts while cleaning.
- Check for any remaining residue: After cleaning, inspect the charging contacts to ensure that all dirt, debris, or corrosion has been removed. If necessary, repeat the cleaning process until the contacts are clean and shiny.
- Allow the contacts to dry: Before reconnecting the charging dock, ensure that both the vacuum and the charging contacts are completely dry. This will prevent any moisture-related issues during the charging process.
Regularly cleaning the charging contacts of your Shark Robot Vacuum will ensure a reliable power connection and uninterrupted charging cycles. With clean contacts, your vacuum will always be ready for the next cleaning session. Now that we’ve covered cleaning the charging contacts, it’s time to reassemble the vacuum.
Reassembling the Vacuum
After cleaning the various components of your Shark Robot Vacuum, it’s time to reassemble the vacuum to ensure it is ready for your next cleaning session. Follow the steps below to properly reassemble the vacuum:
- Attach the main brush and side brushes: Carefully reattach the main brush and side brushes to their designated slots on the vacuum’s underside. Ensure that they are securely placed and properly aligned.
- Insert the clean and dry dustbin: Take the clean and dry dustbin and insert it back into its housing on the vacuum. Make sure it fits securely and snaps into place.
- Reinsert the cleaned or replaced filter: If you cleaned a reusable filter, insert it back into the vacuum according to the manufacturer’s instructions. If you replaced a disposable filter, make sure the new filter is properly positioned.
- Check the sensors and charging contacts: Double-check that the sensors and charging contacts are clean and free from any debris or residues. If necessary, give them a final wipe before proceeding.
- Secure any detachable parts: If there are any detachable parts, such as covers or panels, ensure they are securely fastened or snapped back into place.
- Inspect the vacuum’s exterior: Take a moment to inspect the vacuum’s exterior and wipe away any fingerprints or smudges using a soft cloth or microfiber cloth.
- Plug in the vacuum: Finally, plug your Shark Robot Vacuum back into the charging dock or power source to ensure it is ready for use. Let it fully charge before using it again.
By reassembling the vacuum properly, you will ensure that all components are securely in place and that the vacuum is fully operational. Once you have completed the reassembly process, you’re ready to enjoy the convenience of a clean and efficient Shark Robot Vacuum in your home.
Conclusion
Congratulations! You have now learned how to effectively clean your Shark Robot Vacuum, ensuring its optimal performance and longevity. By following the step-by-step instructions provided in this guide, you can easily maintain your robot vacuum’s cleaning capabilities and keep it operating at its best.
Remember to regularly clean the main brush and side brushes to prevent clogs and maintain their effectiveness. Emptying the dustbin after each use will ensure that your vacuum has enough space to collect dirt and debris during cleaning cycles. Cleaning or replacing the filter will maintain proper suction power and air quality. Additionally, keeping the sensors and charging contacts clean will ensure accurate navigation and uninterrupted charging.
By incorporating these cleaning steps into your routine maintenance, you can enjoy the convenience and efficiency of your Shark Robot Vacuum for years to come. Regular cleaning not only enhances the vacuum’s performance but also contributes to a cleaner and healthier living environment.
We hope this guide has been helpful in guiding you through the cleaning process for your Shark Robot Vacuum. Remember to consult your user manual for any model-specific instructions or recommendations. Enjoy the effortless cleaning power of your robot vacuum!