Introduction
Welcome to our comprehensive guide on how to fix common issues with Shark Robot Vacuum. As a proud owner of this innovative cleaning device, you know how convenient and efficient it can be in keeping your floors clean. However, like any technological gadget, the Shark Robot Vacuum may encounter occasional issues that can hinder its performance.
Whether you’re experiencing difficulties with turning on the vacuum, charging it, or it’s not cleaning properly, this troubleshooting guide will provide you with practical solutions to get your Shark Robot Vacuum back in optimal condition. We’ll also address common error codes and how to resolve them effectively.
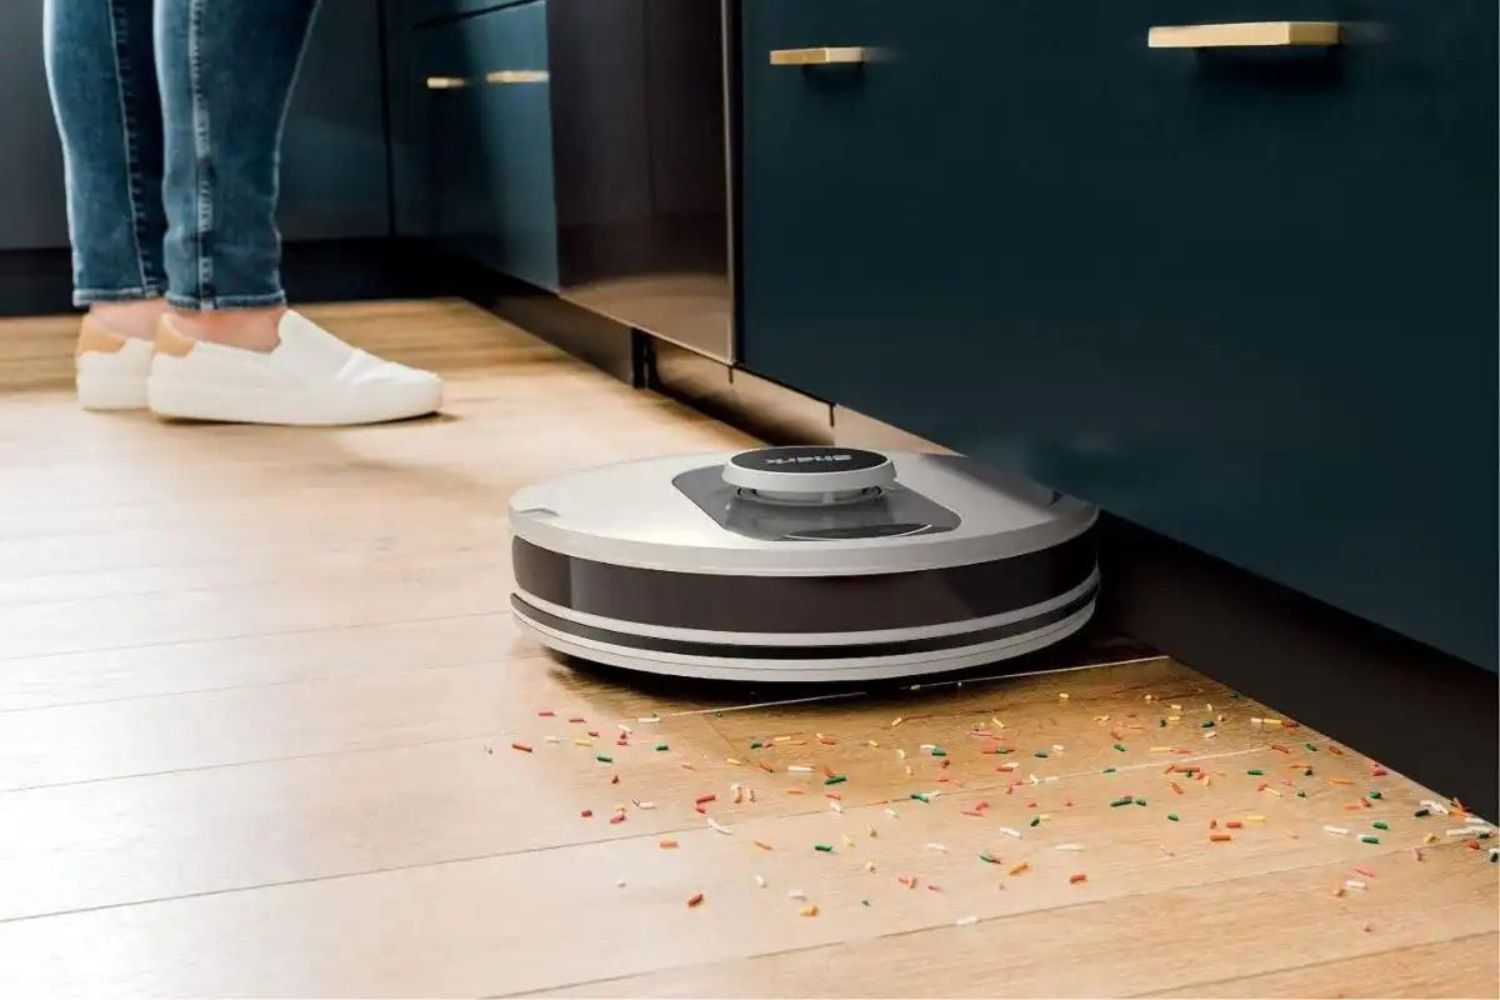
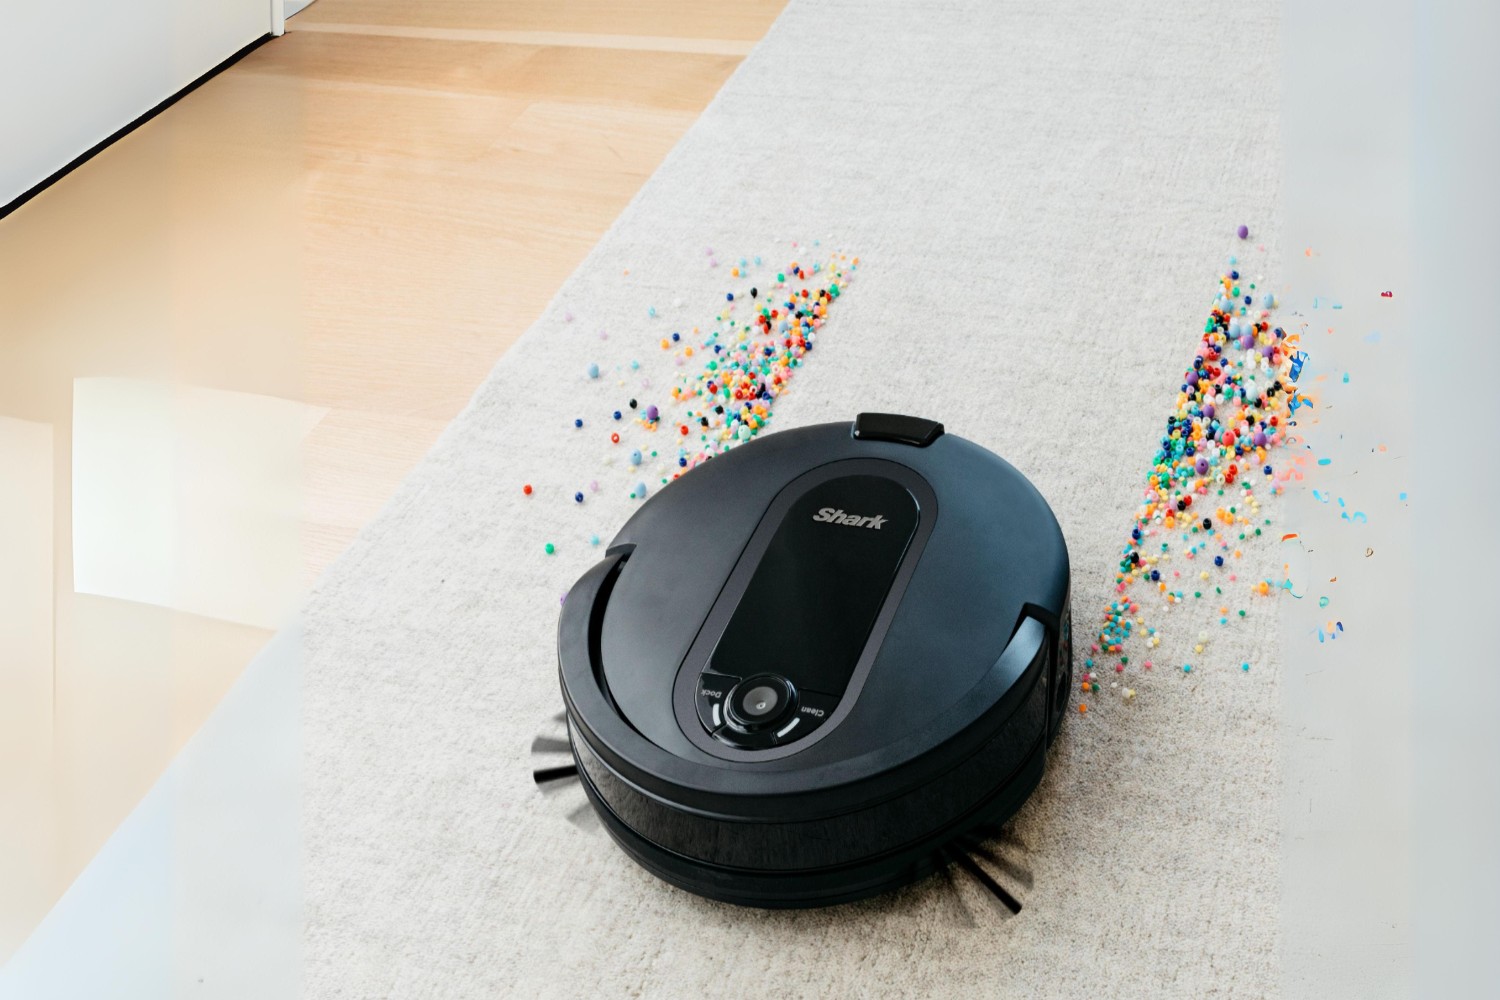
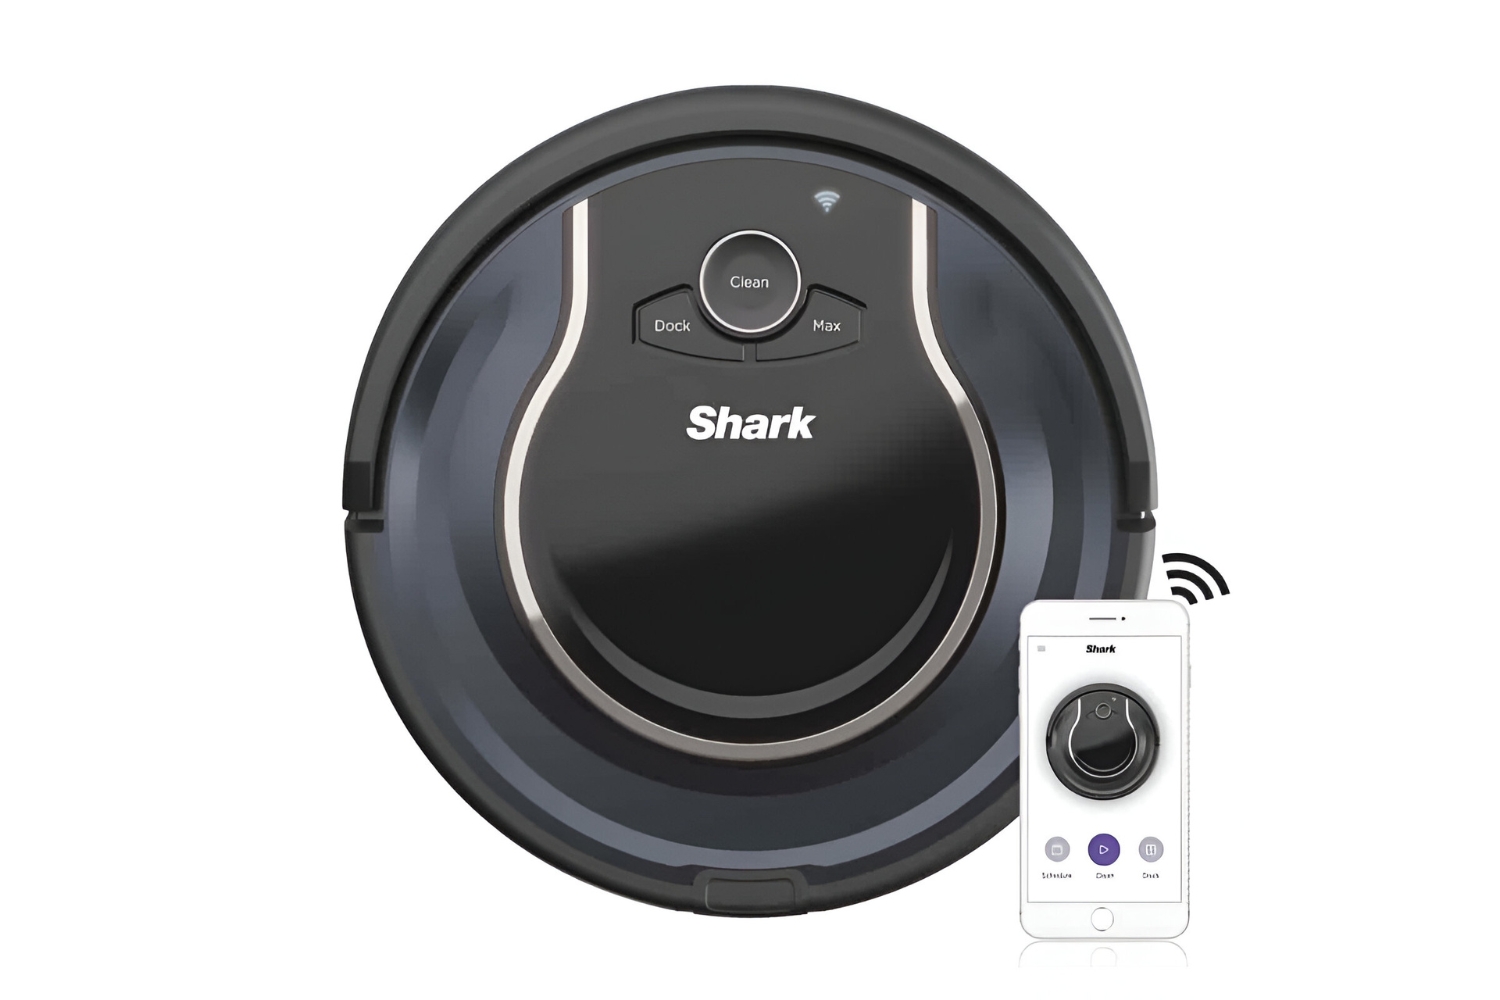
Before diving into the troubleshooting steps, it’s important to familiarize yourself with the basic functioning of the Shark Robot Vacuum. This smart device is designed to navigate your home autonomously, sucking up dirt, debris, and pet hair, and returning to its charging station when the battery is low.
With its advanced sensors and intelligent mapping technology, the Shark Robot Vacuum can detect obstacles, avoid falls, and clean efficiently in different floor types. However, there are instances when it may encounter challenges or encounter errors that require manual intervention to resolve.
In the following sections, we will guide you through step-by-step instructions to address the most common issues you may encounter with your Shark Robot Vacuum. From troubleshooting power and charging problems to addressing cleaning issues and error codes, we’ve got you covered.
By following the troubleshooting guide provided in the subsequent sections, you can save time, money, and frustration by resolving issues with your Shark Robot Vacuum on your own. Remember, before attempting any fixes, always refer to the user manual that came with your vacuum for specific instructions or contact Shark customer support for further assistance if needed.
Now, let’s jump into the troubleshooting guide and get your Shark Robot Vacuum back to its peak performance!
Common Issues with Shark Robot Vacuum
While the Shark Robot Vacuum is designed to simplify your cleaning routine, it can sometimes encounter common issues that affect its performance. Understanding these issues can help you troubleshoot and resolve them effectively. Here are some of the most common problems Shark Robot Vacuum owners may face:
- Robot Vacuum Not Turning On: One of the most frustrating issues is when the robot vacuum fails to turn on. This could be due to a power issue, such as a drained battery or a faulty power connection.
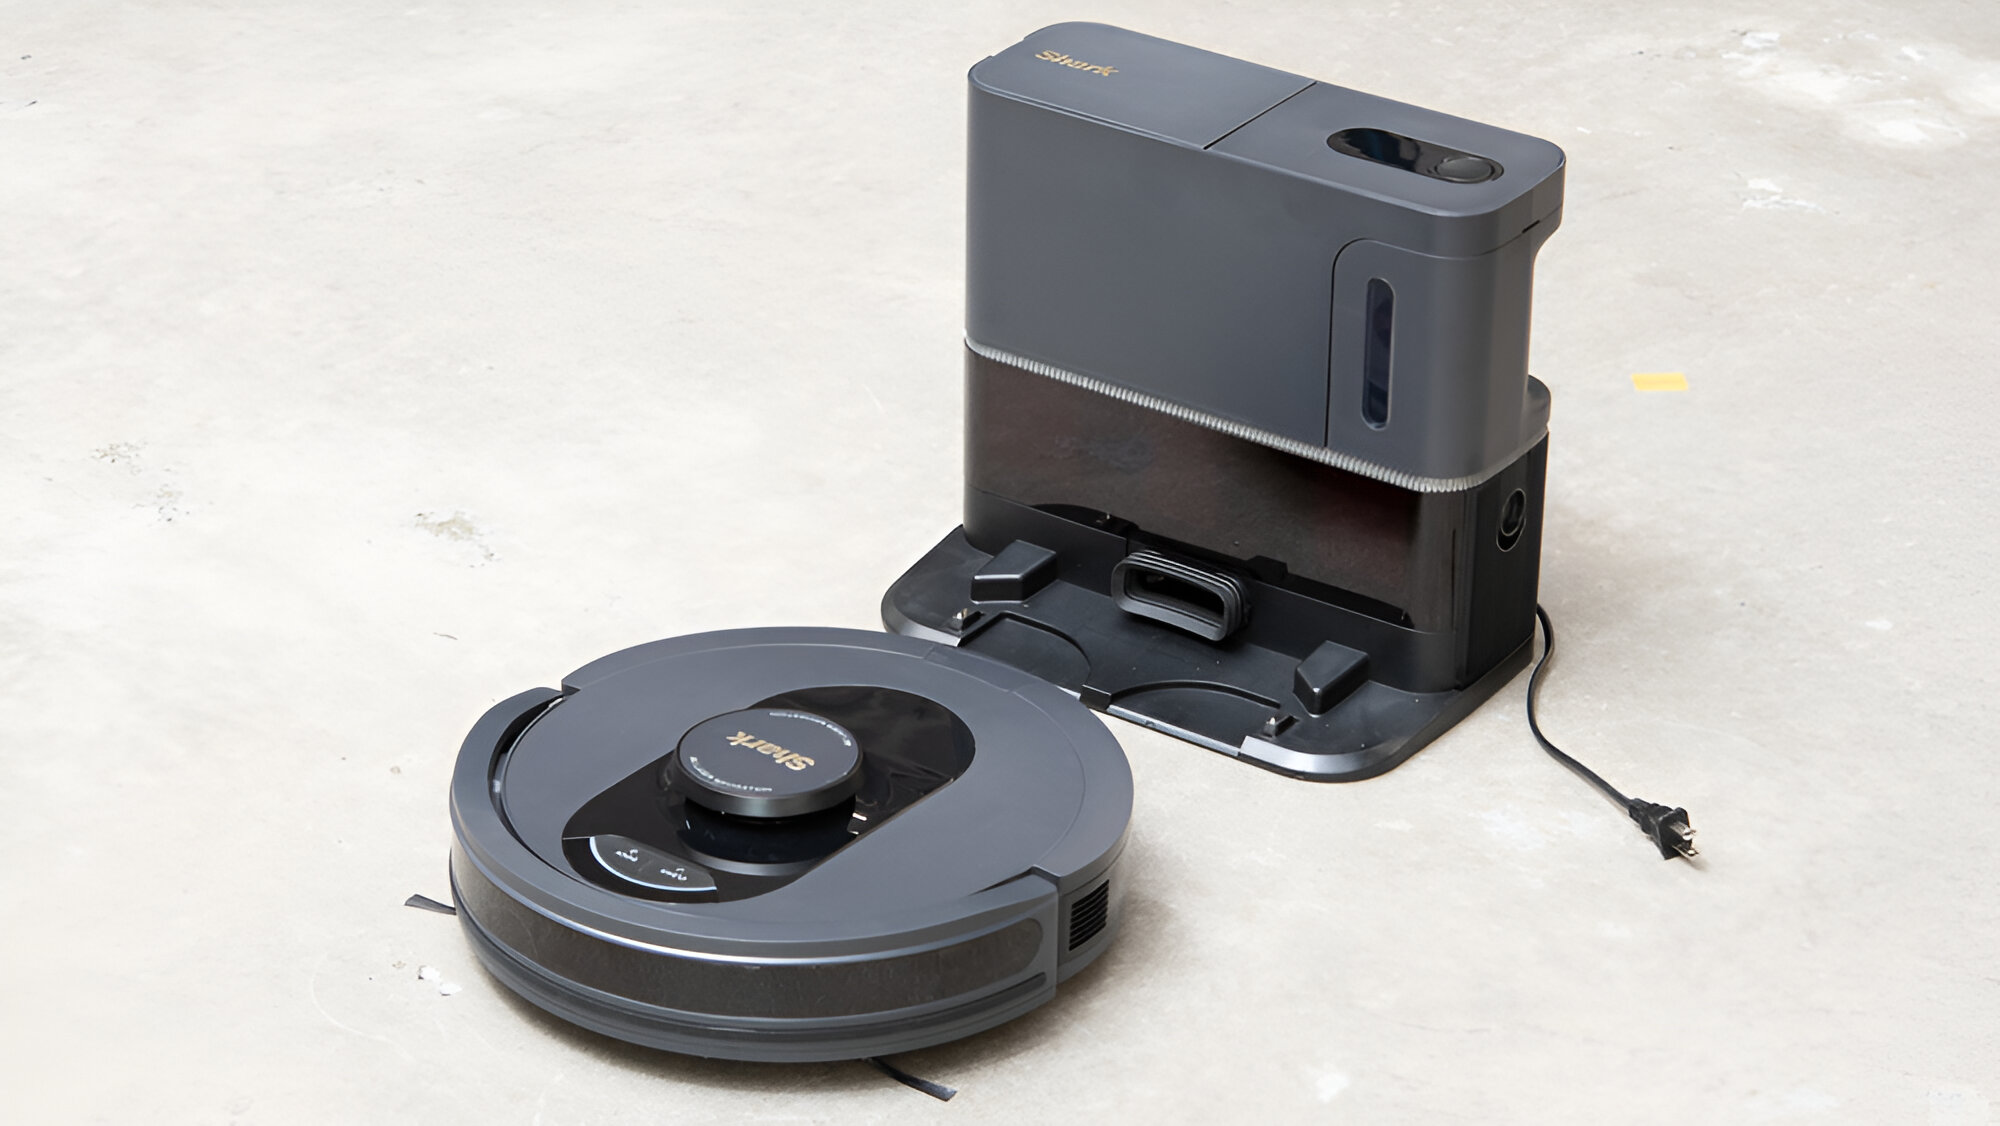
- Robot Vacuum Not Charging: If your Shark Robot Vacuum is not charging properly or at all, it can disrupt its cleaning schedule. This problem could be caused by a faulty charging dock, a loose connection, or a charging port issue on the vacuum itself.
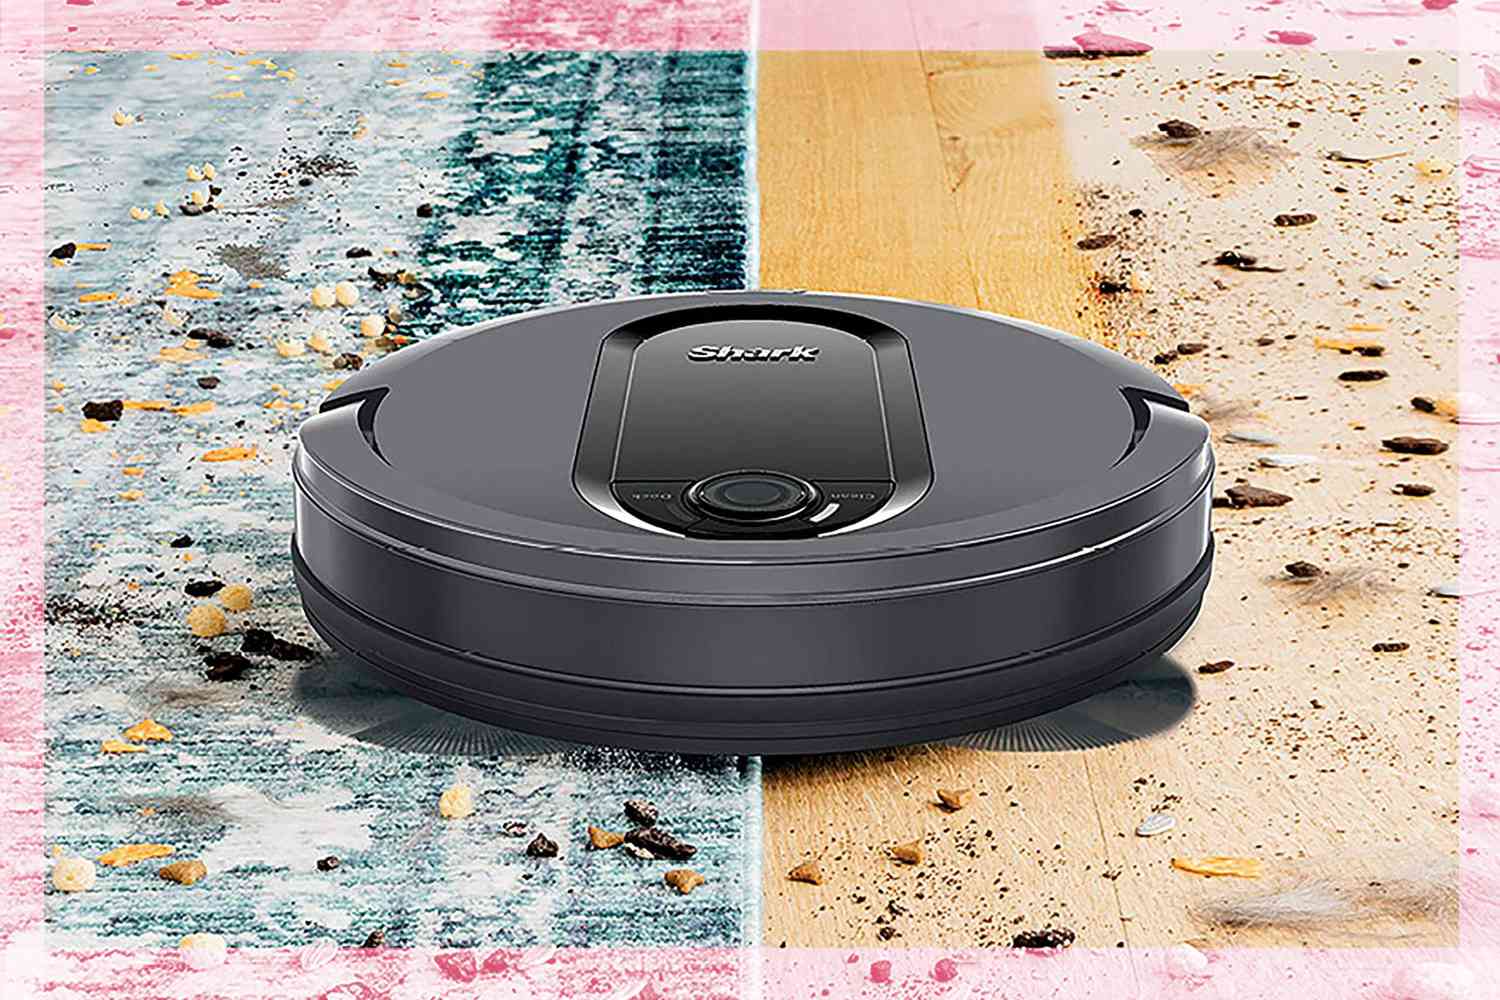
- Robot Vacuum Not Cleaning Properly: When your robot vacuum is not effectively cleaning your floors, it can be disappointing. This issue may be attributed to clogged brushes, a full dustbin, or a malfunctioning suction motor.
- Robot Vacuum Getting Stuck: Despite its intelligent navigation capabilities, the robot vacuum may get stuck in certain situations. Common causes include getting caught on cables, rugs, or furniture, or encountering obstacles that it cannot navigate around.
- Robot Vacuum Error Codes: The Shark Robot Vacuum may display error codes on its control panel, indicating specific problems. These error codes can range from brush motor errors to sensor malfunctions. Understanding these codes can help diagnose and fix the underlying issue.
By identifying these common problems, you can take the necessary steps to troubleshoot and resolve them. In the next sections, we will provide you with detailed troubleshooting instructions to help you get your Shark Robot Vacuum back to its optimal functionality. Follow these steps to address each issue and enjoy the hassle-free cleaning experience you initially invested in.
Troubleshooting Guide
When your Shark Robot Vacuum encounters issues, troubleshooting is the key to getting it back on track. In this section, we will walk you through step-by-step instructions to address common problems and resolve them effectively. Here’s how you can troubleshoot and fix your Shark Robot Vacuum:
- Robot Vacuum Not Turning On:
- Check if the vacuum is properly connected to a power source.
- Ensure that the power switch is turned on.
- If the battery is drained, place the vacuum on the charging dock and allow it to charge.
- Robot Vacuum Not Charging:
- Inspect the charging dock for any loose connections or obstructions.
- Ensure that the charging contacts on the vacuum and dock are clean and free of dust or debris.
- Try plugging the charging dock into a different power outlet to rule out any electrical issues.
- Robot Vacuum Not Cleaning Properly:
- Check if the brushes are clogged with hair or debris. Remove any obstructions and clean the brushes thoroughly.
- Empty the dustbin if it is full, as a full dustbin can obstruct the vacuum’s suction power.
- Inspect the suction motor for any blockages or malfunctions. Clear any obstructions or consider replacing the motor if necessary.
- Robot Vacuum Getting Stuck:
- Remove any loose cables, rugs, or furniture that may be obstructing the vacuum’s path.
- Use boundary markers or virtual walls to prevent the vacuum from entering restricted areas.
- Consider rearranging furniture or placing physical barriers to guide the vacuum’s navigation.
- Robot Vacuum Error Codes:
- Refer to the user manual for a list of error codes and their corresponding meanings.
- Follow the specific troubleshooting steps provided in the manual for each error code.
- If the issue persists, contact Shark customer support for further assistance.
By following these troubleshooting steps, you can resolve common issues with your Shark Robot Vacuum and restore its optimal performance. Remember to always refer to the user manual or contact customer support for specific instructions or further assistance if needed. Now, let’s get your Shark Robot Vacuum back to efficiently cleaning your floors!
Robot Vacuum Not Turning On
It can be frustrating when your Shark Robot Vacuum fails to turn on. However, there are a few troubleshooting steps you can take to address this issue:
- Check if the vacuum is properly connected to a power source. Ensure that the power cord is securely plugged into the charging dock or power outlet.
- Make sure the power switch on the vacuum is turned on. Some models may have a separate power button that needs to be pressed to activate the vacuum.
- If the vacuum has a removable battery, ensure it is correctly inserted and secure.
- If the battery is drained, place the vacuum on the charging dock and allow it to charge. Typically, it takes a few hours for the battery to fully charge.
- Inspect the power cord for any visible damage. If you notice any frayed wires or other signs of damage, it may be necessary to replace the power cord.
If, after following these steps, the vacuum still doesn’t turn on, it’s recommended to contact Shark customer support for further assistance. They can provide you with additional troubleshooting steps specific to your model or guide you through the repair process if needed.
Remember to refer to the user manual that came with your Shark Robot Vacuum for specific instructions and safety precautions. They will help you navigate through the troubleshooting steps effectively and ensure the longevity of your vacuum.
Now that you have some troubleshooting tips for when your Shark Robot Vacuum is not turning on, let’s move on to the next common issue and how to address it.
Robot Vacuum Not Charging
If your Shark Robot Vacuum is not charging properly or at all, it can disrupt its cleaning schedule. Here are some troubleshooting steps to help you address this issue:
- Inspect the charging dock for any loose connections or obstructions. Ensure that the docking station is firmly plugged into a power outlet and that the charging contacts are clean and free of dust or debris.
- Check the charging port on the vacuum itself. Make sure it is clean and free from any dirt or debris that could hinder the charging process.
- If you have multiple charging docks, try using a different one to see if the issue lies with the dock itself.
- Try plugging the charging dock into a different power outlet to rule out any potential electrical problems with the outlet.
- Check if the battery needs to be replaced. Over time, the battery of the Shark Robot Vacuum may lose its charging capacity and require a replacement.
If none of these troubleshooting steps resolve the issue, it’s recommended to contact Shark customer support for further assistance. They will be able to provide you with specific guidance tailored to your model and may recommend sending the vacuum for repair or providing a replacement if necessary.
As you troubleshoot the charging issue, remember to consult the user manual that came with your Shark Robot Vacuum. It will contain additional information and safety precautions specific to your model, ensuring that you troubleshoot effectively without causing any damage.
Now that you have some troubleshooting steps for when your Shark Robot Vacuum is not charging, let’s move on to the next common issue and how to address it.
Robot Vacuum Not Cleaning Properly
If your Shark Robot Vacuum is not cleaning properly, it can be disappointing. However, there are a few troubleshooting steps you can take to address this issue:
- Check if the brushes are clogged with hair or debris. Remove the brushes and clean them thoroughly. Use a pair of scissors or a brush to remove any tangled hair or strings that may be obstructing the bristles.
- Inspect the dustbin to see if it’s full. If it is, empty it and clean any accumulated debris.
- Examine the suction pathway for any obstructions. Clear any debris or blockages that may hinder the vacuum’s suction power.
- Ensure that the filter is clean. Over time, dirt and dust can accumulate on the filter, affecting the vacuum’s performance. Rinse the filter under running water and allow it to dry completely before reinserting it into the vacuum.
- Check the suction motor for any signs of malfunction. If you notice unusual noises, weak suction power, or lack of suction altogether, there may be an issue with the motor. In such cases, it may be necessary to contact Shark customer support for further assistance.
By following these troubleshooting steps, you can enhance the cleaning performance of your Shark Robot Vacuum. Regular cleaning of the brushes, dustbin, and filter will help maintain optimal suction power, ensuring that your floors are thoroughly cleaned.
Always refer to the user manual that came with your Shark Robot Vacuum for specific instructions on cleaning and maintaining your specific model. It may also provide additional troubleshooting tips to address cleaning issues efficiently.
If the problem persists after attempting these troubleshooting steps, it’s recommended to contact Shark customer support for further assistance. They can provide you with personalized guidance and recommend the best course of action to resolve the issue.
Now that you have some troubleshooting tips for when your Shark Robot Vacuum is not cleaning properly, let’s move on to the next common issue and how to address it.
Robot Vacuum Getting Stuck
Despite its advanced navigation capabilities, there may be situations where your Shark Robot Vacuum gets stuck. Here are some troubleshooting steps to help address this issue:
- Remove any loose cables, rugs, or furniture that may be obstructing the vacuum’s path. Clearing the area of potential obstacles will allow the vacuum to navigate freely.
- Use boundary markers or virtual walls to restrict the vacuum from entering areas where it tends to get stuck. Place these markers strategically to guide the vacuum’s navigation and keep it away from trouble zones.
- Consider rearranging furniture or placing physical barriers to create clear paths for the vacuum to move around. By creating open spaces, you can minimize the chances of the vacuum getting stuck.
- Inspect the robot vacuum’s wheels for any debris or obstructions. Sometimes, small objects can get entangled in the wheels, preventing them from moving smoothly. Remove any such obstructions and ensure that the wheels are clean and free to rotate.
- Ensure that the sensors on the vacuum are clean and free of dust or dirt. Dirty sensors can impair the vacuum’s ability to detect objects or navigate properly. Clean the sensors gently with a soft cloth or cotton swab to remove any buildup.
By following these troubleshooting steps, you can help prevent your Shark Robot Vacuum from getting stuck and improve its overall navigation performance. These simple measures will enable your vacuum to move smoothly around your home and efficiently clean your floors.
Remember to refer to the user manual that came with your Shark Robot Vacuum for specific instructions on maintaining and troubleshooting your particular model. It may provide additional tips and guidance to address navigation issues effectively.
If the vacuum continues to experience difficulties navigating or frequently gets stuck despite following these troubleshooting steps, it’s recommended to contact Shark customer support for further assistance. They can provide you with specialized tips and recommend solutions tailored to your specific situation.
Now that you have some troubleshooting tips for when your Shark Robot Vacuum gets stuck, let’s move on to the next common issue and how to address it.
Robot Vacuum Error Codes and How to Fix Them
When using your Shark Robot Vacuum, you may encounter error codes displayed on its control panel. These error codes indicate specific issues with the vacuum that require attention. Here’s a guide on how to interpret and resolve common error codes:
- Error Code 1: This code typically indicates a brush motor error. Check if the brushes are tangled or obstructed. Remove any debris and ensure the brushes can rotate freely. Restart the vacuum to see if the error persists.
- Error Code 2: This error is related to the vacuum’s bumper sensor. Inspect the bumper for any damage or obstructions. Clean the bumper and ensure it is free from any debris. Restart the vacuum to check if the error disappears.
- Error Code 3: Error code 3 signifies a wheel malfunction. Check the wheels for obstructions or tangled hair. Remove any debris and ensure the wheels can rotate smoothly. Restart the vacuum and observe if the error reoccurs.
- Error Code 4: This code typically indicates a cliff sensor issue. Inspect the vacuum’s cliff sensors for dirt or blockage. Clean them gently with a soft cloth. Restart the vacuum to see if the error code persists.
- Error Code 5: Error code 5 implies a docking issue. Ensure that the charging dock is properly connected to a power source and that the vacuum aligns correctly with the dock when attempting to charge. Clean the charging contacts on both the dock and the vacuum. Retry docking to check if the error is resolved.
By understanding these common error codes and following the troubleshooting steps associated with them, you can resolve many issues with your Shark Robot Vacuum. It’s important to consult your user manual for a comprehensive list of error codes specific to your model, along with detailed instructions from the manufacturer on how to address each error code.
If you have followed the recommended troubleshooting steps for a specific error code and the issue persists, it’s advisable to reach out to Shark customer support for further assistance. They will be equipped to provide you with specific guidance and may recommend additional troubleshooting measures or repair options.
Now that you have familiarized yourself with common error codes and their corresponding troubleshooting steps, you are equipped to resolve any error messages that may appear on your Shark Robot Vacuum’s control panel.
Conclusion
Owning a Shark Robot Vacuum can greatly simplify your floor cleaning routine, but encountering issues along the way can be frustrating. Fortunately, with the troubleshooting guide provided in this article, you can address common problems and get your Shark Robot Vacuum back to optimal performance.
We covered a range of common issues, including the vacuum not turning on, not charging properly, not cleaning effectively, getting stuck, and displaying error codes. For each issue, we outlined step-by-step troubleshooting instructions to help you resolve them efficiently.
Remember to consult the user manual that came with your specific Shark Robot Vacuum model for detailed instructions and safety precautions. Additionally, if the troubleshooting steps do not resolve the issue, it is recommended to reach out to Shark customer support for further assistance. Their knowledgeable support team can provide tailored guidance and solutions to get your vacuum back in working order.
By diligently maintaining and troubleshooting your Shark Robot Vacuum, you can ensure its longevity and enjoy its efficient cleaning capabilities for years to come. Regularly cleaning the brushes, dustbin, and filter, as well as keeping the vacuum’s sensors and wheels free from obstructions, will contribute to its optimal performance.
We hope this troubleshooting guide has been helpful in resolving the common problems you may encounter with your Shark Robot Vacuum. With the solutions provided, you can now overcome these challenges and continue enjoying the convenience and efficiency of your cleaning companion.
Now, armed with the knowledge and troubleshooting steps outlined in this guide, you can confidently address any issues that arise, ensuring your Shark Robot Vacuum remains a reliable and efficient tool for maintaining clean floors in your home.


