Introduction
A robot vacuum is a convenient and efficient tool for keeping your floors clean without the hassle of manual labor. However, one common issue that many robot vacuum owners encounter is the device not charging properly. If you find yourself asking, “Why won’t my robot vacuum charge?”, there are several potential reasons and troubleshooting steps to consider.
When a robot vacuum fails to charge, it can be frustrating, especially if you rely on it for regular cleaning. Understanding the possible causes and solutions can help you get your vacuum back up and running efficiently. In this article, we will explore various reasons why your robot vacuum may not be charging and provide you with the necessary troubleshooting steps to fix the issue.
It’s important to remember that different models of robot vacuums may have unique charging requirements and troubleshooting methods. However, the tips and solutions mentioned in this article are applicable to most robot vacuum models. Now, let’s dive into the possible reasons behind the charging problem and how to resolve them.
Check the Power Source
The first step in troubleshooting your robot vacuum’s charging issue is to ensure that the power source is working correctly. Here are a few things you can check:
- Power Outlet: Verify that the power outlet you’re using is functioning properly. Plug in another electronic device to confirm whether the outlet is providing power. If the outlet is not working, try using a different outlet in your home.
- Power Cable: Examine the power cable connected to the charging dock. Make sure it is securely plugged into both the dock and the power outlet. Look for any frayed or damaged sections that may be preventing the flow of electricity. If necessary, replace the power cable with a new one.
- Power Switch: Some robot vacuums have a power switch either on the robot itself or on the charging dock. Ensure that the power switch is in the “on” position and that the robot vacuum has not accidentally been turned off.
If you have checked all of these aspects and there is still no power getting to the charging dock, you may need to consult the user manual specific to your robot vacuum model for further troubleshooting steps.
It is also worth mentioning that certain robot vacuums require a specific voltage or wattage input. Double-check your vacuum’s specifications to confirm that the power source you are using matches the recommended requirements.
Remember, addressing any issues with the power source is crucial to ensure the successful charging of your robot vacuum. By eliminating potential power-related problems, you can move on to other troubleshooting steps if the charging issue persists.
Clean the Charging Contacts
Over time, the charging contacts on both the robot vacuum and the charging dock may accumulate dirt, dust, or debris, which can obstruct the charging process. Cleaning the charging contacts is a simple yet effective step in resolving charging issues. Here’s what you can do:
- Unplug and turn off: Before cleaning the charging contacts, make sure the robot vacuum is unplugged from the charging dock and turned off to avoid any electrical mishaps.
- Inspect the contacts: Take a close look at both the charging dock and the robot vacuum where the contacts are located. Look for any signs of dirt, dust, or debris that may be blocking the connection. Gently brush off any visible dirt with a clean, dry cloth or a soft-bristle brush.
- Use isopropyl alcohol: If the contacts are particularly dirty or greasy, you can moisten a cotton swab or a cloth with isopropyl alcohol. Carefully wipe the contacts to remove any stubborn residue. Allow the contacts to dry completely before reconnecting the robot vacuum to the charging dock.
By cleaning the charging contacts, you are ensuring a clean and unobstructed connection between the robot vacuum and the charging dock. This can help restore proper charging functionality and resolve any issues caused by dirt or debris buildup.
Note that each robot vacuum model may have different charging contact configurations, so consult your user manual for specific instructions related to cleaning the contacts.
If cleaning the charging contacts doesn’t solve the charging problem, you may need to explore other troubleshooting steps to identify the underlying issue. Let’s move on to the next step.
Reset the Vacuum
If your robot vacuum is still experiencing charging issues, performing a reset can often help resolve any software or connectivity glitches. Resetting the vacuum restores it to its default settings and can clear any temporary issues that may be interfering with the charging process. Here’s how you can reset your robot vacuum:
- Power off the vacuum: Ensure that the robot vacuum is powered off. If it’s charging, unplug it from the charging dock.
- Locate the reset button: Look for a small reset button on the robot vacuum. It’s usually located on the bottom or back of the machine. Refer to the user manual for the specific location of the reset button for your model.
- Press and hold the reset button: With a small pin or paperclip, press and hold the reset button for about 10-15 seconds. Keep holding it until you see some indication that the reset has been initiated. This could be a sound, a light flashing, or an on-screen indication, depending on your robot vacuum model.
- Release the reset button: After the reset initiation, release the reset button and wait for the robot vacuum to power back on. This might take a few moments.
Once the robot vacuum has reset and powered back on, place it back onto the charging dock and observe if it starts charging properly. Resetting the vacuum can often resolve minor software or connectivity issues that were causing charging problems.
If, after resetting the vacuum, the charging problem persists, there may be other causes that require further investigation. Let’s explore additional troubleshooting steps to address the issue.
Check for Software Updates
Software updates play a crucial role in improving the performance and functionality of your robot vacuum. Outdated or buggy software can sometimes lead to charging issues. Therefore, it’s important to check if there are any available software updates for your robot vacuum. Here’s how you can do it:
- Check the manufacturer’s website: Visit the official website of the robot vacuum manufacturer and navigate to the support or downloads section. Look for any available software updates or firmware releases for your specific model.
- Follow the update instructions: Download the latest software update file as per the instructions provided by the manufacturer. Usually, you will need to transfer the update file onto a USB drive and insert it into the robot vacuum or follow a specific update process specified in the user manual.
- Perform the update: Follow the manufacturer’s instructions to install the software update on your robot vacuum. This might involve restarting or resetting the vacuum after the update is complete.
Software updates often contain bug fixes, performance enhancements, and improvements in charging algorithms, which can help resolve charging issues. By keeping your robot vacuum’s software up to date, you can ensure optimal performance and address any compatibility issues that may be interfering with the charging process.
It’s worth noting that some robot vacuums have the ability to update their software automatically. Check if your robot vacuum has this feature enabled or if it can connect to the internet to download and install updates on its own.
If performing a software update doesn’t solve the charging problem, there may be other factors contributing to the issue. Let’s explore the next troubleshooting step.
Verify the Charging Dock
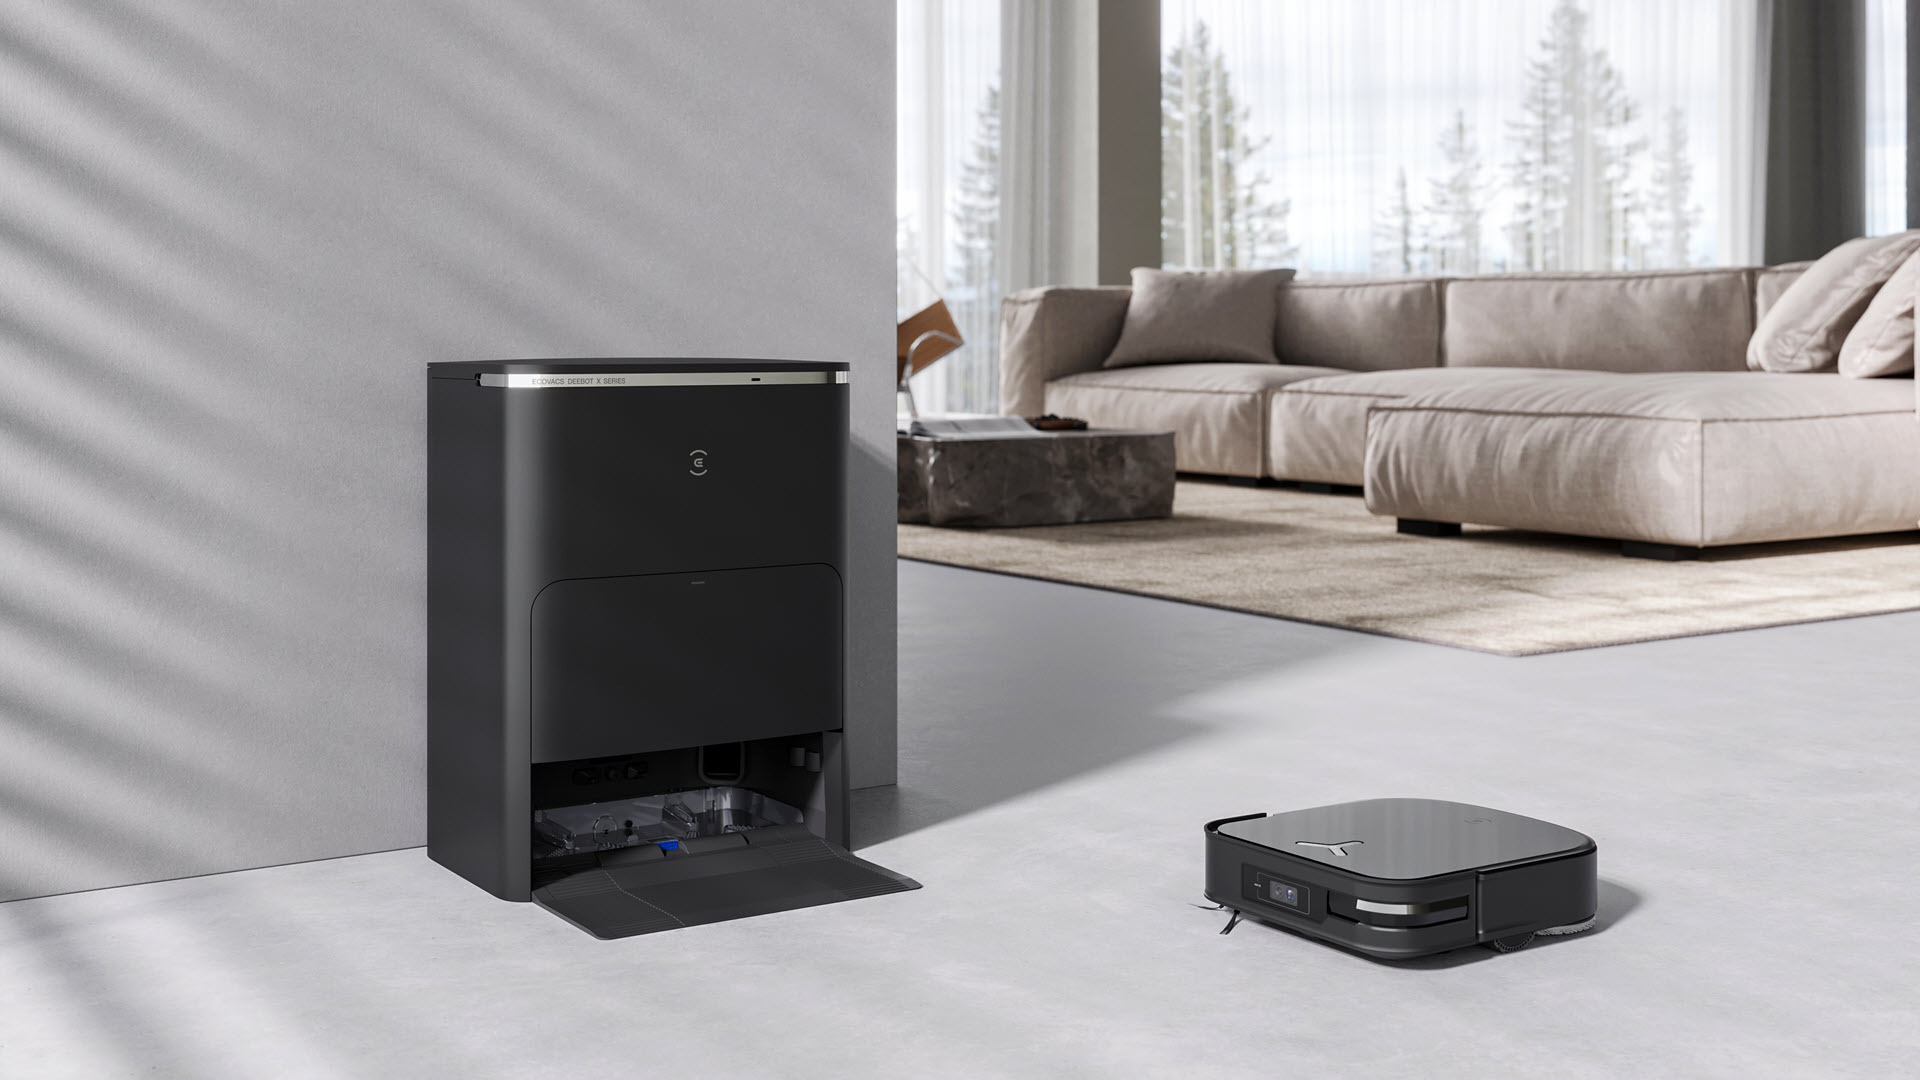
The charging dock is a critical component for the proper charging of your robot vacuum. If there is an issue with the dock, it can prevent the vacuum from charging correctly. Here are some steps to verify and troubleshoot the charging dock:
- Inspect the dock: Examine the charging dock for any visible damage or loose connections. Ensure that the power cable is securely connected to the dock.
- Check the charging pins: Look at the charging pins on both the dock and the robot vacuum. Make sure they are clean, not bent, and fully extended. If any of the pins appear damaged, you may need to replace the dock.
- Reposition the dock: Try moving the charging dock to a different location. Sometimes, interference from other electronic devices or objects placed near the dock can disrupt the charging process. Place the dock on a flat, level surface away from any potential obstructions.
- Reset the dock: If there is a reset button or a power switch on the charging dock, try resetting it. This can help clear any potential issues with the dock’s internal circuitry.
- Test with a different dock: If possible, borrow or purchase a different charging dock compatible with your robot vacuum model and test if the vacuum charges properly with it. If the vacuum charges correctly with the new dock, it indicates that the original dock may be faulty and needs to be replaced.
Verifying and troubleshooting the charging dock is important to ensure that the vacuum receives a stable and uninterrupted power supply. If the charging dock is faulty or there are issues with the connectivity, it can prevent the robot vacuum from charging correctly.
If, after checking and troubleshooting the charging dock, the vacuum still won’t charge, there are a few more steps to consider. Let’s proceed to the next troubleshooting method.
Replace the Battery
In some cases, a malfunctioning or degraded battery can be the root cause of charging issues in a robot vacuum. If you’ve tried the previous troubleshooting steps without success, it might be time to replace the battery. Here’s what you can do:
- Check the battery status: Consult the user manual or the manufacturer’s website to find information about the battery life and how to check its status on your specific robot vacuum model.
- Order a new battery: If the battery is old, damaged, or doesn’t hold a charge anymore, you can order a replacement battery from the manufacturer or authorized retailers. Make sure to purchase a battery that is compatible with your robot vacuum model.
- Replace the battery: Follow the instructions provided by the manufacturer to safely remove the old battery from your robot vacuum and install the new one. Be cautious and pay attention to any warnings or precautions mentioned in the user manual.
- Recharge and test: Once the new battery is installed, place the robot vacuum onto the charging dock and allow it to fully recharge. Monitor the charging process to ensure that the new battery is charging properly and holding a charge as expected.
Replacing the battery can be a more advanced troubleshooting step that requires some technical knowledge and careful handling. It’s recommended to consult the user manual or reach out to the manufacturer’s support if you’re unsure about replacing the battery yourself.
If the charging issue persists even after replacing the battery, it’s time to consider seeking professional assistance. Let’s discuss the next step in troubleshooting.
Get Professional Assistance
If you have tried all the previous troubleshooting steps and your robot vacuum still won’t charge, it may be necessary to seek professional assistance. Here are some options to consider:
- Contact customer support: Reach out to the manufacturer’s customer support team for guidance. They may provide specific instructions or recommend a service center in your area. Provide them with detailed information about the issue and the steps you have already taken to troubleshoot.
- Visit a service center: If your robot vacuum is still under warranty or if you prefer professional assistance, you can take it to an authorized service center. They will have experienced technicians who can diagnose the issue and provide appropriate solutions or repairs.
- Consult a professional technician: If the robot vacuum is no longer under warranty, or if there are no authorized service centers available, you can consider consulting a professional technician or a specialized appliance repair service. They can assess the charging issue and provide recommendations for repairs, replacements, or further troubleshooting.
Professional assistance can be beneficial for complex charging issues that require specialized knowledge, tools, or replacement parts. Be sure to provide them with all the relevant information and follow their instructions carefully.
Remember, seeking professional assistance is a valuable option when all other troubleshooting methods have been exhausted. They can provide expert guidance and ensure that your robot vacuum is repaired or restored to optimal charging functionality.
In this article, we have explored several troubleshooting steps to address the common issue of a robot vacuum not charging. Each step is designed to identify and resolve potential causes of the problem. By following these steps, you can increase the likelihood of restoring your robot vacuum’s charging functionality and continue to enjoy its cleaning benefits.
Conclusion
A robot vacuum not charging can be a frustrating experience, but with the right troubleshooting steps, you can often resolve the issue and get your cleaning companion back up and running. We’ve covered various aspects to consider when your robot vacuum won’t charge, ranging from checking the power source to seeking professional assistance.
Always begin by checking the power source and ensuring that the power outlet, cable, and switch are functioning properly. Cleaning the charging contacts on both the vacuum and the dock is another important step, as dirt and debris can hinder proper charging. Resetting the vacuum and checking for software updates can also help resolve charging issues caused by software glitches or outdated firmware.
If the problem persists, verifying the charging dock and replacing the battery are further troubleshooting steps to consider. However, if you have exhausted all the options and your robot vacuum still won’t charge, it may be time to seek professional assistance. Contacting customer support, visiting a service center, or consulting a professional technician can provide the specialized help needed to diagnose and fix the problem.
Remember to consult your robot vacuum’s user manual for specific instructions and always follow safety precautions provided by the manufacturer. Different models may have varying troubleshooting methods, so closely follow the guidelines that apply to your particular device.
In summary, addressing the charging issue of your robot vacuum requires a systematic approach and patience. By systematically checking and troubleshooting various components and factors, you can diagnose and resolve the underlying problem, ensuring that your robot vacuum is charging efficiently and ready to keep your floors clean.


