Introduction
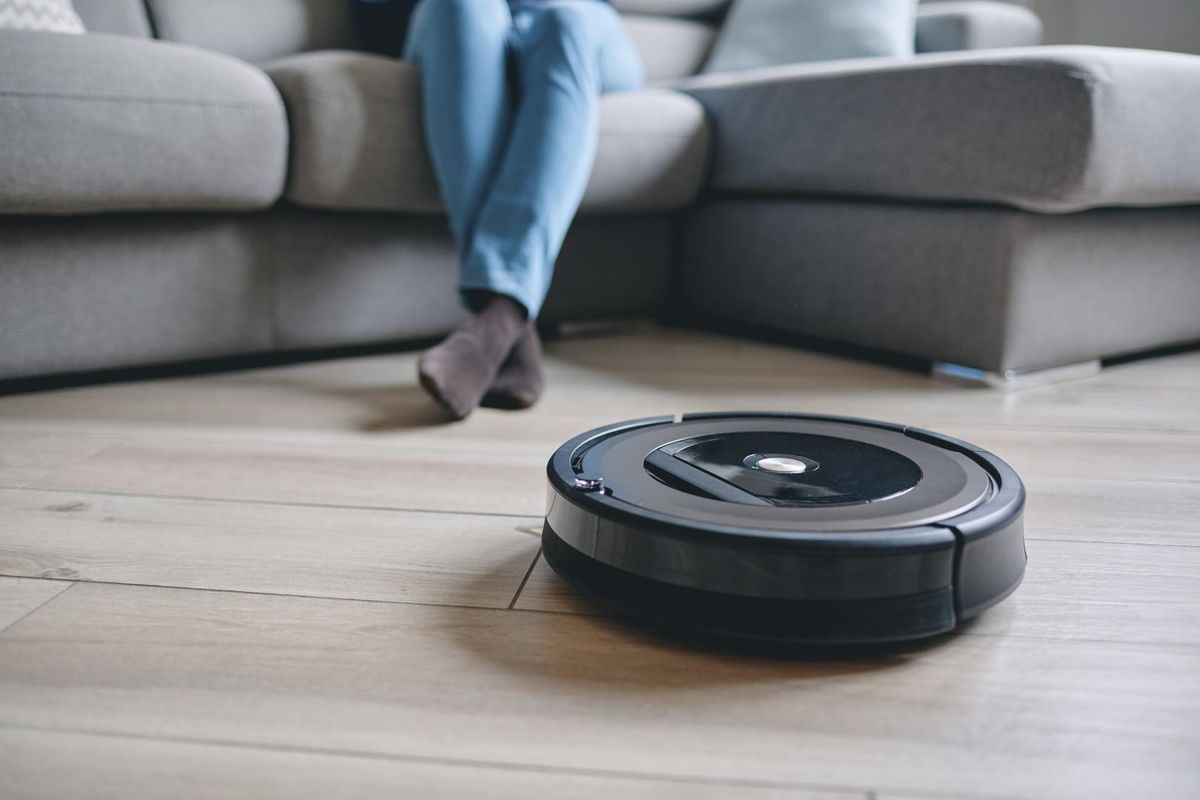
Welcome to our guide on how to clean a robot vacuum! Robot vacuums have revolutionized the way we clean our homes, making it easier than ever to maintain a tidy living space. However, like any other appliance, robot vacuums require regular cleaning to ensure optimal performance. Regular cleaning not only enhances the cleaning efficiency but also prolongs the lifespan of your robot vacuum.
In this guide, we will walk you through the step-by-step process of cleaning your robot vacuum, covering everything from emptying the dustbin to cleaning the filters and brushes. Additionally, we will provide useful tips and tricks along the way to help you maintain the cleanliness and functionality of your beloved robotic helper.
Before we delve into the cleaning process, it’s important to highlight the importance of regular maintenance. While robot vacuums have advanced cleaning technologies, they can still encounter issues if not properly maintained. From clogged brushes to dirty sensors, neglecting routine cleaning can hinder the performance of your robot vacuum and result in less effective cleaning.
By investing a little time and effort in cleaning your robot vacuum on a regular basis, you can ensure optimal performance and enjoy a cleaner home. So, let’s get started and learn how to clean your robot vacuum effectively!
Equipment Needed
Before you begin the cleaning process, it’s essential to gather the necessary equipment. Here’s a list of items you’ll need to clean your robot vacuum effectively:
- A clean, soft cloth or microfiber cloth
- Isopropyl alcohol or a mild cleaning solution
- A small brush or toothbrush
- Compressed air or a vacuum cleaner with a brush attachment
- A trash bin or bag for disposing of debris
These basic items will help you tackle the various components of your robot vacuum and ensure a thorough cleaning. It’s important to note that using harsh cleaning chemicals or abrasive materials can damage the sensitive parts of your robot vacuum, so sticking to gentle cleaning agents is crucial.
Additionally, having a small brush or toothbrush will come in handy when cleaning hard-to-reach areas or removing stubborn dirt and debris. Compressed air or a vacuum cleaner with a brush attachment can help remove dust and particles from the interior components of the robot vacuum.
Lastly, you’ll need a designated trash bin or bag to dispose of the collected dirt, dust, and debris. This will keep your cleaning area organized and prevent any mess from accumulating.
Once you have gathered all the necessary equipment, you’re ready to dive into the step-by-step process of cleaning your robot vacuum. Let’s move on to the next section and get started!
Step 1: Turn off the Robot Vacuum
Before you start cleaning your robot vacuum, it’s important to turn it off and unplug it from the power source. This precautionary step ensures your safety and prevents any accidental disruptions during the cleaning process.
Locate the power button on your robot vacuum and press it to turn off the device. If your robot vacuum is connected to a charging dock, disconnect it from the dock as well. This will ensure that the vacuum is completely powered down and won’t accidentally start while you’re cleaning it.
Turning off the robot vacuum is crucial because it allows you to handle the machine without any risk of injury. Additionally, it prevents any unnecessary wear and tear on the components while you’re cleaning them.
Remember, safety should always be a top priority when handling electrical appliances. Take a moment to ensure that the robot vacuum is completely turned off and unplugged before proceeding to the next steps of the cleaning process.
Now that you have turned off your robot vacuum, you’re ready to move on to the next step – removing the dustbin.
Step 2: Remove the Dustbin
Once you have turned off your robot vacuum, the next step is to remove the dustbin. The dustbin is where all the dirt, debris, and dust collected by the vacuum are stored. Removing the dustbin allows you to empty its contents and clean it thoroughly.
Locate the dustbin compartment on your robot vacuum. It is typically located at the back or underneath the device, depending on the model. Some robot vacuums have a latch or release button that needs to be pressed to open the dustbin compartment, while others may have a simple slide mechanism.
Follow the manufacturer’s instructions for your specific robot vacuum model to ensure you remove the dustbin correctly. In most cases, you may need to lift a cover, press a button, or slide a latch to release the dustbin from its compartment.
Once the dustbin is released, carefully remove it from the robot vacuum. Take note of any filters or additional compartments attached to the dustbin and detach them if necessary.
With the dustbin now in your hands, you’re ready to proceed to the next step – emptying its contents.
Note: If you notice any damage or wear on the dustbin or its components, it may be a good time to consider replacing them. Damaged or worn-out parts can affect the vacuum’s performance and should be addressed promptly.
Step 3: Empty the Dustbin
Now that you have removed the dustbin from your robot vacuum, it’s time to empty its contents. Over time, the dustbin accumulates dirt, debris, and dust that your robot vacuum has collected while cleaning your home.
Find a designated area where you can empty the dustbin without creating a mess. It’s a good practice to do this over a trash bin or bag to contain the debris effectively.
Hold the dustbin over the trash bin and open the lid or release the latch to expose the contents. Depending on the design of your robot vacuum’s dustbin, you may need to tap or shake it gently to ensure all the debris falls out.
If you notice clumps of hair, tangled strings, or large pieces of debris stuck in the dustbin, use your fingers or a small brush to remove them. Be careful not to apply excessive force or damage any delicate components within the dustbin.
Continue to empty the dustbin until all the debris has been removed. Take a moment to inspect the dustbin for any remaining residue or particles, especially along the edges or corners.
Tip: For those who are sensitive to dust or allergens, it is recommended to wear gloves or a mask while emptying the dustbin and handling the debris to avoid any potential allergic reactions.
With the dustbin now empty, you can move on to the next step – cleaning the dustbin itself.
Step 4: Clean the Dustbin
After emptying the dustbin, it’s essential to clean it thoroughly to remove any leftover debris or residue. Cleaning the dustbin ensures that your robot vacuum operates at its best capacity and prevents any unpleasant odors from developing.
Start by rinsing the dustbin with water to remove any loose dirt or particles. If there are stubborn stains or residue, you can use a mild cleaning solution or isopropyl alcohol diluted with water. Dip a clean cloth or sponge into the cleaning solution and gently scrub the interior of the dustbin, paying close attention to the corners and crevices.
For any hard-to-reach areas, such as narrow openings or filters, use a small brush or toothbrush to dislodge any remaining dirt. Be thorough but gentle to avoid damaging the dustbin or its components.
Once you’ve cleaned the interior of the dustbin, rinse it thoroughly with clean water to remove any cleaning solution or soap residue. Ensure no cleaning chemicals remain in the dustbin before proceeding to the next step.
Dry the dustbin completely before reassembling it back into the robot vacuum. You can either let it air dry or use a clean, soft cloth to wipe away any remaining moisture. It’s important to ensure the dustbin is completely dry to prevent the growth of mold or mildew.
Note: Some robot vacuums may have a washable dustbin, while others may require you to replace disposable dustbin bags. Refer to the manufacturer’s guidelines to determine the appropriate method of cleaning your specific dustbin.
Now that the dustbin is clean and dry, you’re ready to move on to the next step – cleaning the filters.
Step 5: Clean the Filter
Cleaning the filter of your robot vacuum is crucial for maintaining its suction power and overall performance. The filter traps fine dust particles and allergens, preventing them from being released back into the air as the vacuum cleans.
Before proceeding, refer to your robot vacuum’s user manual to identify the type of filter it uses. Some common types include HEPA filters, foam filters, or high-efficiency filters.
If your vacuum has a washable filter, gently remove it from the vacuum. Rinse the filter under running water to remove dust and debris. Use your fingers or a soft brush to gently scrub the filter, paying attention to any particularly dirty areas.
For stubborn stains or residue, you can use a mild cleaning solution to help dissolve the dirt. Be sure to rinse the filter thoroughly after cleaning to remove any cleaning solution.
Allow the filter to air dry completely before reinserting it back into the robot vacuum. It’s important to ensure the filter is completely dry to prevent mold or mildew from forming.
If your robot vacuum uses a disposable filter, carefully remove the old filter and dispose of it in a trash bag. Follow the manufacturer’s instructions to identify the appropriate replacement filter for your vacuum.
Regularly cleaning or replacing the filter will help maintain the efficiency of your robot vacuum and improve the quality of air in your home.
Note: Depending on the manufacturer’s recommendations, filters may need to be cleaned or replaced every few months, so refer to your user manual for specific guidelines.
With the filter clean and reinstalled, you’re ready to move on to the next step – cleaning the brushes of your robot vacuum.
Step 6: Clean the Brushes
The brushes of your robot vacuum play a crucial role in agitating and collecting dirt and debris from your floors. Over time, these brushes can accumulate hair, dust, and other particles, which can affect the vacuum’s performance. Cleaning the brushes regularly will help maintain the efficiency and longevity of your robot vacuum.
Start by locating the brush compartment of your robot vacuum. Depending on the model, this compartment can usually be found underneath the vacuum or behind a removable panel.
Once you’ve accessed the brush compartment, carefully remove the brushes. Most robot vacuums have two types of brushes: the main brush and the side brushes.
Inspect the brushes for any tangled hair, threads, or debris. Use your fingers or a small brush to remove these obstructions. If the brushes are particularly dirty, you can rinse them under warm water to help loosen any stubborn dirt.
For brushes with bristles, use a small comb or toothbrush to remove any trapped debris. Gently run the comb or toothbrush along the bristles to dislodge any dirt or tangled hair.
Next, examine the brush compartment for any leftover dirt or debris. Use a clean, soft cloth or brush to wipe away any residue. Pay attention to any corners or crevices where dirt may accumulate.
Once the brushes and brush compartment are clean and dry, reinsert the brushes back into the vacuum. Ensure they are securely in place before continuing.
Note: Some robot vacuums have self-cleaning brushes or anti-tangle technology. While these features help minimize the buildup of hair and debris, it’s still a good practice to check and clean the brushes regularly for optimal performance.
With the brushes clean and reinstalled, your robot vacuum is now ready to effectively clean your floors once again. However, before moving on, there are a few more steps to ensure a thorough cleaning. Let’s proceed to the next step – cleaning the sensors.
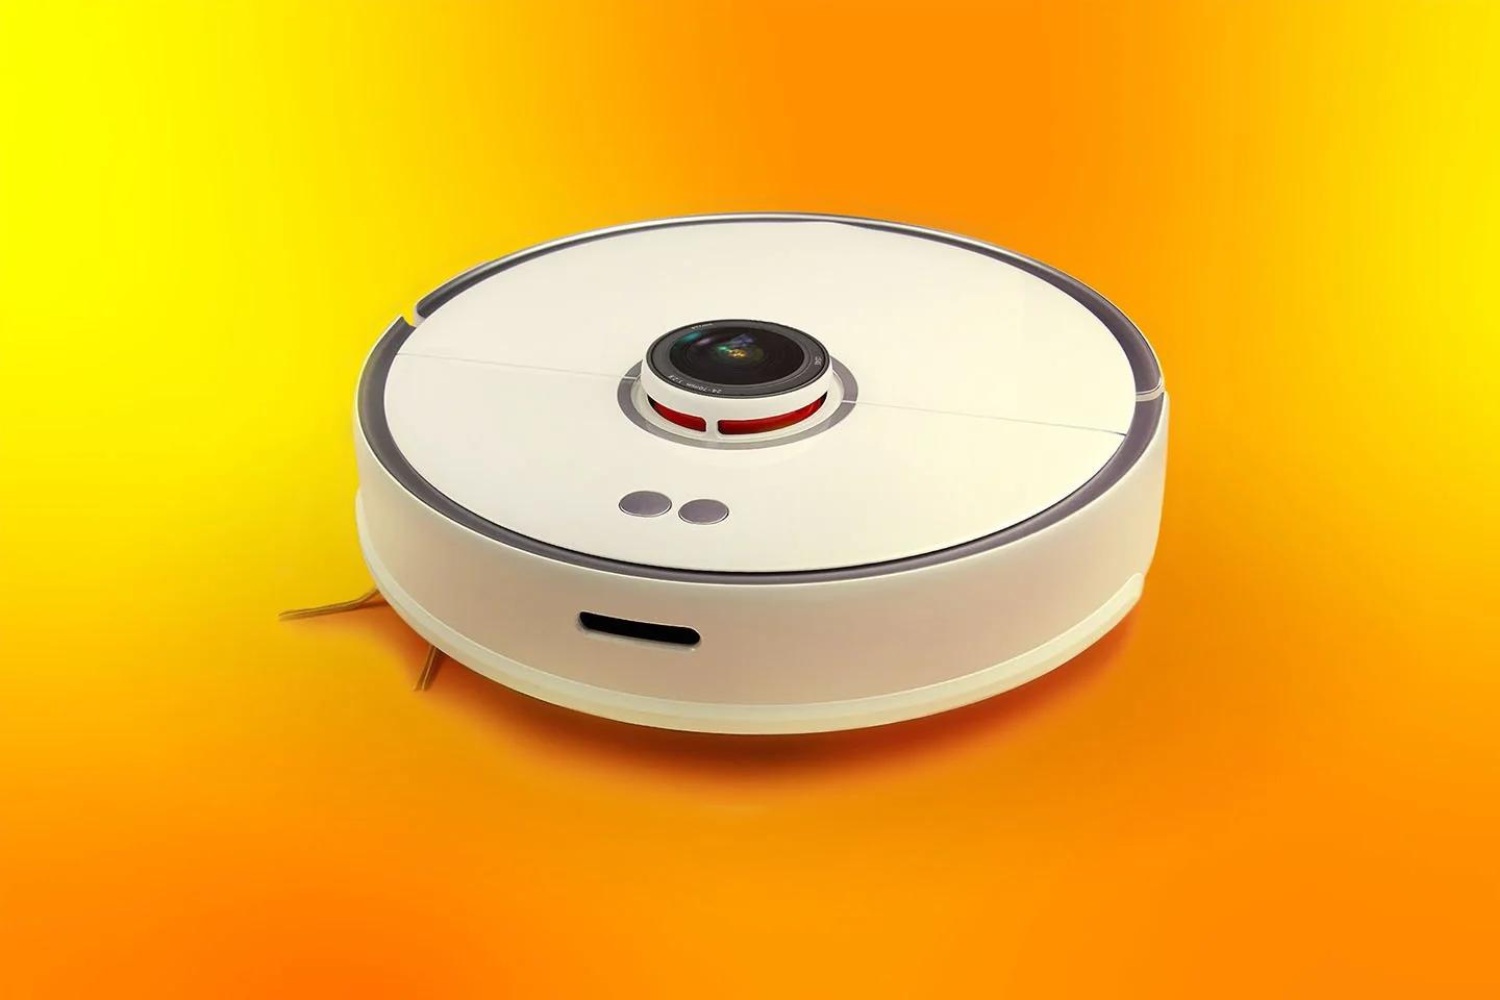
Step 7: Clean the Sensors
The sensors on your robot vacuum are responsible for detecting obstacles, determining room boundaries, and guiding the vacuum’s movements. Keeping these sensors clean is essential for accurate navigation and efficient cleaning. Over time, dust and dirt can accumulate on the sensors, potentially impairing their functionality.
Locate the sensors on your robot vacuum. They are typically located on the front or sides of the device. Some common types of sensors include infrared sensors, cliff sensors, or optical sensors.
To clean the sensors, use a clean, soft cloth or a cotton swab slightly dampened with water or isopropyl alcohol. Gently wipe the sensors to remove any dust, dirt, or smudges. Take extra care when cleaning to avoid scratching or damaging the sensors.
Pay close attention to the area around the sensors as well. Dust and dirt can accumulate in these areas, affecting the sensors’ effectiveness. Use a small brush or toothbrush to clean around the sensors’ edges and ensure a thorough cleaning.
Note: Refer to your robot vacuum’s user manual for specific instructions on cleaning the sensors. Some sensors may require different cleaning methods or products, so it’s important to follow the manufacturer’s guidelines.
Regularly cleaning the sensors will help maintain their sensitivity and ensure accurate obstacle detection, allowing your robot vacuum to navigate your home efficiently.
With the sensors clean, you’re one step closer to a sparkling clean robot vacuum. However, there are a few more components to check and clean. Let’s move on to the next step – checking the wheels and swivel head.
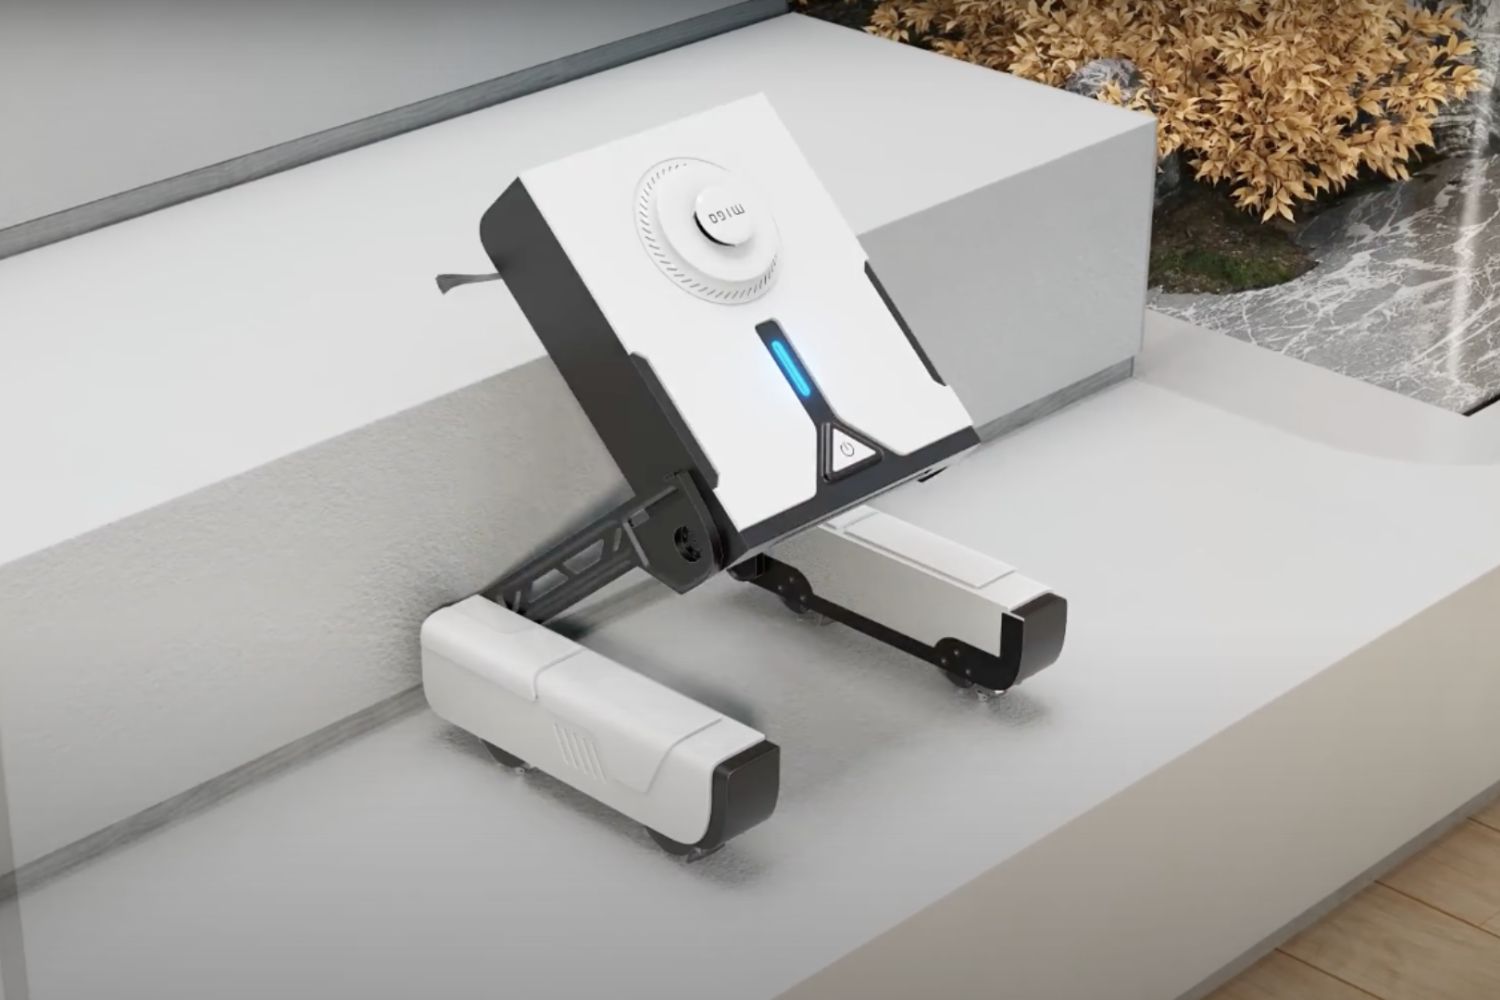
Step 8: Check the Wheels and Swivel Head
The wheels and swivel head of your robot vacuum play a crucial role in its mobility and maneuverability. It’s important to regularly check these components for any dirt, debris, or obstructions that may hinder their functionality.
Start by examining the wheels of your robot vacuum. Look for any hair, carpet fibers, or debris that may be wrapped around the wheels. Use your fingers or a small brush to remove these obstructions. Clearing the wheels ensures smooth movement and prevents any strain on the motor.
Next, check the swivel head of your robot vacuum. This is the part that allows the vacuum to navigate around furniture and other obstacles. Inspect the area for any tangled hair, strings, or large debris that may have wound around the swivel head. Gently remove any obstructions to prevent them from affecting the vacuum’s movement.
Ensure that both the wheels and swivel head are clean of any remaining dirt or dust. Use a clean, damp cloth to wipe away any residue from these components.
If your robot vacuum has rotating brushes, take a moment to inspect them as well. Clear away any hair or debris that may have become tangled in the brushes. This will ensure effective cleaning and prevent any issues with the brush motor.
Tip: Keeping the wheels and swivel head clean will not only improve the performance of your robot vacuum but also prevent scratches or damage to your floors and furniture.
Now that the wheels and swivel head are cleared of any obstructions or debris, your robot vacuum is ready to roll smoothly and efficiently. However, there’s one more crucial step – cleaning the charging contacts. Let’s move on to the next step.
Step 9: Clean the Charging Contacts
The charging contacts on your robot vacuum are responsible for establishing a connection with the charging dock. Over time, dust and debris can accumulate on these contacts, preventing a proper charging connection. Cleaning the charging contacts regularly helps ensure an uninterrupted power supply and efficient charging.
To clean the charging contacts, start by locating them on both the robot vacuum and the charging dock. These contacts generally consist of metal pads or pins.
Use a clean, dry cloth to gently wipe the charging contacts on both the robot vacuum and the charging dock. Remove any visible dust, dirt, or residue that may have accumulated. Be careful not to apply excessive force or damage the contacts.
If the charging contacts appear to be corroded or have stubborn buildup, you can use a small amount of isopropyl alcohol on a cloth or cotton swab to clean them. Gently rub the alcohol-soaked cloth or swab on the contacts to remove the corrosion or residue.
Ensure that both the robot vacuum and the charging dock’s charging contacts are completely clean and dry before reassembling and reconnecting them.
Note: Remember to unplug the charging dock from the power source before cleaning the contacts to prevent any accidents or electrical mishaps.
Regularly cleaning the charging contacts not only ensures a reliable charging connection but also helps maintain the overall performance and battery life of your robot vacuum.
With the charging contacts clean and maintained, you’re almost done with the cleaning process. However, there’s one more step to give your robot vacuum a final touch. Let’s move on to step 10 – wiping down the exterior.
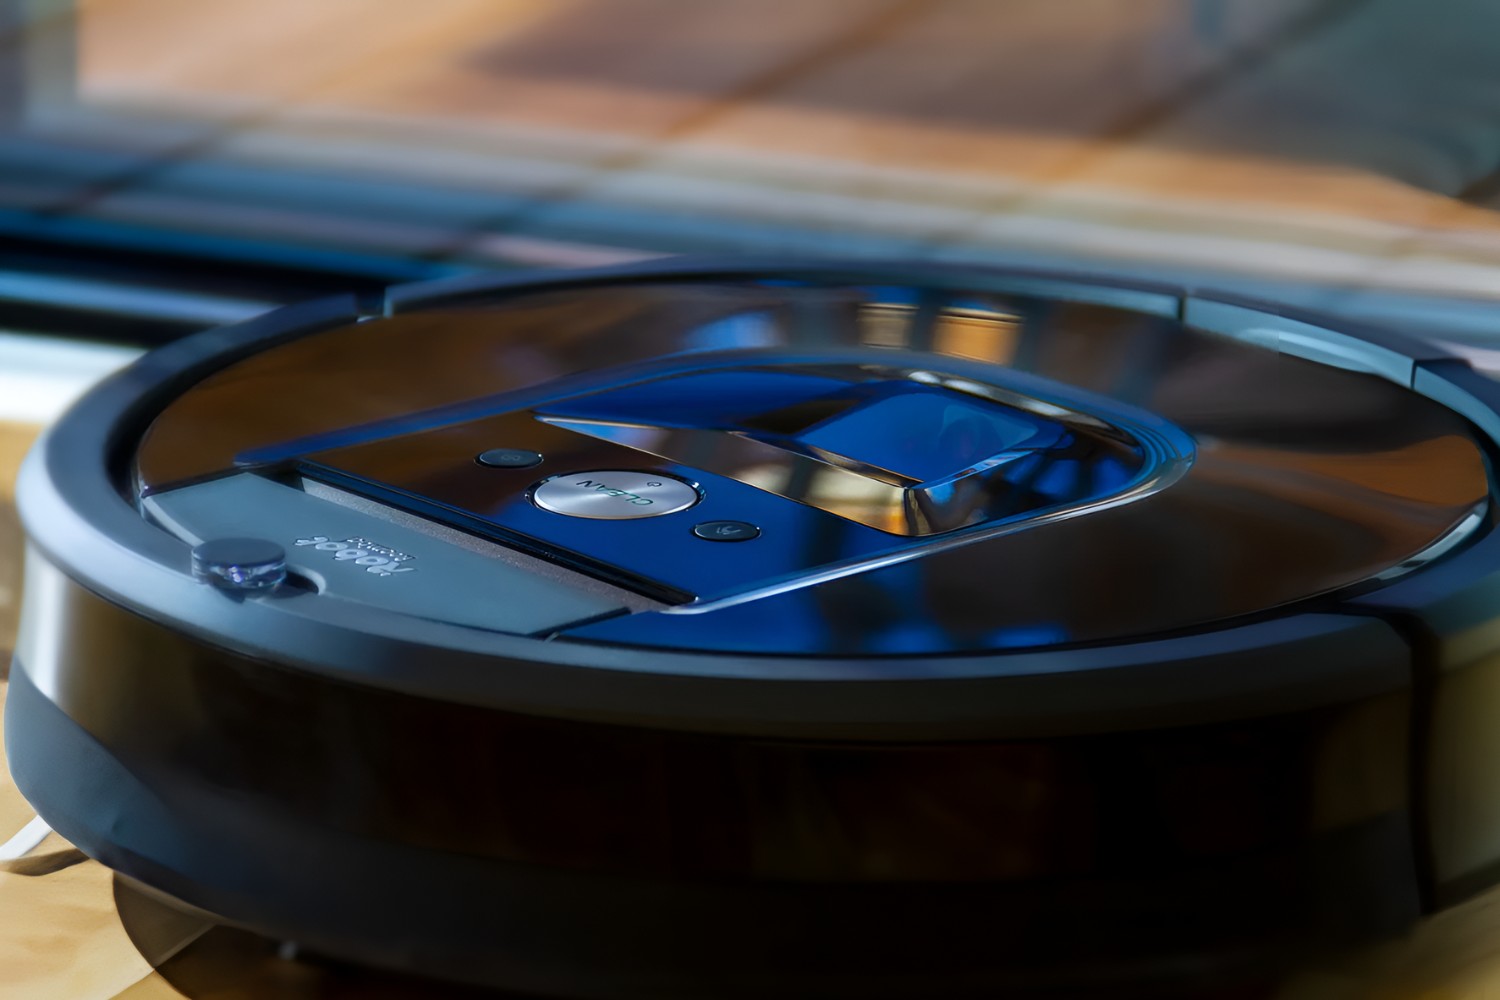
Step 10: Wipe Down the Exterior
The final step in the cleaning process is to wipe down the exterior of your robot vacuum. This step ensures that your robot vacuum not only looks clean but also removes any remaining dust or dirt that may have accumulated on the surface.
Start by using a clean, damp cloth to wipe the entire exterior of the robot vacuum. This includes the top, sides, and bottom of the device.
Pay special attention to any areas that may have collected more dirt or debris, such as the edges or corners. Use gentle, circular motions to remove any stubborn spots or residue.
If there are any visible stains or sticky residue, a mild cleaning solution diluted with water can be used to help remove them. Apply the cleaning solution to a cloth, and then gently wipe the affected areas. Be sure to rinse the cloth well and remove any excess moisture to prevent damage to the vacuum’s electronic components.
After cleaning the exterior, give the robot vacuum a final wipe with a dry cloth to remove any remaining moisture.
Note: Avoid using abrasive cleaners or scrub brushes that could damage the surface of your robot vacuum or remove its protective coating.
By wiping down the exterior, you not only ensure a clean and presentable appearance but also help maintain the longevity of your robot vacuum.
Now that you have completed the cleaning process, you can reassemble your robot vacuum and return it to its charging dock. With proper maintenance and regular cleaning, your robot vacuum will continue to keep your home clean and free of debris.
Step 11: Reassemble the Robot Vacuum
After completing the cleaning process, it’s time to reassemble your robot vacuum. Properly reassembling the vacuum ensures that all components are securely in place and ready for the next cleaning session.
Start by placing the cleaned dustbin back into its compartment. Ensure that it is properly aligned and securely locked or latched in place, following the specific instructions for your robot vacuum model.
If you detached any filters or additional compartments from the dustbin earlier, now is the time to reattach them. Refer to the manufacturer’s guidelines to ensure they are correctly installed.
Next, reinsert the cleaned and dried filter back into the designated slot. Ensure it is properly seated and secure.
If your robot vacuum has removable brushes, carefully slide them back into their respective compartments. Ensure they are aligned correctly and inserted tightly.
Lastly, check that all the sensors, wheels, and swivel head are free from any obstructions and properly connected. Give them a gentle shake or nudge to ensure they move freely without any issues.
Double-check that all components are securely in place and the dustbin compartment is closed tightly. This will prevent any accidental spills or mishaps during the vacuuming process.
With the robot vacuum reassembled, it’s ready to tackle the cleaning tasks ahead. Make sure you place it back on its charging dock, ensuring that the charging contacts are aligned correctly.
By reassembling the robot vacuum properly, you ensure its optimal performance during each cleaning session and extend its overall lifespan.
Congratulations! You have successfully completed the process of cleaning and reassembling your robot vacuum. Regular maintenance and cleaning will keep your robot vacuum operating efficiently, ensuring a cleaner and healthier home.
Conclusion
Cleaning your robot vacuum is an essential task that should be performed regularly to maintain its performance and longevity. By following the step-by-step guide we’ve provided, you can ensure that your robot vacuum continues to efficiently clean your home and provide you with a tidy living space.
Throughout the cleaning process, we covered important steps such as turning off the robot vacuum, removing and emptying the dustbin, cleaning the filter, brushes, sensors, and charging contacts. Each of these steps plays a crucial role in maintaining the functionality and efficiency of your robot vacuum.
Remember, safety should always be a priority, so be sure to turn off and unplug your robot vacuum before beginning the cleaning process. Take your time to thoroughly clean and dry each component, ensuring that no residue, debris, or moisture remains.
Regular cleaning and maintenance of your robot vacuum will keep it running smoothly and effectively. By removing dirt, debris, and tangled hair, you enhance its cleaning performance and prevent any clogs or malfunctions.
Make it a habit to clean your robot vacuum regularly, following the manufacturer’s guidelines and recommendations. This will help preserve its lifespan, maintain its suction power, and keep your floors and carpets looking spotless.
So, don’t overlook the importance of keeping your robot vacuum clean and well-maintained. Follow this guide, invest a little time and effort, and enjoy the benefits of a sparkling clean home with the help of your trusty robot vacuum!