Introduction
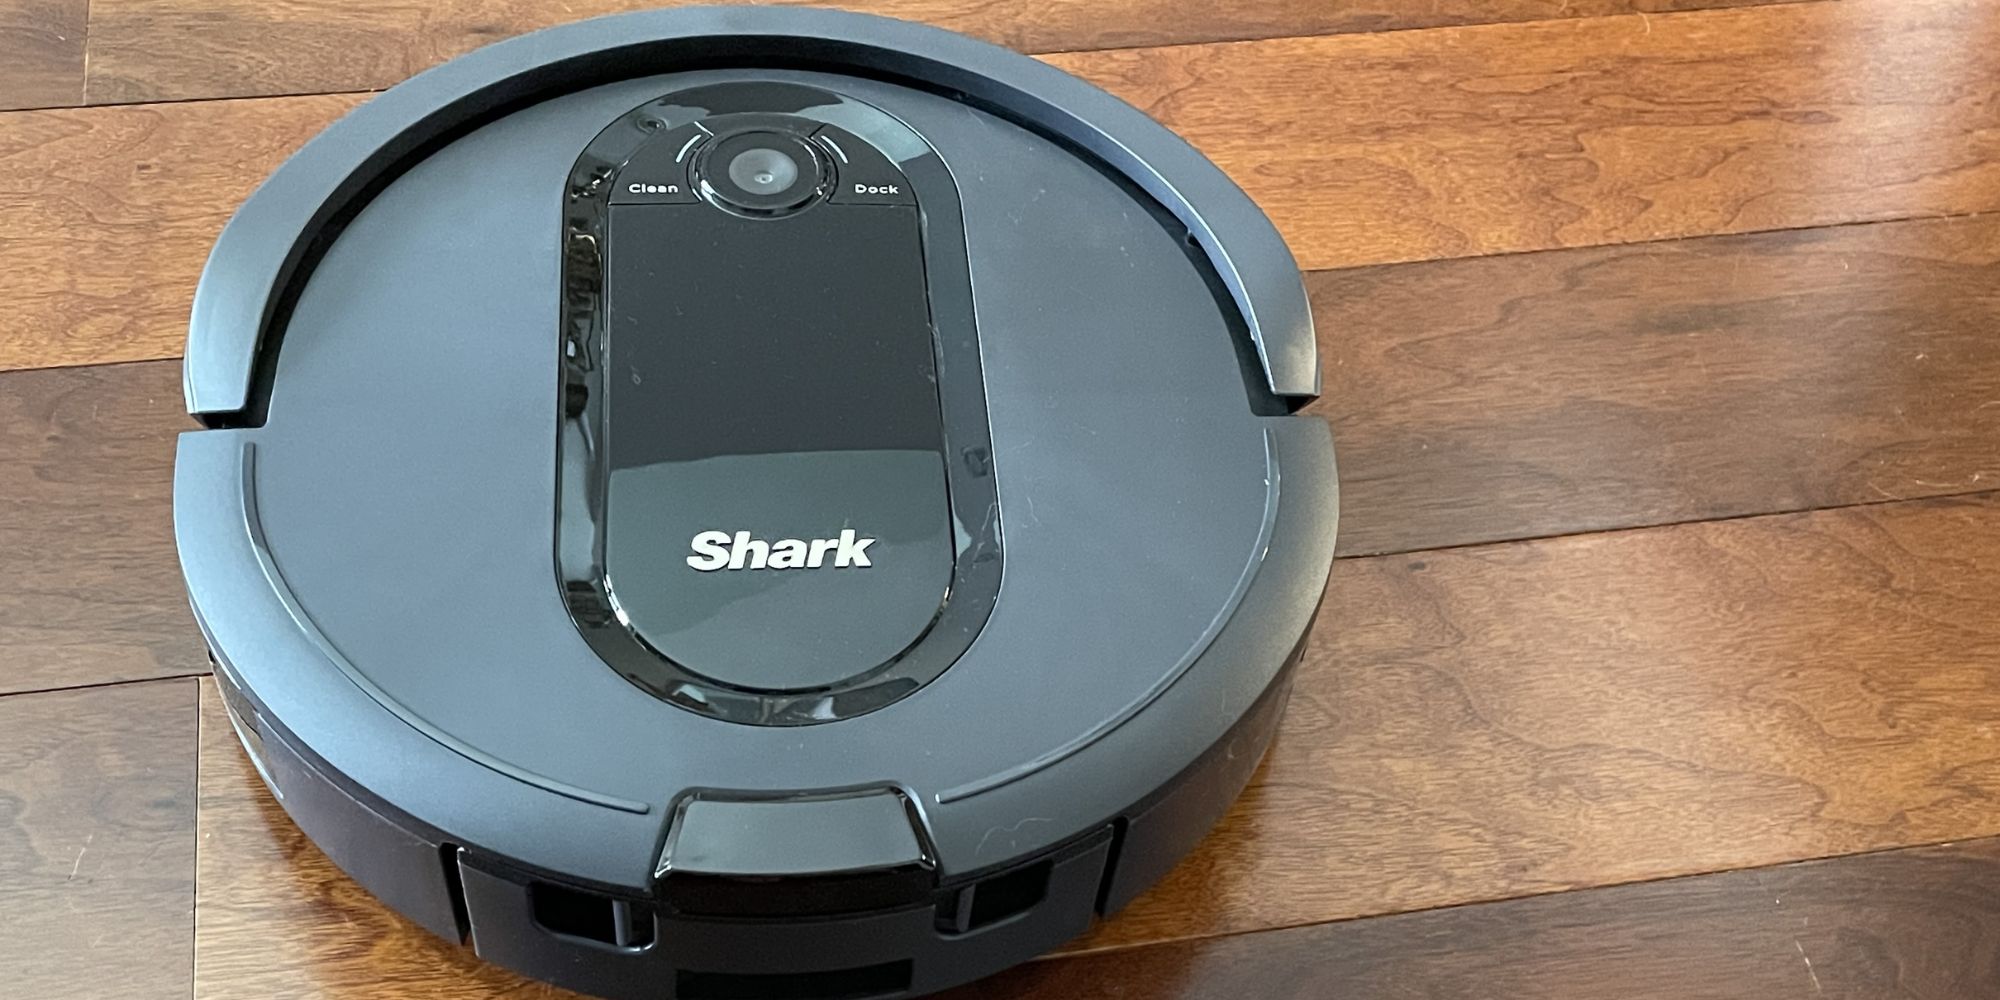
Welcome to our guide on how to charge your Shark Robot Vacuum! The Shark Robot Vacuum is an innovative cleaning tool that can make your life so much easier. With its powerful suction and intelligent navigation, it can effortlessly clean your floors, leaving them spotless. However, to ensure that your Shark Robot Vacuum is always ready to tackle the cleaning tasks, it is essential to know how to properly charge it.
In this guide, we will walk you through the step-by-step process of charging your Shark Robot Vacuum. Whether you are a new owner or have been using the vacuum for a while, this guide will help you achieve optimal charging results. So, let’s dive in and get your Shark Robot Vacuum charged and ready to go!
Charging your Shark Robot Vacuum is a simple and straightforward process, but there are a few key steps that you need to follow. By doing so, you can ensure that your vacuum is charged efficiently and ready to tackle your cleaning needs.
Before we begin, make sure you have your Shark Robot Vacuum and the charging dock handy. The charging dock is where you will place your vacuum to charge, so locating it is the first step in the process. Once you have everything ready, let’s move on to the next step – connecting the charging dock to a power outlet.
Step 1: Locate the Charging Dock
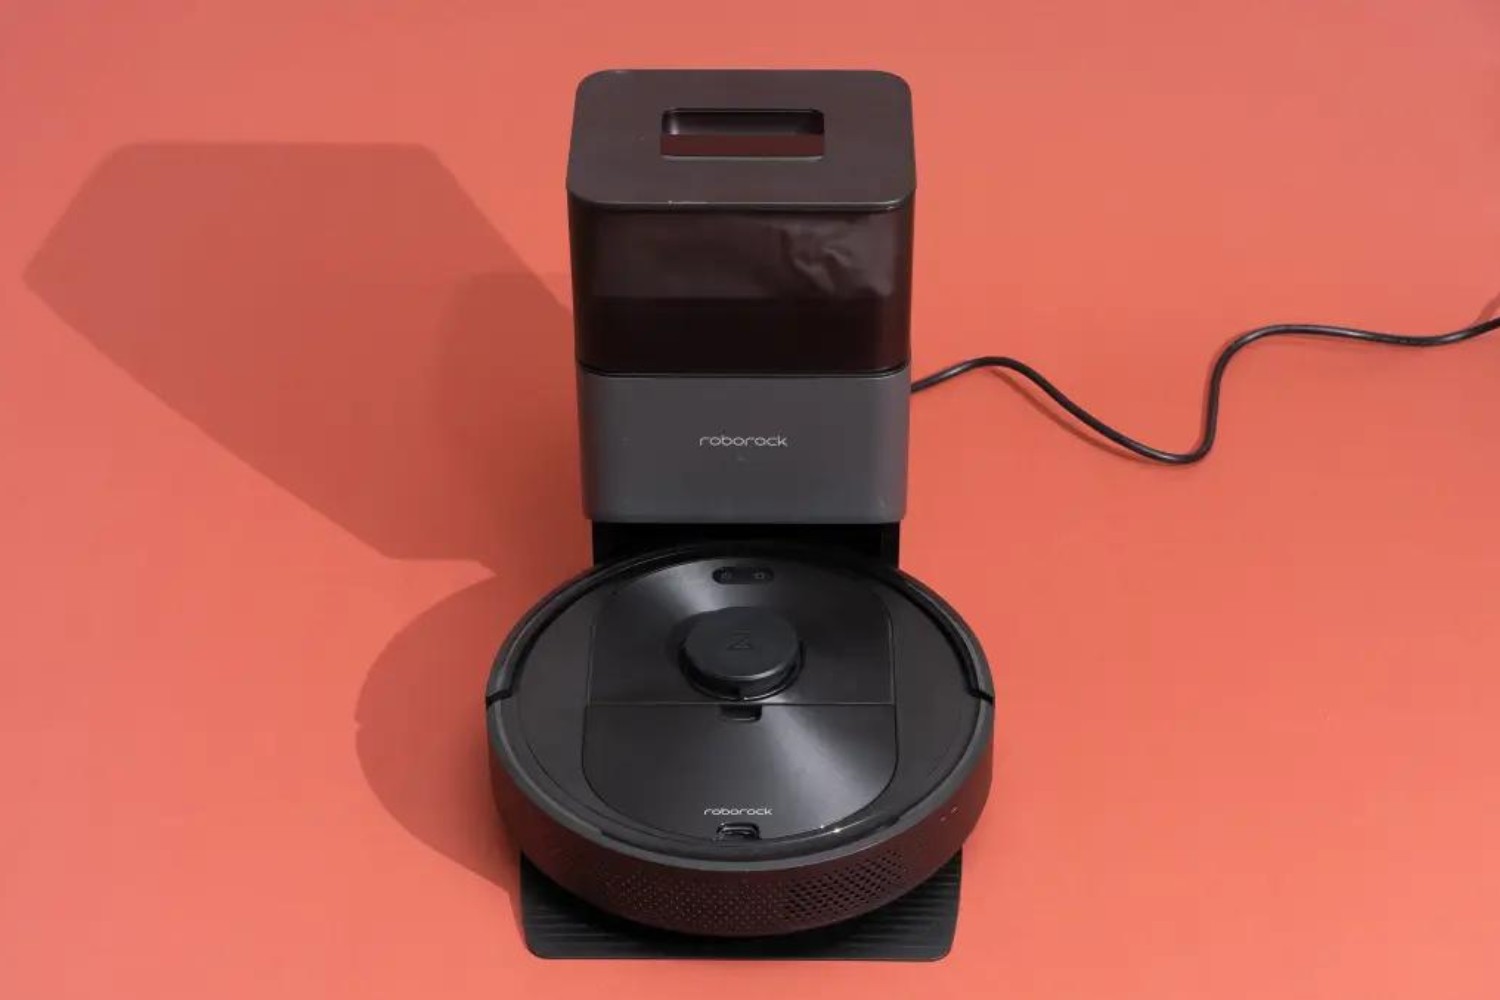
Locating the charging dock is the first step in charging your Shark Robot Vacuum. The charging dock is a crucial component of the charging process, as it provides a designated spot for your vacuum to recharge its batteries.
The charging dock is usually included with your Shark Robot Vacuum and can be easily identified by its distinct design. It is a flat, rectangular device with a power port and charging contacts. The power port is where you will connect the charging dock to a power outlet, while the charging contacts align with the vacuum’s charging pins.
Take a moment to search for the charging dock in the packaging or accessories that came with your Shark Robot Vacuum. If you cannot find it, refer to the user manual or contact Shark customer support for assistance.
Once you have located the charging dock, ensure that it is in good condition and free from any debris or obstructions. A clean and properly functioning charging dock will guarantee an efficient charging process.
It’s important to find an appropriate location for your charging dock. Ideally, it should be placed in an easily accessible area where the vacuum can dock and charge without any obstacles. Make sure there is sufficient space around the charging dock to prevent any interference during the charging process.
Now that you have located the charging dock and checked its condition, it’s time to move on to the next step – connecting the charging dock to a power outlet.
Step 2: Connect the Charging Dock to a Power Outlet
Once you have located the charging dock for your Shark Robot Vacuum, the next step is to connect it to a power outlet. This will ensure that the dock receives the necessary power to charge your vacuum’s batteries.
Start by identifying the power cable that came with your Shark Robot Vacuum. It typically has a plug on one end and a power adapter on the other. Insert the plug into the power adapter until it clicks into place.
Next, locate the power port on the back or bottom of the charging dock. It is usually labeled with a power icon. Align the power adapter’s plug with the power port and gently insert it. Apply gentle pressure until the plug is securely connected to the dock.
With the power adapter plugged into the charging dock, locate a nearby power outlet. Make sure the outlet is easily accessible and within a reasonable distance from where the vacuum will be docked.
Insert the power adapter’s plug into the power outlet and ensure it is firmly connected. You may hear a slight click or feel a resistance when the plug is properly inserted.
Before moving on to the next step, double-check that the power outlet is functioning correctly. Plug in another device or use a voltage tester to verify that there is power flowing to the outlet.
Now that the charging dock is connected to a power outlet, your Shark Robot Vacuum is one step closer to being fully charged. The next step is to position the charging dock correctly, which we will cover in the following section.
Step 3: Position the Charging Dock Correctly
Positioning the charging dock correctly is crucial to ensure a seamless and efficient charging process for your Shark Robot Vacuum. The placement of the dock plays a vital role in allowing the vacuum to easily dock and charge its batteries.
When selecting a location for the charging dock, consider these factors:
- Accessibility: Choose a spot that is easily accessible and allows the vacuum to navigate to the dock without obstacles. Avoid placing the dock in cramped or hard-to-reach areas.
- Stability: Ensure that the charging dock is placed on a stable and level surface. This will prevent it from tipping over and potentially damaging the vacuum or the dock itself.
- Proximity to Power Outlet: Place the charging dock within a reasonable distance from a power outlet, so that the power cord can easily reach the outlet without any tension or strain.
Once you have found an appropriate location, position the charging dock with the power port facing outwards. This will make it easier for the vacuum to align and dock with the charging contacts.
Take a moment to clear any potential obstacles around the charging dock. Remove any objects that may obstruct the vacuum’s path to the dock or block the charging contacts.
It is also important to ensure that there is ample space around the charging dock. This will allow the vacuum to approach the dock from various angles and dock successfully.
By positioning the charging dock correctly, you are setting the stage for a seamless charging experience for your Shark Robot Vacuum. In the next step, we will discuss how to place the vacuum on the charging dock.
Step 4: Place the Shark Robot Vacuum on the Charging Dock
Now that you have located the charging dock, connected it to a power outlet, and positioned it correctly, it’s time to place your Shark Robot Vacuum on the dock for charging.
Start by ensuring that the vacuum’s power is switched off. Look for the power button on the vacuum and press it to turn off the device.
Next, carefully align the charging pins on the bottom of the vacuum with the charging contacts on the charging dock. The charging contacts are usually located on the dock’s surface and are designed to match the position of the vacuum’s charging pins.
Lower the vacuum onto the charging dock, making sure that the pins and contacts are aligned properly. Gently press down to ensure a secure connection between the vacuum and the dock.
Once the vacuum is on the charging dock, you may notice a light or indicator on the dock or the vacuum itself. This is usually an indication that the charging process has started and the vacuum is receiving power.
It is important to note that the charging time for your Shark Robot Vacuum may vary depending on the model and the battery’s current level. Refer to your user manual for specific details on charging times.
Now that your Shark Robot Vacuum is securely placed on the charging dock, all you have to do is wait for it to charge fully. In the next step, we will cover how to verify the charging process.
Step 5: Verify the Charging Process
After placing your Shark Robot Vacuum on the charging dock, it’s important to verify that the charging process is underway and functioning properly. This step will ensure that your vacuum is receiving the necessary power to recharge its batteries.
One of the first things to check is the presence of a charging indicator on the vacuum or the charging dock. Many models have LED lights or indicators that illuminate when the vacuum is charging. Consult your user manual to understand what the charging indicator looks like for your specific model.
Observe the charging indicator and make sure it is displaying the appropriate charging status. It may vary between different models, but common indicators include a solid light, a blinking light, or a color change. Refer to your user manual to understand the meaning of each charging status indication.
Leave the Shark Robot Vacuum on the charging dock for the recommended charging time as specified in your user manual. During this time, resist the urge to interrupt the charging process, as it can delay or disrupt the battery recharge cycle.
If your vacuum has a companion app or is compatible with a smartphone, you may be able to monitor the charging progress through the app. Check the app for any charging-related information or notifications that can provide insights into the current charging status.
Finally, if your Shark Robot Vacuum has a display screen, check it for any charging-related information. Some models display the battery level or the estimated time remaining for a full charge while on the dock.
By verifying the charging process, you can ensure that your Shark Robot Vacuum is charging correctly and will be ready for use when you need it. In the next step, we will cover some troubleshooting steps for addressing charging issues.
Step 6: Troubleshooting Charging Issues
While charging your Shark Robot Vacuum is usually a straightforward process, you may encounter some issues along the way. In this step, we will discuss common troubleshooting steps to help you address any charging issues you may face.
If you notice that the charging indicator on the vacuum or the charging dock does not illuminate at all, it indicates that the vacuum is not receiving any power. In this case, here are a few things you can try:
- Check the power connection: Ensure that the power adapter is securely plugged into both the charging dock and the power outlet. Look for any loose connections or damaged cables that may be preventing the flow of power.
- Test the power outlet: Plug another device into the same power outlet to verify if it is functioning properly. If the other device does not receive power, there might be an issue with the outlet or the circuit breaker.
- Clean the charging contacts: Over time, the charging contacts on both the vacuum and the charging dock can accumulate dirt or debris, affecting the charging process. Gently clean these contacts with a soft, dry cloth to ensure a good connection.
- Reset the vacuum: If the vacuum still doesn’t charge, try resetting it by turning it off, unplugging the power adapter, waiting for a few minutes, and then reconnecting everything. This can sometimes resolve minor electronic glitches.
If you have tried these troubleshooting steps and the charging issue persists, it is advisable to contact Shark customer support for further assistance. They can provide you with specialized guidance and solutions tailored to your specific model and situation.
Remember that regular maintenance and care can also contribute to a smooth charging experience. Check the user manual for any specific recommendations on cleaning and maintaining the charging dock and the vacuum itself.
By following these troubleshooting steps, you can overcome common charging issues and ensure that your Shark Robot Vacuum stays in optimal working condition for efficient cleaning.
Conclusion
Congratulations! You have successfully learned how to charge your Shark Robot Vacuum. By following the step-by-step guide we provided, you can ensure that your vacuum is always ready to take on the cleaning tasks.
We started by locating the charging dock and connecting it to a power outlet. Then, we positioned the dock correctly and placed the Shark Robot Vacuum on it. We also discussed how to verify the charging process and troubleshoot common charging issues.
Remember to always refer to your user manual for specific instructions and guidelines related to your Shark Robot Vacuum model. Charging times, indicators, and troubleshooting steps may vary between models.
Regularly maintaining and cleaning your Shark Robot Vacuum, including the charging dock, will help prolong its lifespan and ensure optimal performance. Make sure to keep the charging contacts clean and free from debris to facilitate efficient charging.
If you encounter any persistent charging issues despite troubleshooting, it is recommended to reach out to Shark customer support for further assistance. They can provide you with expert guidance and solutions tailored to your specific situation.
Now that you know how to charge your Shark Robot Vacuum, you can enjoy a clean and fresh home without worrying about battery life. Happy cleaning!