Introduction
A robot vacuum cleaner is a convenient and efficient tool for keeping your floors clean and tidy. These intelligent devices are designed to autonomously navigate your home and remove dirt, dust, and debris from various surfaces. However, there may come a time when you need to reset your robot vacuum cleaner. Whether it’s to fix a technical issue or simply to start fresh, knowing how to reset your robot vacuum cleaner can be helpful.
In this article, we will guide you through the process of resetting a robot vacuum cleaner. We will also provide troubleshooting tips for common issues that may arise. By the end of this article, you will have the knowledge and steps required to reset your robot vacuum cleaner and get it back to its optimal performance.
It is important to note that different robot vacuum cleaners may have slightly different reset methods. Therefore, always refer to the user manual that came with your specific model for detailed instructions. However, the general steps shared in this article should work for most robot vacuum cleaners available on the market today.
Before we delve into the reset process, it is essential to ensure that your robot vacuum cleaner is properly charged. A low battery can sometimes cause malfunctions or prevent the reset from being successful. So, let’s start by checking the power status of your robot vacuum cleaner.
Checking the Power
Before attempting to reset your robot vacuum cleaner, it is crucial to check if it has a sufficient power supply. A low battery can affect the performance of the device and may even prevent it from being reset properly. Here are a few steps to ensure the power is not an issue:
- Make sure your robot vacuum cleaner is docked and connected to the charging station. It should display a charging indicator, such as a light or icon, to indicate that it is receiving power.
- If the device is not showing any signs of charging, verify that it is plugged into a functioning power outlet. Check the power cord for any signs of damage or loose connections. Sometimes, a loose power cord can disrupt the charging process.
- If the power outlet and cord are in good condition but the vacuum cleaner is still not charging, try using a different power outlet to rule out any issues with the original outlet.
- Allow your robot vacuum cleaner to charge for a sufficient amount of time. The charging time varies depending on the model, but typically, it takes a few hours to fully charge the device.
- Once the charging time has elapsed, check if the power indicator on the robot vacuum cleaner shows that it is fully charged. This is usually indicated by a solid light or icon.
If you have followed these steps and confirmed that your robot vacuum cleaner is properly charged, you can proceed with the reset process. Keep in mind that resetting your device will erase any saved settings and configurations, so it’s always advisable to document any customized settings before proceeding with a reset. Now, let’s move on to the next section and learn how to reset your robot vacuum cleaner.
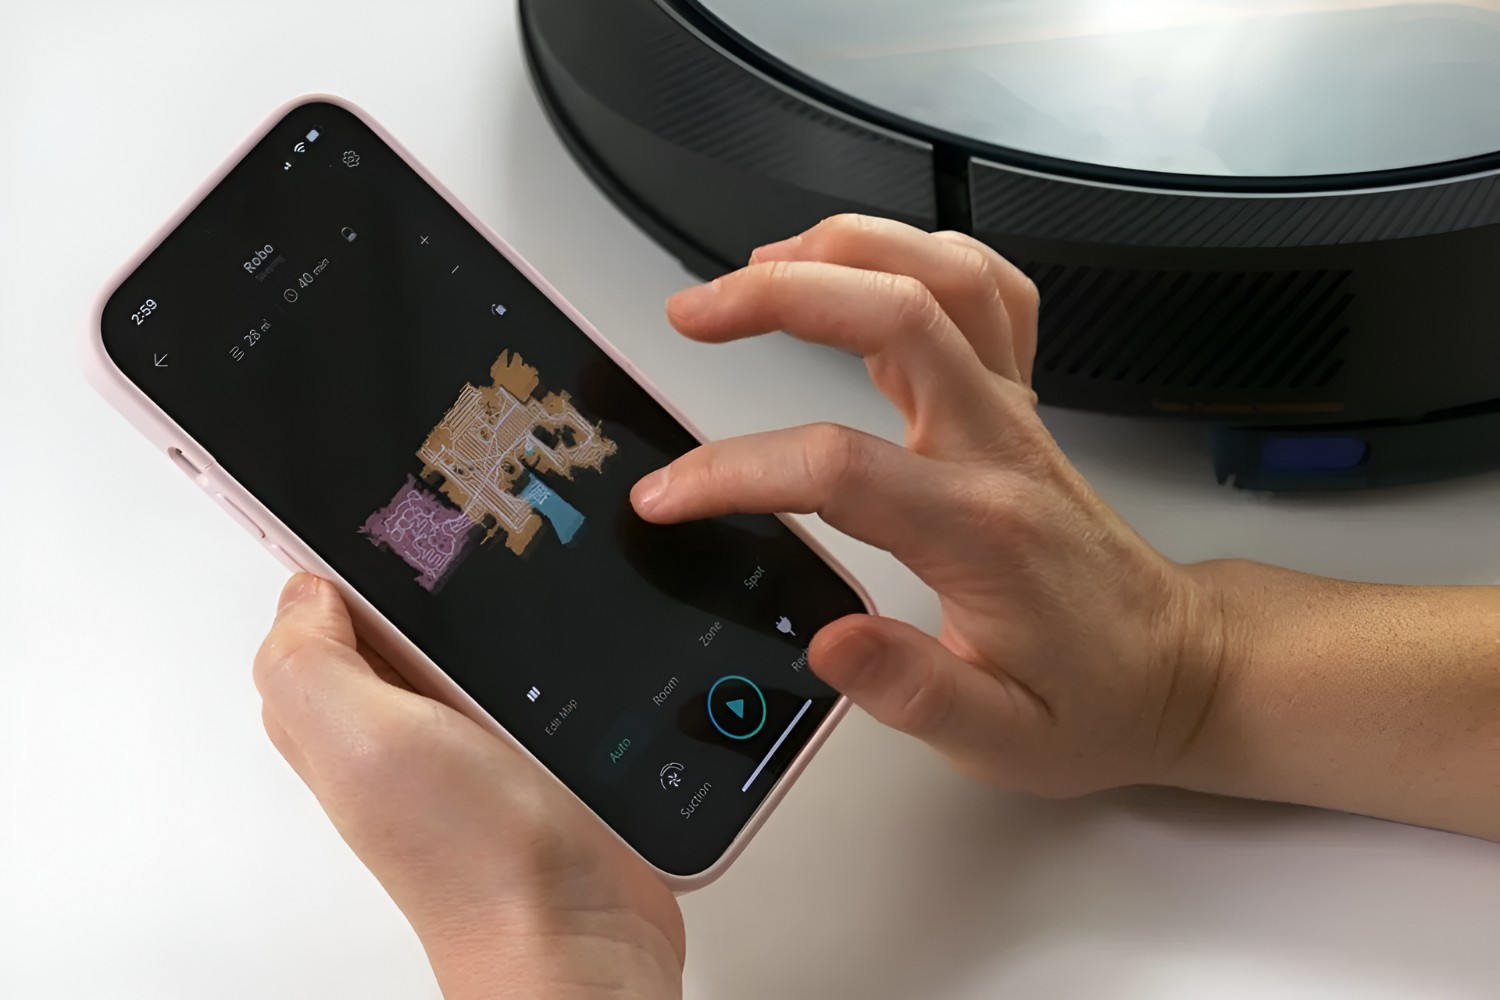
Resetting the Robot Vacuum Cleaner
Resetting your robot vacuum cleaner is a simple process, but it may vary slightly depending on the brand and model you own. Here are some general steps to help you reset your robot vacuum cleaner:
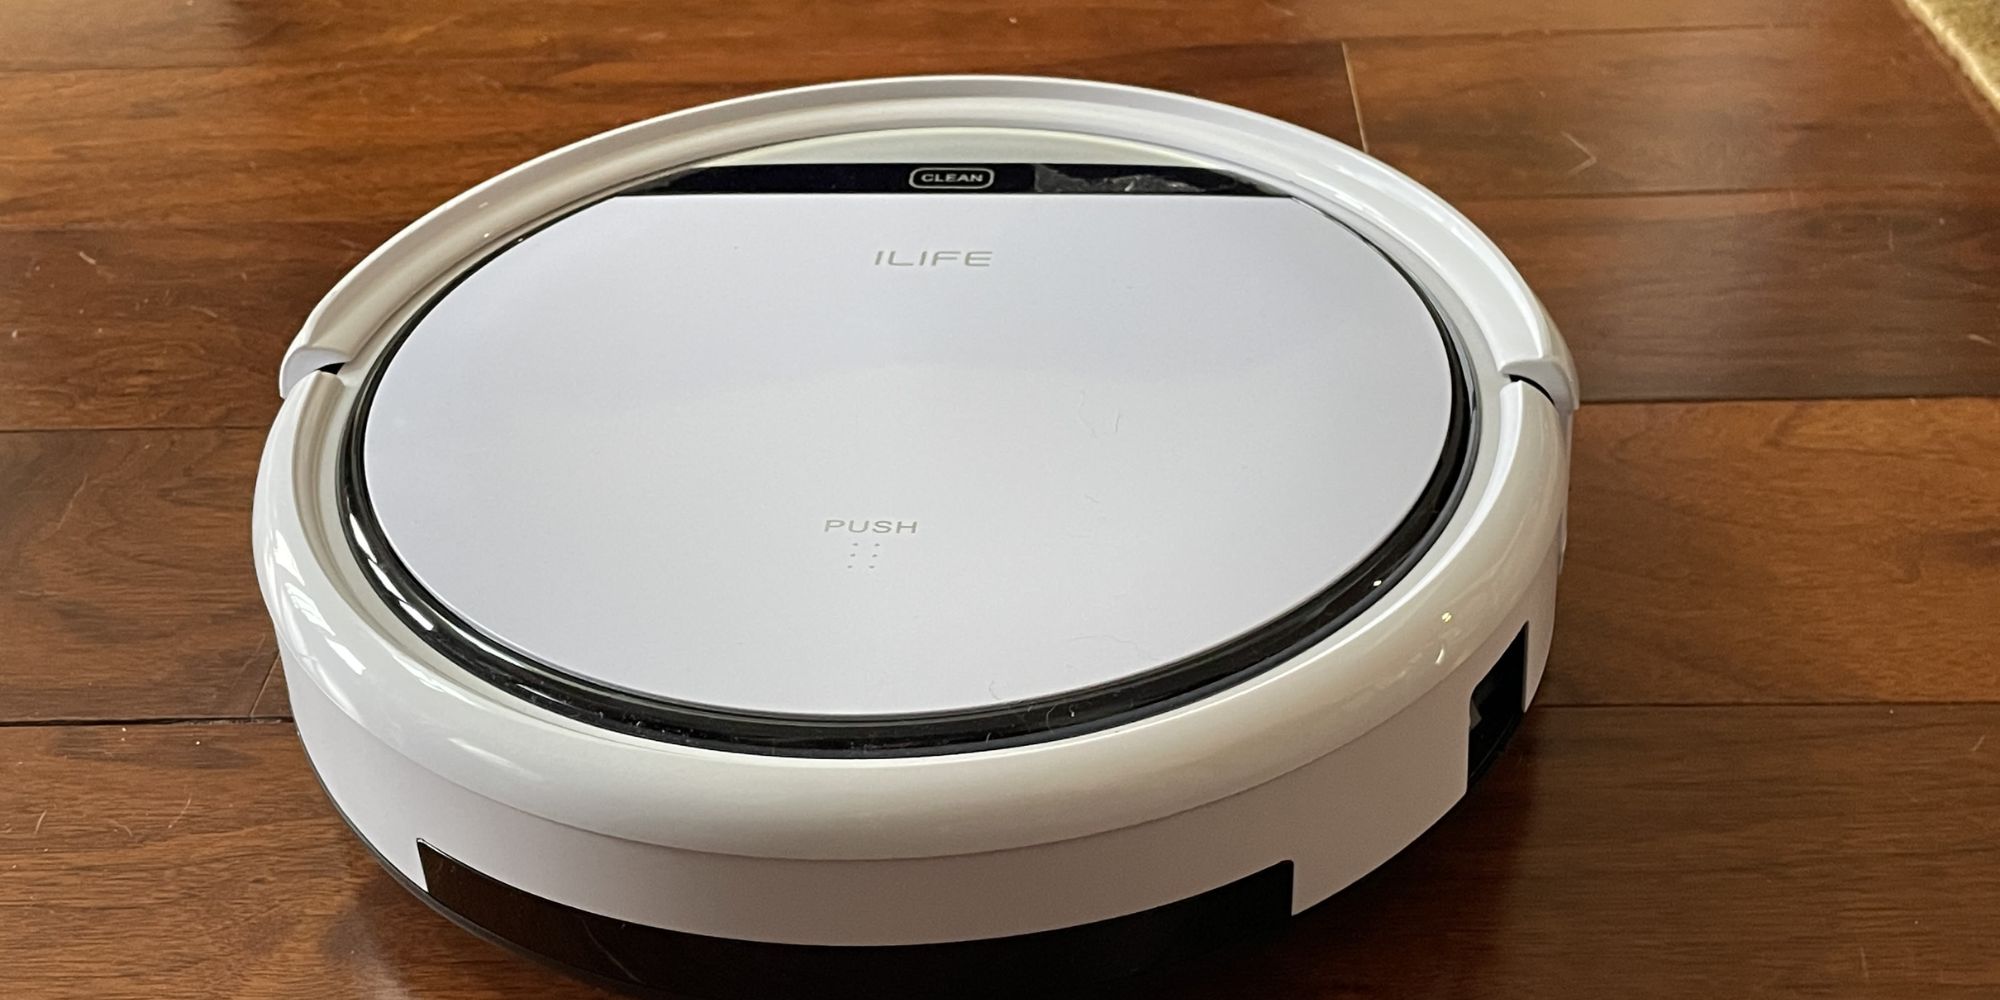
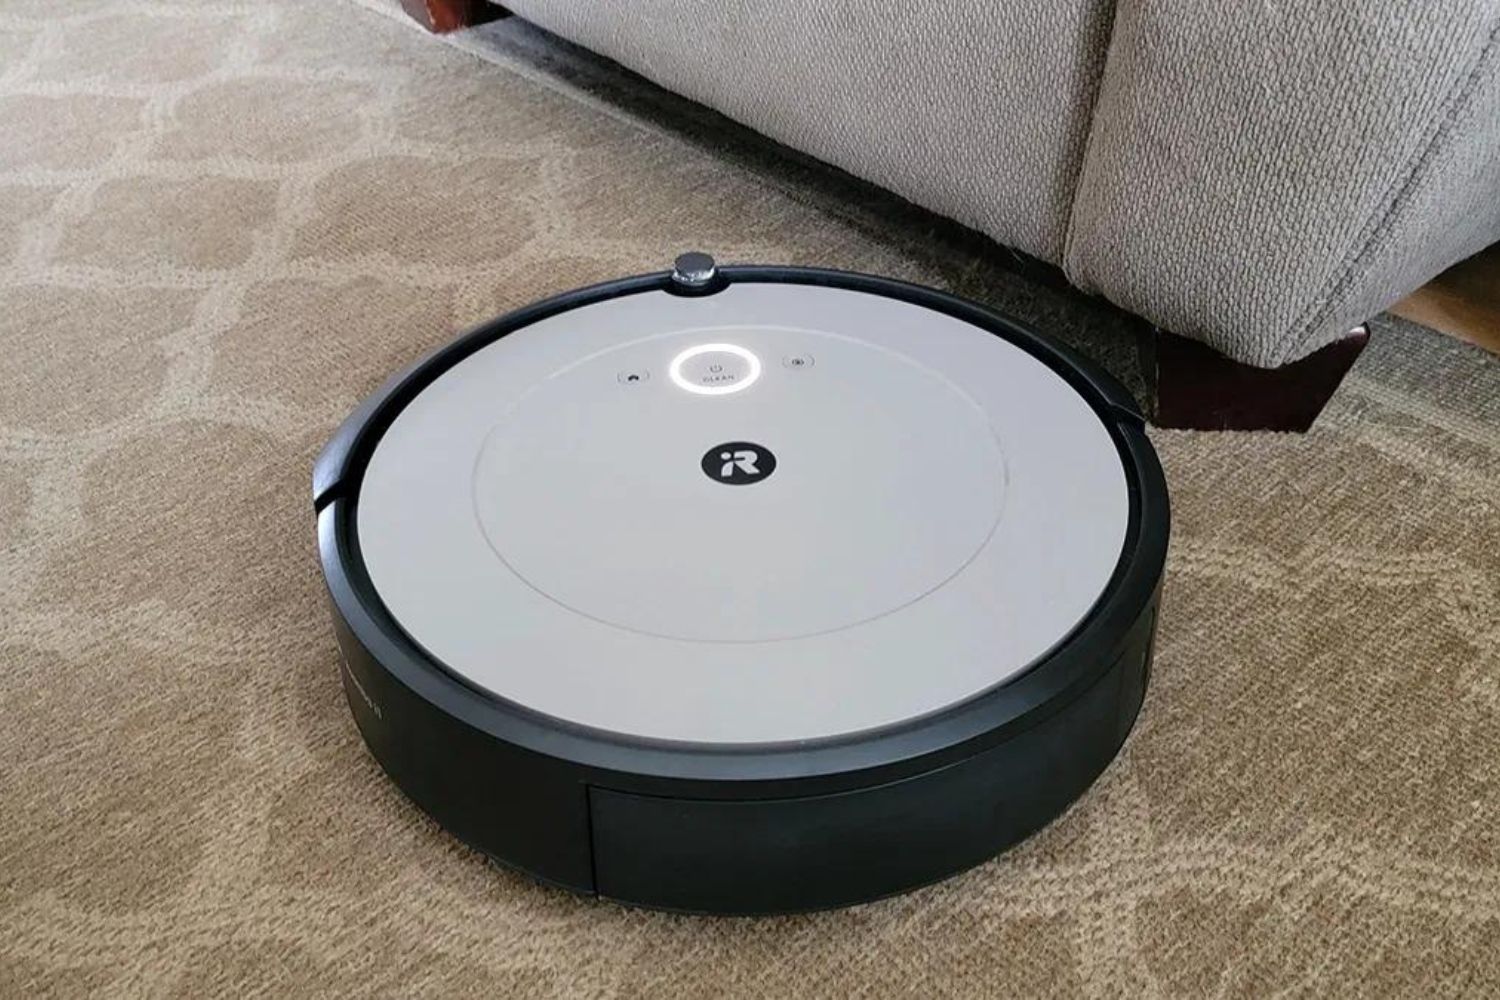
- Locate the reset button or switch on your robot vacuum cleaner. It is usually located on the device’s exterior, near the power button or charging port.
- Press and hold the reset button for a few seconds. You may need to use a small tool, such as a paperclip or pen, to access the recessed reset button.
- While still holding the reset button, power on the robot vacuum cleaner. Keep holding the reset button until you see or hear a confirmation that the reset process has started.
- Release the reset button and allow the robot vacuum cleaner to complete the reset process. This may take a few seconds or up to a minute, depending on the model.
- Once the reset process is complete, the robot vacuum cleaner will restart and return to its default settings. You can now set up your preferences and configurations according to your needs.
It’s worth mentioning that some robot vacuum cleaners may have alternative methods for resetting, such as using a combination of buttons or following specific instructions provided by the manufacturer. Therefore, it is always advisable to consult your user manual for precise instructions related to your specific model.
Now that you know how to reset your robot vacuum cleaner, let’s explore another reset option known as a factory reset.
Factory Reset
If you are encountering persistent issues with your robot vacuum cleaner or want to completely restore it to its original state, you can perform a factory reset. This process will erase all settings, preferences, and saved data on the device. Here’s how to do a factory reset:
- Refer to your user manual to locate the factory reset instructions specific to your robot vacuum cleaner model.
- In most cases, you will need to power off the robot vacuum cleaner by pressing and holding the power button until it shuts down.
- Next, press and hold the factory reset button or combination of buttons as indicated in the user manual. This button may be located on the device itself or on the charging base.
- While still holding the factory reset button, power on the robot vacuum cleaner. Continue holding the reset button until you see a confirmation message or the device’s lights start flashing.
- Release the factory reset button and wait for the robot vacuum cleaner to complete the reset process. This can take a few minutes.
- Once the factory reset is finished, the device will reboot and return to its original factory settings. You can then proceed to set up your preferences and configurations from scratch.
Performing a factory reset can be a useful solution when troubleshooting persistent issues or preparing the robot vacuum cleaner for a new user. However, keep in mind that all your personalized settings and data will be permanently deleted. So, make sure to back up any important information before proceeding with a factory reset.
If you continue to experience problems with your robot vacuum cleaner even after performing a factory reset, it may be necessary to seek professional help or contact the manufacturer’s customer support for further assistance.
Now that we have covered the reset options, let’s move on to the next section where we will troubleshoot common issues that you may encounter with your robot vacuum cleaner.
Troubleshooting Common Issues
Robot vacuum cleaners, like any other electronic device, can sometimes experience issues that affect their performance. Here are some common problems you may encounter with your robot vacuum cleaner and troubleshooting steps to resolve them:
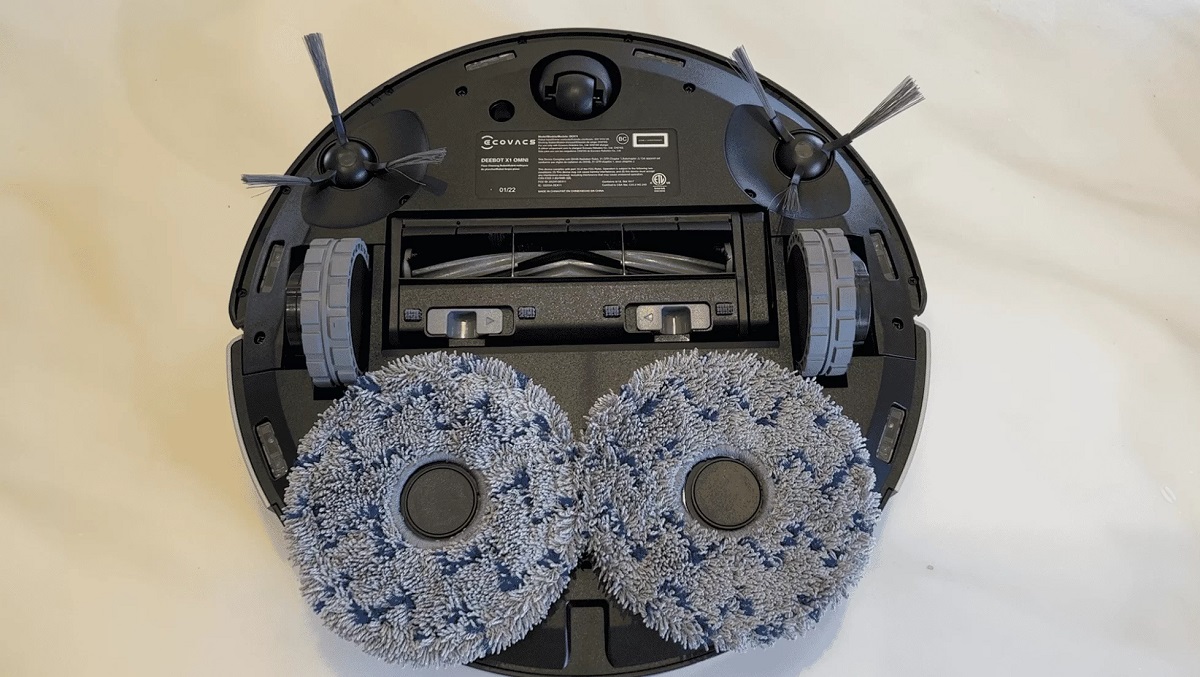
- Poor Cleaning Performance: If your robot vacuum cleaner is not cleaning effectively, check if the brushes or filters are clogged with debris. Clean or replace them as necessary. Additionally, ensure that the sensors and wheels are free from any obstructions that may hinder the device’s movement.
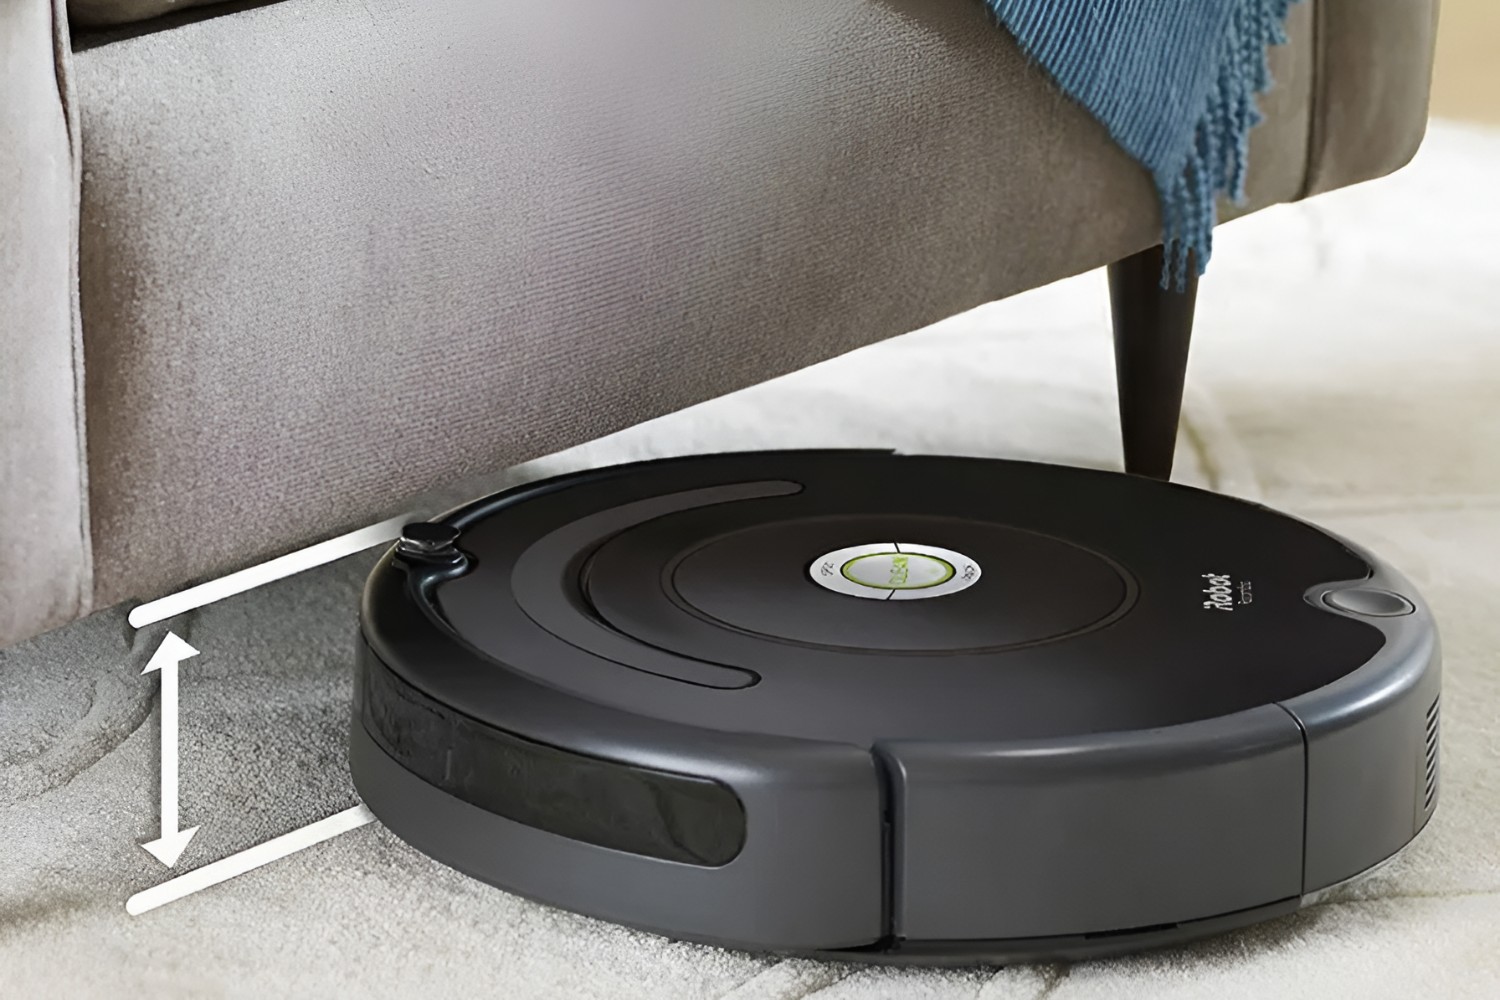
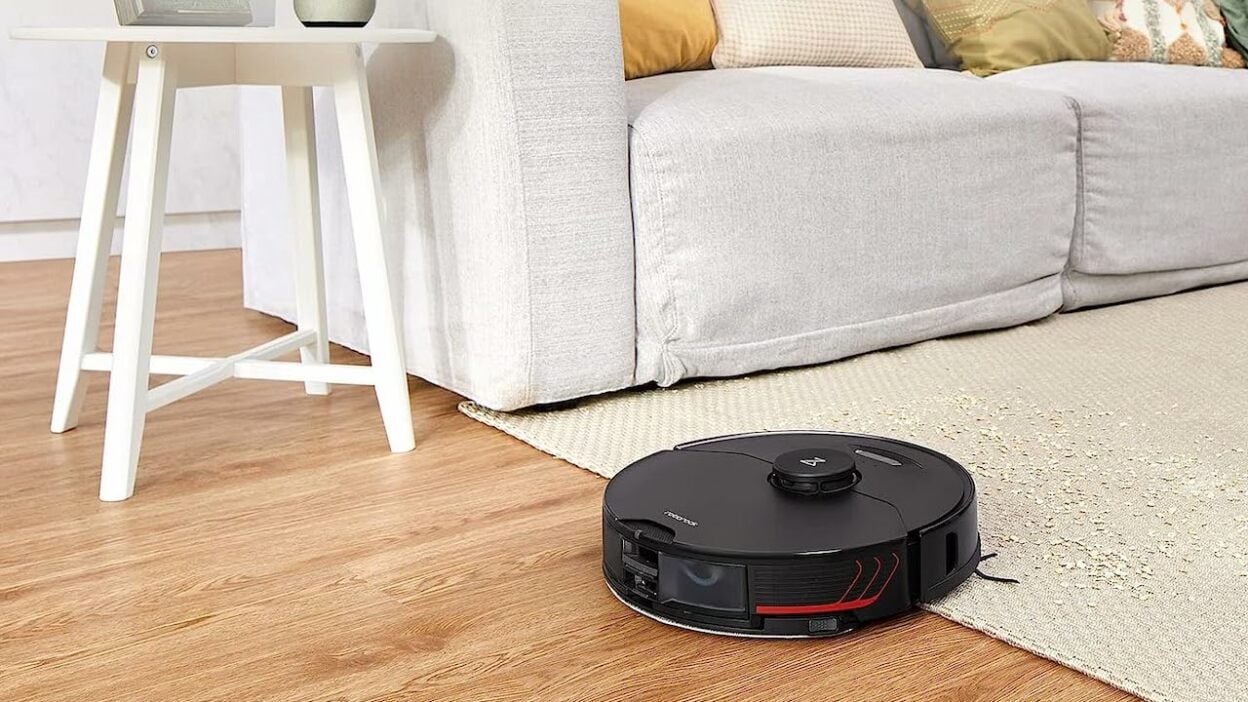
- Stuck or Struggling to Navigate: If your robot vacuum cleaner is getting stuck or having difficulty navigating around your home, check for loose rugs, tangled cords, or other hazards that could obstruct its path. Rearrange any potential obstacles to create a clear and unobstructed cleaning route for the device.
- Connection or Wi-Fi Issues: If your robot vacuum cleaner relies on a Wi-Fi connection for advanced features or remote control, make sure it is connected to a stable network. Ensure that the device is within range of your router and check if there are any connectivity issues or interference signals. Resetting your router and reconnecting the vacuum cleaner to the network may help resolve the problem.
- Excessive Noise: If your robot vacuum cleaner is making more noise than usual, check for any loose parts or foreign objects stuck in the device, such as hair, strings, or small debris. Clean the brushes, wheels, and other components to eliminate the source of the noise.
- Battery Drainage: If you notice that your robot vacuum cleaner’s battery is draining quickly, try recalibrating the battery. Fully charge the device, then let it discharge completely until it shuts off. Repeat this process a few times to recalibrate the battery’s charging capacity.
If you have tried these troubleshooting steps and the problem persists, it may be necessary to consult the user manual for specific troubleshooting guidance or reach out to the manufacturer’s support team for professional assistance.
Remember, regular maintenance and keeping your robot vacuum cleaner clean and free from debris can help prevent many common issues and ensure optimal performance.
Now that we have covered the troubleshooting steps, let’s wrap up this article.
Conclusion
Resetting a robot vacuum cleaner can be a useful solution when troubleshooting issues or starting fresh with a clean slate. In this article, we have explored the process of resetting a robot vacuum cleaner, including checking the power, performing a reset, and doing a factory reset. We have also discussed common issues that may arise and provided troubleshooting tips.
Remember to refer to your specific model’s user manual for detailed instructions, as the reset methods may vary. It is also important to document any personalized settings before performing a reset, as your preferences will be erased.
If you continue to experience problems with your robot vacuum cleaner even after trying the troubleshooting steps, do not hesitate to seek professional assistance from the manufacturer’s customer support team.
By following the steps outlined in this article, you can regain control over your robot vacuum cleaner’s performance, ensuring that it continues to keep your floors clean and tidy.
Thank you for reading, and we hope this article has been helpful in guiding you through the process of resetting your robot vacuum cleaner!