Introduction
Are you looking to transfer your music collection from Windows Media Player to iTunes? Maybe you recently switched from a Windows computer to a Mac, or you simply prefer the functionality of iTunes for managing and organizing your music. Whatever the reason may be, we’re here to help you with a simple step-by-step guide.
Windows Media Player is a popular media player and library management tool for Windows users. On the other hand, iTunes is the go-to choice for many Apple users, offering a seamless experience for managing music, syncing devices, and creating playlists. By transferring your music from Windows Media Player to iTunes, you can take advantage of iTunes’ extensive features and integration with other Apple devices.
In this guide, we’ll walk you through the process of downloading music from Windows Media Player to iTunes. Whether you want to transfer a few songs or your entire music library, we’ve got you covered. Please note that this guide focuses on Windows 10 and later versions, as earlier versions of Windows may have slightly different steps.
Before we dive into the steps, there are a few things you’ll need to ensure a smooth transfer:
- A Windows computer with Windows Media Player installed
- The latest version of iTunes downloaded and installed on your computer
- An active internet connection to download any necessary software or updates
- Your music files stored in Windows Media Player
With these preparations in place, let’s get started on transferring your music from Windows Media Player to iTunes.
Step 1: Opening Windows Media Player
The first step in downloading music from Windows Media Player to iTunes is to open Windows Media Player on your computer. Here’s how:
- Click on the “Start” button in the bottom-left corner of your screen.
- In the search bar, type “Windows Media Player” and press Enter.
- The Windows Media Player application should appear in the search results. Click on it to open the program.
- Once Windows Media Player is open, you’ll see the Library mode, which is the default view where you can manage and organize your music collection.
If you’re new to Windows Media Player or don’t have any music files added to your library yet, don’t worry! You can still proceed with the next steps of this guide. However, if you already have music files in your Windows Media Player library, make sure they’re properly organized and ready to be transferred to iTunes.
Opening Windows Media Player is the first step in the process, as it serves as the source from which we’ll select and convert the music files for iTunes. Once you have Windows Media Player open, you’re ready to move on to the next step of the process, where we’ll select the music files you want to transfer.
Step 2: Selecting the Music Files
Now that you have Windows Media Player open, it’s time to select the music files that you want to download and transfer to iTunes. Follow these steps:
- In Windows Media Player, locate your music library on the left-hand side of the screen. It should be listed under the “Library” or “Music” tab.
- Click on the library or specific folder where your music files are stored. This will display all the songs and albums available in that location.
- To select multiple songs, hold down the Ctrl key on your keyboard while clicking on each file. Alternatively, if you want to select all the songs in the folder, press Ctrl + A.
- Once you’ve selected the desired music files, right-click on any of the selected files and choose “Add to” or “Add to Playlist”.
- A menu will appear with various options. Select “Add to Windows Media Player list”.
- A confirmation message will appear, letting you know that the selected music files have been added to the Windows Media Player list. Click “OK” to proceed.
By following these steps, you have successfully selected the music files that you want to transfer to iTunes. It’s important to note that Windows Media Player supports a wide range of audio formats, including MP3, WMA, and WAV. However, if you have any music files in formats that are not compatible with iTunes, such as WMA, it is recommended to convert them to MP3 format before proceeding to the next step. We’ll cover the conversion process in the next step of this guide.
With the music files selected, you’re now ready to move on to the next step, where we’ll convert the files to MP3 format in preparation for importing them into iTunes.
Step 3: Converting Music Files to MP3 Format
Now that you have selected your music files in Windows Media Player, it’s time to convert them to MP3 format. iTunes primarily supports MP3 files, so converting your music files will ensure compatibility when transferring them. Follow these steps:
- In Windows Media Player, click on the “Organize” option in the top menu bar.
- From the drop-down menu, select “Options”.
- A new window will appear. Click on the “Rip Music” tab.
- Under the “Format” section, you’ll see a drop-down menu. Click on it to expand the options.
- From the drop-down menu, select “MP3” as the desired format.
- Next, choose the audio quality for the MP3 files. Higher quality will result in larger file sizes. If you’re not concerned about file size, it’s recommended to select a higher quality setting.
- Click “OK” to save the changes and close the window.
By following these steps, you have configured Windows Media Player to convert your selected music files to MP3 format. Now, when you transfer the files to iTunes, they will be compatible and ready to play on your Apple devices.
Once the conversion settings are applied, you can proceed to the next step, where we’ll choose the destination folder for the MP3 files that Windows Media Player will create when ripping the music CDs.
Note: If your music files are already in the MP3 format, or if you don’t wish to convert them, you can skip this step and proceed to the next step directly.
Step 4: Choosing the Destination Folder
After configuring Windows Media Player to convert your music files to MP3 format, it’s important to choose the destination folder where the converted files will be saved. Follow these steps:
- In Windows Media Player, click on the “Organize” option in the top menu bar.
- From the drop-down menu, select “Options”.
- A new window will appear. Click on the “Rip Music” tab.
- Under the “Rip music to this location” section, you’ll see the default folder location where the converted files will be saved.
- If you want to change the folder location, click on the “Change” button.
- Browse to the desired folder location on your computer where you want the MP3 files to be saved.
- Once you have selected the folder, click “OK” to save the changes and close the window.
By following these steps, you have chosen the destination folder for the MP3 files that will be created when Windows Media Player converts your selected music files. Make sure to select a folder that is easily accessible and that you can remember when it’s time to import the files into iTunes.
With the destination folder chosen, you’re now ready to proceed to the final step of this guide, where we’ll import the MP3 files from the selected folder into iTunes.
Step 5: Importing MP3 Files to iTunes
Now that you have converted and saved your music files in MP3 format, it’s time to import them into iTunes. Follow these steps:
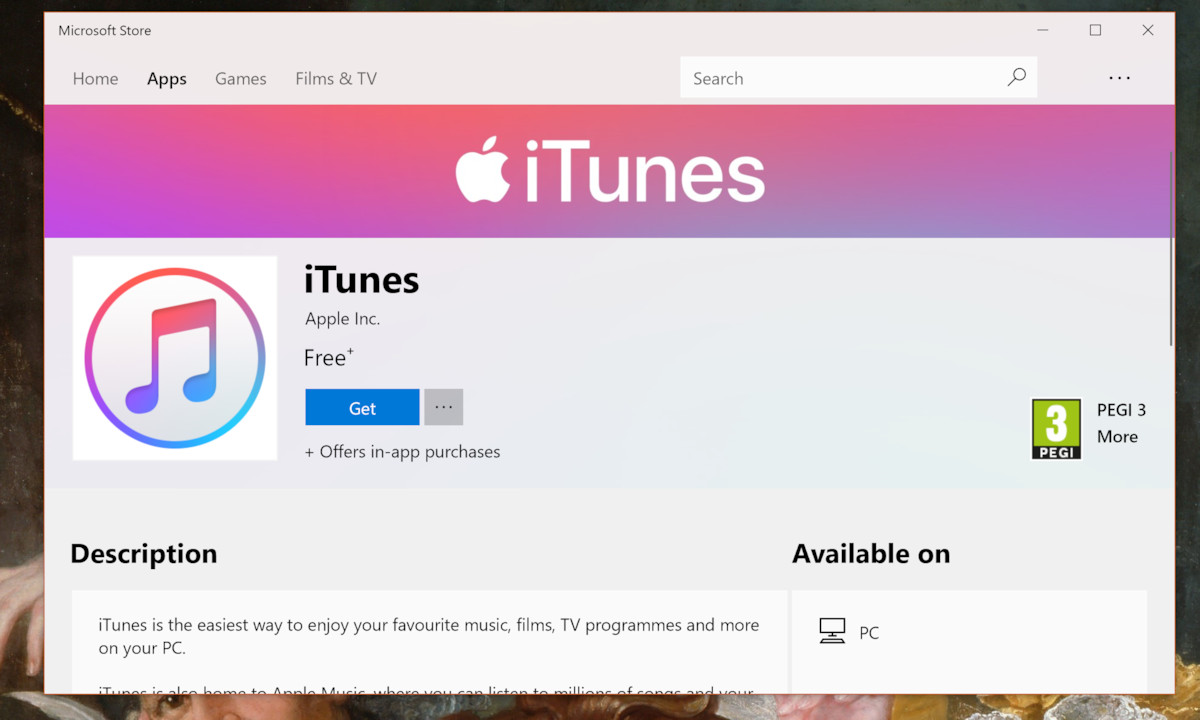
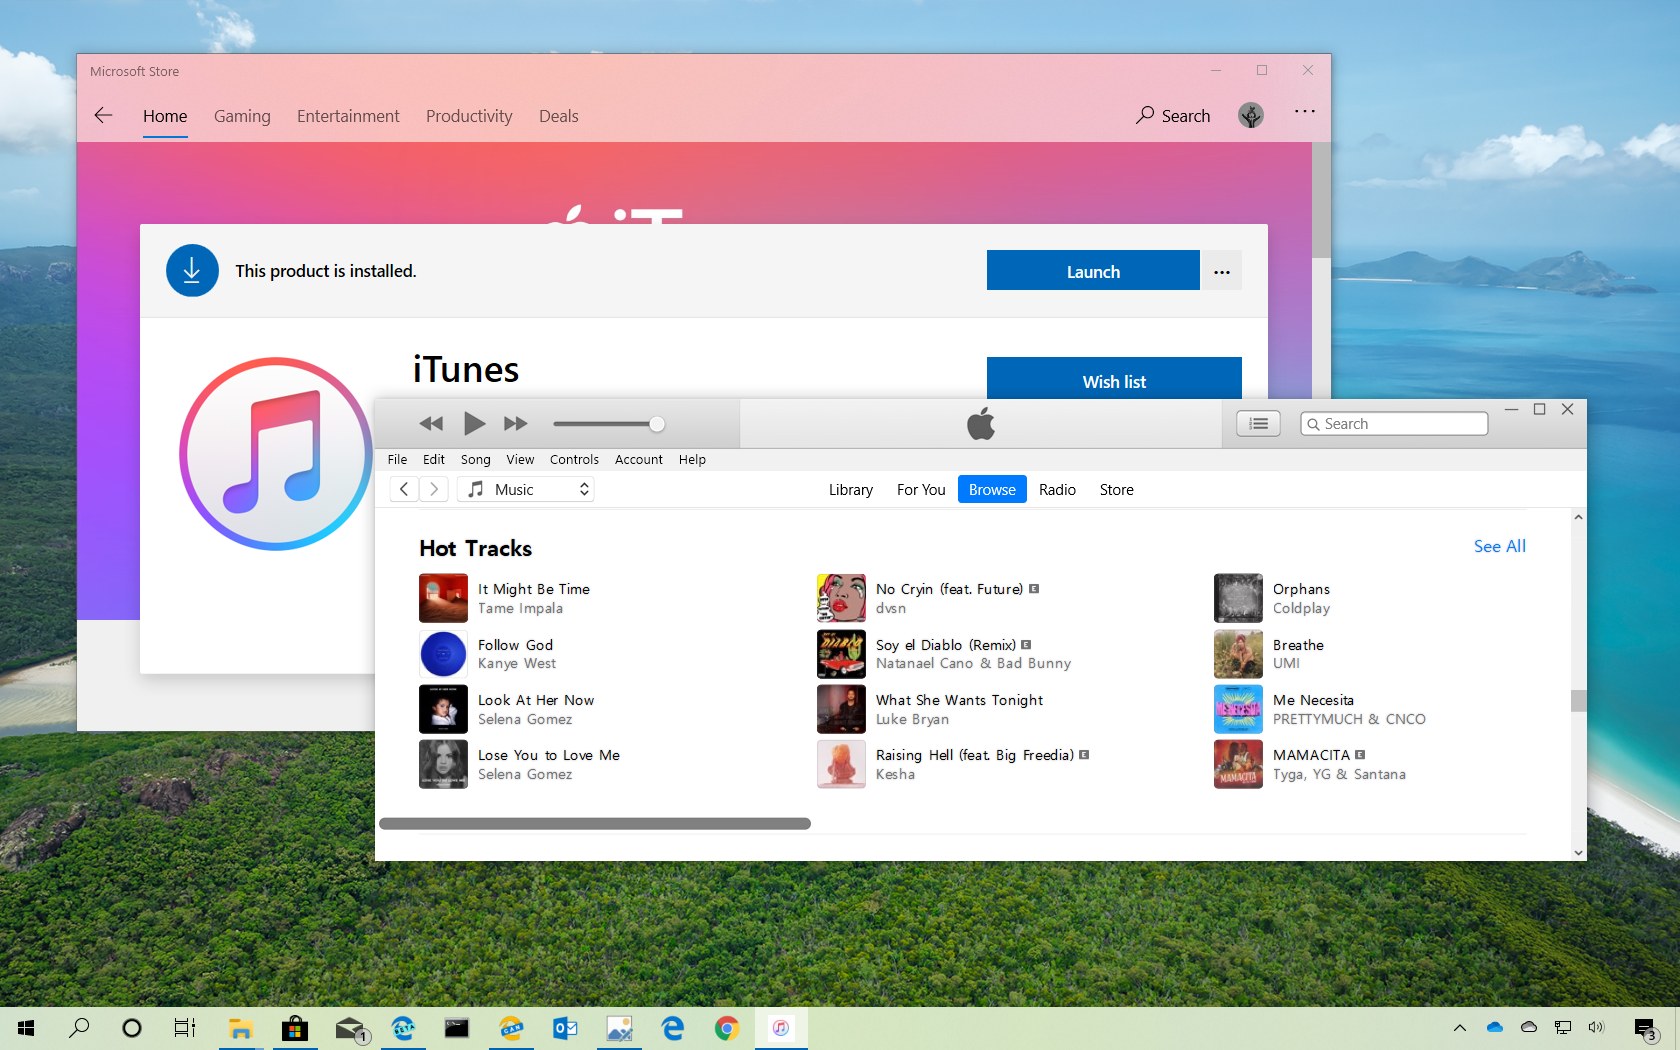
- Open iTunes on your computer. If you don’t have iTunes installed, you can download it from the official Apple website and install it before proceeding.
- In the top menu bar of iTunes, click on “File”.
- From the drop-down menu, select “Add File to Library” or “Add Folder to Library” if you want to import multiple files from a specific folder.
- A file browser window will appear. Locate the folder where you saved the converted MP3 files from Windows Media Player.
- Select the MP3 files you want to import, either individually or by selecting the entire folder.
- Click “Open” to begin the import process.
- iTunes will then start importing the MP3 files and add them to your iTunes library.
After the import process is complete, you will find your newly imported music files in your iTunes library. From there, you can create playlists, sync your music to your Apple devices, and enjoy your music using the features and functionalities offered by iTunes.
That’s it! You have successfully downloaded music from Windows Media Player to iTunes. You can now access and enjoy your music collection seamlessly within the iTunes ecosystem.
Remember to keep your music library organized in iTunes by properly managing the metadata, including song names, artists, albums, and genres. This will ensure that you can find and enjoy your favorite tracks without any difficulty.
Now you’re ready to make the most out of your music collection with iTunes. Happy listening!
Conclusion
Transferring music from Windows Media Player to iTunes allows you to take advantage of the extensive features and seamless integration offered by iTunes. By following the steps outlined in this guide, you can easily download and import your music collection into iTunes, ensuring compatibility with Apple devices and a smooth transition between media players.
We started by opening Windows Media Player and selecting the music files you want to transfer. Then, we converted the files to MP3 format, ensuring compatibility with iTunes. After choosing the destination folder for the converted files, we imported them into iTunes, ready to be enjoyed and organized within the iTunes library.
Remember to keep your iTunes library organized by managing the metadata of your music files. This will make it easier to find and listen to your favorite songs, create playlists, and sync your music across multiple devices.
Whether you recently switched from a Windows computer to a Mac, or you simply prefer the functionality of iTunes, this guide has provided you with a straightforward process to download music from Windows Media Player to iTunes.
Enjoy the seamless experience that iTunes offers for managing and enjoying your music collection. With iTunes, you can take your music experience to the next level, syncing your favorite songs to your Apple devices and creating personalized playlists.
Now that you have successfully transferred your music collection, you can explore iTunes’ wide range of features, such as discovering new music, browsing through curated playlists, and accessing your favorite podcasts. Embrace the convenience and versatility of iTunes and immerse yourself in a world of music and entertainment.
We hope this guide has been helpful in assisting you with the process of downloading music from Windows Media Player to iTunes. Enjoy your music, and happy listening!


