Introduction
Welcome to the world of iTunes! Whether you’re an avid music lover, a movie enthusiast, or a podcast junkie, iTunes is a powerful platform that allows you to access a wide range of multimedia content on your Windows PC. By downloading iTunes, you can enjoy a seamless experience of organizing, playing, and syncing your favorite media files.
With iTunes, you can not only listen to music and podcasts but also watch movies and TV shows, manage your media library, and even back up your iOS devices. Plus, with its user-friendly interface and convenient features, iTunes has become the go-to media player for millions of users worldwide.
In this guide, we’ll walk you through the step-by-step process of downloading and installing iTunes on your Windows PC. Whether you’re a seasoned user looking to upgrade to the latest version of iTunes or a complete newbie ready to dive into the world of digital media, we’ve got you covered.
But before we dive in, let’s make sure your Windows PC meets the necessary system requirements to run iTunes smoothly. It’s essential to ensure that your computer has the necessary hardware and software to enjoy a seamless and uninterrupted experience.
System Requirements
Before you start the process of downloading and installing iTunes on your Windows PC, it’s crucial to check if your computer meets the necessary system requirements. Here are the minimum requirements to run iTunes smoothly:
- A Windows PC with a 1GHz Intel or AMD processor
- At least 512MB of RAM
- A screen resolution of 1024×768 or higher
- Windows 7 or later (64-bit editions require a 64-bit CPU and 64-bit Windows)
- 400MB of available disk space
- An internet connection for downloading iTunes and accessing the iTunes Store
Keep in mind that these are just the minimum requirements. For the best performance, it’s recommended to have a more powerful computer and a faster internet connection.
If your computer meets these requirements, you’re all set to proceed with the iTunes download and installation process. If not, you might need to upgrade your hardware or operating system to ensure a smooth experience with iTunes.
Step 1: Visit the Apple website
The first step to download iTunes on your Windows PC is to visit the official Apple website. Open your preferred web browser and go to www.apple.com/itunes/.
Once you’re on the Apple website, you’ll find a variety of options and information related to iTunes. Take a moment to explore the site and familiarize yourself with the features and functionalities of iTunes. This will give you a better understanding of what iTunes offers and how it can benefit you.
On the iTunes website, you’ll also find helpful resources such as tutorials, FAQs, and support articles that can assist you throughout the download and installation process. Apple’s website is well-organized and easy to navigate, making it simple for users to find the information they need.
It’s important to note that downloading iTunes directly from the Apple website ensures that you’re getting the official and most up-to-date version of the software. Avoid downloading iTunes from third-party websites to minimize the risk of downloading pirated or malicious software.
Once you’re on the Apple website, you’re ready to proceed to the next step, where you’ll locate the iTunes download page. So let’s move on to Step 2!
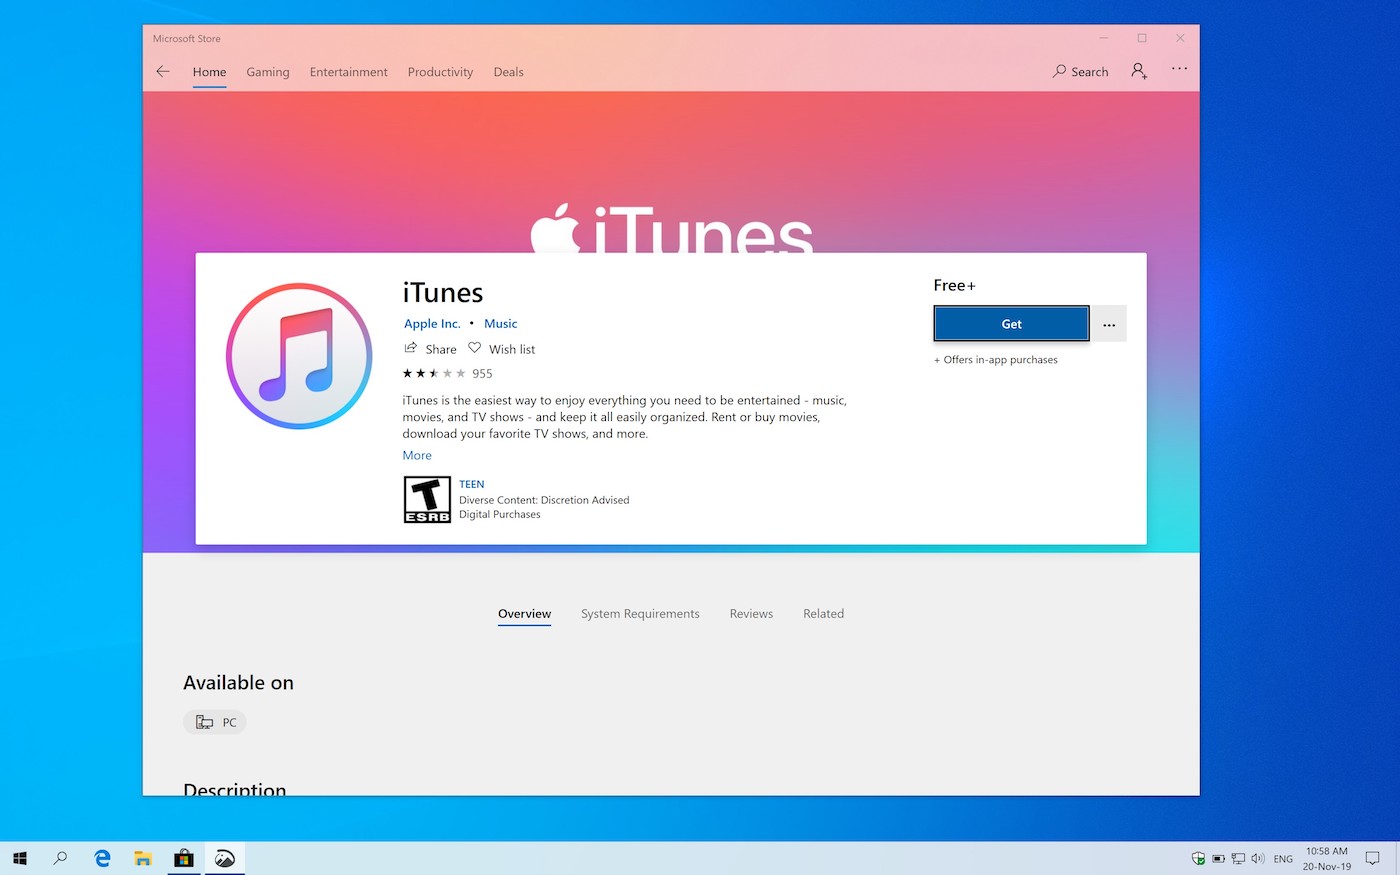
Step 2: Locate the iTunes download page
After visiting the Apple website, the next step is to locate the iTunes download page. On the Apple website, you’ll find various sections and tabs, but you need to find the specific page dedicated to iTunes downloads.
To find the iTunes download page, look for a navigation menu or a search bar on the Apple website. In the navigation menu, you may find options like “Products,” “Support,” or “Downloads.” Click on the appropriate section or use the search bar to search for “iTunes.”
Once you’ve located the iTunes download page, you’ll typically see a clear and prominent button or link that says “Download,” “Get,” or “Install.” Clicking on this button will initiate the download process and allow you to get the installation file for iTunes.
It’s important to mention that Apple periodically updates its website and the location of the iTunes download page may change. If you’re having trouble finding the download page, you can also try searching for “iTunes download” on search engines like Google, Bing, or Yahoo. Make sure to click on the official Apple link to ensure a safe and legitimate download.
Once you’ve successfully located the iTunes download page, you’re ready to move on to the next step, where you’ll choose the correct version of iTunes for your Windows PC. Let’s continue to Step 3!
Step 3: Choose the correct version for your Windows PC
Now that you’ve found the iTunes download page, it’s time to choose the correct version of iTunes for your Windows PC. Apple offers different versions of iTunes to ensure compatibility with various Windows operating systems and architectures.
Before proceeding, it’s important to determine whether your Windows PC is running the 32-bit or 64-bit version of the operating system. To find out, right-click on the “This PC” or “My Computer” icon on your desktop or in the Start menu, and select “Properties.” Look for the system type information to identify whether it’s 32-bit or 64-bit.
Once you’ve determined the system type, locate the appropriate download option for your Windows PC on the iTunes download page. You’ll typically find two download options: one for the 32-bit version and another for the 64-bit version of iTunes.
It’s vital to choose the right version to ensure optimal performance and compatibility. Installing the incorrect version may lead to compatibility issues and instability in the application.
After selecting the correct version, click on the “Download” button to begin the download process. The file size of iTunes may vary, so the time it takes to download will depend on your internet speed. Be patient and let the download complete.
Once the download is finished, you’re ready to move on to the next step, where we’ll guide you through the installation process of iTunes on your Windows PC. Let’s proceed to Step 4!
Step 4: Download iTunes
With the correct version selected, it’s time to download iTunes onto your Windows PC. After clicking the “Download” button on the iTunes download page, the installation file will begin downloading to your computer.
During the download, it is essential to maintain a stable internet connection to ensure the file is downloaded without any interruptions. The time it takes to download iTunes will vary depending on the speed of your internet connection and the size of the installation file.
While the download is in progress, it’s a good time to prepare for the installation process. Make sure you close any unnecessary applications or programs and temporarily disable any antivirus or security software that might interfere with the installation.
Once the download is complete, locate the downloaded installation file. By default, it is usually found in the “Downloads” folder on your Windows PC. Double-click on the file to start the installation process.
As the installation begins, you may be prompted to grant administrative permissions to the installer. This is normal and necessary for the installation to proceed. Follow the on-screen instructions and accept the terms and conditions to proceed with the installation.
The installer will then extract the necessary files and components required for iTunes to function properly on your Windows PC. This process may take a few minutes, so be patient and avoid interrupting the installation.
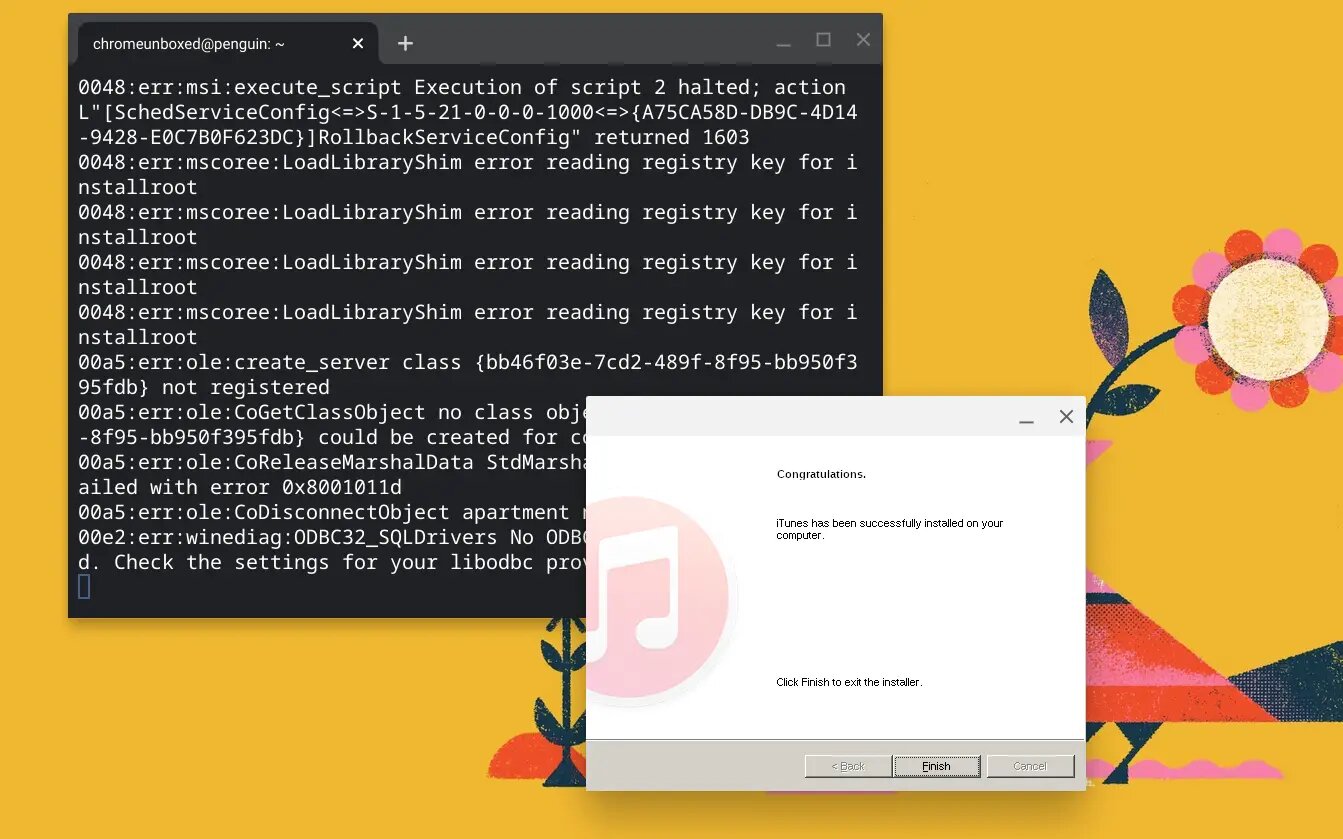
Once the installation is complete, you’ll be notified that iTunes has been successfully installed on your Windows PC. Congratulations! You’re now ready to configure the settings and start using iTunes. Proceed to Step 5 to learn how to install iTunes on your Windows PC.
Step 5: Install iTunes on your Windows PC
Now that you have downloaded the iTunes installation file, it’s time to install iTunes on your Windows PC. Follow these simple steps to complete the installation process:
- Locate the iTunes installation file that you downloaded in the previous step. Double-click on the file to begin the installation.
- The installation wizard will open, guiding you through the installation process. Click on the “Install” button to start the installation.
- Review the license agreement and the terms and conditions. If you agree, select the checkbox to accept the terms and click on the “Next” button.
- Choose the installation location for iTunes. By default, the installer suggests the best location, but if you want to change it, click on the “Change” button and select a different location. Then, click on the “Install” button.
- The installation process will now begin. The progress bar will show you the status of the installation. This may take a few moments, so be patient and avoid interrupting the process.
- Once the installation is complete, click on the “Finish” button to exit the installation wizard.
Now that iTunes is installed on your Windows PC, you can launch the application by clicking on the iTunes icon on your desktop or in the Start menu. The first time you open iTunes, you’ll be prompted to go through the initial setup process, including signing in with your Apple ID or creating a new one.
After completing the setup process, you’ll have access to the full functionality of iTunes. You can start exploring your media library, import music and videos, subscribe to podcasts, and browse the iTunes Store for a vast selection of digital content.
Congratulations! You have successfully installed iTunes on your Windows PC. In the next step, we’ll guide you through the process of configuring the essential iTunes settings to ensure the best user experience. Let’s move on to Step 6!
Step 6: Configure iTunes settings
After installing iTunes on your Windows PC, it’s important to configure the settings to personalize your iTunes experience and optimize it according to your preferences. Here are some key settings you should consider adjusting:
1. General Settings:
Access the General Settings in iTunes by clicking on the “Edit” menu and selecting “Preferences.” Here, you can customize options such as language, library location, and import settings. Take some time to explore these settings and adjust them to your liking.
2. Music Settings:
Under the “Preferences” menu, navigate to the “Music” tab to configure settings related to your music library. Here, you can adjust settings for the organization of your music, including sorting options, media kind, and playback settings.
3. Device Syncing:
If you have an iOS device, connecting it to your Windows PC allows you to sync your music, videos, and other media files. To configure the syncing settings, connect your device to your computer, select it in the iTunes interface, and explore the options in the “Settings” tab.
4. iTunes Store Settings:
If you plan to purchase music, movies, or other media from the iTunes Store, you can customize the settings by clicking on the “Store” tab in the “Preferences” menu. Here, you can manage your Apple ID, change payment information, and adjust settings related to automatic downloads and notifications.
5. Privacy and Security:
In the “Preferences” menu, click on the “Privacy” tab to manage your privacy settings. You can adjust options such as sending diagnostic and usage information to Apple, showing Apple Music recommendations, and enabling parental controls if needed.
By exploring and customizing these settings, you can tailor iTunes to suit your preferences and enhance your overall experience. Take the time to familiarize yourself with the different settings and make adjustments according to your needs.
With iTunes now installed and configured on your Windows PC, you’re ready to enjoy your favorite music, movies, and podcasts all in one place. Make the most out of this versatile media player and explore all the features and functionalities it has to offer.
That completes the six-step guide on downloading, installing, and configuring iTunes on your Windows PC. We hope this guide has been helpful, and we wish you an enjoyable experience with iTunes!
Conclusion
Congratulations! You have successfully downloaded, installed, and configured iTunes on your Windows PC. Now, you have a powerful multimedia platform at your fingertips, allowing you to enjoy music, movies, podcasts, and more.
Throughout this guide, we’ve walked you through each step of the process, from visiting the Apple website to locating the iTunes download page, choosing the correct version, downloading and installing iTunes, and configuring the essential settings. By following these steps, you’ve set yourself up for an exceptional iTunes experience.
Remember to keep your iTunes installation up to date by periodically checking for updates through the iTunes software or the Apple website. This ensures that you have access to the latest features, bug fixes, and security patches.
With iTunes, you can organize and manage your media library effortlessly, sync your iOS devices, discover new content through the iTunes Store, and enjoy a seamless, user-friendly interface. Take the time to explore the various features of iTunes and make the most out of this powerful media player.
If you come across any issues or have questions about using iTunes, Apple provides extensive support resources on its website. You can find tutorials, FAQs, and community forums where you can seek assistance from fellow users.
Thank you for following this guide on how to download iTunes for your Windows PC. We hope you found it helpful and insightful. Now, sit back, relax, and enjoy the world of music, movies, and more with iTunes!