Introduction
Welcome to the world of iTunes! Whether you’re an avid music lover, a movie enthusiast, or a podcast enthusiast, iTunes is your go-to platform for enjoying a wide variety of digital content. Available on both Mac and Windows, iTunes allows you to download, organize, and listen to your favorite songs, movies, TV shows, podcasts, and more. In this article, we’ll guide you through the process of downloading iTunes on your PC and getting started with this versatile media player.
As one of the most popular media players globally, iTunes offers a user-friendly interface and a vast library of content to explore. It also serves as a gateway to the iTunes Store, where you can purchase and download new songs, movies, and TV shows. Plus, iTunes seamlessly integrates with your Apple devices, allowing you to sync your media across multiple devices and enjoy your favorite content on the go.
Before we dive into the installation process, let’s take a quick look at the system requirements to ensure your PC is compatible with iTunes.
System Requirements
Before downloading iTunes on your PC, it’s important to ensure that your system meets the minimum requirements to run the software smoothly. Here are the basic system requirements for installing iTunes:
- Operating System: Windows 7 or later
- Processor: 1GHz Intel or AMD processor
- Memory: 512MB RAM
- Hard Disk: 400MB of available disk space
- Screen Resolution: 1024×768 or higher
- Internet Connection: Broadband connection to use Apple Music, the iTunes Store, and iTunes Extras
It’s important to note that these are the minimum requirements, and higher system specifications may provide a better user experience, especially when working with large media libraries or high-quality videos.
Now that you have confirmed that your PC meets the system requirements, let’s move on to the step-by-step process of downloading iTunes on your computer.
Step 1: Open your web browser
The first step in downloading iTunes on your PC is to open your preferred web browser. Whether you use Google Chrome, Mozilla Firefox, Microsoft Edge, or any other browser, launch it by clicking on its icon in your taskbar or desktop.
Opening a web browser will allow you to navigate to the official iTunes download page, where you can find the latest version of the software and initiate the download process.
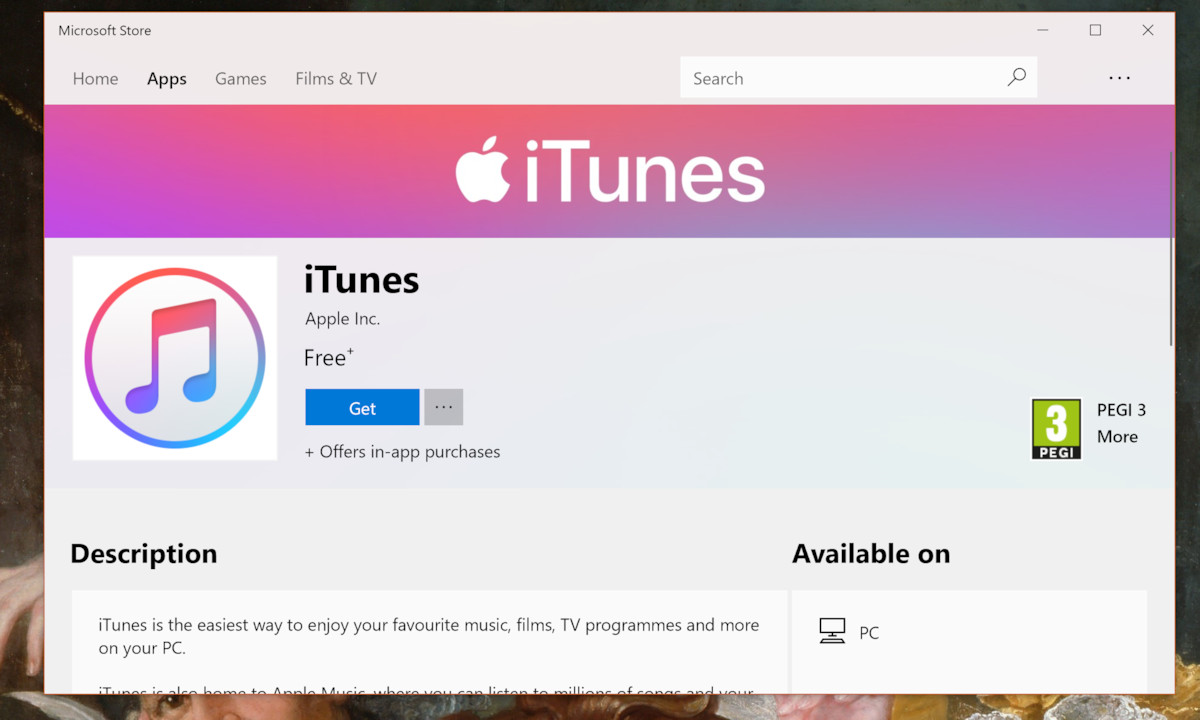
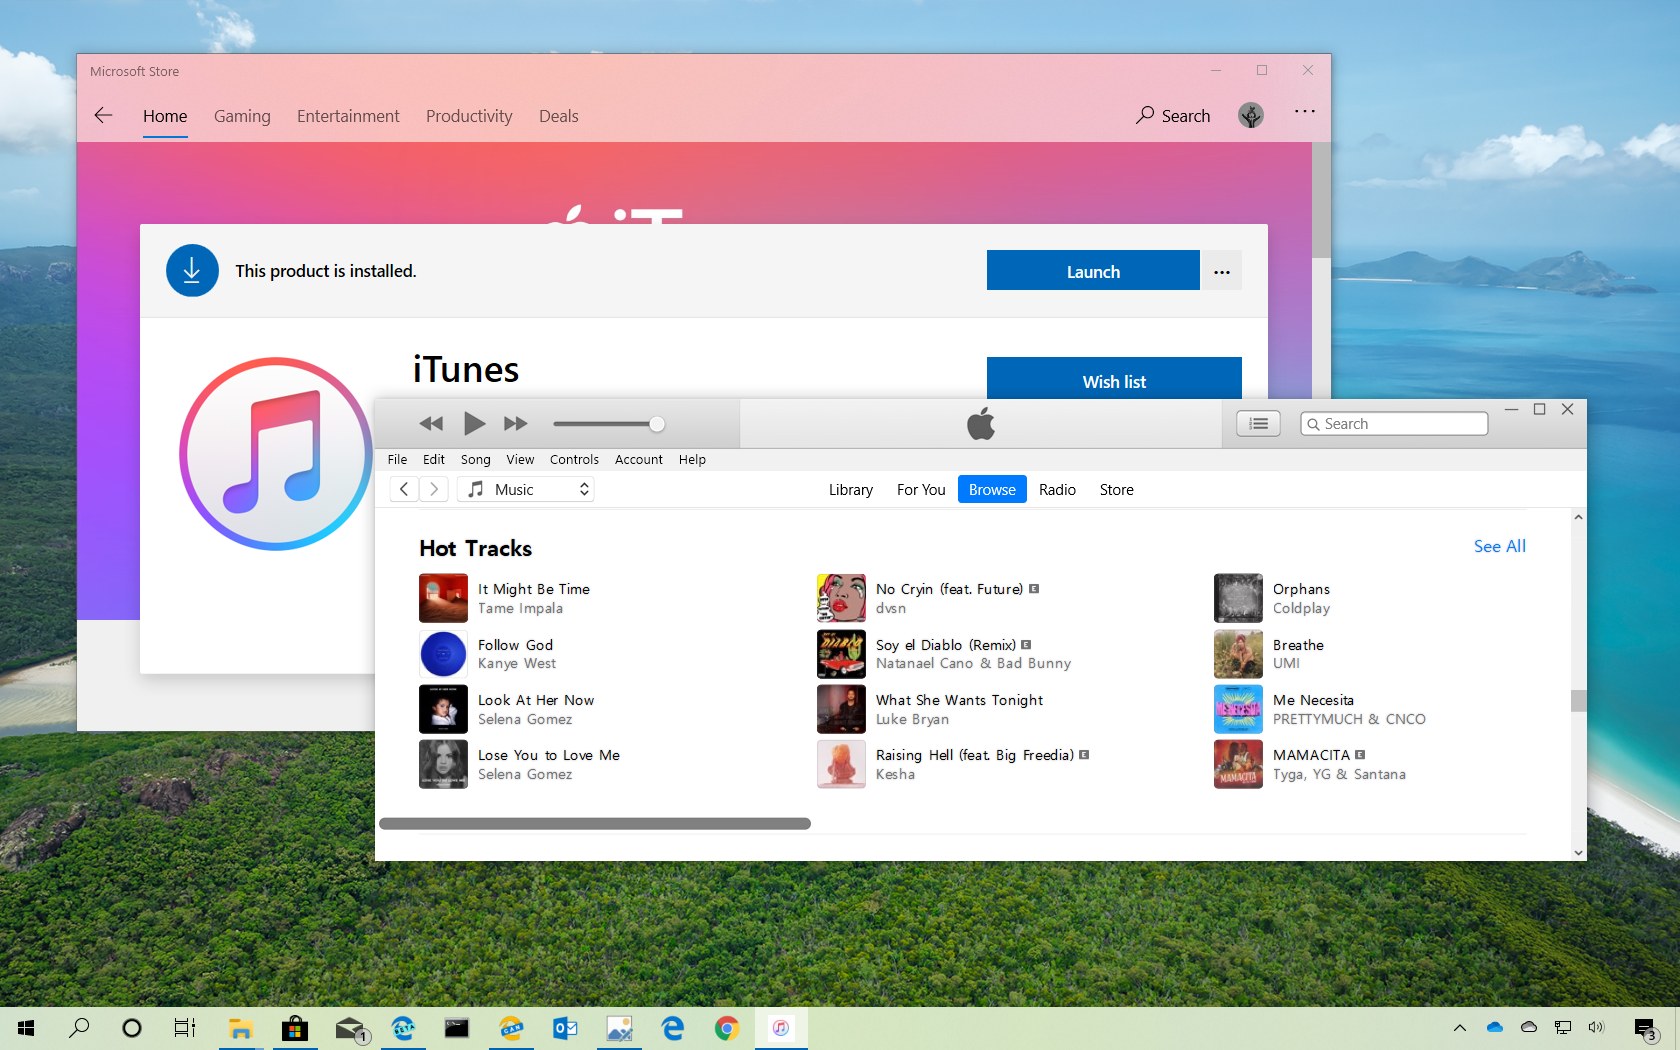
It’s worth mentioning that iTunes is no longer available for download from the Microsoft Store. Instead, users are required to download iTunes directly from the Apple website. This ensures that you have access to the latest version and all the features offered by iTunes.
To proceed to the next step, make sure your internet connection is active, and your web browser is functioning correctly. If you encounter any issues with your browser, try reopening it or using a different browser.
Now that your web browser is up and running, let’s move on to the next step: navigating to the iTunes download page.
Step 2: Go to the iTunes download page
Once you have your web browser open, it’s time to navigate to the iTunes download page. To do this, follow the steps below:
- Type “iTunes” into the search bar or directly enter the URL “www.apple.com/itunes” in the address bar of your web browser.
- Press the Enter key or click the Search icon/button.
- You will be directed to the Apple website, specifically the iTunes section.
Alternatively, if you prefer, you can directly enter “www.apple.com/itunes” in the address bar of your web browser and press Enter. This will take you directly to the iTunes download page.
On the iTunes download page, you will find all the information about the latest version of iTunes, including its features and improvements. Apple provides this page as a reliable source for downloading iTunes, ensuring that you have access to the official and most up-to-date version of the software.
Now that you have successfully reached the iTunes download page, you are ready to move on to the next step: clicking on the “Download now” button.
Step 3: Click on the “Download now” button
Now that you have reached the iTunes download page on the Apple website, it’s time to initiate the download process. Follow the steps below to download iTunes onto your PC:
- On the iTunes download page, you will find a prominent “Download now” button. This button is usually located at the center or upper-right corner of the page.
- Position your cursor over the “Download now” button and click on it.
- A file called “iTunesSetup.exe” or “itunes6464setup.exe” will begin to download onto your PC. The name of the file may vary slightly based on the system and browser you are using.
- Depending on your web browser settings, you may be prompted to specify a location on your computer to save the downloaded file. Choose a location that is easily accessible, such as your desktop or “Downloads” folder.
- Allow the download to complete. The time it takes to download will depend on the speed of your internet connection and the size of the iTunes installer file.
It’s important to note that the iTunes installer file size is typically around 200MB, so it may take a few minutes to complete the download. During the download process, avoid interrupting the connection or turning off your computer to prevent any issues.
Once the download is finished, you are one step closer to installing iTunes on your PC. In the next step, we will guide you through reading and accepting the license agreement.
Step 4: Read and accept the license agreement
After successfully downloading the iTunes installer file, it’s time to proceed with the installation process. But before that, you need to read and accept the license agreement. Follow the steps below:
- Navigate to the location on your computer where you saved the downloaded iTunes installer file.
- Double-click on the downloaded file to open it. This will initiate the installation process.
- A pop-up window will appear, displaying the iTunes installer. Click on the “Next” or “Install” button to continue.
- As the installer progresses, you will be presented with the iTunes license agreement. Read through the agreement to understand the terms and conditions of using iTunes.
- To proceed with the installation, you must accept the license agreement. Tick the box that indicates your acceptance of the terms.
- Click on the “Next” or “Install” button to confirm your acceptance and proceed with the installation process.
It’s crucial to read the license agreement thoroughly to ensure you understand your rights and obligations when using iTunes. Pay attention to any specific terms or restrictions mentioned in the agreement.
Once you have read and accepted the license agreement, you are ready to move forward with choosing your installation options in the next step.
Step 5: Choose your installation options
Now that you have accepted the license agreement, it’s time to proceed with selecting your installation options for iTunes. Follow the steps below:
- After accepting the license agreement, the installer will present you with the installation options.
- Choose the destination folder where you want to install iTunes on your PC. By default, the installer will suggest a location, but you can click on the “Browse” button to select a different folder.
- Under the “Install for” section, you will have the option to install iTunes for all users on the computer or just for your user account. Select the appropriate option based on your preference.
- Choose whether you want to enable the iTunes desktop shortcut by leaving the box ticked or unticking it if you prefer not to have a shortcut on your desktop.
- By default, the installer will also install the iCloud for Windows utility and set it up to sync your iCloud Drive, photos, mail, contacts, and calendar with your PC. If you wish to enable this, keep the default settings. Otherwise, untick the box to exclude the iCloud for Windows installation.
- Once you have made your desired selections, click on the “Install” or “Next” button to initiate the installation process.
Take a moment to review your selected installation options to ensure they align with your preferences. You can always go back and modify these options if needed.
Now that you have chosen your installation options, it’s time to move on to the next step: starting the iTunes installation process.
Step 6: Start the installation process
With your installation options selected, it’s time to begin the installation process of iTunes on your PC. Follow the steps below:
- Once you have confirmed your installation options, click on the “Install” or “Next” button to initiate the installation process.
- The installer will start copying and extracting the necessary files to your computer. This may take a few moments depending on your system’s performance.
- During the installation, you may see a progress bar indicating the status of the process. Allow the installation to complete without interrupting it.
- After the installation is finished, you will see a notification confirming that iTunes has been successfully installed on your PC.
- Depending on your selected options, you may also see prompts to restart your computer or launch iTunes immediately. Follow any additional on-screen instructions if prompted.
It’s important to note that during the installation process, your antivirus software may prompt you with a security warning. This is a normal part of the installation process, as it involves making changes to your system. Ensure that you trust the software and its source before proceeding.
Congratulations! You have successfully installed iTunes on your PC. In the next step, we will guide you through launching iTunes and signing in with your Apple ID.
Step 7: Launch iTunes and sign in with your Apple ID
Now that iTunes is installed on your PC, it’s time to launch the application and sign in with your Apple ID to access the full range of features and content. Follow the steps below:
- Locate the iTunes icon on your desktop or in your Start menu. Double-click on the icon to launch iTunes.
- Upon launching iTunes, you will be greeted with the welcome screen. If you have an Apple ID, click on the “Sign In” button to proceed. If you don’t have an Apple ID, you can create one by clicking on the “Create New Apple ID” button.
- Enter your Apple ID and password in the respective fields. If you have two-factor authentication enabled on your Apple account, you may be prompted to enter a verification code sent to your trusted device or phone number.
- After signing in, you will have access to your iTunes library, Apple Music, App Store, TV shows, movies, podcasts, and more. You can also sync your Apple devices with iTunes to transfer media files and manage your digital content.
- If prompted, you may choose to enable features like automatic downloads, iCloud Music Library, or iTunes Match. These options allow you to keep your iTunes library synced across different devices or access your purchased music in the cloud.
Once you have successfully signed in with your Apple ID, you are now ready to explore and enjoy the vast world of digital content available on iTunes. Organize your library, discover new music, rent or purchase movies, and keep up with your favorite podcasts all within the iTunes interface.
Congratulations! You have completed the installation process and are now ready to make the most of your iTunes experience.
Conclusion
Congratulations! You have successfully downloaded and installed iTunes on your PC. Now, you can enjoy a vast world of digital content, including music, movies, TV shows, podcasts, and more. iTunes provides a user-friendly interface and seamless integration with your Apple devices, allowing you to sync and access your media library across multiple platforms.
Throughout this guide, we walked you through the step-by-step process of downloading iTunes onto your PC. We started by opening your web browser and navigating to the official iTunes download page. Then, we clicked on the “Download now” button, read and accepted the license agreement, and chose our desired installation options. After starting the installation process, we launched iTunes and signed in with our Apple ID to unlock its full potential.
Now that you have iTunes up and running, make sure to explore its features and personalize your experience. Create playlists, discover new music through the Apple Music service, rent or purchase movies and TV shows, or catch up on your favorite podcasts. iTunes offers a comprehensive entertainment platform that caters to your multimedia needs.
Remember to keep your iTunes updated to access the latest features and improvements. Apple regularly releases updates that enhance stability, security, and performance, ensuring you have the best possible experience with the software.
Thank you for following this guide, and we hope you enjoy using iTunes on your PC!