Introduction
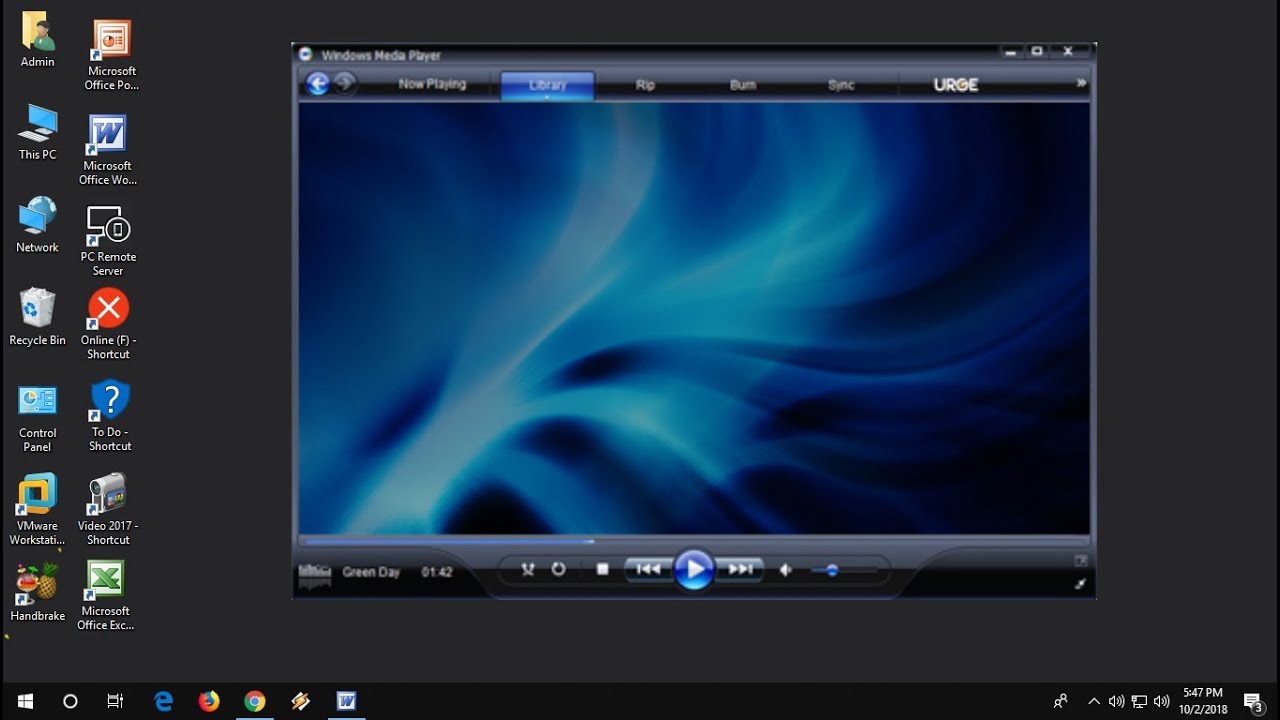
Welcome to the world of digital media! Whether you are a music enthusiast, movie lover, or avid podcast listener, having a reliable media player is essential to enjoy your favorite content on your computer. Windows Media Player, developed by Microsoft, is a popular media player that allows you to play, organize, and stream various types of media files effortlessly.
In this article, we will guide you through the process of downloading and installing Windows Media Player on your computer. You don’t need to be tech-savvy to follow these steps; they are designed to be simple and user-friendly, ensuring a smooth experience for both beginners and advanced users.
Windows Media Player offers a range of features to enhance your media playback experience. From playing music CDs and organizing your music library to streaming online radio and downloading media from the internet—this versatile player has got you covered.
Before we dive into the step-by-step process, it’s important to note that Windows Media Player is a native application for Windows operating systems. If you are using a different operating system, such as macOS or Linux, there are alternative media player options available specifically for those platforms.
Now that we’ve set the stage, let’s get started on the journey to download and install Windows Media Player on your computer. By the end of this article, you’ll be ready to enjoy your favorite media files with ease and convenience.
Step 1: Visiting the Official Microsoft Website
The first step in downloading Windows Media Player is to visit the official Microsoft website. Open your preferred web browser and type in “www.microsoft.com” in the address bar. Hit enter, and you will be redirected to the Microsoft homepage.
Once you are on the Microsoft homepage, navigate to the top menu and click on the “Downloads” section. This will take you to the Downloads page, where you can find a wide range of Microsoft software and applications.
On the Downloads page, you will notice a search bar. Type in “Windows Media Player” in the search bar and press enter or click on the magnifying glass icon. This will initiate the search for Windows Media Player on the Microsoft website.
After the search is completed, you will be presented with the search results. Look for the official Windows Media Player download page, which should be listed among the top results. Click on the link to open the Windows Media Player download page.
Once you are on the Windows Media Player download page, take a moment to review the information and system requirements provided. Make sure that your computer meets the minimum requirements to install and run Windows Media Player smoothly.
At this stage, you may also want to explore the additional features and functionalities that Windows Media Player offers. Microsoft often provides detailed descriptions and screenshots of the software, giving you a better understanding of its capabilities.
With the Windows Media Player download page open and familiarized with the software, you are now ready to proceed to the next step: choosing the correct version for your operating system. Stay tuned for Step 2, where we will guide you through this crucial step.
Step 2: Locating the Windows Media Player Download Page
Now that you’re on the official Microsoft website, it’s time to locate the Windows Media Player download page. Follow these simple instructions to find the download page:
- On the Microsoft website, locate the search bar at the top of the page.
- Type “Windows Media Player” into the search bar and press enter or click on the search icon.
- Look through the search results for the official Windows Media Player download page.
- Click on the link that corresponds to the download page. It should be labeled as “Windows Media Player – Download now”.
Alternatively, you can directly visit the Windows Media Player download page by entering “www.microsoft.com/windows-media-player” in your web browser’s address bar. This will take you directly to the download page, bypassing the need for a search.
Once you are on the Windows Media Player download page, you will find all the necessary information about the software, including its current version, file size, and release date.
If you are not redirected to the download page and instead find yourself on an information page about Windows Media Player, look for a “Download” button or a similar option. Clicking on it should take you to the correct download page.
Remember, it is crucial to download Windows Media Player from the official Microsoft website to ensure that you are getting the most up-to-date and legitimate version of the software.
It’s worth noting that Microsoft regularly updates their software, which means that the download page and interface may vary slightly over time. However, the steps outlined in this guide should still be applicable regardless of any minor changes in the website’s layout or design.
Now that you have successfully located the Windows Media Player download page, let’s move on to Step 3, where we will guide you through choosing the correct version for your operating system.
Step 3: Choosing the Correct Version for Your Operating System
Choosing the correct version of Windows Media Player for your operating system is crucial to ensure compatibility and optimal performance. Here’s how you can determine the right version:
- On the Windows Media Player download page, scroll down until you see the available download options.
- You will typically find different versions for various operating systems, such as Windows 10, Windows 8, and Windows 7. Click on the version that corresponds to your operating system.
- When selecting the version, you may also need to choose between a 32-bit or 64-bit version. If you are unsure which version your computer uses, you can follow these steps to find out:
- On your Windows computer, click on the “Start” button and navigate to the “Settings” (gear icon).
- In the Settings menu, click on “System” and then choose “About”.
- Under the “Device specifications” section, look for the “System type” information. It will indicate whether your operating system is 32-bit or 64-bit.
- Once you have selected the correct Windows version and system type, click on the “Download” button or link associated with that version.
It’s important to note that Windows Media Player may already be pre-installed on your computer if you are using a Windows operating system. In such cases, you may not need to download it separately. However, it’s still a good idea to visit the download page to check for updates and ensure that you have the latest version of the software.
If you are using an older version of Windows that is no longer supported by Microsoft, you may encounter limitations in terms of available updates or features. In such cases, you may consider upgrading your operating system to a newer version to ensure compatibility and access to the latest enhancements.
Now that you have successfully chosen the correct version of Windows Media Player for your operating system, it’s time to move on to the next step: initiating the download process. Join us in Step 4 as we guide you through the steps to download Windows Media Player onto your computer.
Step 4: Initiating the Download Process
Now that you have chosen the correct version of Windows Media Player for your operating system, it’s time to initiate the download process. Follow these steps to get started:
- On the Windows Media Player download page, locate the “Download” button associated with your chosen version.
- Click on the “Download” button to start the download process. You may be prompted to save the file or run it directly from your browser. Choose the option that suits your preference.
- The download will begin, and you will see a progress bar indicating the status of the download. The speed of the download will depend on your internet connection, so please be patient.
- Once the download is complete, locate the downloaded file on your computer. It is usually saved in the “Downloads” folder unless you specified a different location during the download.
Before proceeding with the installation, it’s always a good idea to verify the integrity of the downloaded file. You can do this by comparing the file size and the MD5 or SHA1 checksum provided on the Windows Media Player download page. This step ensures that the downloaded file has not been tampered with and is authentic.
Now that you have successfully downloaded the Windows Media Player installer file, you are ready to proceed to the final step: installing Windows Media Player on your computer. Join us in Step 5 as we guide you through the installation process.
Step 5: Installing Windows Media Player on Your Computer
With the Windows Media Player installer file downloaded onto your computer, it’s time to install the application. Follow these steps to successfully install Windows Media Player:
- Locate the downloaded installer file on your computer. It is typically saved in the “Downloads” folder or in the location you specified during the download process.
- Double-click on the installer file to initiate the installation. You may be prompted by User Account Control (UAC) to allow the installation to proceed. Click “Yes” to continue.
- The Windows Media Player setup wizard will launch. Follow the on-screen instructions to proceed with the installation.
- Read and accept the End User License Agreement (EULA) if prompted. It is important to review the terms and conditions before proceeding with the installation.
- Select the installation options that best suit your needs. You may be given the option to customize the installation location, shortcuts, and file associations. Make your selections and click “Next” to proceed.
- Wait for the installation process to complete. This may take a few minutes, depending on your computer’s performance and the selected installation options.
- Once the installation is finished, you will see a confirmation message. Click “Finish” to exit the setup wizard.
Congratulations! You have successfully installed Windows Media Player on your computer. You can now enjoy playing and organizing your media files using this versatile media player.
After the installation, it’s always a good idea to check for updates. Microsoft regularly releases updates for Windows Media Player to enhance its performance and add new features. You can access the update options within the application itself or by visiting the Windows Update section in your computer’s settings.
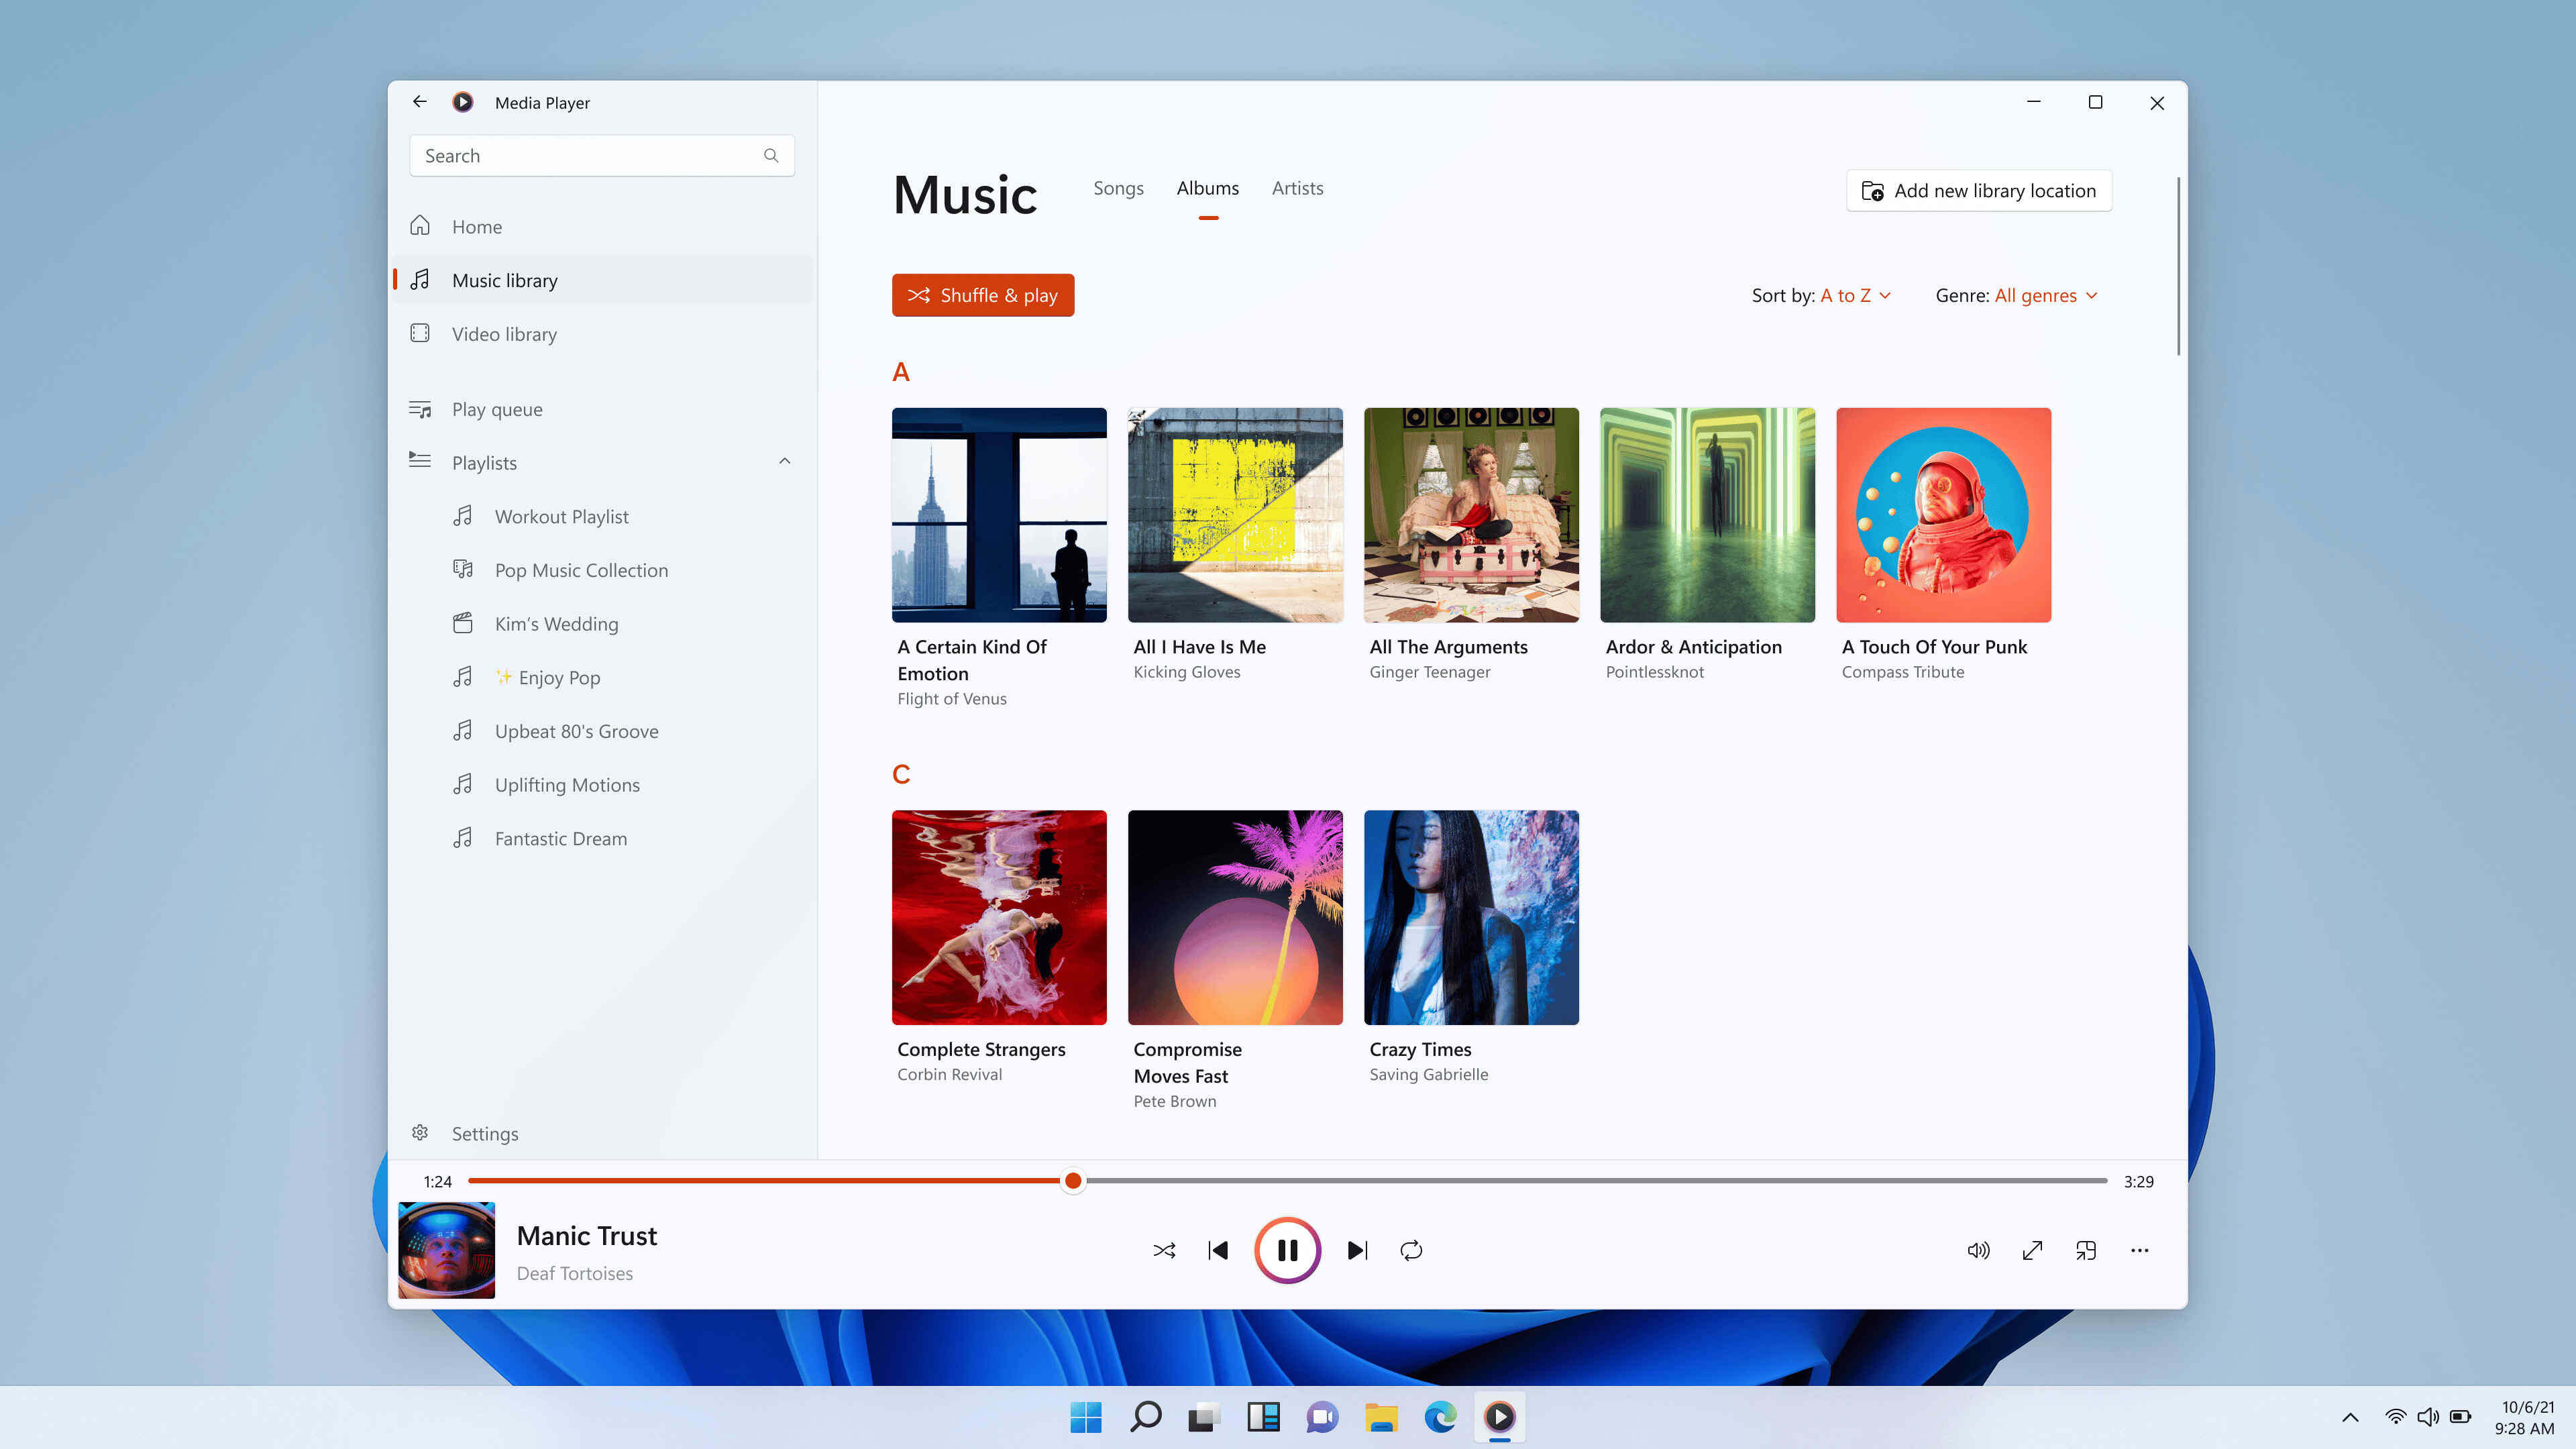
Now that Windows Media Player is installed on your computer, you can start exploring its various features and functionalities. Play your favorite music, watch videos, organize your media library, and enjoy the seamless media playback experience that Windows Media Player provides.
Thank you for following our step-by-step guide on how to download and install Windows Media Player. We hope this article has been helpful in getting you started with this popular media player. If you have any questions or encounter any issues during the process, don’t hesitate to seek assistance from Microsoft’s support resources.
Conclusion
Congratulations! You have successfully completed the journey of downloading and installing Windows Media Player on your computer. Now, you can enjoy seamless media playback, organize your music library, and immerse yourself in the world of digital entertainment.
Throughout this guide, we have provided you with simple and easy-to-follow steps to ensure a smooth installation process. From visiting the official Microsoft website and locating the Windows Media Player download page to choosing the correct version for your operating system and initiating the download process, each step has been carefully explained to help you navigate the process with confidence and ease.
By following our step-by-step instructions, you have ensured that you are downloading Windows Media Player from the official Microsoft website, which guarantees that you are obtaining the most up-to-date and legitimate version of the software. This ensures compatibility, security, and access to the latest features and enhancements.
Remember, it’s always a good practice to regularly check for updates to keep your Windows Media Player software current and to enjoy the latest features and improvements offered by Microsoft. Stay connected with the official Microsoft updates and support resources for any help or guidance you may need along the way.
Thank you for choosing Windows Media Player as your media player of choice, and we hope this guide has been helpful in assisting you throughout the process. Embrace the world of digital media and enjoy the endless possibilities of music, videos, and more with Windows Media Player!