Introduction
Welcome to the world of Zune, a revolutionary music device that allows you to carry your favorite tunes wherever you go. With the Zune software and the Zune Marketplace, you have access to a vast collection of music that can be easily downloaded to your Zune device.
In this article, we will guide you through the steps to download music to your Zune and get you jamming to your favorite beats in no time. Whether you’re a music enthusiast or simply looking to expand your musical library, this guide will walk you through the process of downloading and syncing your music with your Zune device.
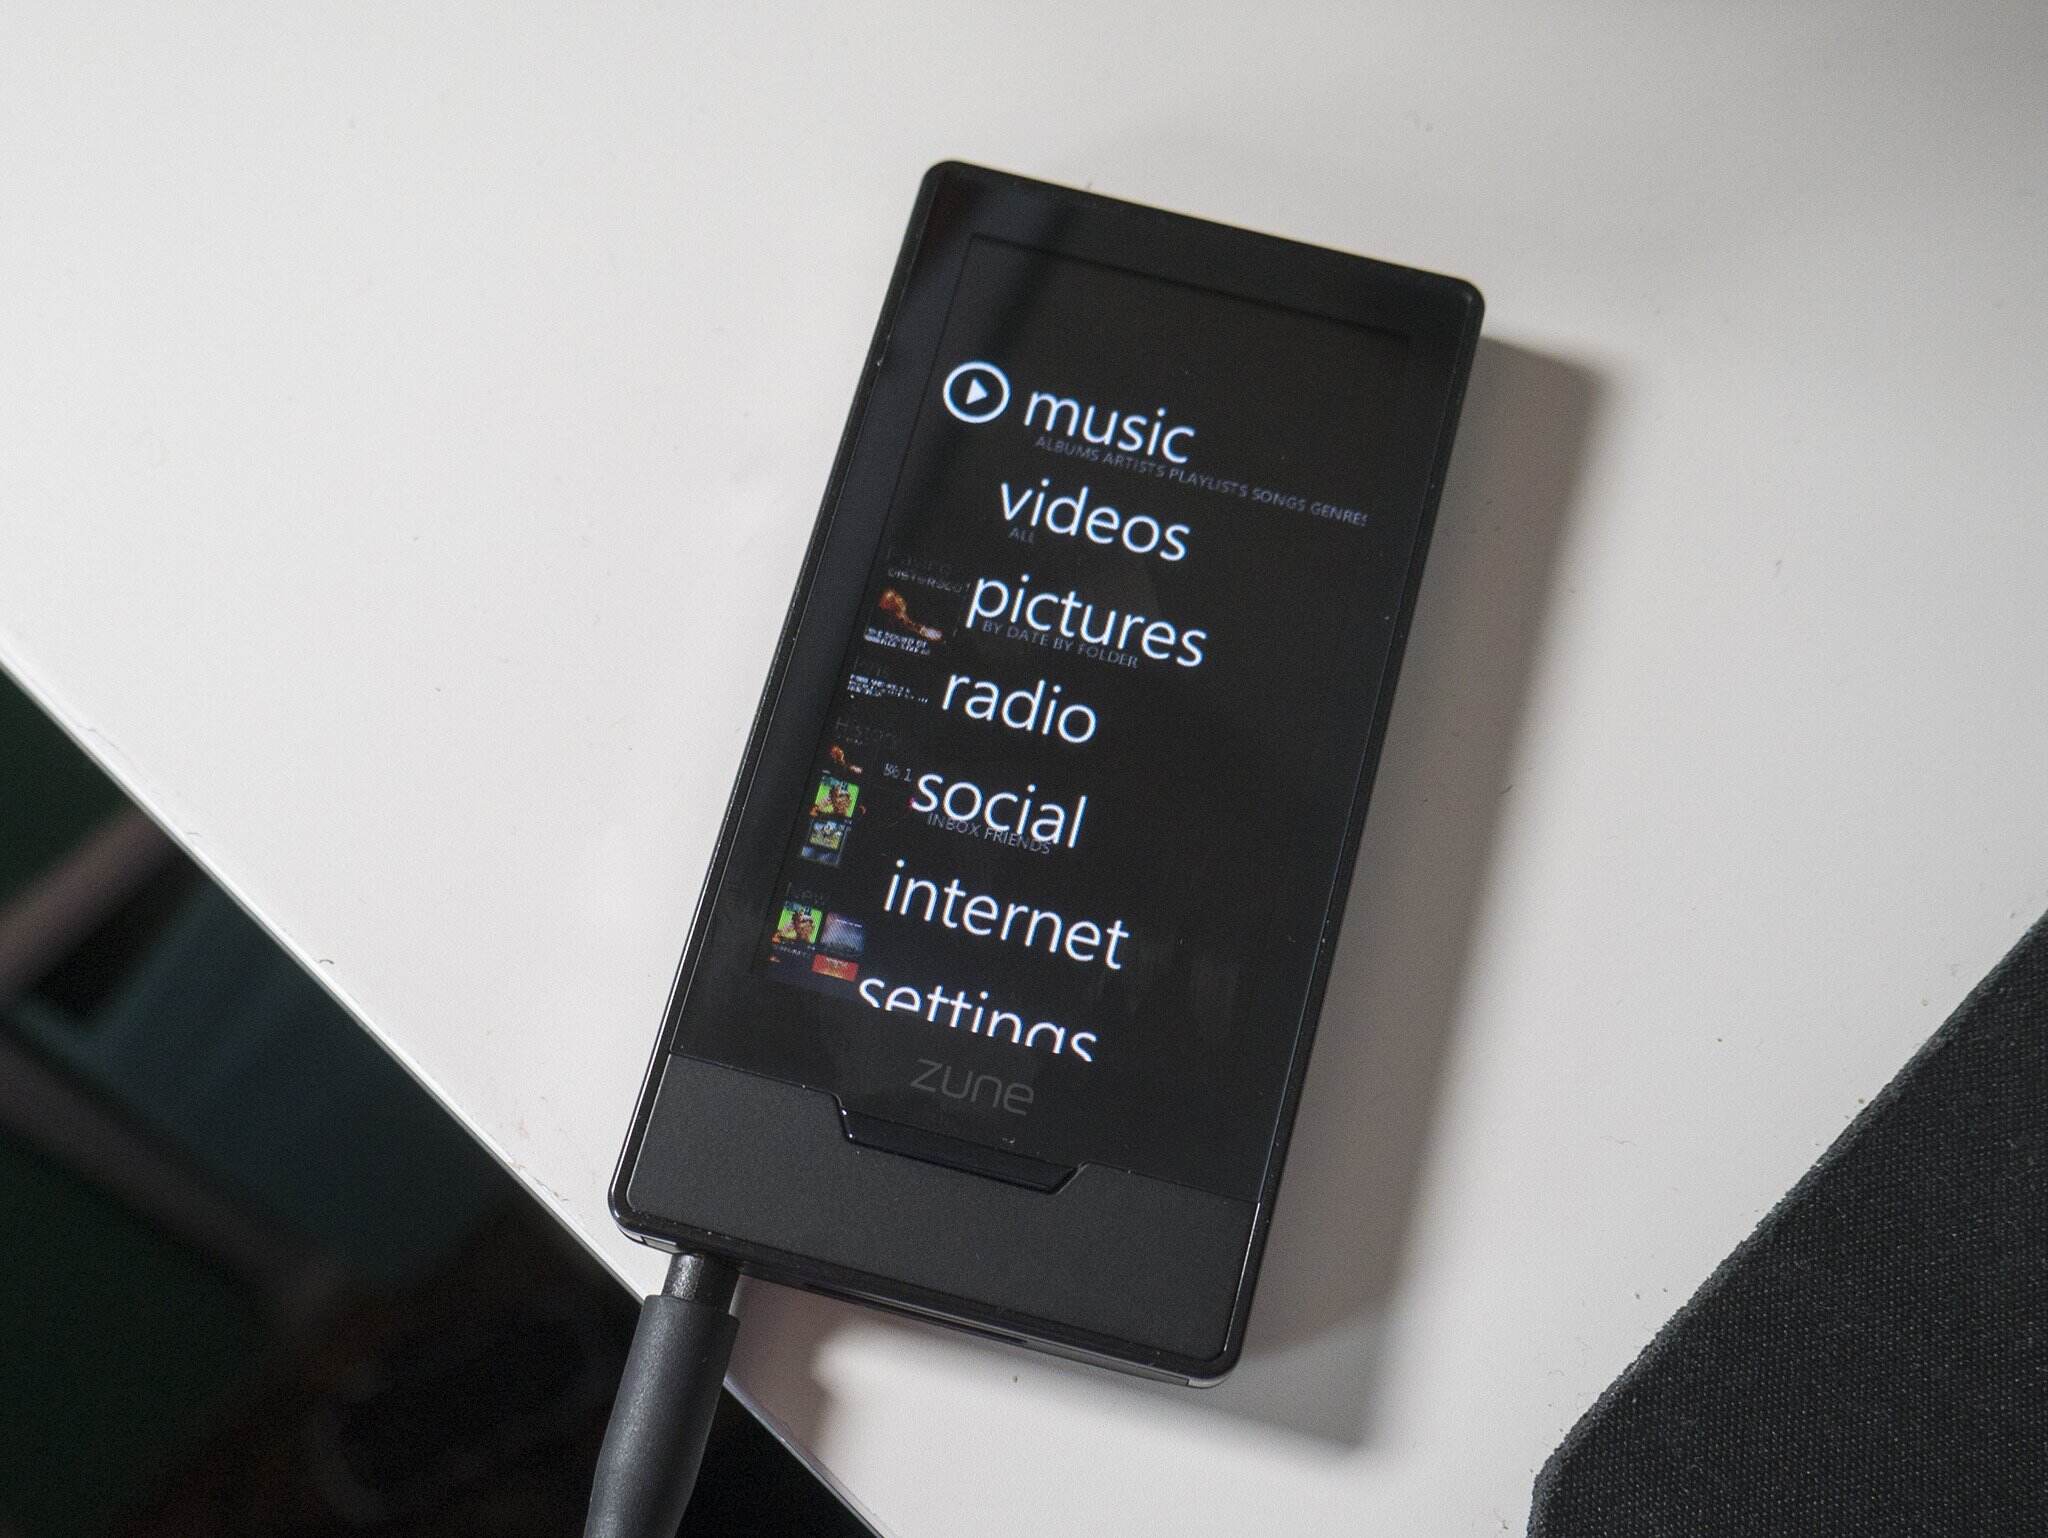
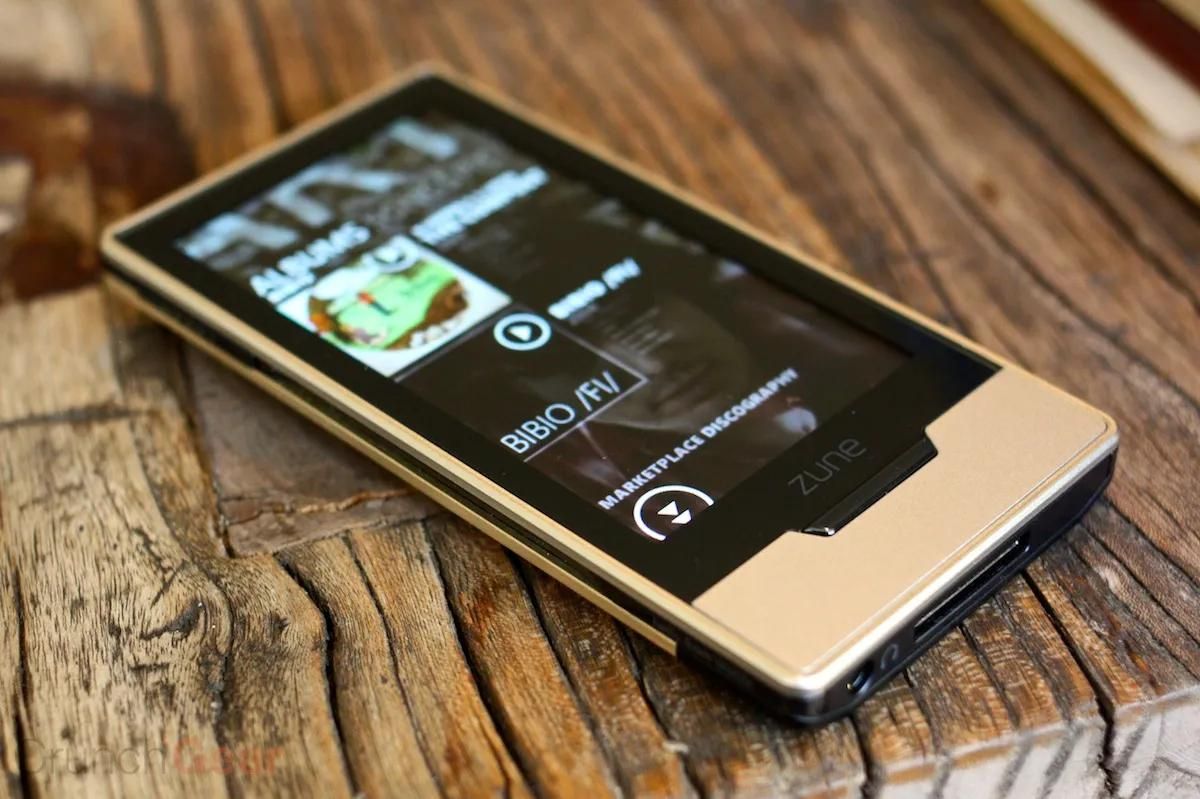
With its sleek design and user-friendly interface, the Zune device has captured the hearts of music lovers around the world. Powered by the Zune software, this device offers a seamless and efficient way to manage and enjoy your music collection. Whether you’re a fan of pop, rock, hip-hop, or any other genre, the Zune Marketplace has a wide selection of tracks to cater to your musical taste.
So, if you’re ready to embark on a musical journey with your Zune device, let’s get started. Follow the steps outlined in this guide and soon you’ll be grooving to the rhythm of your favorite tunes.
Step 1: Install Zune Software
Before diving into the world of music on your Zune device, you need to install the Zune software on your computer. Here’s how you can do it:
- First, navigate to the official Zune website.
- Look for the download section and click on the link to download the Zune software.
- Once the download is complete, locate the installation file and double-click on it to start the installation process.
- Follow the on-screen instructions to install the Zune software on your computer. Make sure to read and accept the terms and conditions if prompted.
- Once the installation is complete, launch the Zune software by clicking on the desktop icon or searching for the program in your Start menu.
The Zune software provides a seamless interface for managing and organizing your music library. It also acts as a bridge between your computer and your Zune device, allowing you to transfer and sync your favorite songs effortlessly.
During the installation process, you may be prompted to create a Zune account. This account is necessary to access the full features of the Zune Marketplace and download music directly to your device. Simply follow the instructions to create your account, providing the necessary information such as your email address and a secure password.
Once you have installed the Zune software and created your account, you are ready to move on to the next step: connecting your Zune device.
Step 2: Connect Your Zune Device
Now that you have the Zune software installed on your computer, it’s time to connect your Zune device. Follow these steps:
- Locate the USB cable that came with your Zune device. It usually has a distinctive Zune logo on the connector.
- Plug one end of the USB cable into the port on your Zune device.
- Connect the other end of the USB cable to an available USB port on your computer.
Once you have connected your Zune device to your computer, the Zune software should automatically detect it. You may see a notification or a pop-up window indicating that a new device has been connected.
If the Zune software does not automatically open, launch it manually by clicking on the desktop icon or searching for it in your Start menu.
In the Zune software, you should now see your Zune device listed under “Devices” or a similar section. This means that your device is successfully connected and ready to be synced with your music library.
It’s important to note that the Zune device may require charging before it can be fully operational. If your device’s battery is low, connect it to a power source, such as a wall charger or your computer’s USB port, and allow it to charge for a few minutes before proceeding.
Now that your Zune device is connected, it’s time to move on to the next step: adding music to your Zune library.
Step 3: Add Music to Your Zune Library
With your Zune device connected, it’s time to start building your music library. Follow these steps to add music to your Zune library:
- In the Zune software, click on the “Collection” tab, located at the top of the window.
- Next, click on the “Music” option in the left sidebar to display your current music library.
- To add music to your library, you have a few options:
- Option 1: Import music from your computer: If you already have music files saved on your computer, you can click on the “Add to Library” button in the top menu and select the music files or folders you want to import.
- Option 2: Rip music from audio CDs: If you have physical audio CDs, you can insert them into your computer’s CD drive. The Zune software will recognize the CDs and give you the option to rip the tracks and add them to your library.
- Option 3: Purchase music from the Zune Marketplace: The Zune Marketplace offers a wide variety of music for purchase. Click on the “Marketplace” tab in the Zune software and browse through the available music. Once you find a song or album you want to add to your library, click on the “Buy” or “Add to Cart” button to complete the purchase.
- After adding music to your library, the Zune software will automatically organize the tracks by artist, album, and genre. You can further customize your library by creating playlists and adding tags to your music files.
Adding music to your Zune library allows you to easily access and manage your favorite songs. You can listen to your music directly from the Zune software on your computer, or sync selected songs to your Zune device for on-the-go playback.
Now that you have successfully added music to your Zune library, it’s time to explore the next step: downloading music from the Zune Marketplace.
Step 4: Download Music from Zune Marketplace
The Zune Marketplace is a treasure trove of diverse music genres, offering a vast collection for you to explore and enjoy. Take the following steps to download music from the Zune Marketplace:
- In the Zune software, navigate to the “Marketplace” tab.
- Browse through the available music categories, such as “Top Albums,” “Featured Artists,” or use the search bar to find a specific song or artist.
- Once you find a song or album you want to download, click on it to view more details.
- Click on the “Buy” button or the price listed next to the song or album to initiate the purchase process.
- You may be prompted to sign in to your Zune account if you haven’t already done so. Enter your account credentials to proceed.
- Follow the on-screen instructions to complete the purchase. You may be required to enter your payment information, such as credit card details, if you haven’t already set it up.
- After the purchase is confirmed, the Zune software will automatically begin downloading the selected music to your library.
- Once the download is complete, you can find the purchased music in your Zune library, ready to be enjoyed.
The Zune Marketplace offers a diverse range of music, from popular hits to indie gems, ensuring that you’ll find something to suit your musical taste. Browse through the available options, explore different genres, and discover new artists through this immersive platform.
Remember to keep your Zune software updated to access the latest features and optimizations. Check for updates regularly to ensure the smooth functionality of the Zune Marketplace and the Zune software.
Now that you have successfully downloaded music from the Zune Marketplace, it’s time to proceed to the next step: syncing your music to your Zune device.
Step 5: Sync Music to Your Zune Device
Now that you have downloaded music to your Zune library, it’s time to sync the songs to your Zune device for on-the-go listening. Follow these steps to sync music to your Zune device:
- Connect your Zune device to your computer using the USB cable.
- Launch the Zune software if it’s not already open.
- In the Zune software, click on the “Device” tab or navigate to the section that displays your connected Zune device.
- Select the songs, albums, or playlists that you want to sync to your Zune device. You can choose individual tracks or select entire albums or playlists by holding down the Ctrl key (or Command key on Mac) and clicking on multiple items.
- Once you have made your selections, click on the “Sync” button, usually located at the bottom of the Zune software window.
- The Zune software will begin syncing the selected music to your Zune device. The sync progress will be displayed in the Zune software window.
- Wait until the sync is complete. Do not disconnect your Zune device during the sync process.
- Once the sync is finished, you can safely disconnect your Zune device from the USB cable.
Now, your Zune device is loaded with your favorite music, ready to be enjoyed anytime and anywhere. Whether you’re commuting, working out, or simply relaxing, you can take your music collection with you and immerse yourself in the melodies that move you.
Keep in mind that you can sync your Zune device with your computer periodically to update your music library and add new tracks. Simply repeat the syncing process outlined above whenever you want to refresh your music collection.
Now that you have successfully synced your music to your Zune device, it’s time to revel in the joy of listening to your favorite tunes on the go.
Step 6: Enjoy Your Music on Zune
Congratulations! You have successfully downloaded and synced your music to your Zune device. Now it’s time to sit back, relax, and enjoy your favorite tunes wherever you go. Here are a few tips on how to make the most of your music on your Zune:
- Disconnect your Zune device from your computer and put on your headphones or connect it to a speaker for a shared music experience.
- Explore the various playback options on your Zune device. You can create playlists, shuffle your music library, or choose your favorite songs for repeat play.
- Try out the different EQ settings on your Zune device to enhance your listening experience. Customize the sound according to your preferences, whether you prefer more bass or a balanced sound profile.
- Use the Zune software on your computer to further organize your music library. Create playlists for different moods or occasions, edit song tags to ensure accurate metadata, and modify album artwork for a visually appealing collection.
- Discover new music through the Zune Marketplace. Browse recommended songs or explore genres and artists you haven’t ventured into before. Expand your musical horizons and let your Zune device introduce you to fresh sounds.
- Consider connecting your Zune device to other devices, such as speakers or car audio systems, using compatible cables or wireless methods for an immersive listening experience.
- Keep your Zune device charged to ensure uninterrupted music playback. Ensure that you have a reliable power source, whether it’s a wall charger, a computer USB port, or a portable power bank.
- Regularly update your Zune software to access new features and optimizations. Visit the official Zune website or check for updates within the software itself to stay up to date.
With your Zune device, you have the freedom to carry your music collection with you and enjoy it on the go. Immerse yourself in the melodies that inspire and uplift you, creating lasting memories and moments through the power of music.
Now that you have reached the final step, it’s time to hit play and let the rhythm of your favorite songs fill your ears as you embark on a musical journey with your Zune device.