Introduction
Welcome to our guide on how to download free music on your Mac! With the rise of digital music streaming platforms, it’s become easier than ever to listen to your favorite songs on the go. However, sometimes we may want to have those tracks available offline for uninterrupted playback or to build our personal music library.
Fortunately, the internet offers a plethora of options to enjoy music without breaking the bank. In this article, we’ll explore various methods that allow you to download free music on your Mac effortlessly. Whether you’re a music aficionado looking for new tracks or just want to enjoy your favorite songs without an internet connection, we’ve got you covered.
Before diving into the different techniques, it’s important to note that downloading copyrighted music for free without permission is illegal. Therefore, we’ll focus on legal and ethical ways to download music, such as free music websites, streaming services that offer free downloads, and using torrents responsibly.
So, if you’re ready to expand your music collection and discover new artists without spending a dime, let’s get started with our guide on how to download free music on your Mac!
Searching for Free Music
When it comes to downloading free music for your Mac, the first step is to find reliable sources that offer a wide selection of tracks. Here are a few methods to help you in your search:
- Free Music Websites: There are numerous websites dedicated to providing free and legal music downloads. These platforms often feature independent artists or tracks with Creative Commons licenses, allowing you to download and use the music for personal purposes. Websites like Jamendo, SoundCloud, and Free Music Archive are popular choices for finding free music for Mac users.
- Music Blogs and Promotional Websites: Many music blogs and promotional websites offer free downloads of songs as a way to promote up-and-coming artists. These websites often curate music from various genres, making it easier for you to discover new music while enjoying free downloads. Keep an eye out for blogs and websites that offer free music downloads specifically for Mac users.
- Artist Websites and Social Media: Some artists release their music for free directly on their websites or social media platforms, as a way to connect with their fans and gain exposure. Visiting your favorite artist’s website or following them on social media can lead you to download links for their songs. Additionally, many artists offer free downloads in exchange for joining their mailing list or following their social media accounts.
- Online Music Communities: Participating in online music communities can be a great way to find free music. These communities often consist of artists and music enthusiasts who share their work and allow others to download it for free. Reddit’s /r/freemusic subreddit and online forums like Gearslutz and SoundClick are excellent resources to find free music downloads for your Mac.
Remember to exercise caution and make sure that the sources you choose are legal and trustworthy. It’s always a good idea to read the terms of use and licenses provided by the websites to ensure you use the downloaded music appropriately.
Now that you have an idea of where to find free music, it’s time to delve into the different methods of downloading it to your Mac. In the next sections, we’ll explore how to download free music from websites, use music streaming services that allow downloading, and even navigate the world of torrents for downloading music.
Downloading Free Music from Websites
Downloading free music from websites is one of the most common and straightforward methods to build your music library. Here’s a step-by-step guide on how to download free music from websites on your Mac:
- Choose a reputable website: Start by selecting a trusted website that offers a wide range of free music downloads. Websites like Jamendo, SoundCloud, and Free Music Archive are known for their extensive collections of independent artists and legally available music.
- Search for the desired music: Once you’ve accessed a reputable website, use its search function to find the music you want to download. You can search by genre, artist name, or specific track title to narrow down your results.
- Select and download the music: After finding the desired track, click on the download button or link provided. Some websites may require you to create an account or provide an email address to access the download link.
- Choose the download format: Websites often offer different download formats, such as MP3 or WAV. Select the format that is compatible with your Mac or music player.
- Save the downloaded file: Choose a location on your Mac where you want to save the downloaded music file. It’s recommended to create a designated folder for your downloaded tracks to keep them organized.
- Check the file: After the download is complete, double-check the file to ensure it’s in the correct format and that the track plays without any issues. If there are any problems, try re-downloading or contacting the website’s support team for assistance.
It’s essential to note that while many websites offer free music downloads, some may also include paid options or limited trial periods. Always review the website’s terms and conditions to avoid any unexpected fees or restrictions.
Now that you know how to download free music from websites, let’s explore another method – using music streaming services that allow downloading.
Using Music Streaming Services that Allow Downloading
Music streaming services have revolutionized the way we listen to music, offering millions of songs at our fingertips. Many streaming platforms also provide the option to download music for offline listening. Here’s how you can use music streaming services that allow downloading on your Mac:
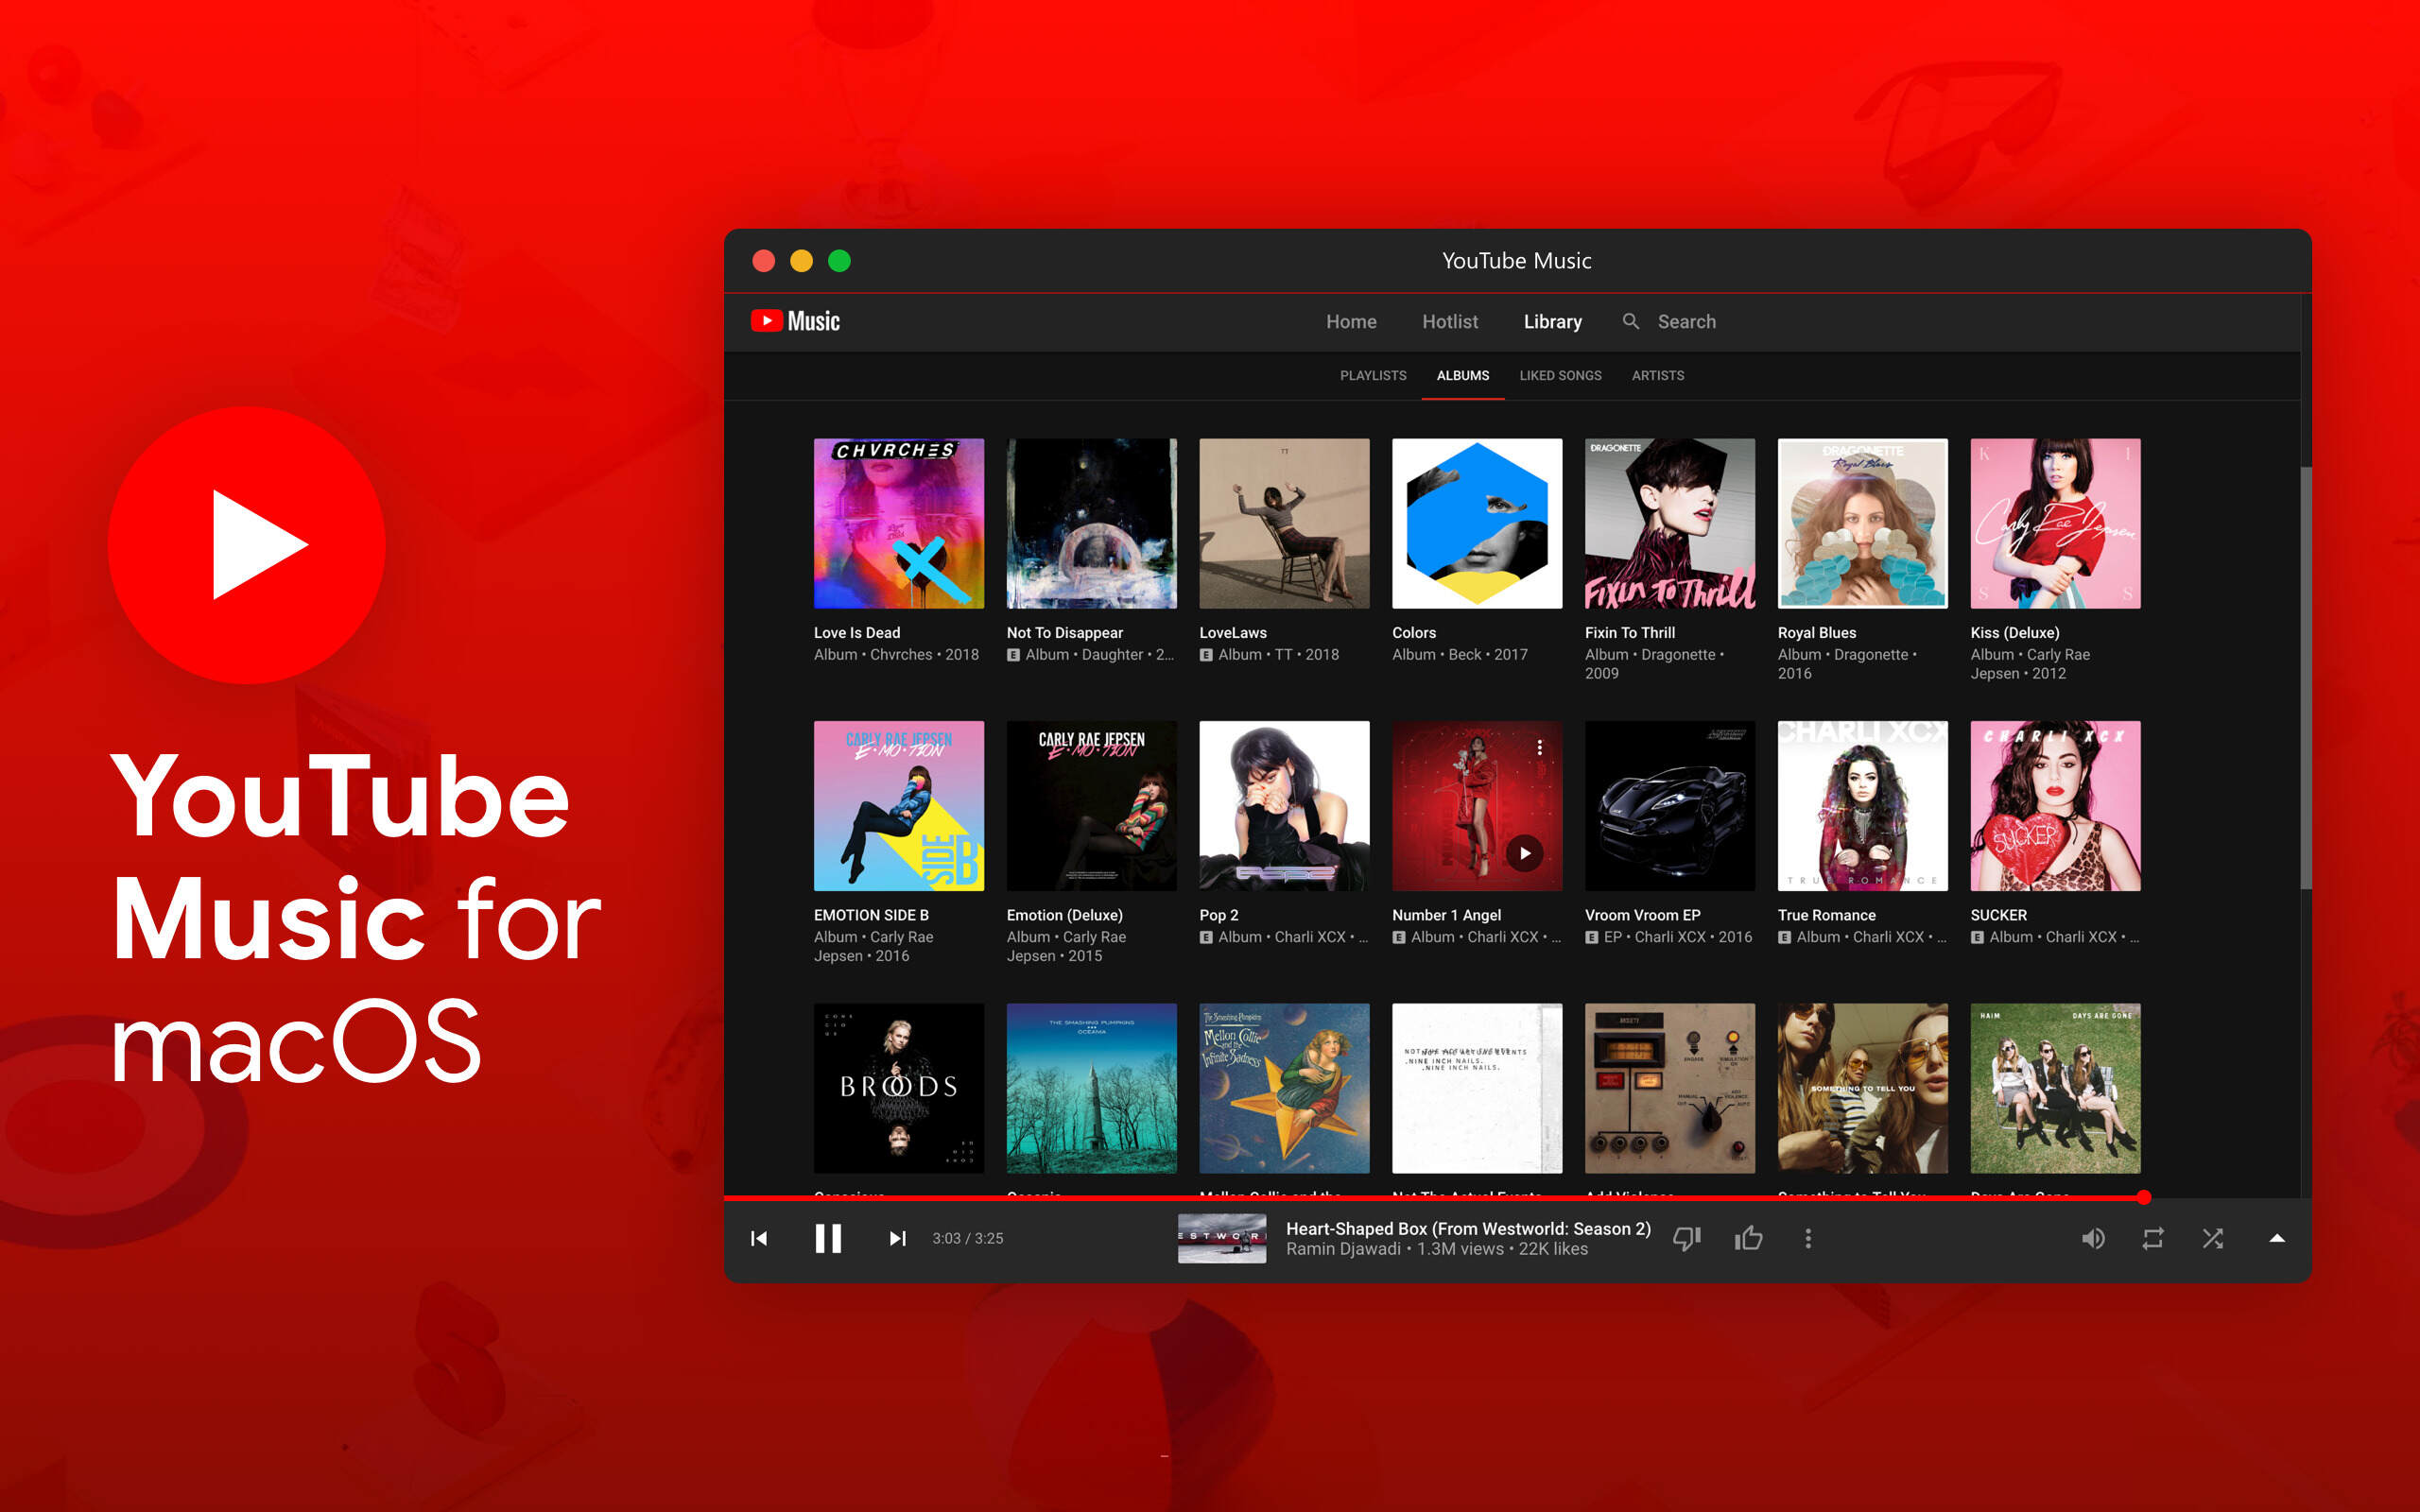
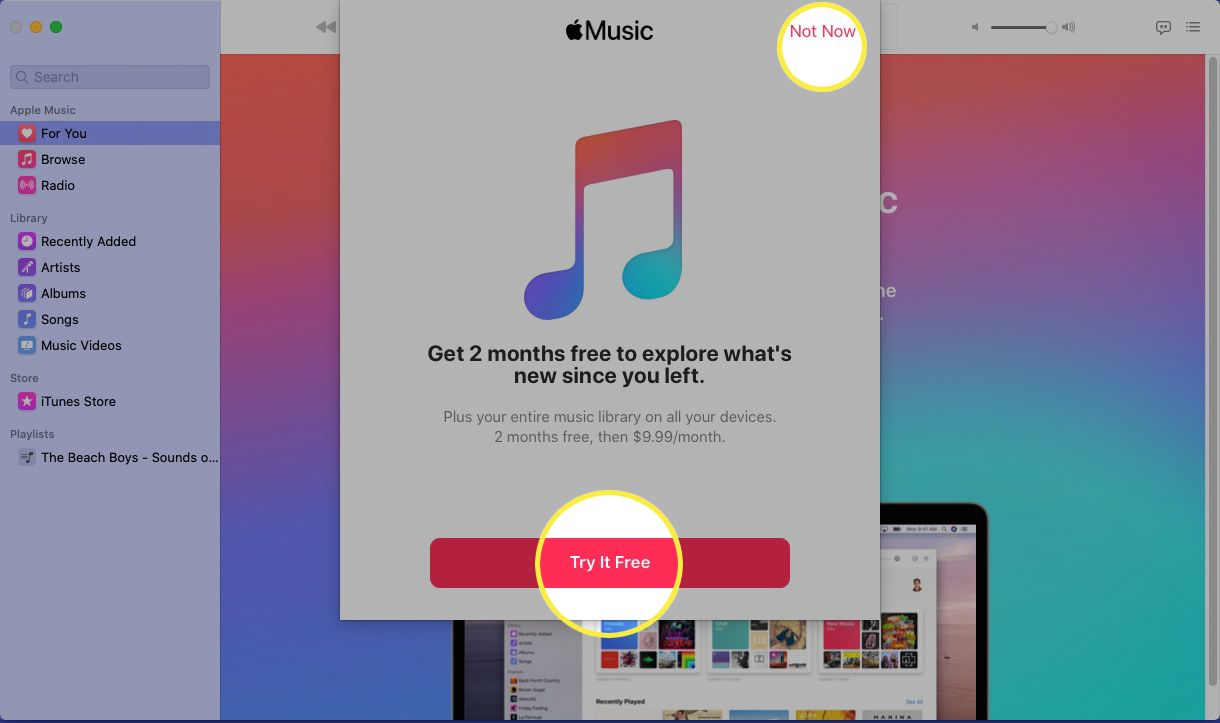
- Select a music streaming service: Choose a reputable streaming service that offers a downloading feature. Some popular choices include Spotify, Apple Music, and Amazon Music.
- Create an account: Sign up for a free account or subscribe to a premium plan if necessary. Premium plans often offer ad-free listening and additional benefits.
- Download the music app: Visit the official website of the streaming service and download the app compatible with your Mac.
- Search for music: Once you’ve installed the app, use its search function to find the music you want to download. Explore different artists, albums, and playlists to discover new tracks.
- Enable the downloading option: In the settings or preferences section of the app, ensure that the downloading feature is enabled. Some apps may have the option to automatically download music based on your preferences.
- Select the music for offline listening: Choose the specific songs, albums, or playlists you want to download for offline listening. Some apps allow you to download entire playlists or even entire artist discographies.
- Download and enjoy: Once you’ve made your selection, initiate the download process. Depending on the size of the songs or albums, it may take a few minutes or longer.
- Access the downloaded music: Once the download is complete, you can access the downloaded music within the app. Look for the “Offline” or “Downloads” section to find your downloaded tracks.
By utilizing music streaming services that allow downloading, you’ll have a vast library of music available for offline listening whenever you want, without the need for an internet connection.
Now that you know how to download music using streaming services, let’s explore another method – using torrents to download free music on your Mac.
Using Torrents to Download Free Music
Torrents have long been a popular method for downloading various types of content, including music. While using torrents to download free music comes with some risks and legal considerations, it can give you access to an extensive library of tracks. Here’s how you can use torrents to download free music on your Mac:
- Install a torrent client: Start by installing a trusted torrent client on your Mac, such as uTorrent, BitTorrent, or Transmission. These applications will allow you to download and manage torrents.
- Find a reputable torrent website: Proceed to find a reputable torrent website that hosts music files. Websites like The Pirate Bay, 1337X, and RARBG are popular choices, but exercise caution and use antivirus software to protect your computer from potentially harmful files.
- Search for music torrents: Use the search function on the torrent website to look for music torrents. You can search by artist name, album title, or even specific songs.
- Select a torrent: Review the available options and select a torrent with a sufficient number of seeders (users sharing the file). Higher seeder numbers indicate faster download speeds.
- Download the torrent file: Click on the download link or magnet icon to initiate the download of the torrent file. The torrent file contains the necessary information to download the music.
- Open the torrent file in the torrent client: Once the torrent file has downloaded, open it with your chosen torrent client. The client will connect to other users sharing the file and begin the download process.
- Monitor and manage the download: The torrent client will display the progress of your download, including the download speed and availability of seeders. You can pause, resume, or prioritize downloads as needed.
- Wait for the download to complete: Depending on the size of the music file and the speed of your internet connection, the download process may take some time. Be patient and let the torrent complete.
- Scan the downloaded file: After the download is finished, use an antivirus program to scan the downloaded music file for any potential malware or viruses. It’s crucial to ensure the safety of your computer and data.
Remember, downloading copyrighted music without permission is illegal and unethical. Make sure to respect the rights of artists and use torrents responsibly.
Now that you know how to download free music using torrents, let’s move on to configuring download settings to optimize your experience.
Configuring Download Settings
Configuring the download settings on your Mac can help optimize your music downloading experience and ensure that your files are organized and easily accessible. Here are a few settings you can consider adjusting:
- Download Location: Choose a specific folder or directory on your Mac where you want your downloaded music files to be saved. This will help you keep your music organized and easily findable.
- Automatic Downloads: Some download applications and torrent clients offer the option to automatically start and manage downloads. You can enable this feature to ensure that your music downloads begin as soon as the files are available.
- Bandwidth Allocation: If you’re downloading multiple files or using a torrent client, you can allocate the appropriate amount of bandwidth to optimize your download speed. Adjusting the settings will help avoid congestion and ensure faster downloads.
- Seeding Ratio: If you’re using torrents, consider adjusting the seeding ratio. This determines how much you upload (seed) a file after you’ve completed the download. Adjusting the ratio can balance your upload speed with your download speed.
- Notifications: Enable notifications or alerts to keep track of your downloads. Some applications may notify you when a download completes or if there are any issues during the download process.
- Virus Scan: Ensure that your antivirus software is set to automatically scan downloaded files to protect your computer from potential malware or viruses.
By configuring these settings, you can customize your music downloading process and ensure that your files are organized, secure, and easily accessible on your Mac.
Now that you’ve learned about configuring download settings, it’s time to explore how you can transfer your downloaded music to iTunes or other music players.
Transferring Downloaded Music to iTunes or Other Music Players
Once you have successfully downloaded free music on your Mac, you may want to transfer it to your favorite music player, such as iTunes or other media players. Here’s how you can transfer downloaded music to iTunes or other music players:
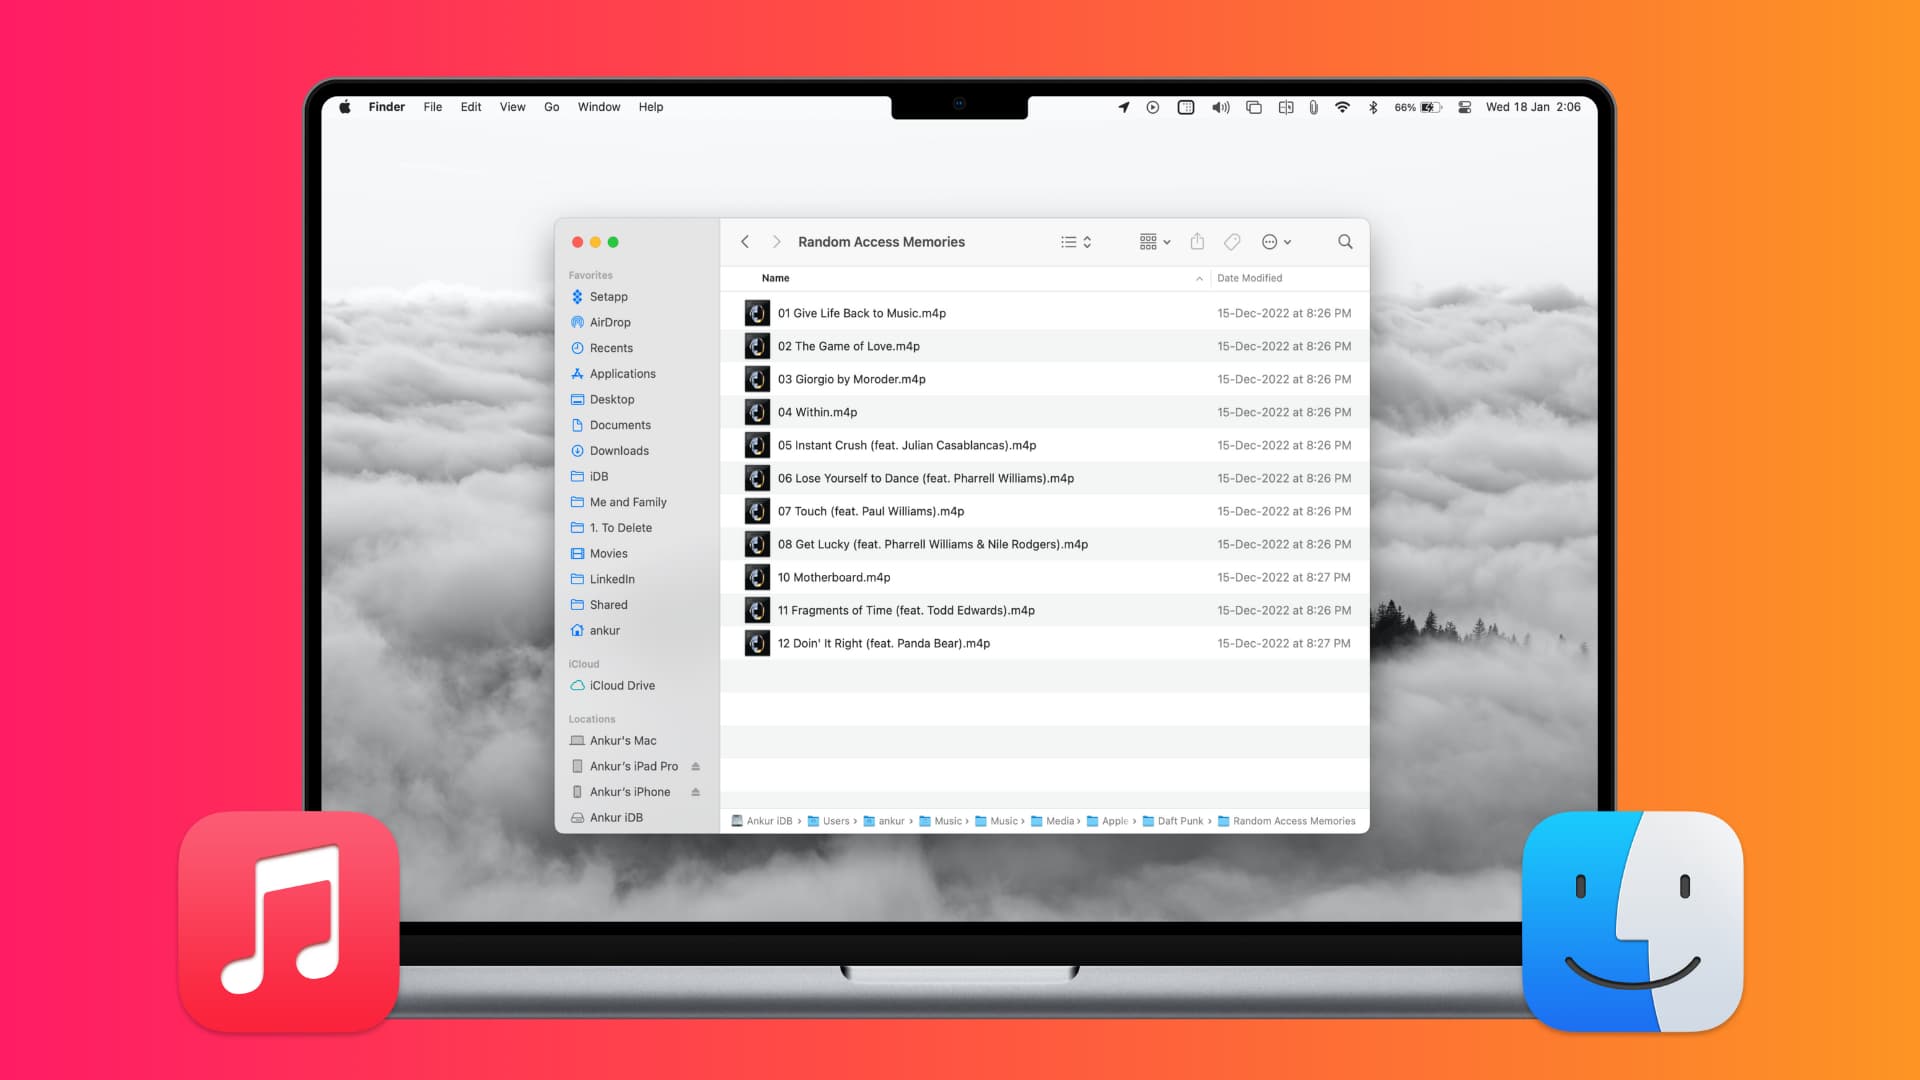
- Locate the downloaded music files: Open the folder or directory on your Mac where you saved the downloaded music files.
- Select the files: Choose the music files you want to transfer to your music player. You can either select individual files or use the “Select All” option if you want to transfer the entire folder.
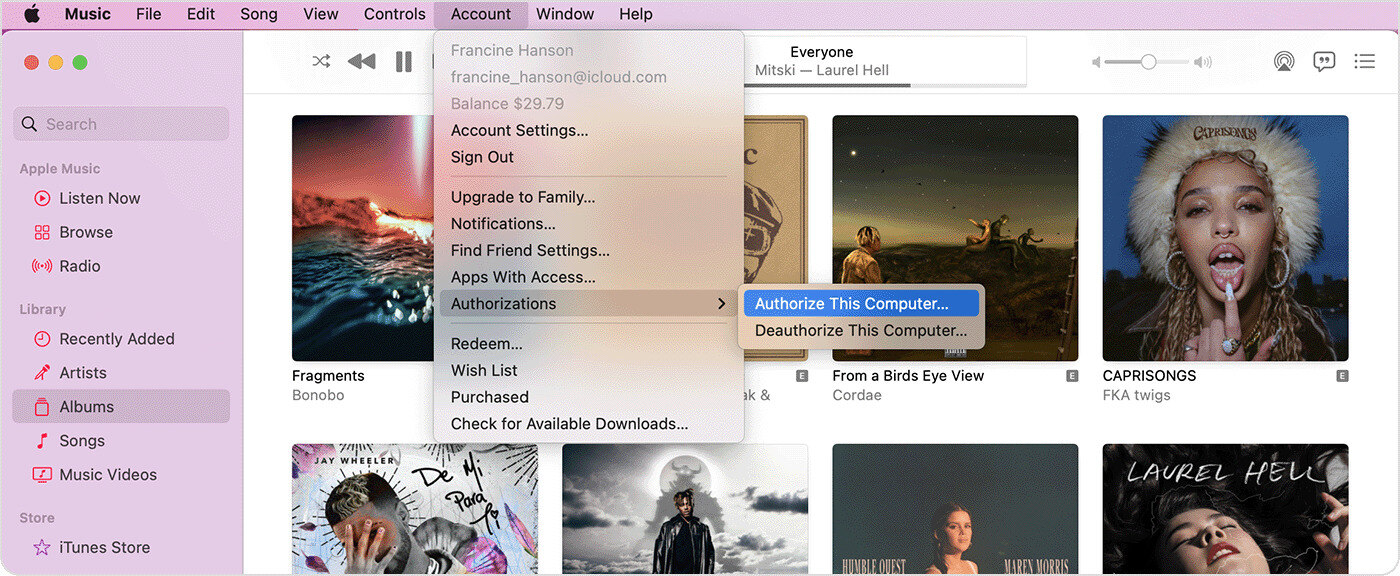
- Open your music player: Launch iTunes or your preferred media player on your Mac.
- Create a playlist (if necessary): If you want to organize the downloaded music into a specific playlist, create a new playlist in your music player and give it a name.
- Import the music files: In iTunes, go to the “File” menu and select “Add to Library” or “Add Folder to Library.” In other music players, locate the “Import” or “Add Files” option. Browse and select the downloaded music files you want to import.
- Transfer the music: Once the files are selected and imported, click the “Import” or “Add” button to initiate the transfer process. The music files will be copied to your music player’s library.
- Organize and sync (if necessary): In iTunes or your music player, you can further organize the transferred music by creating playlists, adding album artwork, or editing track information. If using iTunes, you may need to sync your music library with your iPod, iPhone, or other iOS devices to enjoy the downloaded music on the go.
- Eject and enjoy: Once the transfer process is complete, safely eject your device if applicable. You can now enjoy your downloaded music directly from your music player.
By following these steps, you can easily transfer your downloaded music files to iTunes or other music players, ensuring that you have quick access to your favorite songs wherever and whenever you want to listen to them.
Now that you know how to transfer your downloaded music, it’s time to wrap up our guide on how to download free music on your Mac.
Conclusion
Congratulations! You’ve reached the end of our guide on how to download free music on your Mac. We’ve explored various methods, including downloading from free music websites, using music streaming services that allow downloading, utilizing torrents responsibly, configuring download settings, and transferring music to iTunes or other music players.
Remember, while there are numerous ways to download free music, it’s important to respect copyright laws and use legal and ethical sources. Make sure to download music from reputable websites, support independent artists, and avoid piracy.
By following the steps outlined in this guide, you can build a diverse music library on your Mac without spending a dime. Whether you’re discovering new tracks from independent artists, enjoying your favorite songs offline with music streaming services, or exploring the vast realm of torrents, there’s a method that suits your preferences.
Now it’s time to put your newfound knowledge into action and start expanding your music collection. So, turn on your Mac, explore the different methods, download your favorite tunes, and immerse yourself in the world of music.
Happy downloading and enjoy your free music on your Mac!