Introduction
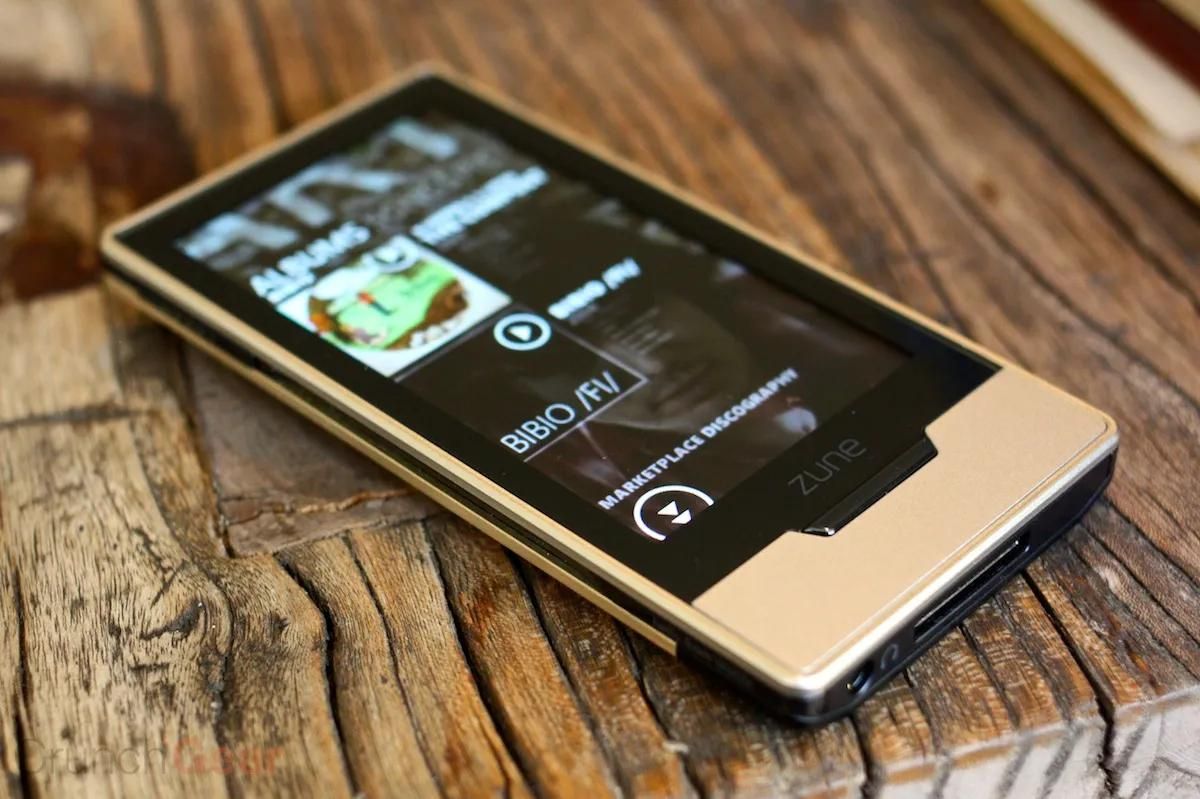
Welcome to the world of Zune, a popular music player that allows you to enjoy your favorite tunes on the go. Whether you’re a music enthusiast or simply looking to expand your music collection, learning how to download music to a Zune can provide endless hours of entertainment. With its sleek design, user-friendly interface, and impressive storage capacity, the Zune is a great choice for music lovers of all ages.
In this article, we will guide you through the process of downloading music to your Zune, from setting up the necessary software to transferring music from various sources. Whether you prefer purchasing music from the Zune Marketplace, importing music from CDs, or downloading from other sources, we’ve got you covered. We’ll also share some tips on managing your music library efficiently, so you can easily find and enjoy your favorite tracks.
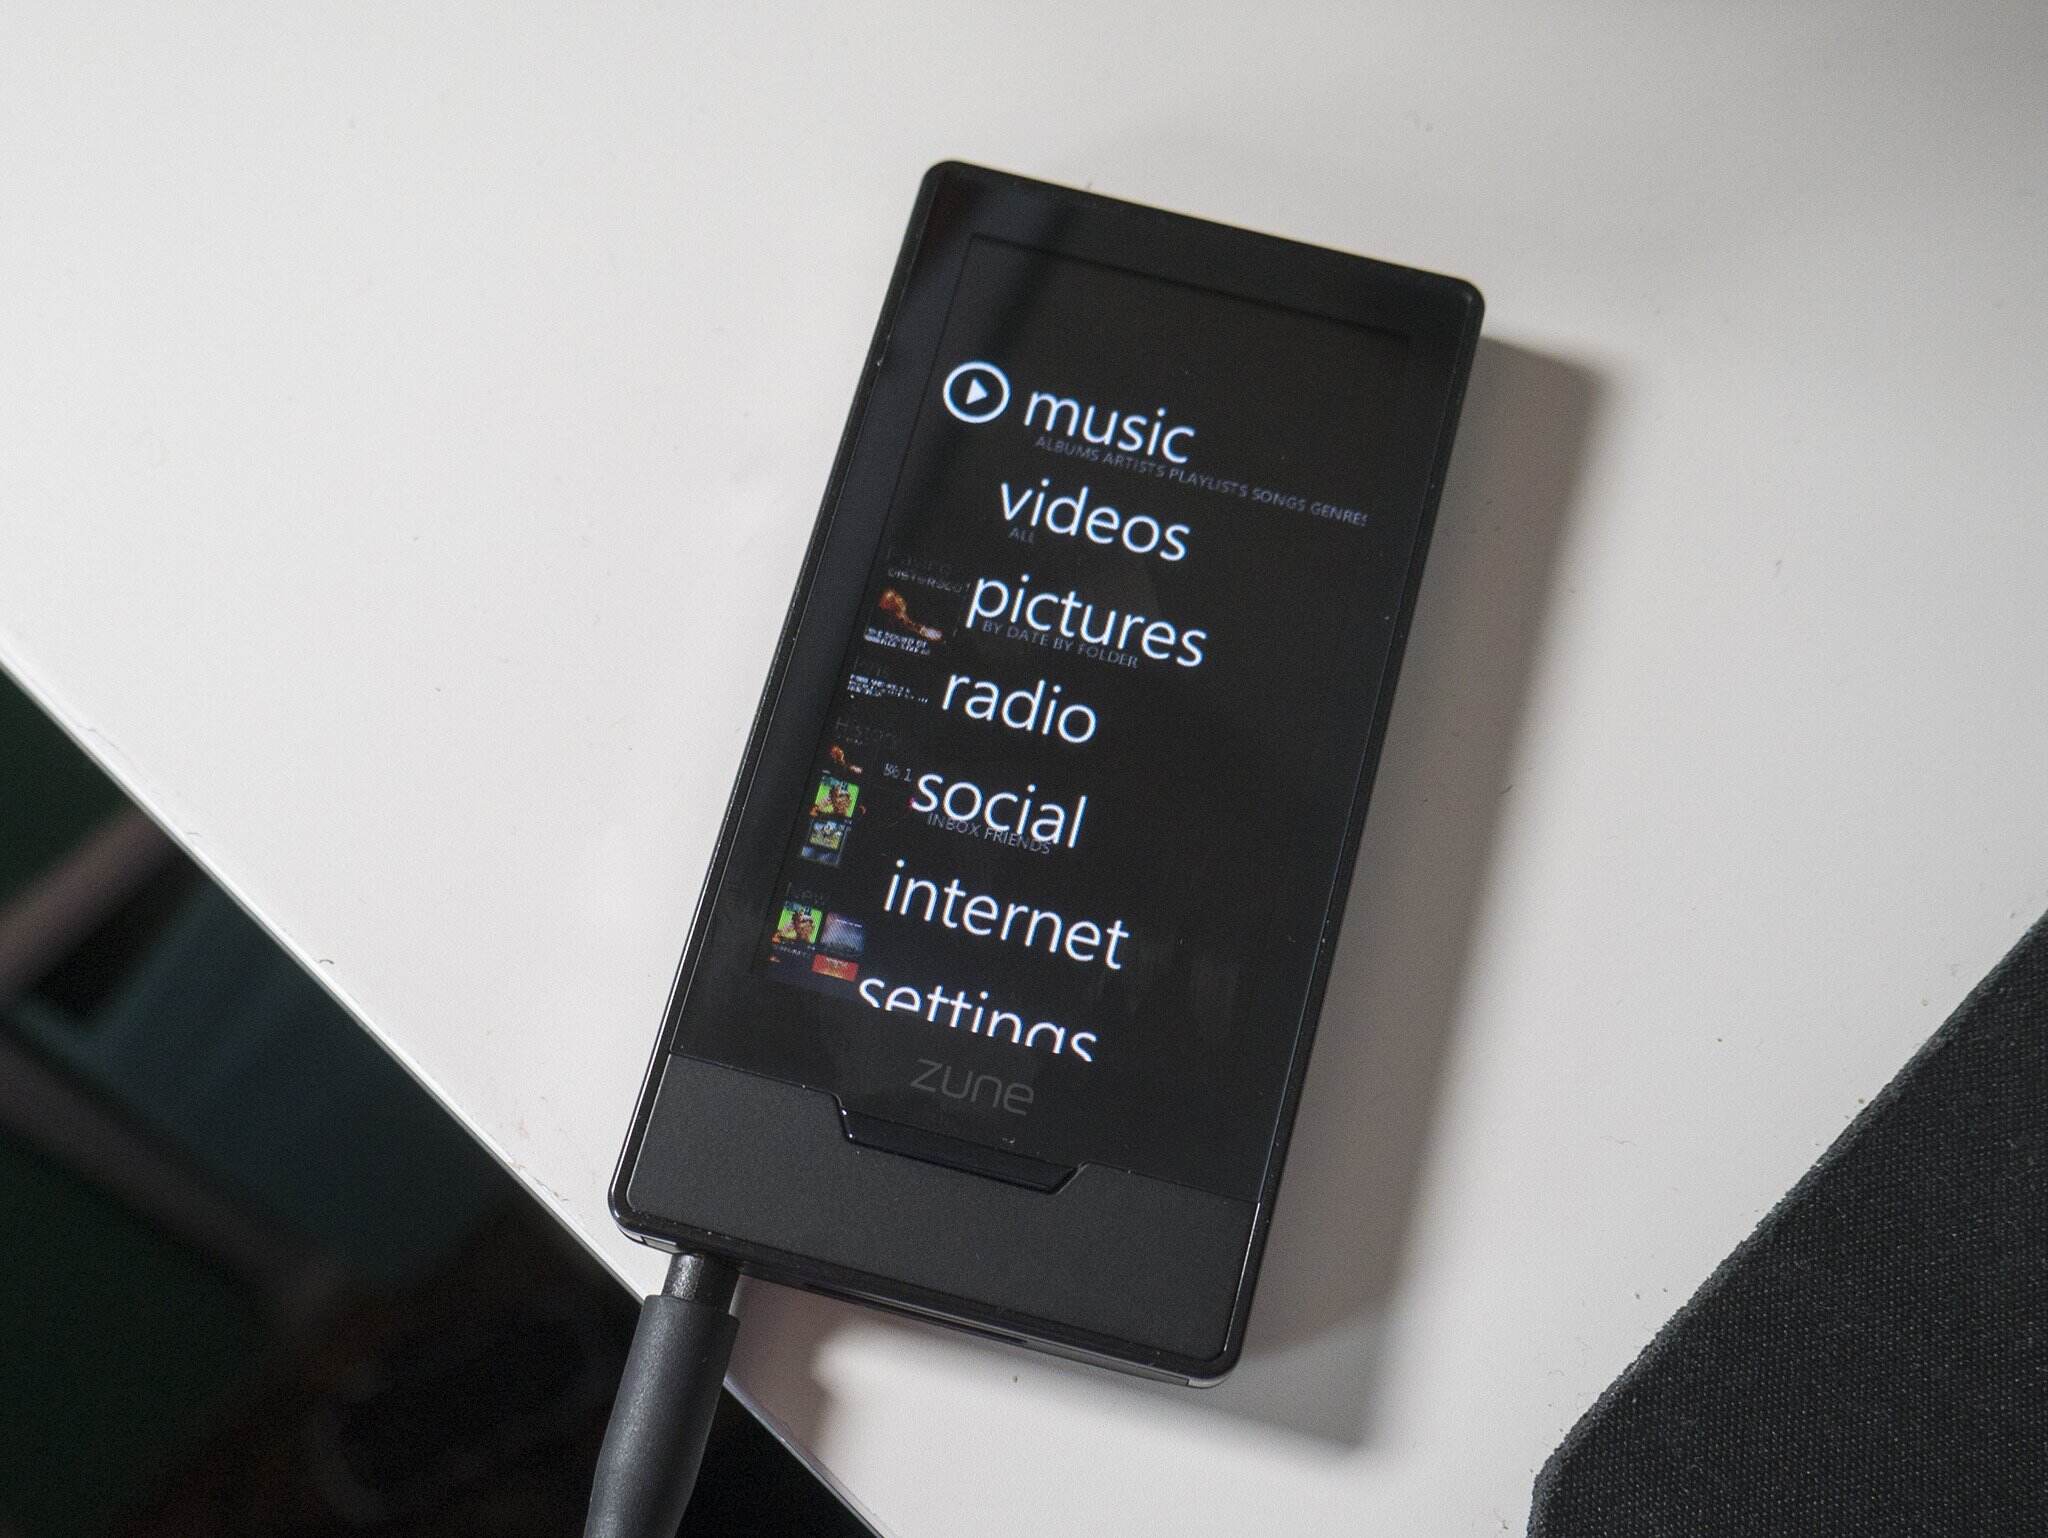
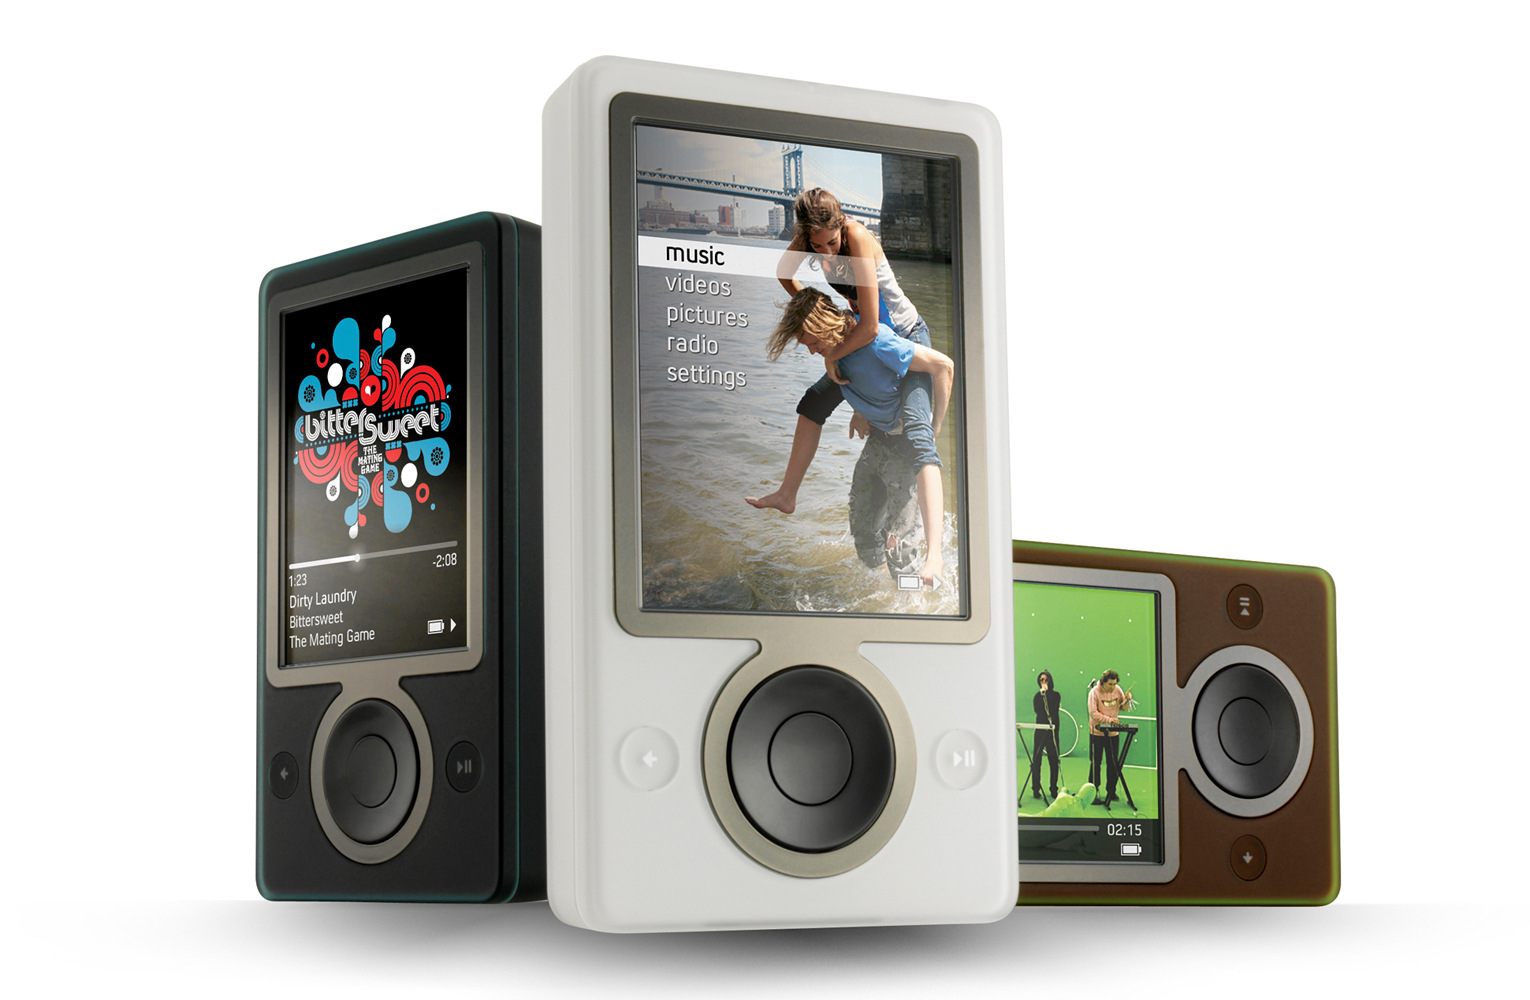
Before we dive into the details, let’s take a moment to familiarize ourselves with the Zune and the software required to manage your music collection. The Zune is a high-quality portable media player developed by Microsoft. It offers a wide range of features, including music playback, video playback, photo viewing, and even FM radio. The Zune software, on the other hand, serves as the hub for managing your music library, playlists, and device settings.
If you’re ready to embark on a musical journey with your Zune, let’s get started by setting up the necessary software.
Getting Started with a Zune
Before you can start downloading music to your Zune, it’s important to ensure that you have everything set up properly. Here are the steps to get started:
1. Charge your Zune: Connect your Zune to a power source using the provided USB cable and let it charge until it reaches a sufficient battery level. This will ensure that you have enough power to enjoy your music without any interruptions.
2. Install Zune software: Visit the official Microsoft website and download the latest version of the Zune software. Once the download is complete, run the installer and follow the on-screen instructions to install the software on your computer.
3. Create a Zune account: Launch the Zune software and click on the “Sign Up” button to create a new Zune account. You will need to provide some basic information and agree to the terms and conditions. This account will allow you to access the Zune Marketplace, where you can purchase and download music.
4. Connect your Zune to your computer: Use the USB cable to connect your Zune to your computer. The Zune software should automatically detect your device and display it in the left pane.
5. Sync your Zune: Before you can start downloading music, it’s important to sync your Zune with the software. Click on the “Device” tab in the Zune software and select the options for syncing your music library, playlists, and other media. This will ensure that your Zune is updated with the latest content from your computer.
Now that you have completed the initial setup, you’re ready to start downloading music to your Zune. In the following sections, we will explore different methods for obtaining music, including the Zune Marketplace, importing from CDs, and downloading from other sources.
Setting Up Zune Software
The Zune software is the key to managing your music library and transferring music to your Zune device. Setting up the software properly is essential for a seamless music downloading experience. Here’s how to do it:
1. Opening the Zune software: Once you have installed the Zune software on your computer, locate the program in your applications or desktop and open it. You will be greeted with a home screen displaying your music library and other features.
2. Signing in with your Zune account: If you created a Zune account during the setup process, click on the “Sign In” button in the top-right corner of the screen and enter your account credentials. This will allow you to access the Zune Marketplace and purchase music directly from the software.
3. Configuring Zune software settings: To tailor the Zune software to your preferences, click on the “Settings” button located in the top-right corner. Here, you can customize various aspects such as the location of your music library, the appearance of the software, and the sync settings for your Zune device.
4. Adding music to your library: The Zune software allows you to import music from your computer’s local storage into your library. To do this, click on the “Collection” tab at the top of the screen, then select “Music” from the left sidebar. From here, you can either drag and drop music files or folders into the Zune software or use the “Add to Collection” button to locate and select specific files.
5. Create and manage playlists: The Zune software lets you create playlists to organize your music. To create a playlist, navigate to the “Collection” tab and select “Playlists.” Click on the “Create a Playlist” button and give your playlist a name. You can then add songs by dragging and dropping them from your library into the playlist.
6. Syncing your Zune device: Once you have set up your music library and playlists, it’s time to sync your Zune device. Connect your device to your computer using the provided USB cable. The Zune software will detect your device, and you can configure the sync settings by clicking on the “Device” tab. You can choose to automatically sync your entire library or selected playlists.
With the Zune software properly set up, you are now ready to start downloading music to your Zune device. In the next sections, we will explore different methods for acquiring music and transferring it to your Zune, ensuring that you have a vast collection of tunes to enjoy on the go.
Connecting Your Zune to Your Computer
Before you can start downloading music to your Zune, you need to establish a connection between your device and your computer. This connection allows you to transfer music files, synchronize your library, and manage your Zune through the Zune software. Here’s how to connect your Zune to your computer:
1. Locate the USB port: On your Zune device, locate the USB port. It is usually located at the bottom or on the side of the device. The Zune comes with a USB cable specifically designed to connect your Zune to your computer.
2. Connect the USB cable: Take one end of the USB cable and insert it into the USB port on your Zune. Make sure you insert it all the way until it clicks into place.
3. Connect the other end: Insert the other end of the USB cable into an available USB port on your computer. It is typically found on the front or back of the computer tower or on the side of a laptop.
4. Check the connection: Once the cable is securely connected to both your Zune and your computer, your Zune should display a connection icon on its screen. Additionally, the Zune software on your computer should detect your device and display it in the left pane of the software.
5. Navigating within the Zune software: With your Zune successfully connected to your computer, you can now navigate through the Zune software to manage your music library, playlists, and sync settings. You can access various features and settings by clicking on the corresponding tabs displayed within the software.
It’s worth noting that the connection between your Zune and computer allows for more than just transferring music. You can also sync photos, videos, podcasts, and other media files, as well as perform firmware updates to keep your Zune up to date.
Now that your Zune is successfully connected to your computer, you are ready to start downloading music and enjoying your favorite tunes. In the following sections, we will explore different methods for acquiring music, whether it’s purchasing from the Zune Marketplace, importing from CDs, or downloading from other sources.
Purchasing Music from the Zune Marketplace
The Zune Marketplace is a digital music store where you can browse, purchase, and download a vast selection of music directly to your Zune device. With a wide range of genres and artists available, the Zune Marketplace offers a convenient way to expand your music collection. Here’s how to purchase music from the Zune Marketplace:
1. Access the Zune Marketplace: Open the Zune software on your computer and make sure you are signed in with your Zune account. If not, click on the “Sign In” button in the top-right corner and enter your account credentials.
2. Explore the music catalog: Browse through the Zune Marketplace to discover new music. You can explore the top charts, featured artists, genres, or search for specific songs, albums, or artists using the search bar.
3. Select your music: Once you have found a song or album you want to purchase, click on the title to view more details. You can listen to a preview of the song and check out customer reviews and ratings to help you make an informed decision.
4. Purchase the music: To buy a song or album, click on the “Buy” or “Add to Cart” button. If you add multiple items to your cart, you can review your selections by clicking on the shopping cart icon. Proceed to the checkout process, where you will confirm your payment method and complete the purchase. The cost of the music will be deducted from your Zune account balance.
5. Download your purchased music: Once your purchase is complete, the Zune software will automatically download the music to your computer. You can find your downloaded music in the “Collection” tab under the “Purchased” section. Connect your Zune device to your computer, and the software will sync the purchased music to your device.
6. Enjoy your music: After the sync is complete, disconnect your Zune from your computer, and you can start enjoying the music you purchased from the Zune Marketplace on the go. You can browse your music library directly on your Zune device and create playlists to organize your music accordingly.
The Zune Marketplace offers a seamless and convenient way to browse, purchase, and download music directly to your Zune device. Whether you’re looking for the latest hits or hidden gems from your favorite genres, the Zune Marketplace has a wide selection to cater to your musical preferences.
In the next sections, we will explore alternative methods of acquiring music for your Zune, including importing music from CDs and downloading from other sources.
Downloading Music to Your Zune
Once you have set up your Zune and familiarized yourself with the Zune software, it’s time to start downloading music to your device. There are various methods you can use to acquire music for your Zune, whether it’s purchasing from the Zune Marketplace, importing from CDs, or downloading from other sources. Here’s how to download music to your Zune:
1. Purchasing music from the Zune Marketplace: The Zune Marketplace offers a wide variety of songs and albums for purchase. Browse the catalog, select the music you want to buy, and complete the purchase using your Zune account. The purchased music will automatically download to your computer, and you can sync it to your Zune device using the Zune software.
2. Importing music from CDs: If you have a collection of CDs that you want to transfer to your Zune, you can use the Zune software to import the music. Insert the CD into your computer’s CD drive and wait for the Zune software to recognize it. Then, click on the “Rip CD” button to extract the songs from the CD and convert them into digital files in your Zune library. Once the songs are in your library, you can sync them to your Zune device.
3. Downloading music from other sources: You can also download music from other sources and transfer it to your Zune. However, it’s important to ensure that you have the necessary rights to download and use the music. Legitimate sources include online music stores, where you can purchase and download music in compatible formats. Once downloaded, you can add the music to your Zune library and sync it to your device.
4. Syncing music to your Zune: Regardless of the method you use to acquire music, the final step is to sync the music to your Zune device. Connect your Zune to your computer using the provided USB cable and launch the Zune software. The software will detect your device and display it in the left pane. Click on the “Device” tab and choose the music you want to sync. You can select specific songs, albums, or playlists, or choose to sync your entire library. Click on the “Sync” button to transfer the selected music to your Zune device.
Once the sync is complete, you can disconnect your Zune from your computer and enjoy your downloaded music on the go. Navigate through your music library on your Zune device and create playlists to organize your music according to your preferences.
With these methods, you can easily download and transfer music to your Zune, ensuring that you have a diverse and enjoyable music collection to accompany you wherever you go.
Transferring Music from Your Computer to Your Zune
Transferring music from your computer to your Zune is a straightforward process that allows you to enjoy your favorite tunes on the go. Whether you have music files stored on your computer or you’ve downloaded them from various sources, the Zune software provides a seamless way to transfer them to your Zune device. Here’s how to transfer music from your computer to your Zune:
1. Connect your Zune to your computer: Use the USB cable provided with your Zune to connect it to your computer. The Zune software should detect your device and display it in the left pane of the software’s interface.
2. Open the Zune software: Launch the Zune software on your computer if it’s not already open. The software will automatically sync with your connected Zune and display your device’s information and available storage space.
3. Select the music to transfer: In the Zune software, navigate to your music library by clicking on the “Collection” tab. Here, you will find all the music stored on your computer that is compatible with Zune. Browse through your music library or use the search bar to locate the specific songs or albums you want to transfer to your Zune.
4. Drag and drop: One of the easiest ways to transfer music is by using the drag-and-drop method. Simply click and hold on the desired music files or folders from your computer’s library and drag them to the Zune icon or your Zune device listed in the left pane of the Zune software. Release the mouse button to initiate the transfer.
5. Sync your Zune: After dragging and dropping the desired music to your Zune, click on the “Device” tab in the Zune software. Here, you can fine-tune the sync settings, such as selecting specific playlists, artists, or genres to transfer to your Zune. Once you’re satisfied with your selection, click on the “Sync” button to start the music transfer process.
6. Enjoy your transferred music: Once the sync is complete, disconnect your Zune from your computer and start enjoying the music you transferred. Navigate through your Zune’s music library and playlists to find the transferred songs, and let the music accompany you on your daily adventures.
Transferring music from your computer to your Zune is a quick and simple process, thanks to the intuitive interface of the Zune software. Whether it’s your personal music collection, downloaded tracks, or even music files shared with you by friends, you can easily transfer them to your Zune and have your own customized music library at your fingertips.
In the following sections, we will explore other methods of acquiring music for your Zune, such as importing music from CDs and downloading from other sources.
Importing Music from CDs to Your Zune
If you have a collection of CDs that you want to enjoy on your Zune, you can easily import the music from those CDs into your Zune’s library. This allows you to have all your favorite tunes in one place, ready to be synced to your device. Here’s how to import music from CDs to your Zune:
1. Insert the CD: Begin by inserting the CD into your computer’s CD drive. The computer will recognize the CD and the Zune software should automatically launch or prompt you to start the software.
2. Rip the CD: Once the CD is recognized by the Zune software, a “Rip CD” option should appear. Click on this option to begin the ripping process. The Zune software will analyze the CD and extract the audio tracks into digital file formats compatible with your Zune.
3. Review and edit track information (optional): After the ripping process, the Zune software will automatically populate track information such as artist, album, and song name based on online databases. You can review and edit this information if needed to ensure accuracy. This step is optional but can help keep your music library organized.
4. Choose the import settings: In the Zune software, click on the “Settings” menu, then select “Device” and choose “Music.” Here, you can specify the quality level for the imported music files. Higher quality files will take up more storage space on your Zune, so consider the available space on your device when selecting the import settings.
5. Import the music: Once you have customized the import settings, click on the “Apply” button in the bottom-right corner. The Zune software will begin importing the ripped CD tracks into your Zune’s library. The progress of the import will be displayed, and you can monitor the status in the Zune software.
6. Sync your Zune: Once the importing process is complete, connect your Zune to your computer using the provided USB cable. The Zune software will automatically detect your device and display it in the left pane. Click on the “Device” tab and select the newly imported music that you want to sync to your Zune. Click on the “Sync” button to transfer the selected music to your Zune device.
7. Enjoy your imported music: After the sync is complete, disconnect your Zune from your computer and start enjoying the music you imported from your CDs. Navigate through your Zune’s music library and playlists to find the imported songs, and immerse yourself in your favorite tunes whenever and wherever you please.
Importing music from CDs to your Zune allows you to expand your music library and bring your cherished CD collection into the digital realm. Enjoy the convenience of having all your favorite tracks on a single device and explore the various features and playlists that your Zune has to offer.
In the following sections, we will explore different options for acquiring music for your Zune, including downloading from other sources and managing your music library efficiently.
Downloading Music from Other Sources to Your Zune
In addition to purchasing music from the Zune Marketplace and importing music from CDs, you can also download music from other sources and transfer it to your Zune. While it’s important to ensure that you have the necessary rights to download and use the music, there are legitimate sources that offer compatible music formats. Here’s how to download music from other sources to your Zune:
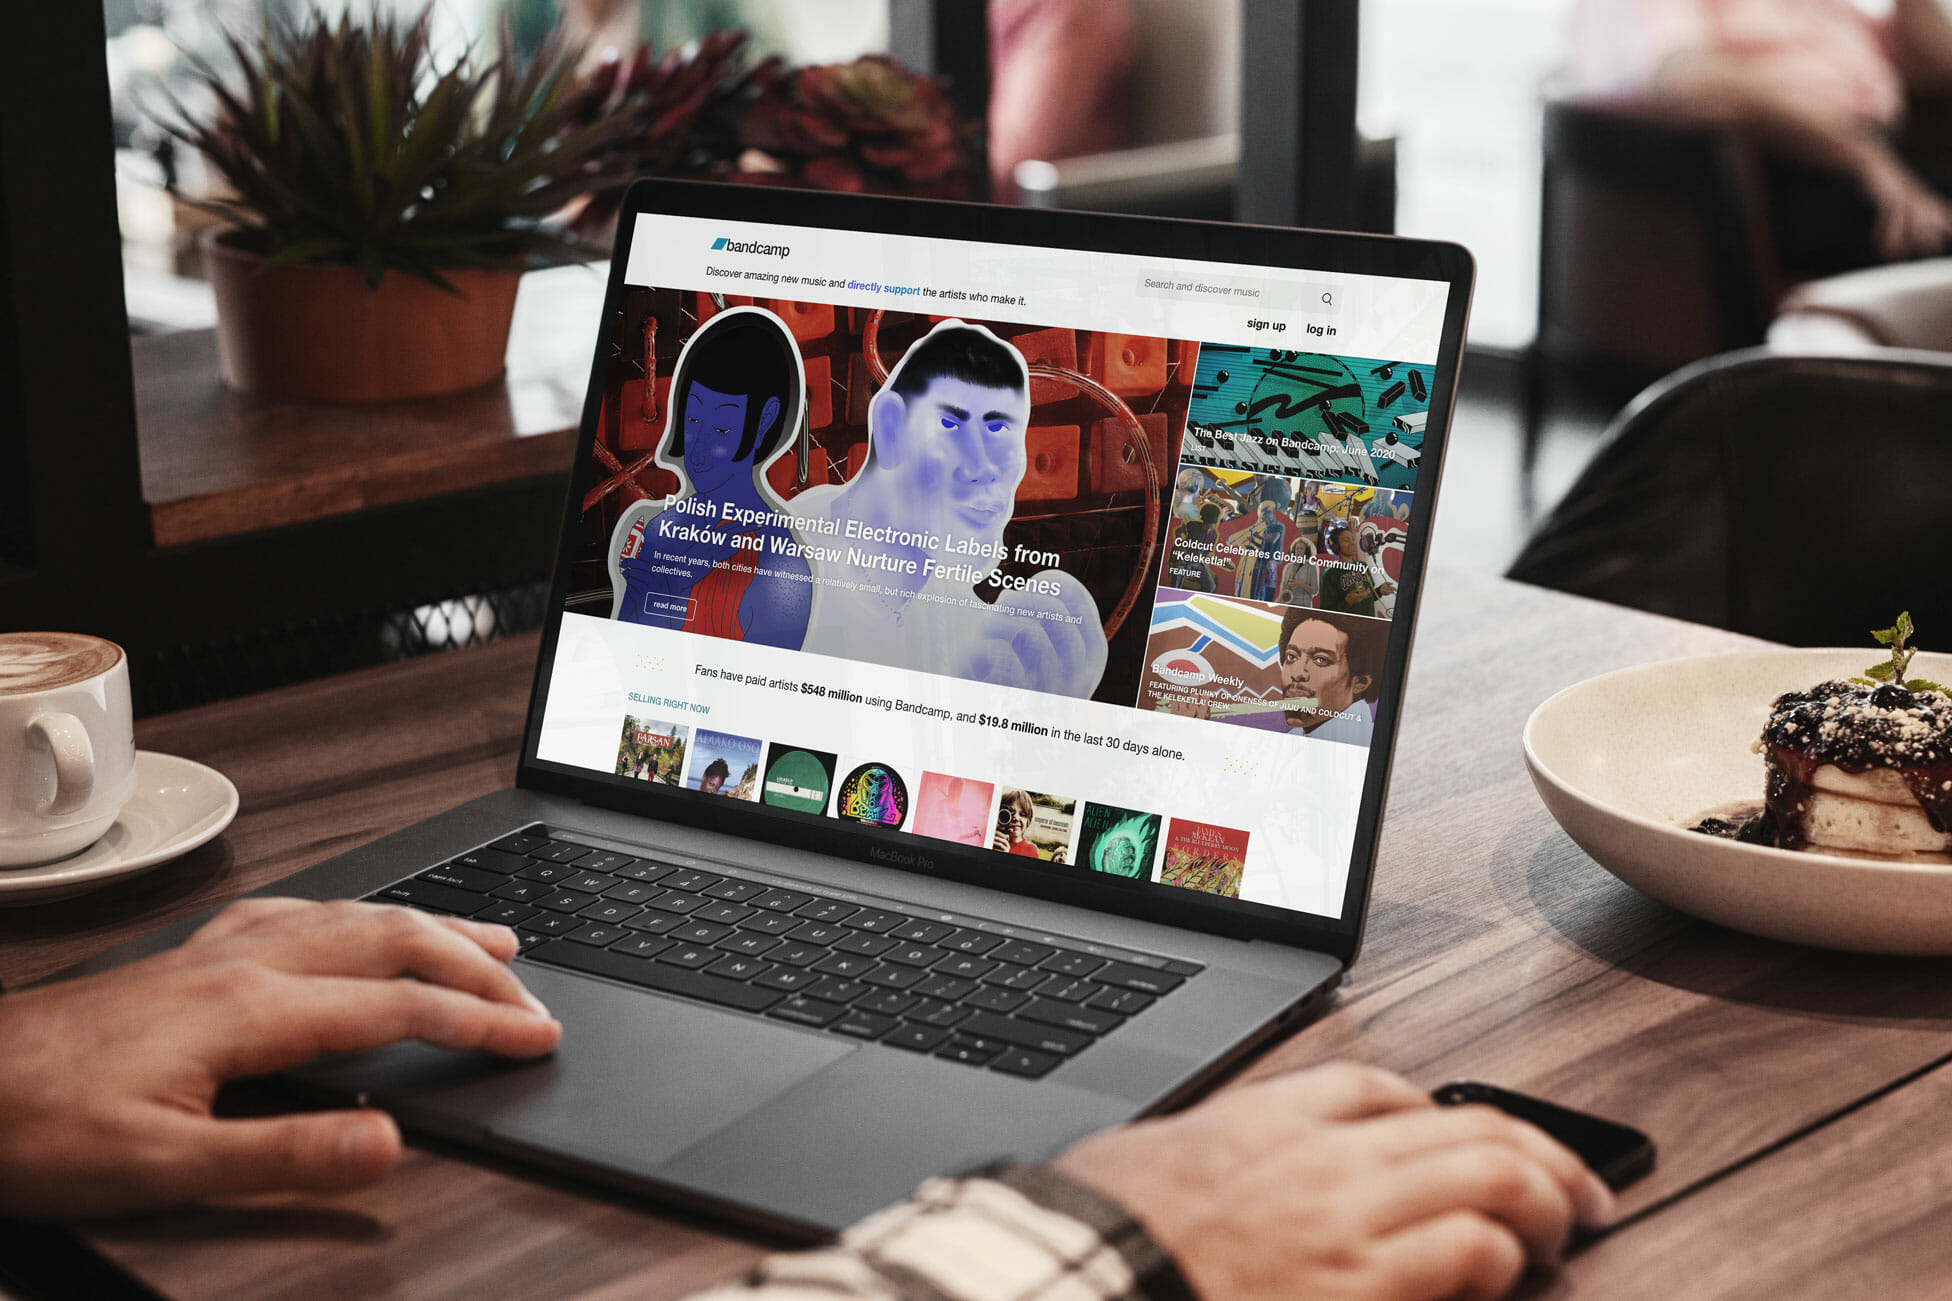
1. Find a reputable music source: Look for reputable online music stores or platforms that offer legal downloads. These sources ensure that you have the necessary rights to use the music and provide compatible file formats for your Zune. Some popular options include iTunes, Amazon Music, and Bandcamp.
2. Search for your desired music: Use the search bar or browse through the music catalog of the chosen source to find the songs or albums you want to download. You can explore different genres, top charts, recommended artists, or even specific playlists to discover new music.
3. Purchase and download the music: Once you have found the music you want, follow the purchasing process on the website or platform. Add the desired songs or albums to your cart, proceed to checkout, and complete the payment using the provided options. After the payment is confirmed, you will be able to download the purchased music in compatible formats for your Zune.
4. Locate the downloaded music: Once the music is downloaded, locate the files on your computer. By default, downloaded music is usually stored in a designated folder or in your computer’s “Downloads” folder. Remember the location of the files, as you will need to access them in the next step.
5. Add the downloaded music to your Zune library: Open the Zune software on your computer and click on the “Collection” tab. Then, select “Music” from the left sidebar. Now, you can manually add the downloaded music files to your Zune library. You can simply drag and drop the files from their saved location on your computer into the Zune software.
6. Sync the downloaded music to your Zune: Connect your Zune to your computer using the provided USB cable. The Zune software will detect your device and display it in the left pane. Click on the “Device” tab and choose the downloaded music you want to sync to your Zune. You can select specific songs, albums, or playlists, or choose to sync your entire library. Click on the “Sync” button to transfer the selected music to your Zune device.
With your downloaded music successfully transferred to your Zune, you can now enjoy your favorite tracks wherever you go. Whether it’s discovering new artists, purchasing albums from your favorite bands, or downloading tracks from independent musicians, exploring other sources for music expands your collection and ensures that you have a diverse assortment of songs to suit your tastes.
In the next section, we will explore tips for managing your music library efficiently, helping you keep your Zune organized and easily accessible.
Managing Your Music Library
As your music collection grows, it’s important to have effective strategies for managing your music library. A well-organized library makes it easier to find and enjoy your favorite songs on your Zune device. Here are some tips for managing your music library efficiently:
1. Organize your music by genres, artists, and albums: Categorizing your music library can make it easier to navigate and find specific songs or albums. Create folders or playlists based on genres, artists, or albums to keep your music organized. The Zune software allows you to create playlists and even apply automatic genre and artist sorting to help streamline the process.
2. Use descriptive tags and metadata: Make sure your music files have accurate and descriptive tags and metadata. This information includes details like artist name, album title, track number, and genre. Consistent and descriptive tags make it easier to locate specific songs and ensure that your library is well-organized.
3. Regularly update and delete duplicate or outdated tracks: Over time, duplicates or outdated tracks may find their way into your music library, occupying unnecessary space. Regularly review your library and remove duplicate songs or tracks you no longer listen to. This helps optimize your storage space and keeps your library clutter-free.
4. Create custom playlists: Playlists allow you to curate your music based on your mood or specific theme. Whether it’s a playlist for workouts, road trips, or relaxation, create custom playlists that suit your preferences. You can easily create and manage playlists within the Zune software and sync them to your Zune device.
5. Backup your music library: It’s essential to have a backup of your music library in case of any unforeseen events or computer crashes. Regularly backup your music by copying the files to an external hard drive or cloud storage. This ensures that your music collection is safe and easily recoverable if anything happens to your computer or Zune device.
6. Discover new music: Don’t forget to regularly explore new artists, genres, and songs. The Zune software provides recommendations based on your listening habits, and you can also discover new music through online platforms, music blogs, or recommendations from friends. Adding fresh tracks to your library keeps your music collection diverse and exciting.
By implementing these strategies, you can effectively manage your music library and enjoy a seamless music listening experience on your Zune device. With a well-organized library, finding the perfect song for any occasion becomes a breeze, allowing you to fully immerse yourself in the joy of music.
Now that you have learned how to download, transfer, and manage your music library for your Zune, you’re equipped to maximize your music experience on this portable device. Enjoy discovering new songs, revisiting old favorites, and letting the power of music enhance your daily life.
Conclusion
Congratulations! You have now learned how to download music to your Zune and effectively manage your music library. Whether you choose to purchase music from the Zune Marketplace, import music from CDs, or download from other sources, the Zune provides a versatile and user-friendly platform for enjoying your favorite tunes on the go.
We started by getting you familiar with the Zune device and the Zune software, ensuring that you have everything set up properly. We then explored various methods of acquiring music, including purchasing from the Zune Marketplace, importing from CDs, and downloading from other sources. Additionally, we discussed the importance of managing your music library efficiently, organizing your tracks, and creating custom playlists to suit your preferences.
Remember to regularly update and maintain your music library, deleting duplicates and removing outdated tracks to keep it streamlined and clutter-free. It’s also essential to backup your music library to safeguard your collection in case of any unforeseen events.
Whether you’re enjoying your favorite tracks during workouts, embarking on a road trip, or simply relaxing at home, your Zune is ready to accompany you with high-quality sound and a vast library of music.
Now it’s time to put your newfound knowledge into practice. Connect your Zune to your computer, start downloading your favorite songs, and create personalized playlists that resonate with your unique musical taste. Let the Zune be your ultimate companion for enjoying music in the way that speaks to you.
Thank you for joining us on this journey to discover how to download music to a Zune. We hope you have found this guide helpful and that it enhances your music experience. Happy listening!