Introduction
Welcome to our guide on how to download Zune! If you’re an avid music lover, you’ve come to the right place. Zune, developed by Microsoft, is a media management software that allows you to organize and enjoy your music, videos, and podcasts on your Windows computer and portable Zune players.
The Zune software offers a user-friendly interface and a wide range of features, making it easy for you to access and enjoy your favorite tunes and videos. Whether you’re a new Zune user or looking to update your software, this guide will provide step-by-step instructions to help you successfully download and install Zune in no time.
Throughout this guide, we will walk you through the system requirements, downloading the Zune software, setting up a Zune account, and transferring music to your Zune device. We will also cover the process of syncing your Zune with your computer so that you can effortlessly update your library and enjoy your favorite media on the go.
If you encounter any issues along the way, we’ve got you covered. We will provide troubleshooting tips to help you overcome any download-related problems that you may face. So, without further ado, let’s dive in and learn how to download Zune!
What is Zune?
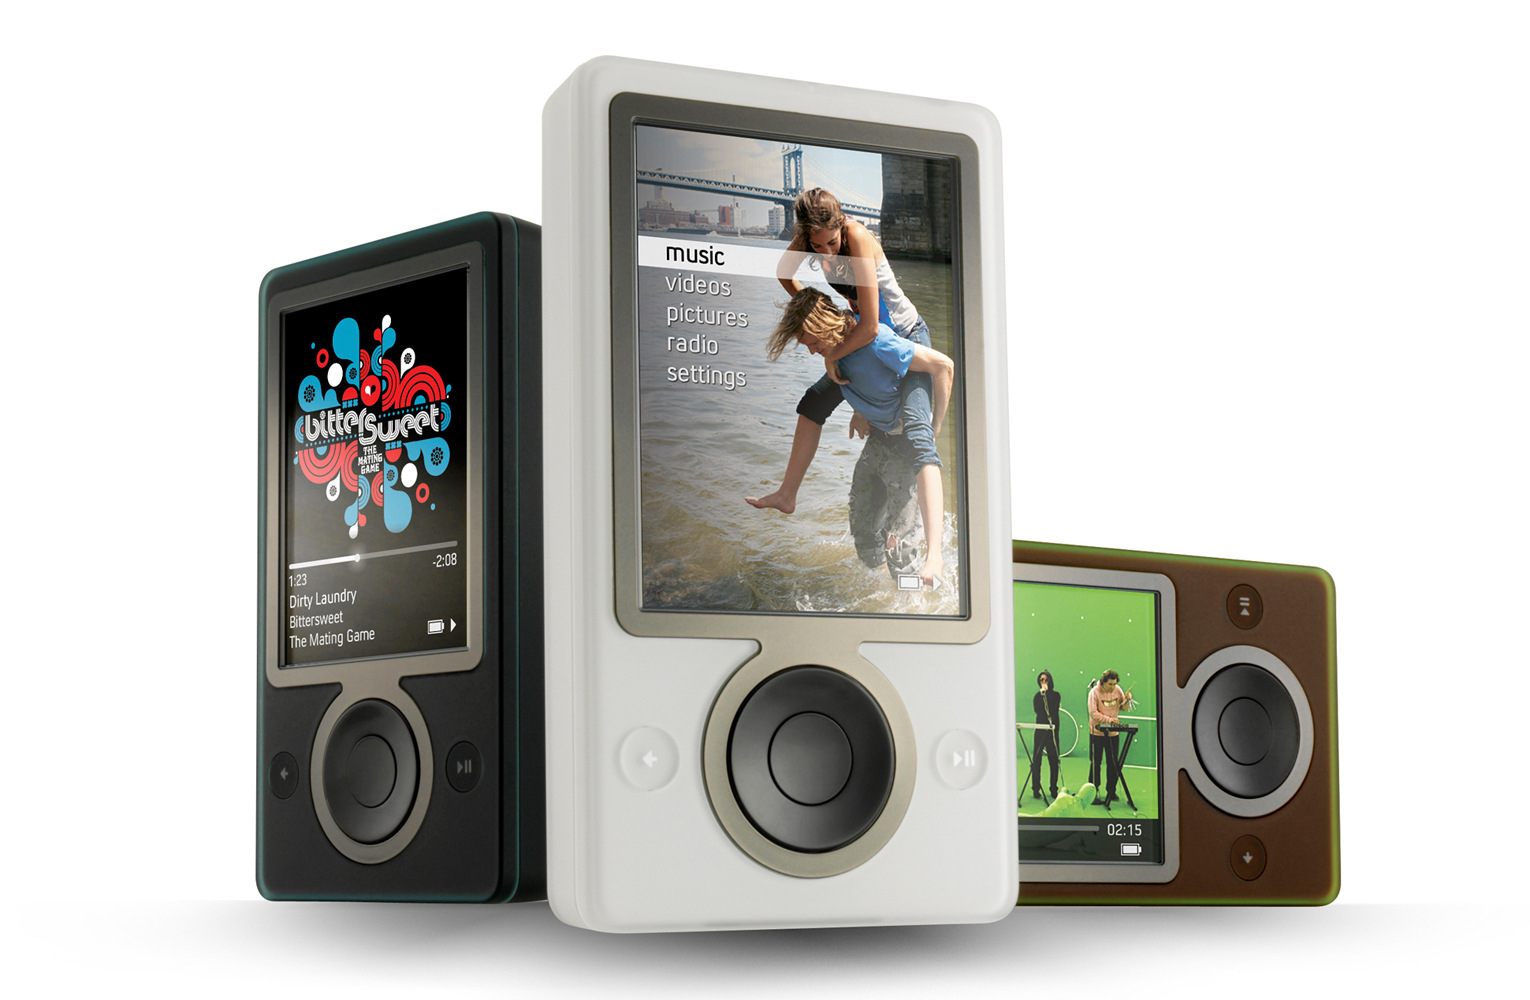
Zune was a digital media brand developed by Microsoft in the mid-2000s. It encompassed a line of portable media players, software, and an online music marketplace. The Zune device, similar to the iPod, allowed users to store and play music, videos, and podcasts while on the go.
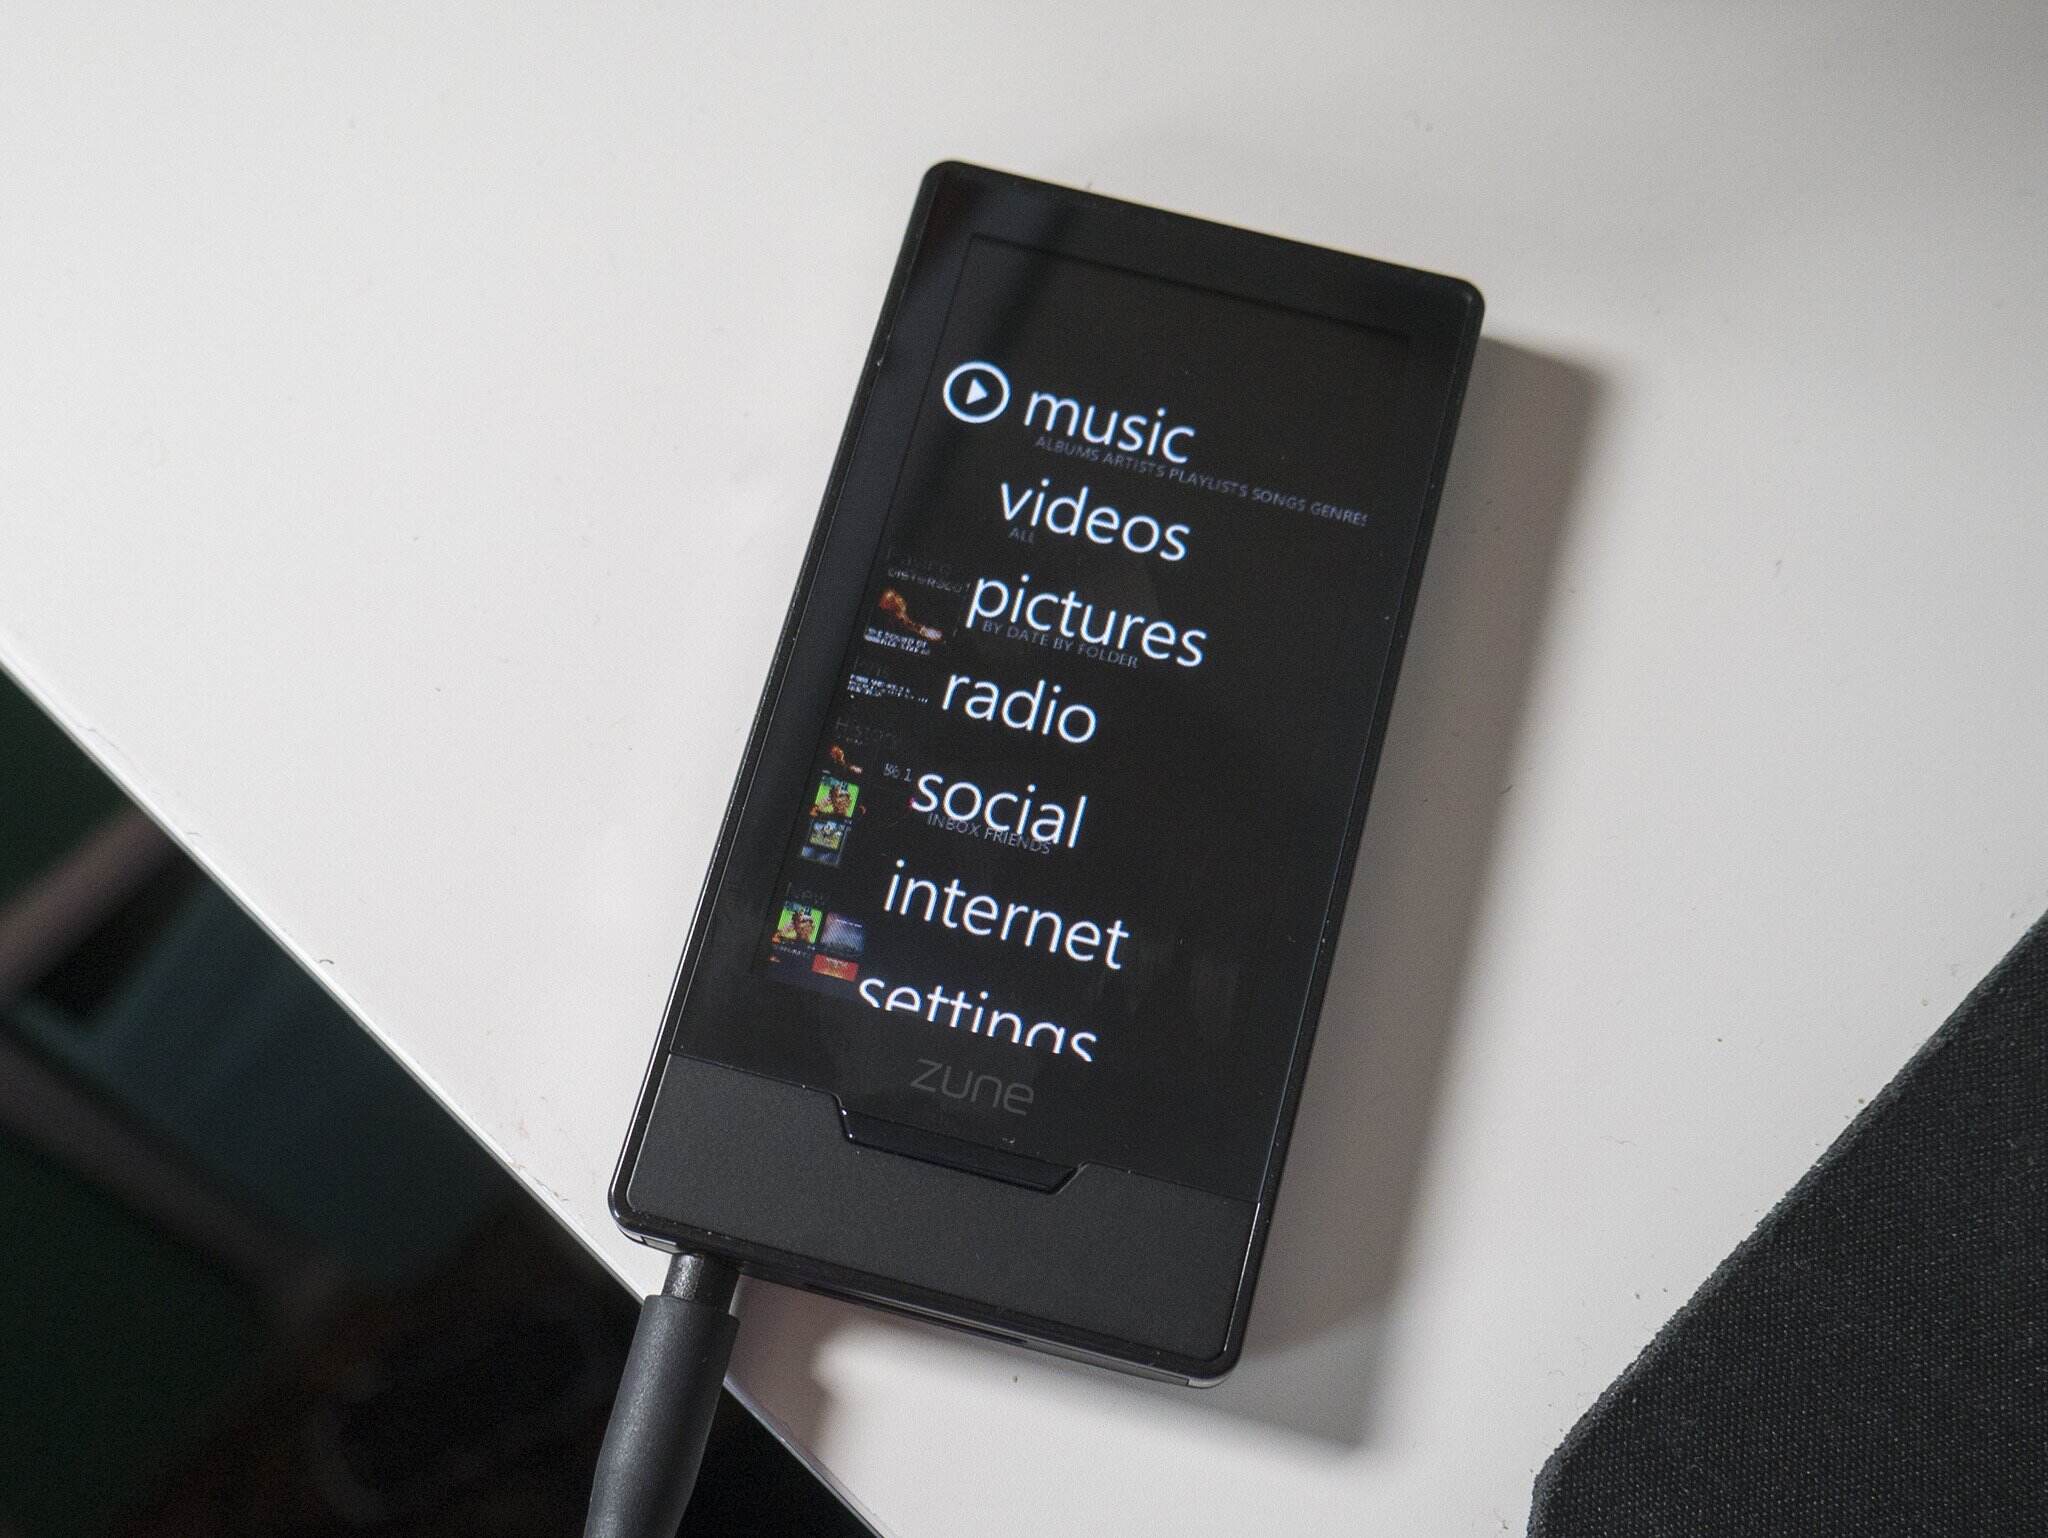
The Zune software served as the central hub for organizing, managing, and syncing media to the Zune device. It provided a visually appealing interface that made it easy for users to navigate their music library, create playlists, and discover new content. Additionally, the software allowed users to purchase music from the Zune Marketplace, which offered a vast selection of songs and albums.
One of the standout features of Zune was the social aspect it brought to the table. With the Zune Social, users could connect with friends and share their favorite tracks, playlists, and even personalized “mixtapes”. This added a fun and interactive element to the overall Zune experience and helped users discover new music based on the recommendations of their friends.
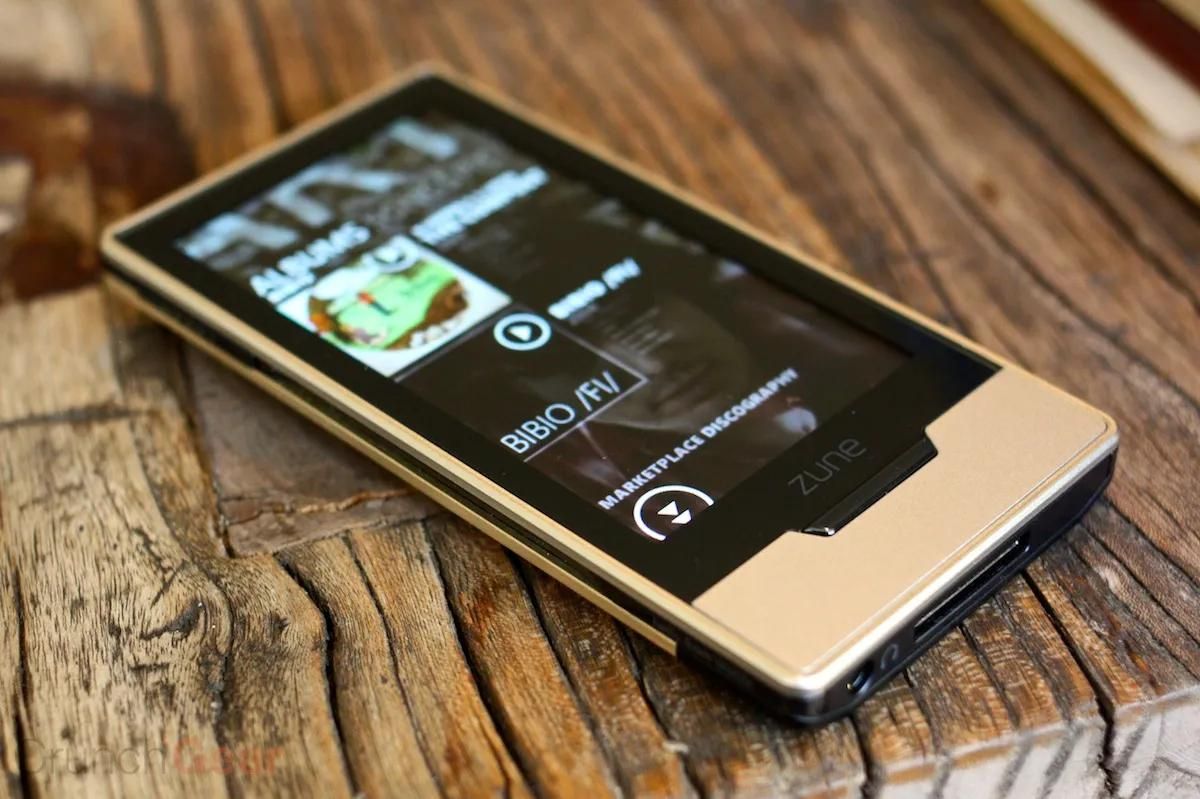
While Zune devices have been discontinued, the software still remains available for download. It provides a nostalgic trip for those who have fond memories of using Zune devices or those who simply prefer the Zune software over other media management options available today.
Overall, Zune was a unique and innovative product line that aimed to provide a seamless and enjoyable media experience for its users. Though it may no longer be at the forefront of the digital media landscape, its impact on the music industry and its loyal user base cannot be denied.
System Requirements
Before you begin downloading the Zune software, it’s important to ensure that your computer meets the necessary system requirements. Having the right setup will not only ensure a smooth installation process but also optimize the performance of the software.
Here are the minimum system requirements for Zune:
- Operating System: Windows XP SP3, Windows Vista, or Windows 7
- Processor: 1 GHz or faster processor
- RAM: 1 GB (32-bit) or 2 GB (64-bit)
- Hard Disk Space: 500 MB of free space
- Internet Connection: A high-speed internet connection is recommended to download and sync media files
Please note that these are the minimum requirements, and for the best experience, it’s recommended to have a more powerful computer that exceeds these specifications.
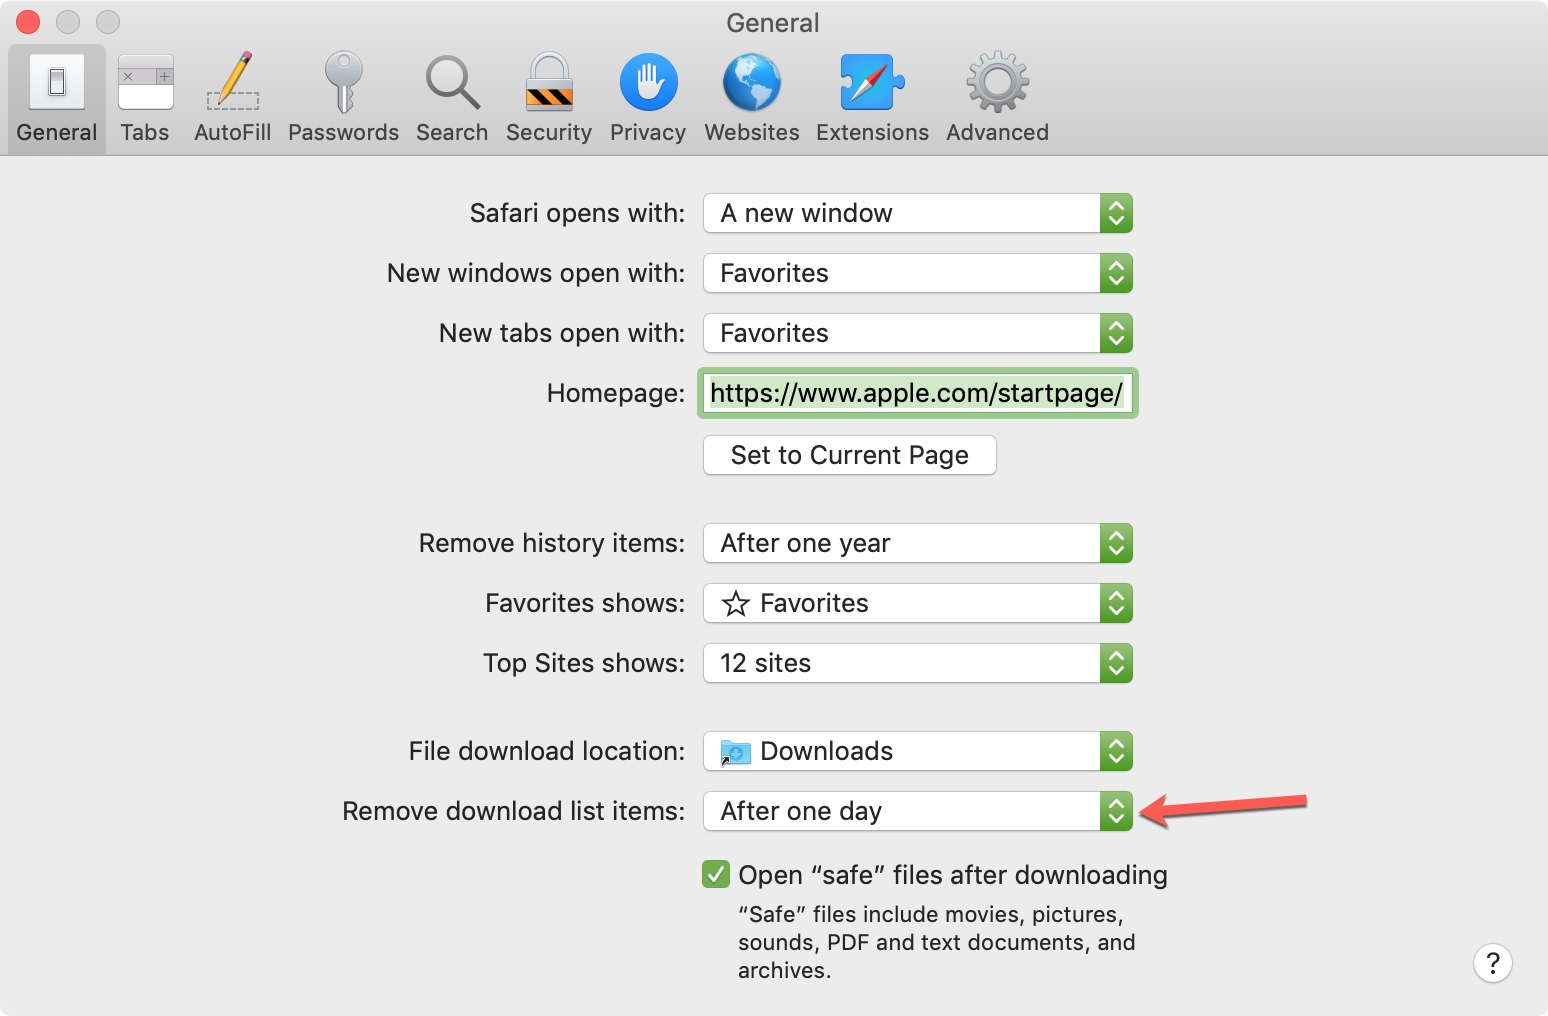
It’s also worth mentioning that Zune software is only available for Windows operating systems. If you’re using a Mac or a non-Windows-based system, you won’t be able to download and install Zune software directly. However, there are alternative media management options available for Mac users, such as iTunes or third-party software.
Now that you’re aware of the system requirements, you can proceed with confidence knowing that your computer is capable of running Zune software smoothly. In the next section, we will guide you through the process of downloading the Zune software onto your computer. Let’s get started!
Downloading Zune Software
Now that you’ve confirmed that your computer meets the required system requirements, it’s time to download the Zune software. Follow the steps below to get started:
- Open your preferred web browser and navigate to the official Microsoft website.
- Search for “Zune software download” in the website’s search bar.
- Click on the official download link provided in the search results. This will direct you to the official Microsoft Zune software download page.
- On the download page, you will see the available version of the Zune software. Select the version that matches your operating system (Windows XP, Vista, or 7).
- Click on the “Download Now” button. This will prompt the download process to begin.
- Once the download is complete, locate the downloaded file on your computer and double-click on it to start the installation process.
During the installation process, you may be prompted to agree to the terms and conditions of the software. It’s important to read through the terms and select the appropriate options before proceeding.
After agreeing to the terms, the installation will continue, and the Zune software will be installed on your computer.
Once the installation is complete, you can find the Zune software icon either on your desktop or in the “Programs” or “All Programs” section of your Start menu.
Now that you have successfully downloaded the Zune software, you can proceed to the next section where we will guide you through the process of installing the software. Keep reading!
Installing Zune Software
Now that you’ve downloaded the Zune software, it’s time to install it on your computer. The installation process is straightforward, and you can follow the steps below:
- Locate the downloaded Zune software file on your computer.
- Double-click on the file to initiate the installation process. This will open the Zune software installer.
- Read through the terms and conditions carefully, and select the checkbox to indicate your agreement.
- Click on the “Install” or “Next” button to proceed with the installation.
- During the installation, the software will prompt you to choose the location where you want to install Zune software. By default, it will install in the “Program Files” folder on your primary hard drive. However, you can choose a different location if desired.
- Once you have selected the installation location, click on the “Install” or “Next” button to continue.
- The installation process may take a few minutes to complete. Please be patient while the software is being installed on your computer.
- Once the installation is finished, you will see a confirmation message indicating that the Zune software has been successfully installed.
After the installation is complete, you can launch the Zune software by either clicking on the desktop icon or by locating it in the “Programs” or “All Programs” section of your Start menu.
Congratulations! You have now successfully installed the Zune software on your computer. In the next section, we will guide you through the process of setting up a Zune account. Let’s continue!
Setting Up Zune Account
Now that you have installed the Zune software, it’s time to set up your Zune account. Your Zune account will allow you to access and download content from the Zune Marketplace, sync your media library, and personalize your Zune experience. Here’s how you can set up your Zune account:
- Open the Zune software on your computer by clicking on the desktop icon or locating it in the “Programs” or “All Programs” section of your Start menu.
- Once the software is open, you will be prompted to sign in or create a new account. Since you’re setting up a new account, click on the “Create Account” or “Sign Up” option.
- Fill in the required information for your Zune account, including your email address, password, and personal details. Make sure to choose a strong and secure password.
- Read through the terms and conditions of the Zune service, and select the checkbox to indicate your agreement.
- Click on the “Next” or “Continue” button to proceed with the account creation process.
- At this point, you may be asked to provide additional information, such as your country or region, date of birth, and language preferences. Fill in the required details accordingly.
- Once you have filled in all the necessary information, click on the “Finish” or “Create Account” button to complete the process.
- After creating your account, you will receive a verification email from Zune. Follow the instructions in the email to verify your account and activate it.
- Once your account is verified, you can sign in to the Zune software using your email address and password.
Now that you have set up your Zune account, you can start exploring the Zune Marketplace, downloading music, and syncing your media library. In the next section, we will guide you through the process of transferring music to your Zune device. Keep reading!
Transferring Music to Zune
Now that you have set up your Zune account and installed the software, it’s time to transfer your favorite music to your Zune device. The Zune software makes it easy for you to sync your music library with your device, ensuring that you can enjoy your tunes on the go. Here’s how you can transfer music to your Zune:
- Connect your Zune device to your computer using the USB cable that came with it. Make sure your device is turned on and unlocked.
- Once your device is connected, the Zune software will automatically detect it and display it under the “Devices” tab in the software’s interface.
- Click on the “Sync Options” or “Device Options” button, usually located at the top of the software’s interface. This will open up a menu where you can customize your sync settings.
- Select the music you want to transfer to your Zune device by clicking on the checkboxes next to the desired songs, albums, or playlists in your library.
- Once you have made your selections, click on the “Sync” or “Start Sync” button to begin transferring the selected music to your Zune device.
- The Zune software will display a progress bar to indicate the status of the sync process. Depending on the number of songs and the size of the files, the transfer may take a few minutes.
- Once the sync is complete, you will receive a notification indicating that your music has been successfully transferred to your Zune device.
- You can now disconnect your Zune device from the computer and enjoy your music on the go.
It’s important to note that the Zune software not only allows you to transfer music to your Zune device but also ensure that any changes made to your music library on your computer are automatically synced with your device the next time you connect it.
Now that you have successfully transferred your music to your Zune device, you can enjoy your favorite tunes wherever you go. In the next section, we will guide you through the process of syncing your Zune with your computer. Keep reading!
Syncing Zune with Computer
Syncing your Zune device with your computer is an essential step in managing your media library and keeping your device up to date. The Zune software provides seamless synchronization, allowing you to effortlessly transfer new music, videos, and podcasts to your device. Here’s how you can sync your Zune with your computer:
- Connect your Zune device to your computer using the USB cable that came with it. Ensure that your device is turned on and unlocked.
- Once your device is connected, the Zune software will automatically detect it and display it under the “Devices” tab in the software’s interface.
- Click on the “Sync Options” or “Device Options” button, usually located at the top of the software’s interface. This will open up a menu where you can customize your sync settings.
- Within the sync options, you can choose to sync your entire library or select specific playlists, albums, artists, or genres to sync. You can also set the sync to automatically occur whenever your device is connected.
- Once you have customized your sync settings, click on the “Sync” or “Start Sync” button to begin the synchronization process.
- The Zune software will start syncing your selected content to your device. The progress will be displayed in the software’s interface, and you can monitor the sync status.
- Depending on the amount of data being synced, the process may take a few minutes. Once the sync is complete, you will receive a notification confirming the successful synchronization.
- Once the sync is complete, you can disconnect your Zune device from the computer and enjoy your updated content.
Synchronizing your Zune with your computer ensures that any new music, videos, or podcasts you’ve added to your library on your computer will be transferred to your Zune device automatically. It also updates any changes you’ve made to your playlists or media metadata.
By regularly syncing your Zune device with your computer, you can keep your music library up to date and enjoy a seamless media experience wherever you go.
Now that you know how to sync your Zune device with your computer, you’re all set to manage your media library and enjoy your favorite content on the go. In the next section, we will provide troubleshooting tips for common Zune download issues. Stay tuned!
Troubleshooting Zune Download Issues
While downloading the Zune software is usually a smooth process, you may encounter some issues along the way. Here are some troubleshooting tips to help you resolve common Zune download issues:
- Check your internet connection: Ensure that you have a stable and reliable internet connection. If your internet connection is slow or intermittent, it can cause issues with the download process. Try restarting your router or connecting to a different network to see if that resolves the problem.
- Disable firewall or antivirus software: Sometimes, firewall or antivirus software can interfere with the download process. Temporarily disable these programs and attempt to download the Zune software again.
- Clear your browser cache: If you’re downloading the Zune software using a web browser, clearing your browser’s cache can help resolve any temporary issues or conflicts that may be affecting the download.
- Download from a different source: If you’re experiencing repeated download failures, try downloading the Zune software from an alternative source. Ensure that you download it from a reputable and official website to avoid any potential security risks.
- Restart your computer: Sometimes, a simple restart can resolve issues with the download process. Restart your computer and try downloading the Zune software again.
- Seek support from Microsoft: If you have exhausted all troubleshooting steps and are still unable to download the Zune software, it may be helpful to seek support from Microsoft’s official support channels. Visit the Microsoft support website or contact their customer support for further assistance.
It’s important to note that the above troubleshooting tips may not address all potential Zune download issues. If you encounter a specific error message or persistent problem, it’s best to consult the official support resources for detailed guidance.
By following these troubleshooting tips, you can overcome common hurdles and successfully download the Zune software. In the next section, we will summarize the key points covered in this guide. Stay tuned!
Conclusion
Congratulations! You have successfully reached the end of our guide on how to download Zune. By following the step-by-step instructions in this guide, you should now have the Zune software installed on your computer, a Zune account set up, and your music library synced to your Zune device.
The Zune software, although no longer actively supported, still holds a special place for many music enthusiasts who have fond memories of using Zune devices. The software provides a user-friendly interface, comprehensive media management features, and the ability to download and sync a wide range of content.
Throughout this guide, we covered the essential topics, from system requirements and downloading the software to setting up a Zune account, transferring music, and syncing your device with your computer. We also provided troubleshooting tips to help you address any download-related issues you may encounter.
Remember to consult the official support documentation or contact Microsoft’s customer support if you encounter persistent issues or need further assistance with your Zune software or device.
We hope this guide has been useful in helping you download and set up your Zune software. Now, you can enjoy your favorite music, videos, and podcasts on your Zune device and seamlessly manage your media library.
Thank you for choosing our guide, and happy Zune-ing!