Introduction
Have you ever wanted to add your favorite songs to your Scratch projects? Music can bring life and excitement to your creations, making them more engaging and enjoyable for your audience. Fortunately, downloading music to Scratch is easier than you might think. In this guide, we will walk you through the process step by step, so you can start incorporating your favorite tunes into your projects.
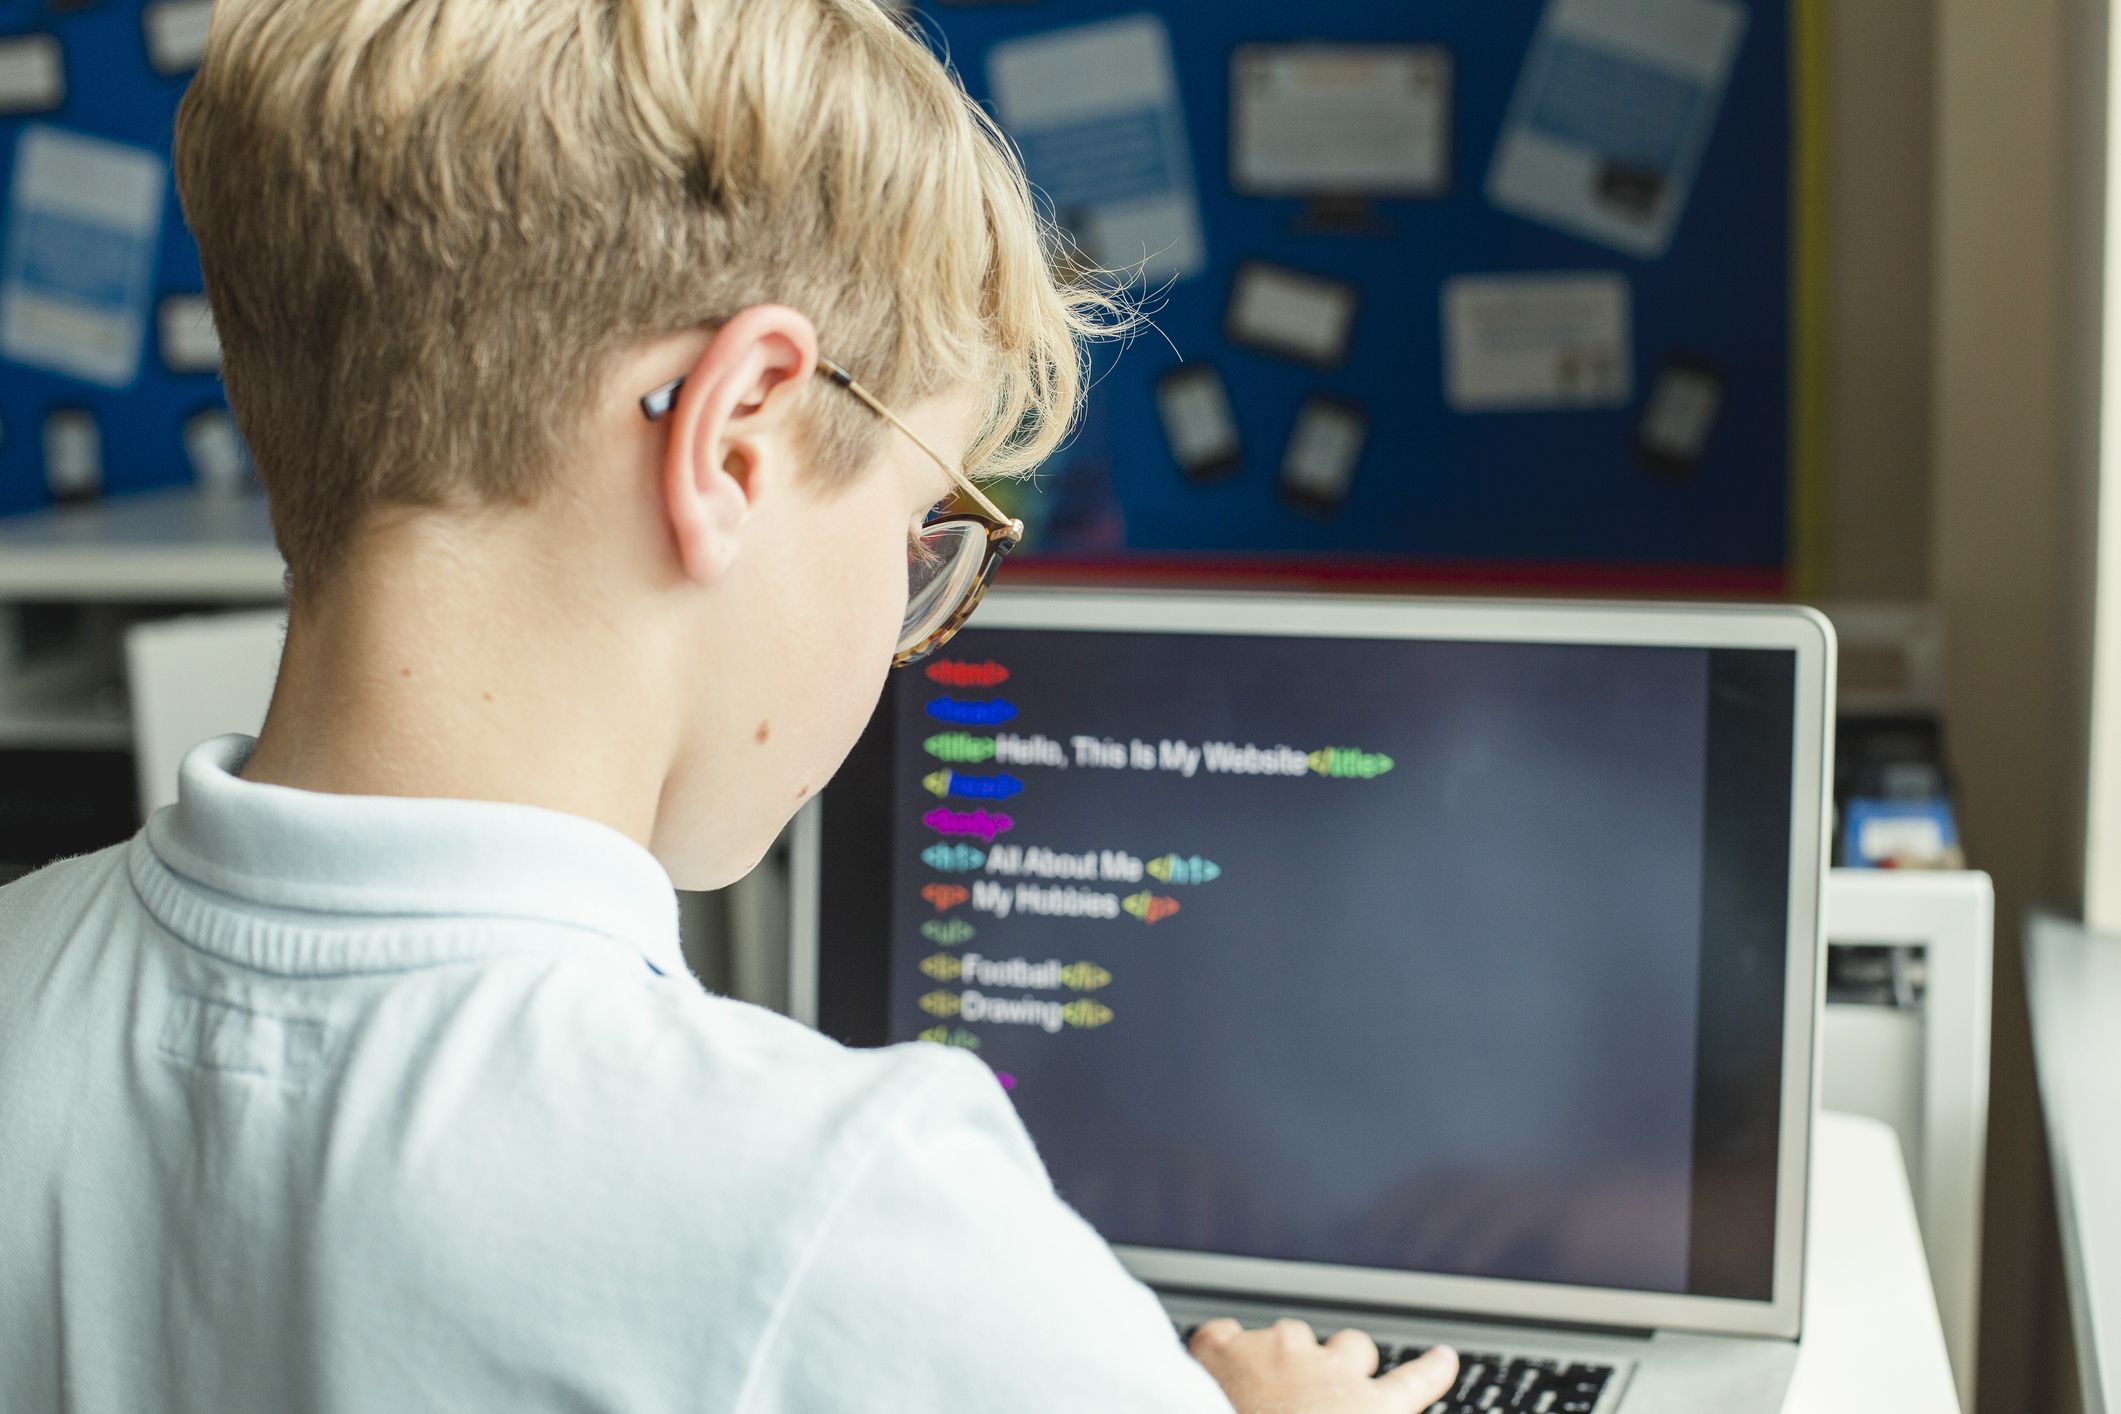
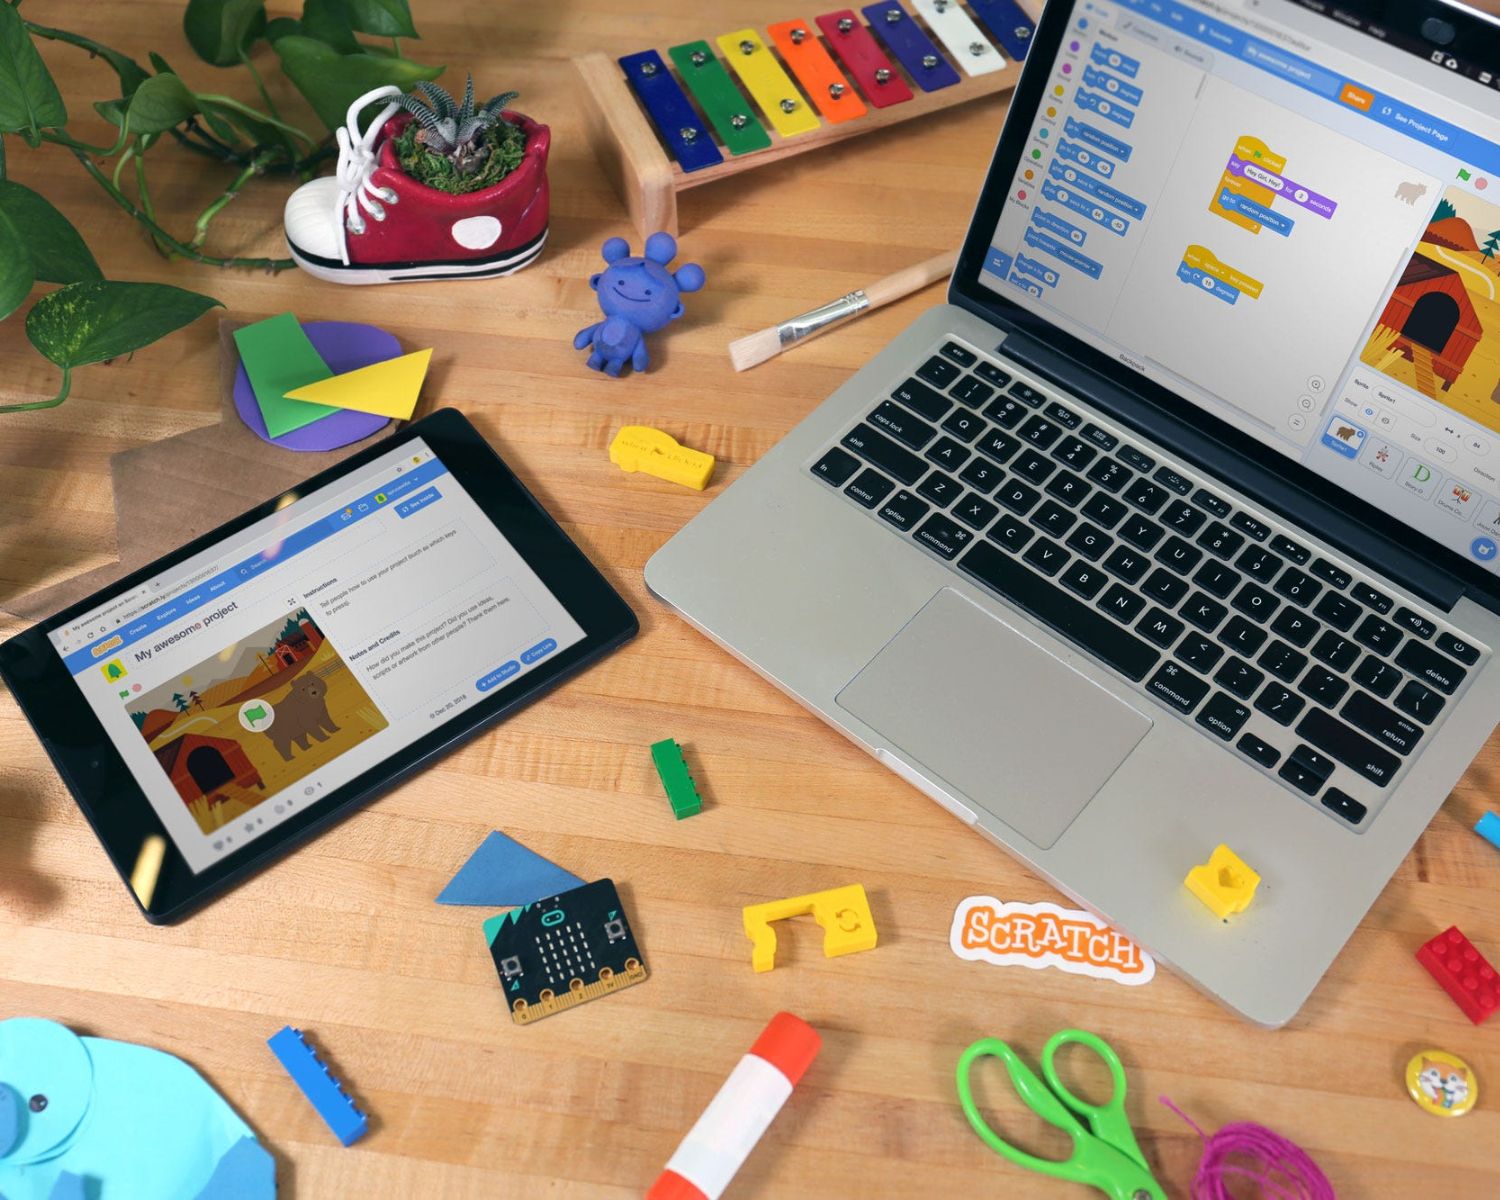
Scratch is a block-based programming language developed by the Massachusetts Institute of Technology (MIT). It allows users to create interactive stories, animations, and games by snapping together code blocks. While Scratch offers a wide range of built-in sounds and effects, it also allows you to import external music files for a more personalized experience.
In this tutorial, we will show you how to find music sources, choose the desired song, obtain the song URL, import the song into Scratch, create a music player, and test your project to ensure everything is working perfectly. By following these steps, you will be able to seamlessly integrate music into your Scratch projects, elevating them to a whole new level.
Before we dive into the process, it’s important to note that you should always respect copyright laws and only use music that you have the rights to or that is available under a Creative Commons license. Additionally, always credit the original artist and provide a link to the source of the music, if applicable. This not only shows respect for the creators but also helps promote their work to a wider audience.
Now, let’s get started on our journey to download music to Scratch and enhance our projects with beautiful melodies and catchy tunes. Follow along, and you’ll be creating captivating experiences that will leave your audience wanting more. Let’s dive in!
Step 1: Find a Music Source
The first step in downloading music to Scratch is to find a reliable source that offers a wide range of songs. There are several options available to explore:
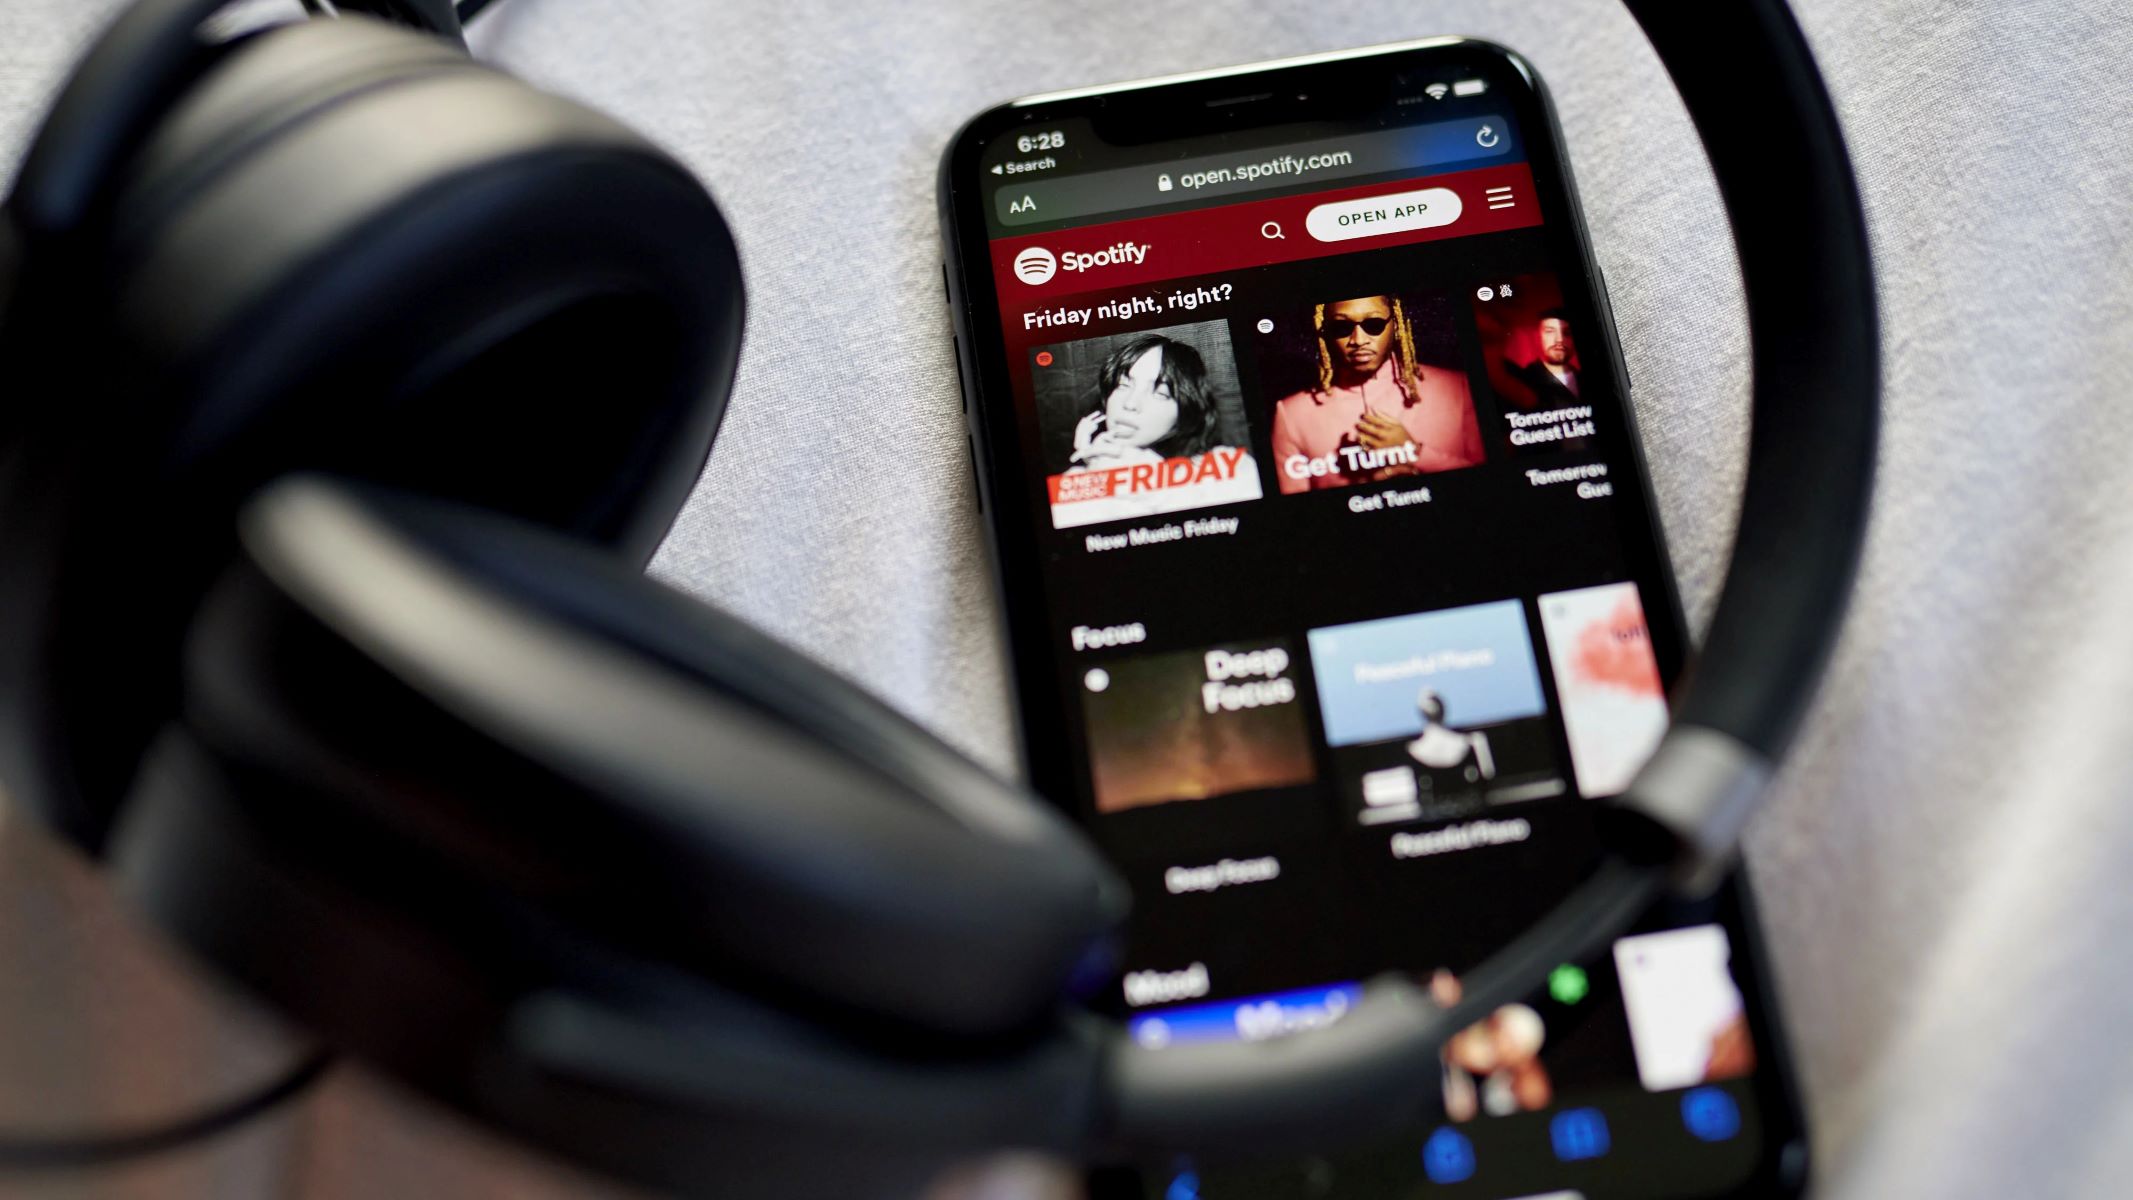
1. Online Music Libraries: Websites like SoundCloud, Jamendo, and Free Music Archive offer a vast collection of music that is available for free use. These platforms allow artists to share their music with the public, and many offer the option to download songs directly.
2. Royalty-Free Music Websites: Platforms such as Epidemic Sound, AudioJungle, and Pond5 provide a variety of royalty-free music tracks that can be used in your Scratch projects without any legal issues. These websites usually require a small fee or a subscription to access their music library.
3. Creative Commons Search: Creative Commons is a licensing system that allows creators to share their work under specific terms and conditions. The Creative Commons search engine enables you to find music that is available for use, remixing, and downloading, as long as you credit the original artist and adhere to the licensing terms.
When choosing a music source, it’s important to consider the genre, mood, and tempo of the song to ensure it aligns with the theme and purpose of your Scratch project. You may want to browse through different categories or use keywords to narrow down your search. Additionally, take note of any usage restrictions or requirements specified by the artist or licensing agreement.
Remember, when using music in Scratch projects, always respect the rights of the artists and follow the appropriate licensing guidelines. This not only ensures adherence to copyright laws but also supports the creative community and encourages further artistic collaborations.
Once you have found a suitable music source, it’s time to move on to the next step and select your desired song. Let’s continue our journey to download music to Scratch and make our projects come alive with the perfect soundtrack!
Step 2: Choose the Desired Song
Now that you’ve found a music source, it’s time to choose the perfect song for your Scratch project. Keep in mind that the song you select should complement the theme and mood of your project, enhancing the overall user experience.
When selecting a song, consider the following factors:
1. Genre: Determine the genre that aligns with the style and atmosphere of your project. Whether you’re creating a game, animation, or interactive story, choose a song that resonates with the emotions you want to evoke.
2. Tone and Mood: Consider the tone and mood you want to establish in your project. Do you want it to be upbeat and energetic, or mellow and relaxing? Choose a song that matches the desired ambiance.
3. Length: Take into account the length of the song and the duration of your project. If your project is relatively short, opt for shorter songs that provide a seamless listening experience within the project’s timeframe.
4. Lyrics or Instrumental: Decide whether you prefer a song with lyrics or an instrumental track. Lyrics can add a narrative element to your project, while instrumentals allow for more flexibility in terms of interpretation.
5. Copyright and Licensing: Ensure that the song you choose is either in the public domain, licensed under Creative Commons, or you have obtained the necessary permissions to use it in your project. Respect the rights of the original artist and always give credit where it is due.
Once you have chosen the perfect song, make a note of its title, artist, and any necessary attribution details for future reference. Having this information readily available will come in handy when it’s time to credit the original artist in your Scratch project.
Now that you have selected your desired song, let’s move on to the next step where we will acquire the song’s URL, which is vital for importing it into Scratch. Keep reading to discover how to obtain the necessary URL and incorporate the song into your project!
Step 3: Get the Song URL
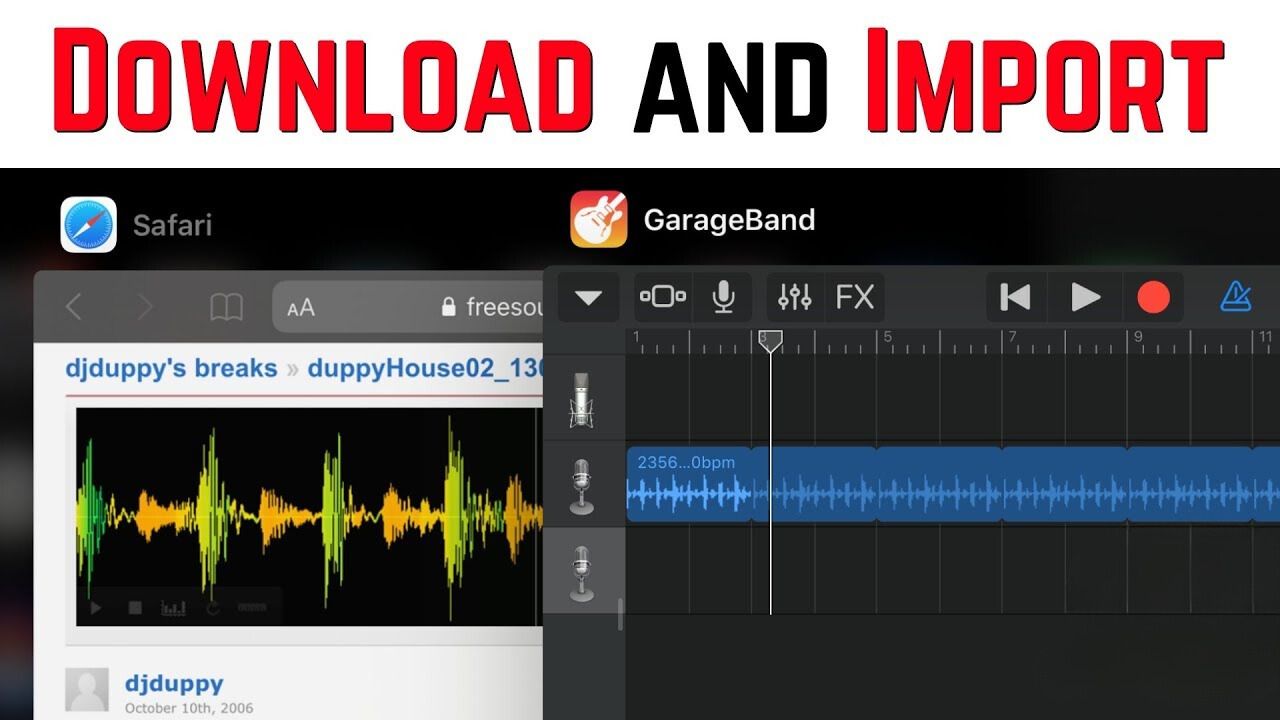
In order to import the song into Scratch, you will need to obtain the URL of the chosen song. The URL serves as the web address that directs Scratch to the location of the music file. Here’s how you can get the song URL:
1. Online Music Libraries: If you are using an online music library like SoundCloud or Jamendo, navigate to the song you have chosen. Look for the “Share” or “Embed” button/link, which will provide you with the song’s URL. Copy the URL from the provided field.
2. Royalty-Free Music Websites: If you are using a royalty-free music website, follow the website’s download instructions to acquire the URL of the song. Typically, there will be a download button or a specific download link provided for each song. Right-click on the download button or link and select the option to copy the URL.
3. Creative Commons Search: When using the Creative Commons search engine, click on the song you have chosen to view the details and accompanying license. Look for a link or button that says “Download” or “Get Song.” Clicking on this will redirect you to the page where you can access the song’s URL. Copy the URL from the address bar of your web browser.
Once you have copied the song’s URL, double-check to ensure that it is complete and accurate. Make sure there are no missing or extra characters, as this may result in an error when importing the song into Scratch.
It’s important to note that different music sources may have slightly different methods for obtaining the song URL. Always refer to the specific website’s instructions to ensure you are retrieving the URL correctly.
With the song URL in hand, you are now ready to progress to the next step, where we will import the song into Scratch and incorporate it into your project. Let’s continue our journey toward downloading music to Scratch and create projects that will captivate and enthrall our audience!
Step 4: Import the Song into Scratch
Now that you have the song’s URL, it’s time to import the song into Scratch and integrate it into your project. Follow these steps to successfully import the song:
1. Open Scratch: Launch the Scratch programming environment on your computer. If you don’t have Scratch installed, you can download it for free from the official Scratch website.
2. Create or Open a Project: Start a new project or open an existing project in which you want to add the music. Click on the project thumbnail or select “File” and then “Open” to browse for and open your desired project.
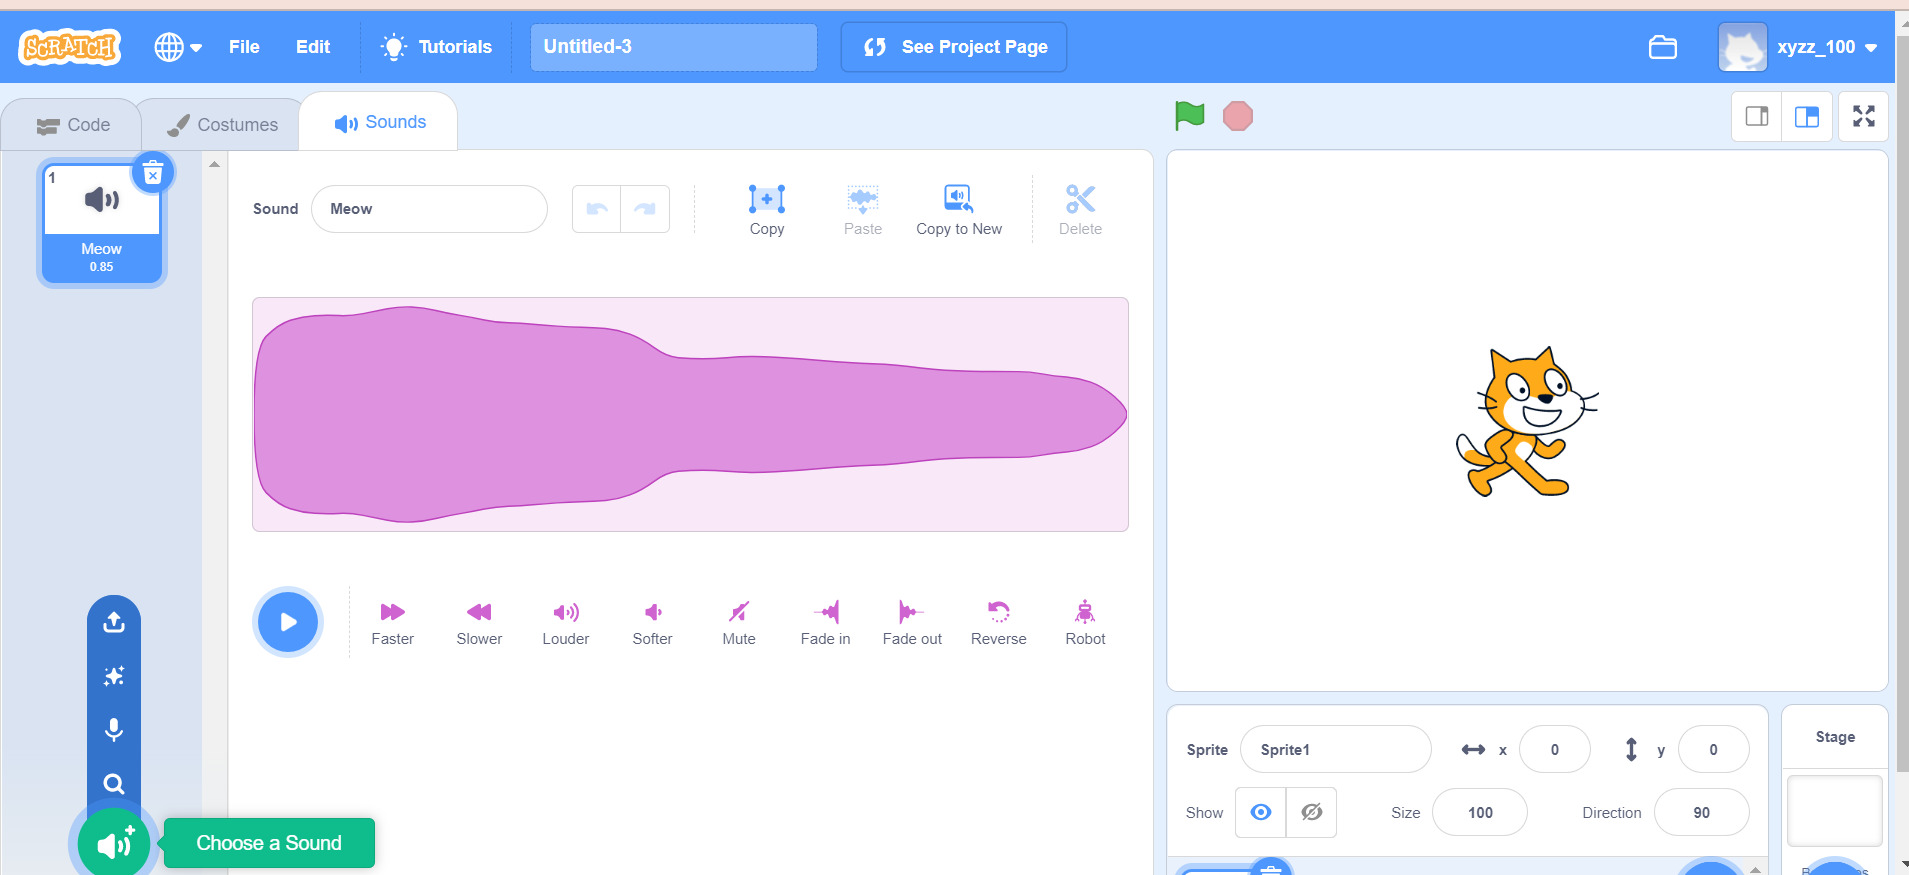
3. Add the Sound Extension: To enable the import and playback of external music in Scratch, you will need to add the Sound extension. Click on the “Choose a backdrop” button at the bottom right of the screen, then click on the “Choose a sound” button. This will open the Sound library.
4. Import the Song: In the Sound library, click on the “Choose a sound from file” button, and a dialog box will appear. Paste the URL of the song that you obtained in Step 3 into the provided field or select the option to import from a file if you have downloaded the song locally. Click “OK” to import the song into Scratch.
5. Customize Sound Properties: Once the song is imported, you can customize its properties to suit your project. You can adjust the volume, set the starting point, and add sound effects if desired. Experiment with different settings to achieve the desired audio experience.
6. Trigger the Sound: To play the song in your project, you will need to add blocks to trigger the sound. Go to the blocks palette, select the “Sound” category, and drag and snap blocks like “when green flag clicked” or “when key pressed” to the scripting area. Attach the appropriate dropdown blocks such as “play sound” or “start sound” to trigger the imported song.
Once you have completed these steps, you can test your project by clicking the green flag or pressing the corresponding key you programmed in the script. The song should now play along with your Scratch project, adding a vibrant and immersive experience for your users.
Now that you have successfully imported the song into Scratch, let’s move on to the next step, where we will create a music player to control and interact with the song within your project. Stay tuned as we continue our journey of downloading music to Scratch and bring our projects to life!
Step 5: Create a Music Player
To enhance the user experience and provide control over the imported song, it’s time to create a music player within your Scratch project. Follow these steps to create a customizable and interactive music player:
1. Add Sprite: Click on the “Choose a sprite from file” button in the bottom right corner of the Scratch screen to add a new sprite to your project. This sprite will serve as your music player interface.
2. Customize the Sprite: Once the sprite is added, you can customize its appearance by selecting a costume from the library or importing your own images or icons to design the visual representation of your music player.
3. Create Buttons: To control the song playback, you will need to add buttons to your music player sprite. Use the “Paint Editor” or import graphics to design play, pause, stop, and volume control buttons. You can also add additional buttons for functions like repeat, shuffle, or skip.
4. Add Button Scripts: Double-click on each button to enter its script editor. Choose blocks from the “Events” and “Sound” categories to program the desired behavior for each button. For example, attach the “when this sprite clicked” block to the play button and a “play sound” block to start the song playback.
5. Control Volume: To incorporate volume control, add a slider or knob sprite next to the play buttons in your music player. Use the “Events” and “Sound” blocks to program the functionality of the volume control. For example, use the “change volume” block to adjust the song volume based on the slider position.
6. Customize Interactions: Experiment with animations and sound effects to create engaging interactions when the user interacts with the music player buttons. For example, make the play button change color or add a sound effect when clicked.
7. Test and Debug: Test your music player by clicking the green flag or using the corresponding key trigger. Ensure that the buttons function as intended and that the song plays, pauses, and stops accurately. Make any necessary adjustments or debug issues that may arise.
By following these steps, you can create a customized music player that allows users to control the playback of the imported song in your Scratch project. This interactive element enhances the overall experience and empowers users to engage with your project on a deeper level.
Now that you have successfully created a music player, it’s time for the final step in our journey: testing and enjoying the music within your Scratch project. Let’s move on to the next step and witness the magic of downloaded music intertwined with your creative creations!
Step 6: Test and Enjoy the Music!
Congratulations, you are now in the final step of our journey to download music to Scratch! It’s time to test your project and immerse yourself in the delightful melodies of your chosen song. Here’s how to ensure everything is working perfectly:
1. Preview and Adjust: Click the green flag or use the key trigger to start your Scratch project and listen to the music. Pay attention to the timing, volume, and overall integration of the song with your project. Make any necessary adjustments to the playback, volume levels, or script timings to achieve the desired effect.
2. Check Interactions: Test the functionality of your music player by interacting with the buttons you have created. Ensure that the play, pause, stop, and other controls are responding as expected. Verify that the volume slider or knob changes the volume as intended.
3. Fine-tune the Experience: Take some time to refine the experience. Experiment with adding visual effects, animations, or synchronized movements to your project that align with the music. This can enhance the overall creativity and impact of your project.
4. Share and Showcase: Once you are satisfied with your project, share it with others! Publish your Scratch project on the Scratch website or export it to a standalone application. Invite friends, family, or fellow Scratch users to explore and enjoy your creation.
5. Seek Feedback: Encourage users to provide feedback on their experience with the music in your project. This can help you gain insights into how well the song fits the overall mood and theme of your project, as well as suggestions for improvement.
Remember, as you share your project, always credit the original artist and provide a link to the source of the music, if applicable. This demonstrates respect for the creators and ensures that they receive proper attribution for their work.
Now it’s time to sit back, relax, and enjoy the fruits of your labor. Immerse yourself in your Scratch project and let the music bring it to life. Celebrate your achievement in downloading music to Scratch, and take pride in the captivating experiences you have created. Happy coding and happy listening!