Introduction
Garageband is a powerful and versatile music creation software that allows you to compose, record, and edit your own music. While the software comes with an extensive library of pre-recorded loops and sounds, you may often find yourself wanting to incorporate your favorite songs into your projects. In this article, we will guide you through the process of downloading music into Garageband, so you can unleash your creativity and produce professional-quality tracks.
Using Garageband, you can create your own unique compositions by layering different instruments, adding effects, and arranging the music to your liking. By downloading external music files, you can expand your creative possibilities and work with a wide range of songs and genres. Whether you’re a seasoned musician or an enthusiast looking to experiment with music production, adding your favorite songs to Garageband can bring a new level of excitement and inspiration to your projects.
Before we dive into the process, it’s important to remember that downloading copyrighted music without permission is illegal and against the terms of service of most music download sites. It’s crucial to ensure that you only download music from reputable sources, such as licensed music stores or platforms that allow for legal downloads. Respect the intellectual property rights of artists and support their work by purchasing music legally whenever possible.
Now that we’ve covered the legal and ethical aspects, let’s explore the step-by-step process of downloading music into Garageband. From choosing a reliable music download site to importing the downloaded files into Garageband and editing them to fit your project, we’ll provide you with all the guidance you need to bring your favorite songs into the world of Garageband.
Step 1: Choose a Reliable Music Download Site
The first step in downloading music into Garageband is to choose a reliable music download site. With countless options available on the internet, it’s important to select a site that offers a wide selection of songs and ensures legal and secure downloads.
When searching for a music download site, consider factors such as reputation, user reviews, and the site’s terms of service. Look for sites that have been in operation for a while and have established a positive relationship with their users. Reading reviews and testimonials from other users can give you valuable insights into the site’s reliability and the quality of its music library.
Additionally, it’s essential to choose a site that offers legal and licensed downloads. This ensures that you are supporting the artists and respecting their intellectual property rights. Some sites have partnerships with record labels and artists, guaranteeing that the music you download is legal and obtained with proper permissions.
Another aspect to consider is the variety of music genres and artists available on the site. Ideally, you want a music download site that offers a diverse range of songs, spanning different genres and time periods. This allows you to explore various musical styles and incorporate different elements into your Garageband projects.
Furthermore, pay attention to the usability and user interface of the site. A well-designed and user-friendly platform makes it easier to navigate through the music library, search for specific songs or artists, and download files seamlessly. Some sites even offer additional features such as curated playlists, recommendations based on your preferences, and the ability to create your own music collections.
Lastly, ensure that the music download site provides secure and virus-free downloads. It’s essential to protect your computer and personal information from malicious threats. Look for sites that use encryption and have robust security measures in place to safeguard your data.
By taking the time to choose a reputable and reliable music download site, you can ensure a smooth and enjoyable experience when downloading music into Garageband. Now that you’re armed with the knowledge of selecting the right site, let’s move on to the next step: searching for the desired song.
Step 2: Search for the Desired Song
Once you have chosen a reliable music download site, it’s time to search for the desired song that you want to download into Garageband. Whether you have a specific song in mind or you’re looking to explore new music, the search feature on the music download site will be your best friend.
When using the search feature, it is helpful to enter specific keywords such as the song title, artist name, album name, or even specific genres to narrow down your search. This will help you quickly find the song you are looking for from the vast library of the music download site.
Some music download sites also offer advanced search options, allowing you to filter your search results based on various criteria. You can refine your search based on the release year, duration, popularity, or even by specific tags or labels associated with the song. This can be particularly useful if you are looking for songs of a particular era or style.
Additionally, explore the “recommended” or “related” section on the music download site. These sections often provide suggestions based on your search history, allowing you to discover new songs or artists that align with your musical preferences. It’s a great way to broaden your musical horizons and find hidden gems.
While searching for the desired song, it’s important to be mindful of variations in song titles or artist names. Sometimes, there may be slight differences or alternative spellings that could affect the search results. If you are having trouble finding a specific song, try alternative search terms or consult the site’s support or community forums for assistance.
Once you have successfully located the desired song, double-check the details such as the song title, artist name, and album to confirm that it is the correct version you are looking for. It’s always a good idea to read the song’s description or listen to a sample before proceeding with the download.
By effectively searching for the desired song, you can find and download the specific music that you want to incorporate into your Garageband projects. Now that you have located the song, it’s time to move on to the next step: downloading the song files.
Step 3: Download the Song Files
Once you have found the desired song on the music download site, it’s time to proceed with downloading the song files. Most music download sites offer multiple file formats and quality options, giving you the flexibility to choose the format that suits your needs.
When selecting the song file format, consider the compatibility with Garageband. The ideal file format for Garageband is usually MP3 or WAV, as they are widely supported and compatible with the software. Ensure that the music download site offers these file formats for download.
Furthermore, pay attention to the quality of the song files. Higher quality files often provide better sound reproduction, but they may also be larger in size. Consider your storage capacity and the specific requirements of your project when choosing the quality of the song files.
Once you have made your selection, proceed with the download process. Depending on the music download site and the selected file format, you may be prompted to confirm the download or choose a specific location to save the files on your computer.
During the download process, it’s important to be patient and ensure a stable internet connection. Large file sizes or slow internet speeds may require some time for the files to fully download. Avoid interrupting the download process or closing the browser until the files have been successfully downloaded.
After the download is complete, double-check that the song files have been saved to the designated location on your computer. It’s always a good practice to organize your downloaded files by creating a specific folder dedicated to music files within your Garageband project folder.
Now that you have successfully downloaded the song files, you’re one step closer to incorporating them into Garageband. In the next step, we will guide you through the process of transferring the downloaded music to your computer, allowing you to seamlessly import them into Garageband.
Step 4: Transfer the Downloaded Music to Your Computer
After successfully downloading the desired song files, the next step is to transfer them to your computer. This process ensures that the downloaded music is easily accessible and ready for import into Garageband.
There are several methods you can use to transfer the downloaded music to your computer, depending on the device you are using and your preferred workflow. Here are a few common methods:
- USB or External Storage: If you downloaded the music files on a different device, such as a smartphone or tablet, you can transfer them to your computer using a USB cable or an external storage device. Connect the device to your computer and locate the downloaded music files. Copy and paste the files into a dedicated folder on your computer for easy access.
- Cloud Storage: If you have cloud storage services such as Dropbox, Google Drive, or iCloud, you can upload the downloaded music files to your cloud storage account. Once uploaded, you can access the files from any device with an internet connection and download them to your computer.
- Email or Messaging Apps: Another option is to send the downloaded music files to your own email address or share them with yourself using messaging apps such as WhatsApp or Telegram. Open the email or message on your computer, download the attached files, and save them to a designated folder.
Once you have transferred the downloaded music files to your computer, it’s important to organize them in a dedicated folder within your Garageband project folder. This will ensure that the files are easily accessible and prevent any confusion when it comes to importing them into Garageband.
Remember to keep the original file format and quality intact. Avoid modifying or converting the downloaded music files at this stage, as it’s best to maintain the original integrity of the files until they are imported into Garageband.
With the downloaded music files successfully transferred to your computer, you’re now ready to move on to the next step: opening Garageband and creating a new project.
Step 5: Open Garageband and Choose a New Project
With the downloaded music files safely transferred to your computer, it’s time to open Garageband and create a new project. Garageband offers a user-friendly interface and a variety of project templates to suit your music production needs.
To begin, locate and open Garageband on your computer. Once the software is launched, you will be presented with the option to start a new project. Click on “New Project” or choose a similar option to proceed.
Next, you will be prompted to select a project template. Garageband provides various templates, each tailored for specific purposes. You can choose from options such as “Keyboard Collection” or “Songwriter” depending on your requirements. Alternatively, you can select the “Empty Project” template if you prefer to start from scratch.
Consider the type of music you are creating and the instruments or elements you intend to incorporate. Select a template that closely aligns with your vision to get a head start with pre-set instrument tracks and settings. However, keep in mind that you can always modify and customize the project later to suit your preferences.
After selecting the project template, give your project a meaningful name. This will make it easier to identify and locate the project in the future. Choose a name that reflects the style, theme, or purpose of the music you will be working on.
Now that you have opened Garageband and created a new project, you’re ready to move on to the next step: importing the downloaded music files into Garageband. In the following step, we will guide you through the process of bringing your favorite songs into the world of Garageband and unleashing your creativity.
Step 6: Import the Music Files into Garageband
With your Garageband project created, it’s time to import the downloaded music files into the software. Garageband provides a seamless process for importing audio files, allowing you to incorporate your favorite songs into your music projects.
To import the music files, follow these steps:
- Select the track area in Garageband where you want to import the music. You can create a new track or use an existing one, depending on your preference.
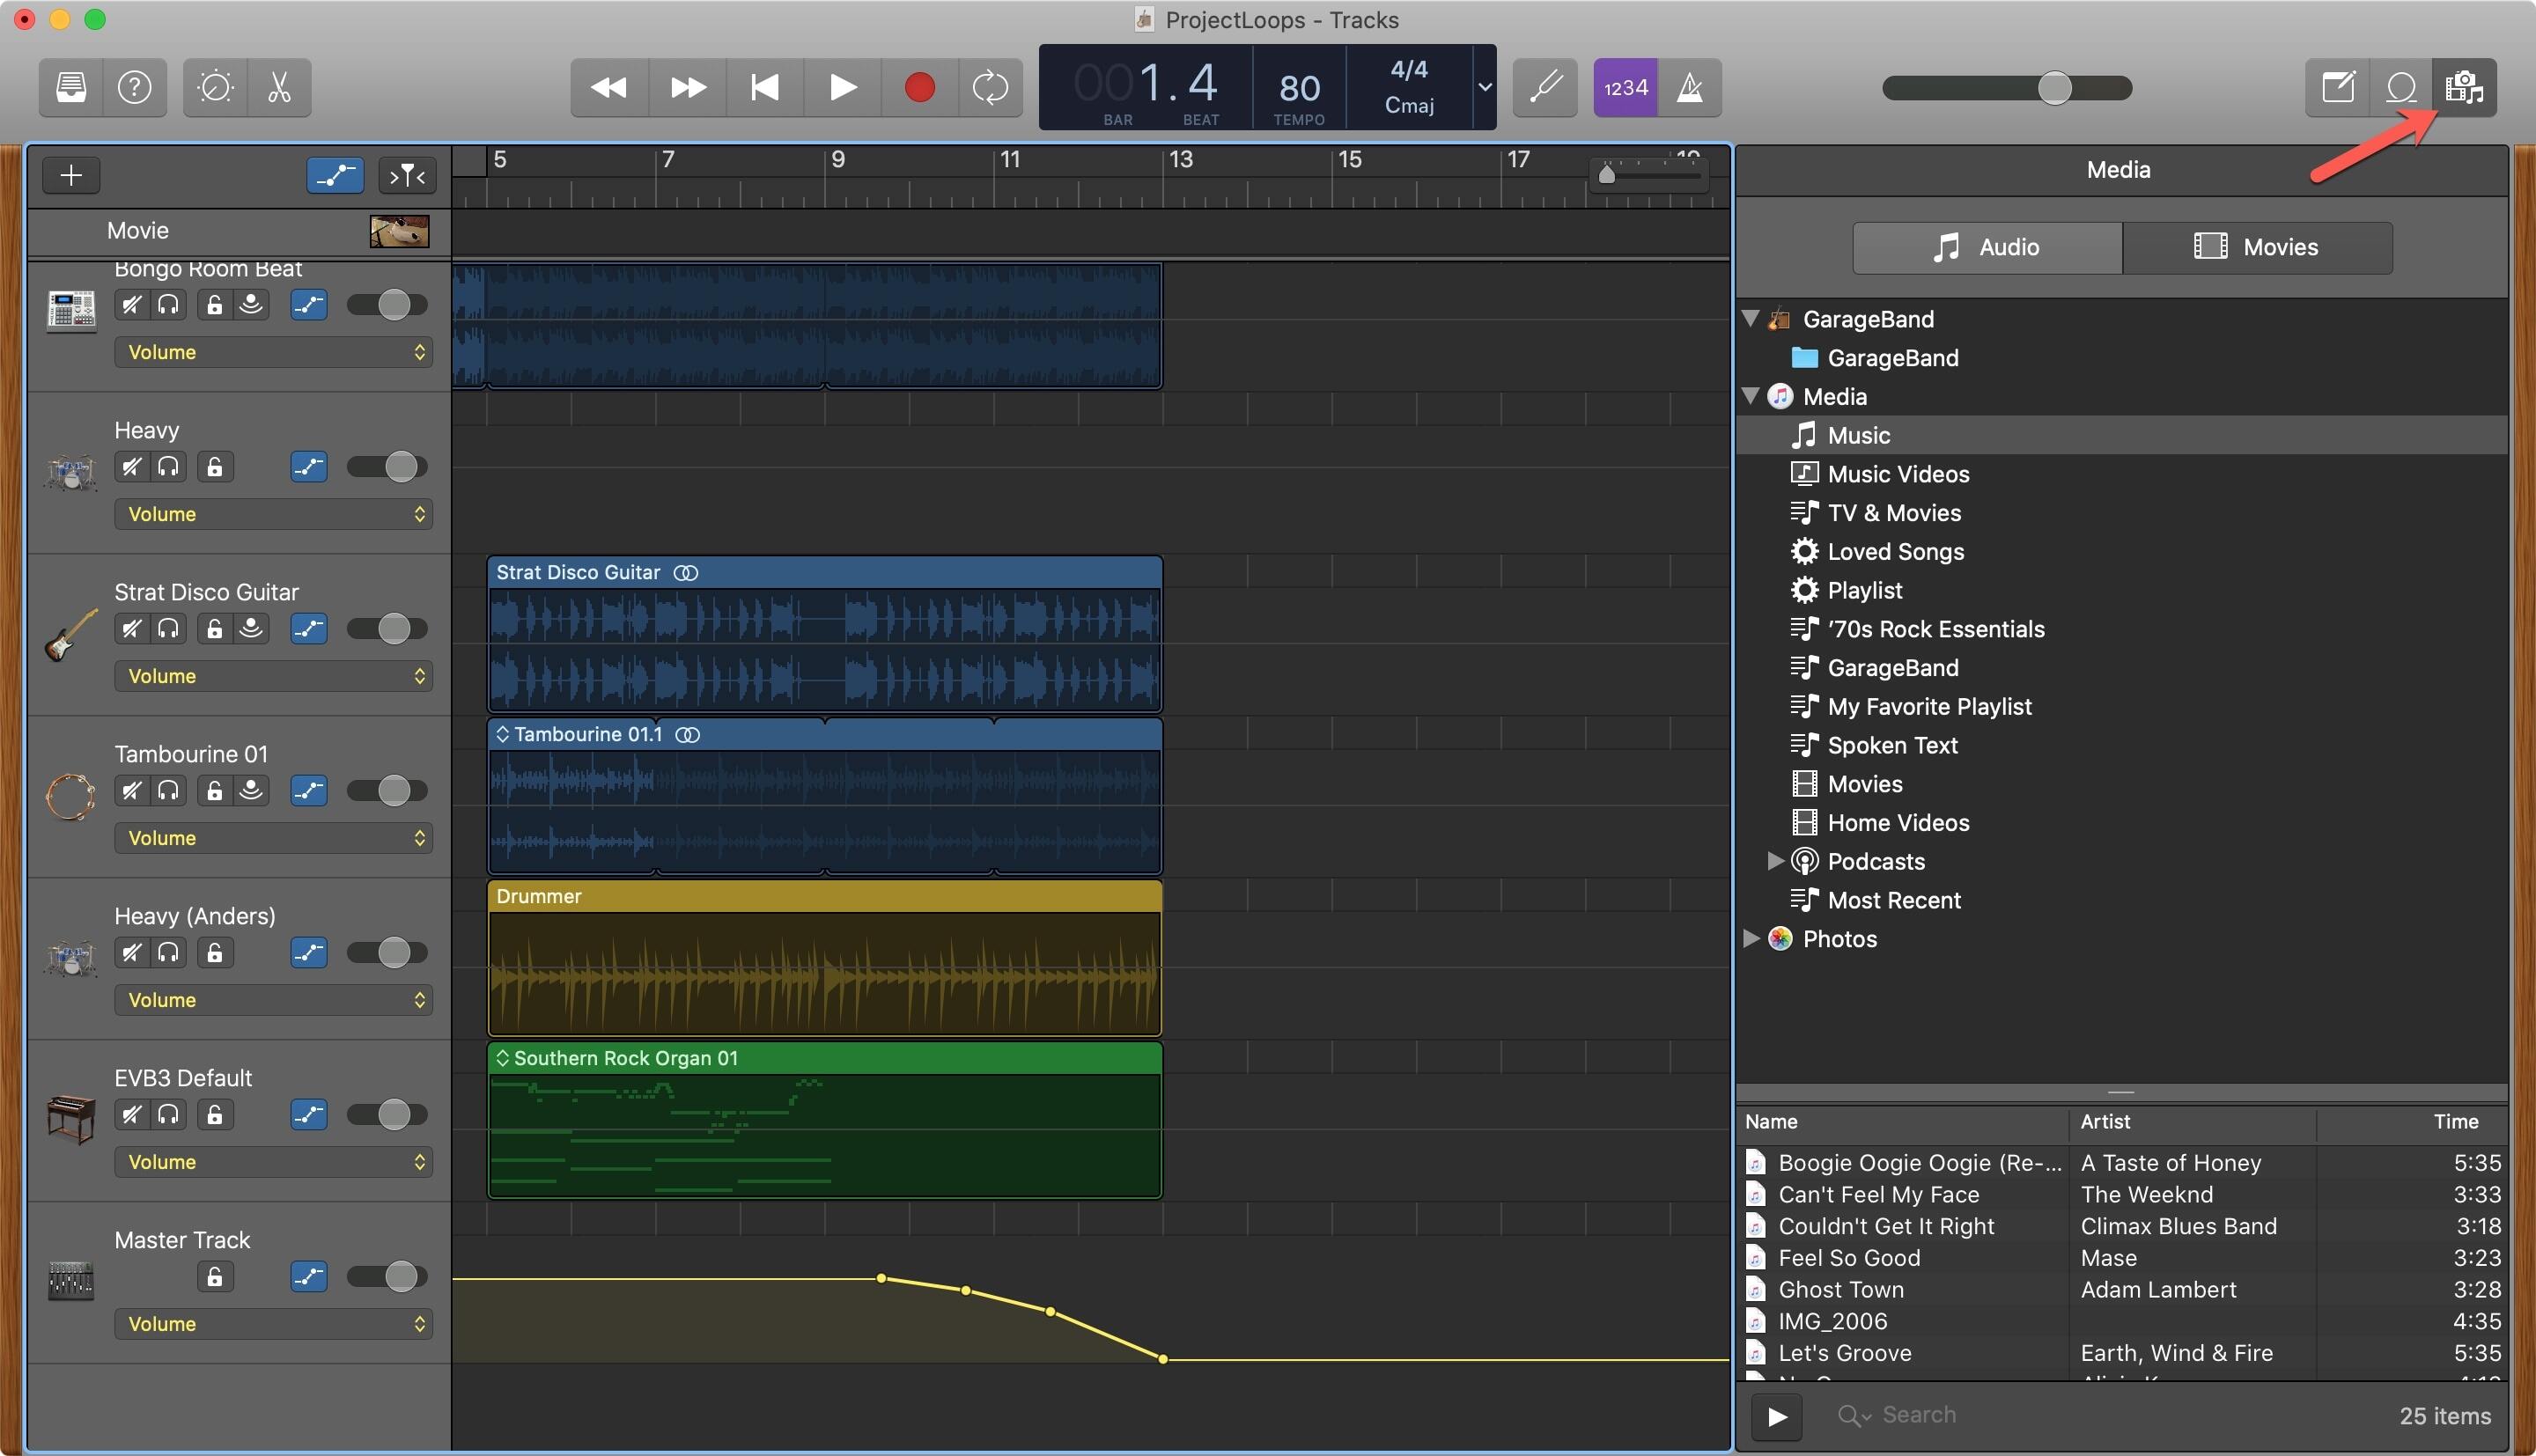
- Click on the “Media” tab in the Garageband toolbar. This will open the media browser, displaying various options for importing audio files.
- In the media browser, navigate to the location where you saved the downloaded music files. Select the desired files and click on the “Import” button.
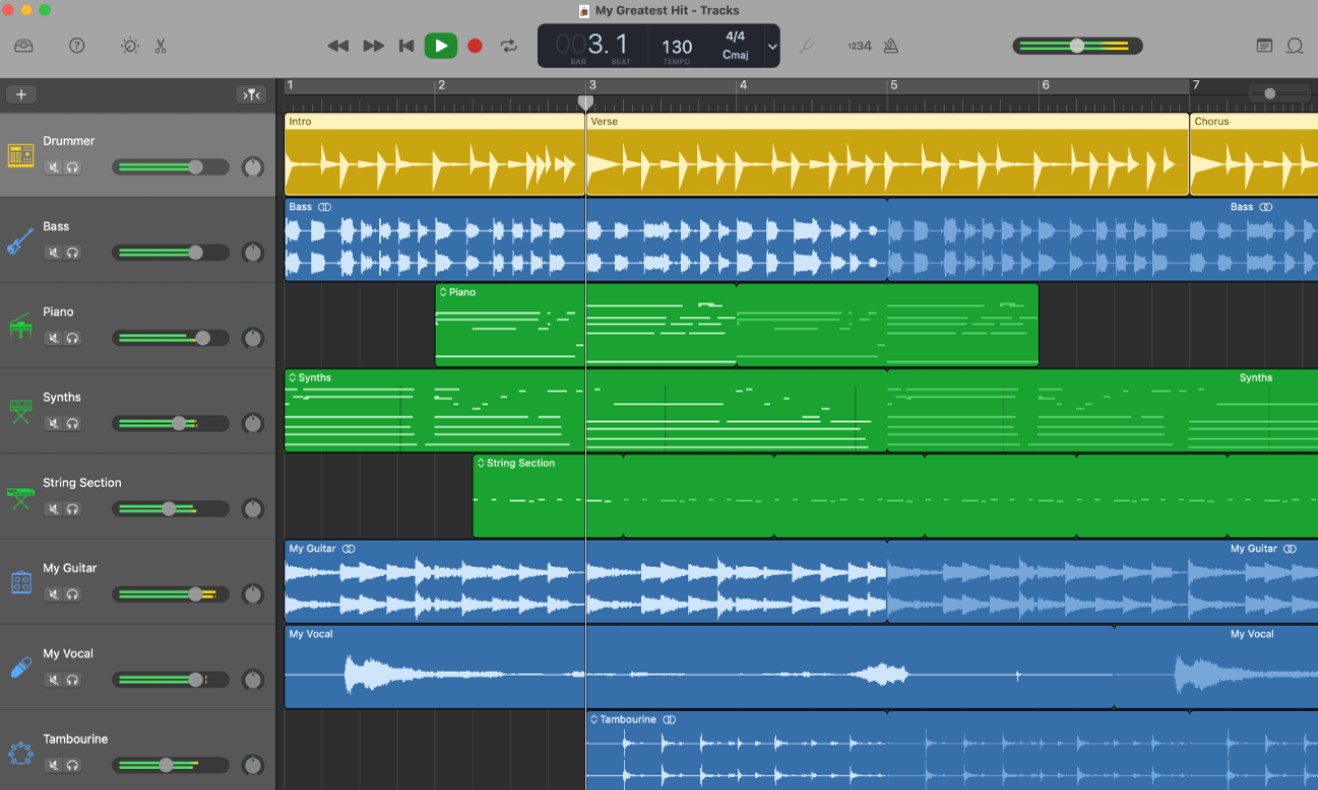
- Garageband will now import the selected music files and place them onto the chosen track. The imported files will appear as regions, representing the individual sections of the song.
- You can now manipulate the imported music files in Garageband. Resize, trim, or move the regions to arrange them as desired within your project. You can also apply effects, change the volume, or add additional tracks to enhance your composition.
- Repeat the import process for any additional music files you wish to incorporate into your project.
During the import process, Garageband will automatically adjust the tempo and key of the imported song files to match the settings of your project. This ensures that all elements of your composition are in harmony and flow smoothly together.
Remember to listen to the imported music files within your project and make any necessary adjustments based on your creative vision. Garageband provides a range of editing features and tools to refine and customize the imported music to suit your desired sound.
By successfully importing the music files into Garageband, you have now integrated your favorite songs into your project, allowing you to explore new musical possibilities and unleash your creativity. In the next step, we will guide you through editing and arranging the music in Garageband to shape your composition.
Step 7: Edit and Arrange the Music in Garageband
With the music files imported into Garageband, it’s time to unleash your creativity by editing and arranging the music within your project. Garageband offers a range of tools and features to help you shape the songs and create a unique composition.
Here are some key steps to edit and arrange the music in Garageband:
- Listen to the imported music files within your project and identify any areas that require editing or adjustments. Pay attention to timing, volume levels, and any specific changes you wish to make.
- To edit the music, you can use Garageband’s editing tools such as cutting, copying, and pasting sections of the song. This allows you to create seamless transitions or remove unwanted parts of the music.
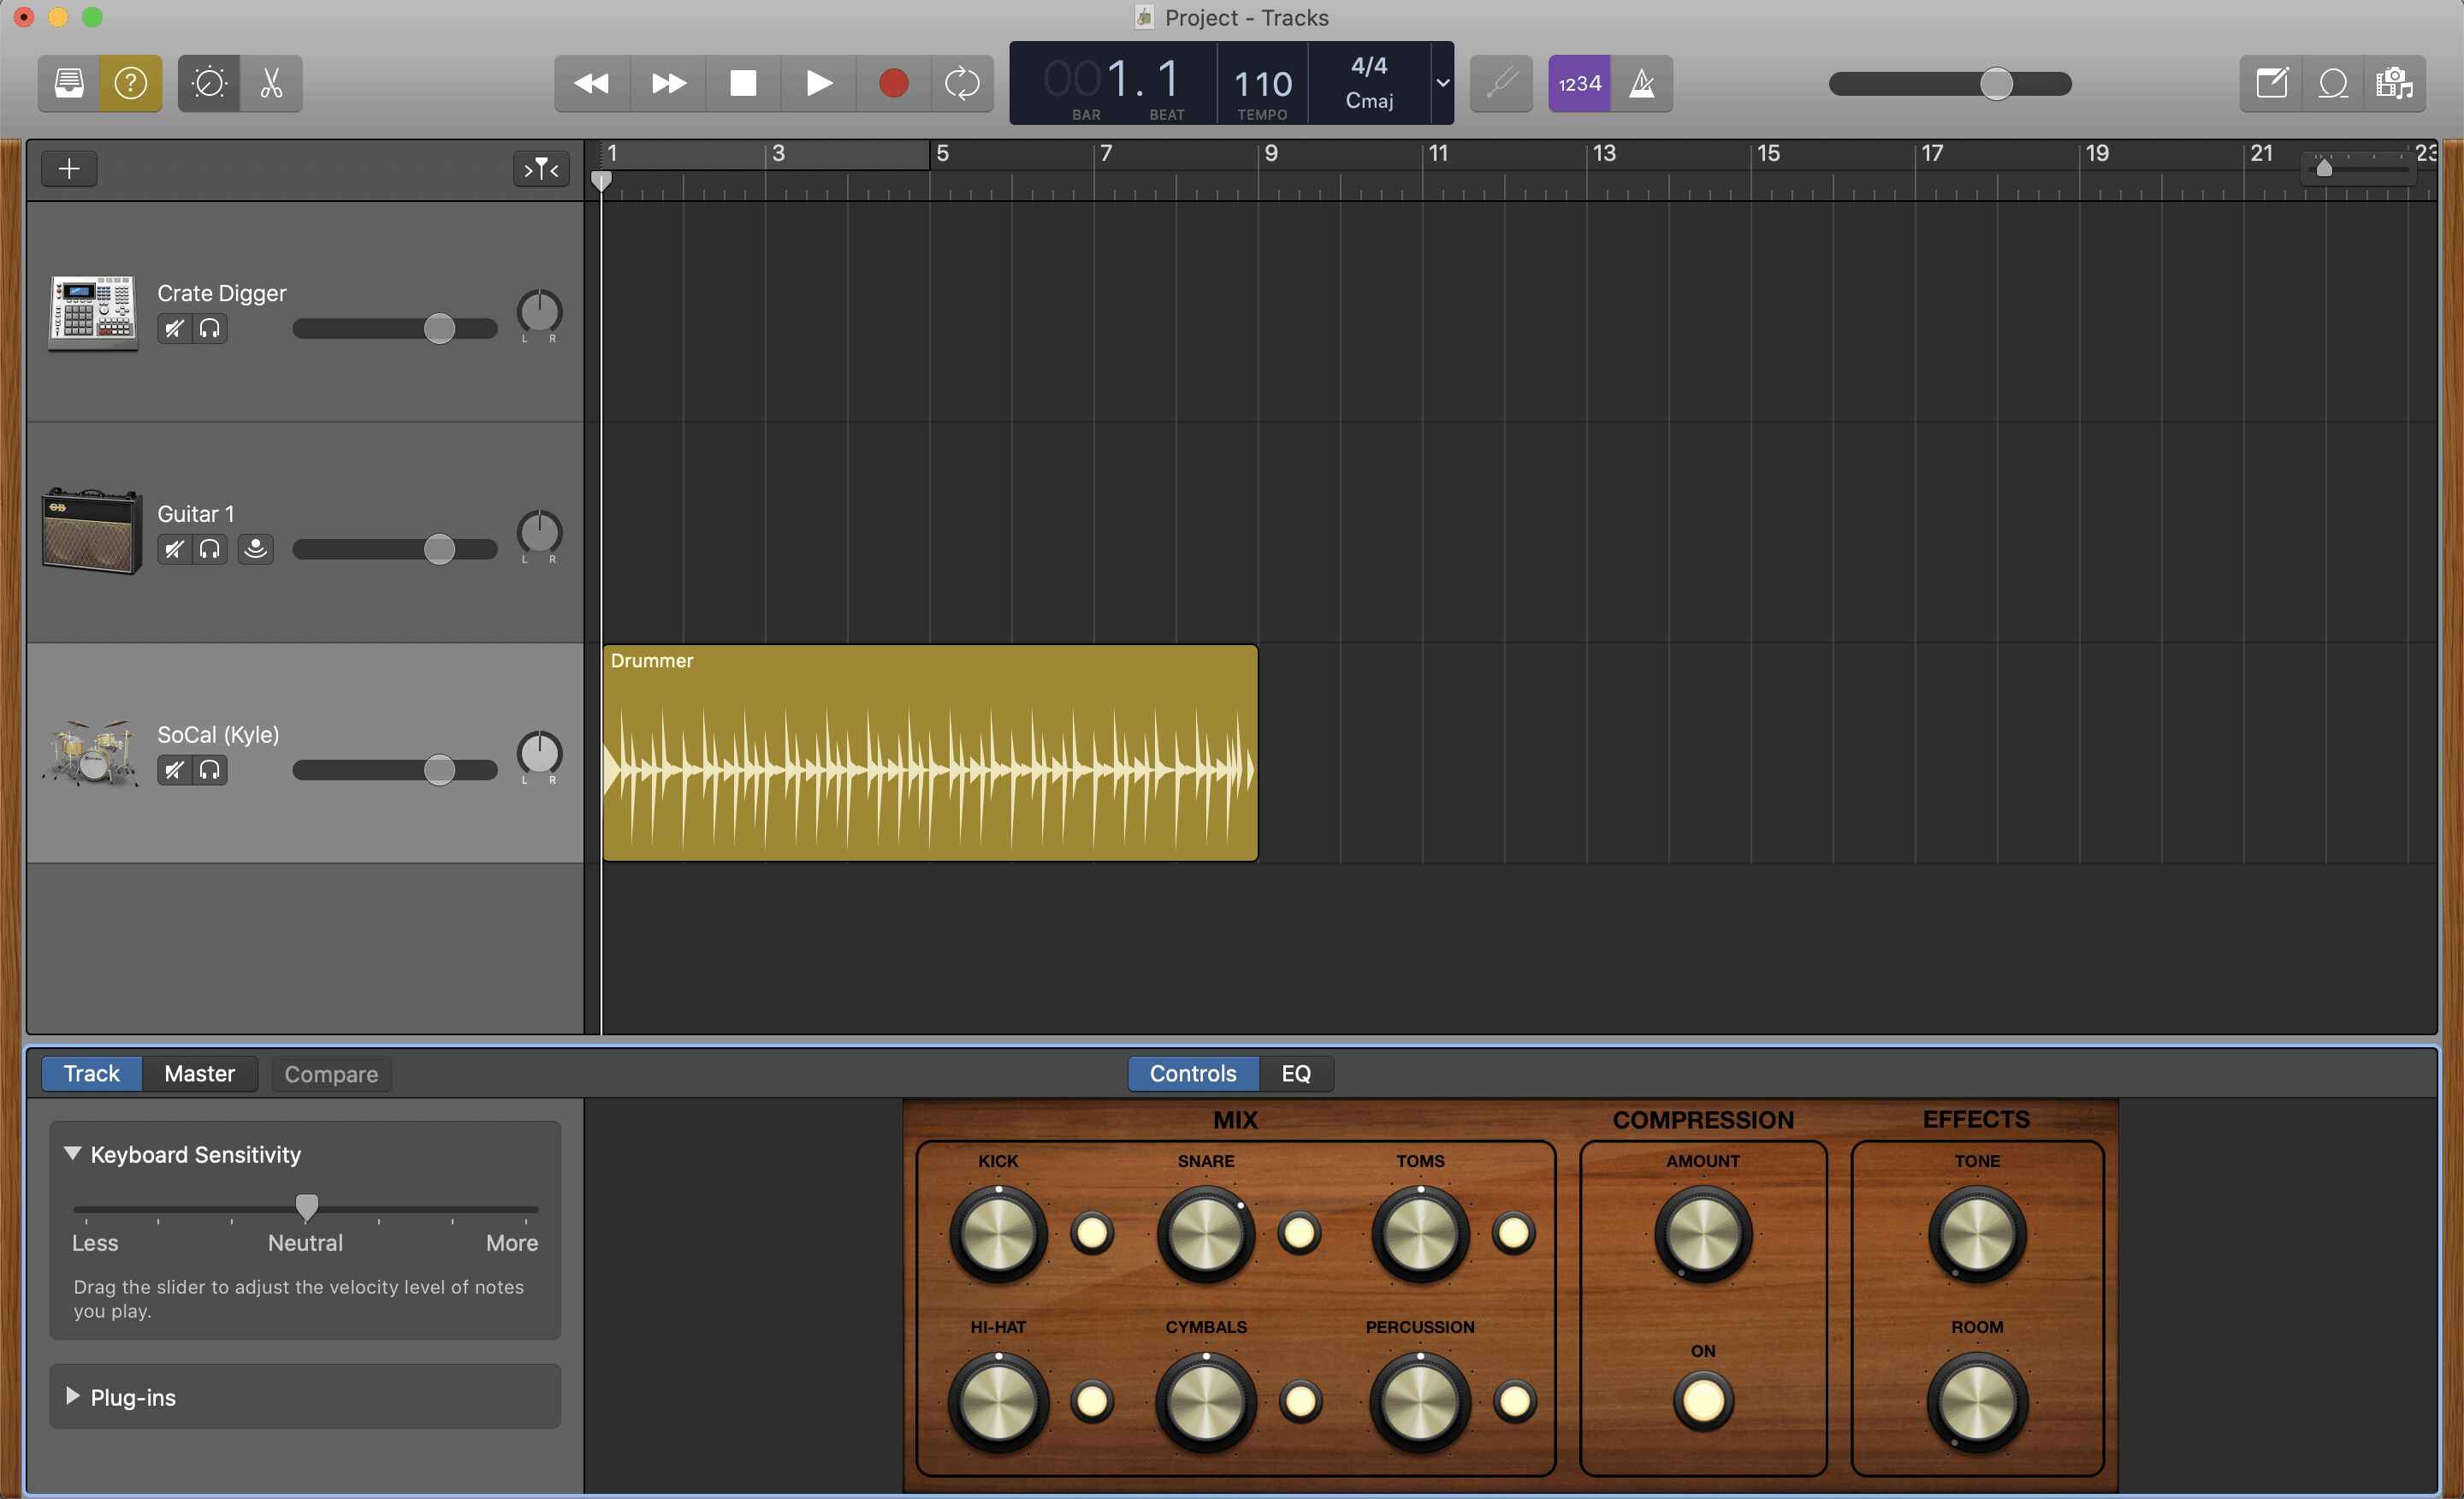
- Experiment with Garageband’s effects and plugins to enhance the sound of the imported music. Apply equalization, reverb, chorus, or any other effects to add depth and character to your composition.
- Utilize Garageband’s automation features to adjust the volume, pan, or other parameters of the music over time. This allows you to create dynamic and expressive changes within your composition.
- Arrange the music by moving and organizing the regions within your project. You can easily rearrange the song structure, create repetitions, or introduce new sections to bring variation and structure to your composition.
- Experiment with different instrument tracks and loops available in Garageband to complement and enhance the imported music. This allows you to add layers and textures to your composition, creating a richer and more dynamic sound.
- Take advantage of Garageband’s MIDI capabilities by recording your own instruments or melodies to blend with the imported music. This personal touch adds a unique element to your composition and showcases your musical skills.
Remember to trust your creativity and experiment with different ideas as you edit and arrange the music in Garageband. Don’t be afraid to take risks and explore new possibilities within your composition. Garageband provides a user-friendly interface and intuitive tools to support your creative journey.
Throughout the editing and arranging process, regularly listen to your composition to ensure it reflects your artistic vision. Make adjustments as needed, refining the transitions, mix levels, and overall flow of the music. By doing so, you will create a well-crafted composition that resonates with your audience.
With the music edited and arranged to your satisfaction, you are now ready for the final step: exporting and saving your project in Garageband.
Step 8: Export and Save the Final Project
After editing and arranging the music in Garageband, it’s time to export and save your final project. This allows you to share your composition with others or continue working on it in other software or platforms.
To export and save your final project in Garageband, follow these steps:
- Ensure that all the editing and arranging of the music is complete and you are satisfied with the final outcome.
- Click on the “Share” menu in the Garageband toolbar and select “Export Song to Disk” or a similar option.
- Choose the file format for your exported project. Garageband offers options such as MP3, WAV, AIFF, and more. Consider the intended use of the exported file and the compatibility with other platforms or software.
- Select the location on your computer where you want to save the exported project. Create a new folder if necessary to keep your projects organized.
- Customize the export settings if desired, such as the bit rate or sample rate, to achieve the desired audio quality.
- Click on “Export” or a similar button to start the exporting process.
- Wait for Garageband to export and save the final project. The time taken will vary depending on the length of the composition and the export settings.
- Once the export is completed, navigate to the location where you saved the project to verify that it has been successfully exported and saved.
With your final project exported and saved, you can now share it with others or continue working on it in other software or platforms. You can upload it to music streaming platforms, create a CD, or use it for further production or collaboration.
Remember to keep a backup of both your Garageband project file and the exported final project. This ensures that you have a safety net in case of any accidental changes or data loss.
Congratulations! You have successfully completed the process of downloading music into Garageband, editing and arranging the music, and exporting the final project. Now, it’s time to share your musical masterpiece with the world and continue exploring your passion for music production.
Conclusion
Downloading music into Garageband opens up a world of creative possibilities for musicians and music enthusiasts alike. By following the step-by-step process outlined in this article, you can seamlessly integrate your favorite songs into your Garageband projects and create unique compositions.
Choosing a reliable music download site is crucial to ensure legal and secure downloads. Look for reputable sites with a diverse selection of songs and positive user reviews. Respect the intellectual property rights of artists by only downloading music legally and from authorized sources.
The search process allows you to locate and find the desired song to download. Utilize specific keywords, explore related recommendations, and check for variations in song titles or artist names to ensure successful search results.
Once the music files are downloaded and transferred to your computer, open Garageband and create a new project. Select a suitable project template or start from scratch, then import the downloaded music files into Garageband’s tracks for further editing and arrangement.
Edit and arrange the music to your liking, making use of Garageband’s tools and effects. Experiment with different instrument tracks, loops, and audio effects to customize the sound and create a dynamic and captivating composition.
Once you are satisfied with the final result, export and save your project in a desired file format that suits your needs. Keep a backup of both your Garageband project file and the exported final project to prevent any accidental loss of data.
By following these steps, you can bring your favorite songs into the realm of Garageband and unleash your creativity to produce high-quality music. Whether you are a professional musician or an aspiring music producer, Garageband offers a powerful platform to explore and create your own unique musical creations.
So go ahead, download your favorite songs, and let your imagination run wild as you compose, edit, and arrange music in Garageband. Enjoy the journey of music production and share your musical creations with the world.