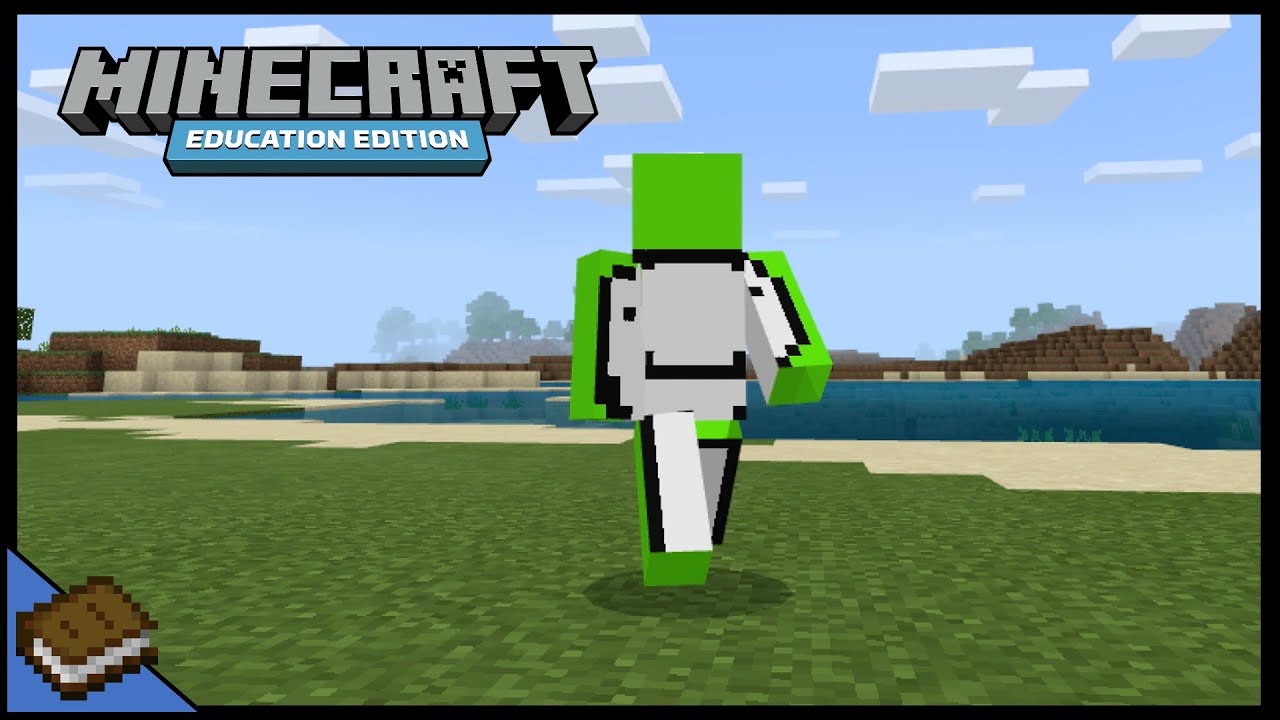
To download Minecraft skins Education Edition, you need to convert a standard PNG skin file into an MCPACK file using a free online tool, then double-click that MCPACK file to import it into the game. If you don't have a skin yet, you can download skins from skindex to get the PNG file you need. This is the only method that works because Minecraft Education Edition does not accept raw PNG files directly, unlike the Java Edition. If you also want the original Star Wars films without the later edits, you can download despecialized edition for the theatrical versions.
What are Minecraft skins and why use them in Education Edition?
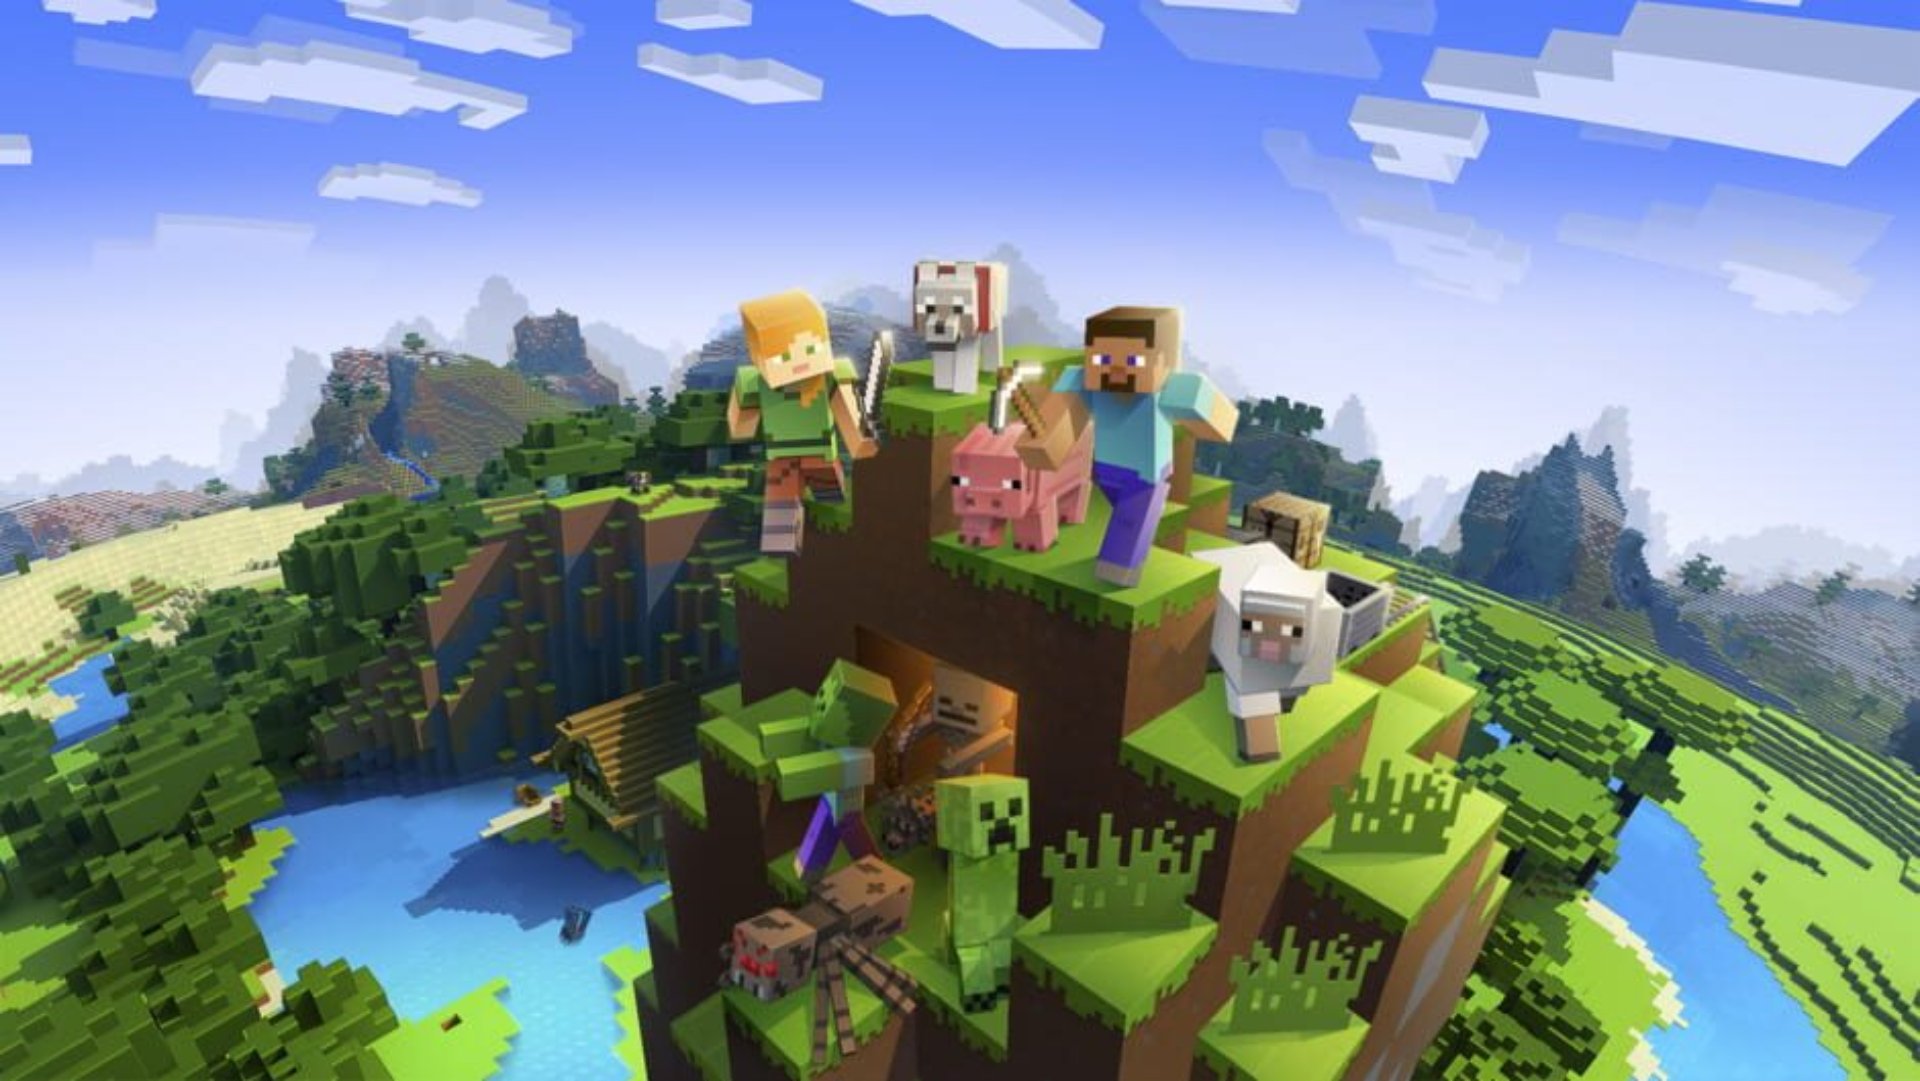
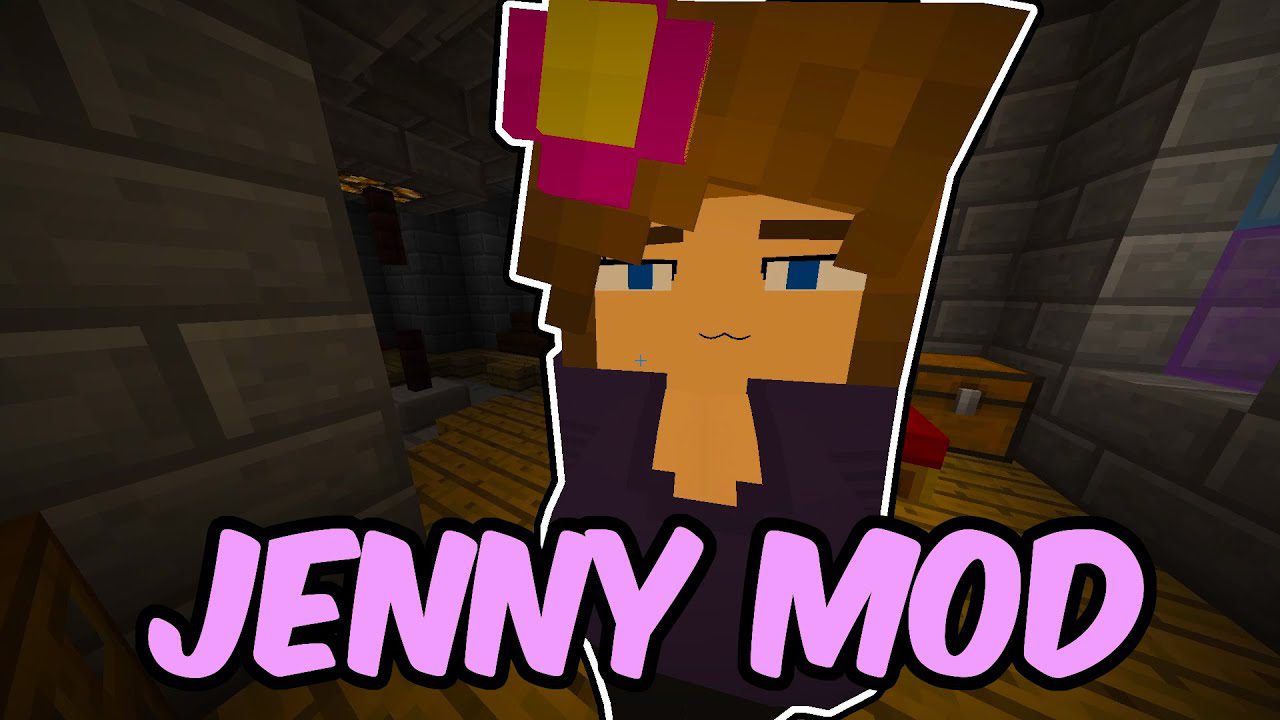
Minecraft skins are image files that wrap around your in-game character model, changing its appearance from the default Steve or Alex look. They are purely cosmetic enhancements designed to customize your avatar and make your gameplay experience more enjoyable and personally meaningful. In Education Edition, skins serve a dual purpose: they let students express their individuality and they act as powerful teaching tools. For example, a teacher can assign historical figures, book characters, or scientific concepts as skin themes, letting students embody those roles during a lesson. This visual transformation boosts engagement and makes abstract topics more concrete and memorable.
Step 1: Find and download a Minecraft skin PNG file
- Open your web browser and go to a trusted skin website like NameMC, The Skindex, or Skindex.com. Avoid random pop-up-heavy sites.
- Use the search bar to find a specific character or theme.
- Click on a skin you like to open its detail page. Look for a green "Download" button or an arrow icon.
- Click the download button. The file will save as a .PNG file (usually named
skin.pngor similar). - Move the PNG file to an easy-to-find location on your computer, like your Desktop or Downloads folder. Keep it there until the next step.
Step 2: Convert the PNG file into an MCPACK skin pack
This is the critical unique step for Education Edition. The game does not let you import a raw PNG. Instead, you must package it into an MCPACK file using a free online converter.
- Go to a tool called "Skin pack Creator for Minecraft Education" (search this exact phrase on Google or use a trusted site like
mcpedl.comoreducation.minecraft.net). - Some tools ask for a skin name. Type a name for your skin pack (e.g., "My Custom Hero").
- The tool will process your PNG and create a downloadable .MCPACK file.
- Click "Download" to save the MCPACK file to your computer. This file contains your skin plus the necessary metadata for Education Edition.
Step 3: Download and import the MCPACK file into Minecraft Education Edition
- Locate the downloaded .MCPACK file on your computer (likely in your Downloads folder).
- Double-click the MCPACK file. This action will automatically launch Minecraft Education Edition if it is installed.
- Wait for the game to load. Let it finish.
- Once the import completes, the MCPACK file is now part of your game's skin library. You can delete the MCPACK file from your Desktop if you want, it has already been copied into the game.
Step 4: Apply your new custom skin in the game
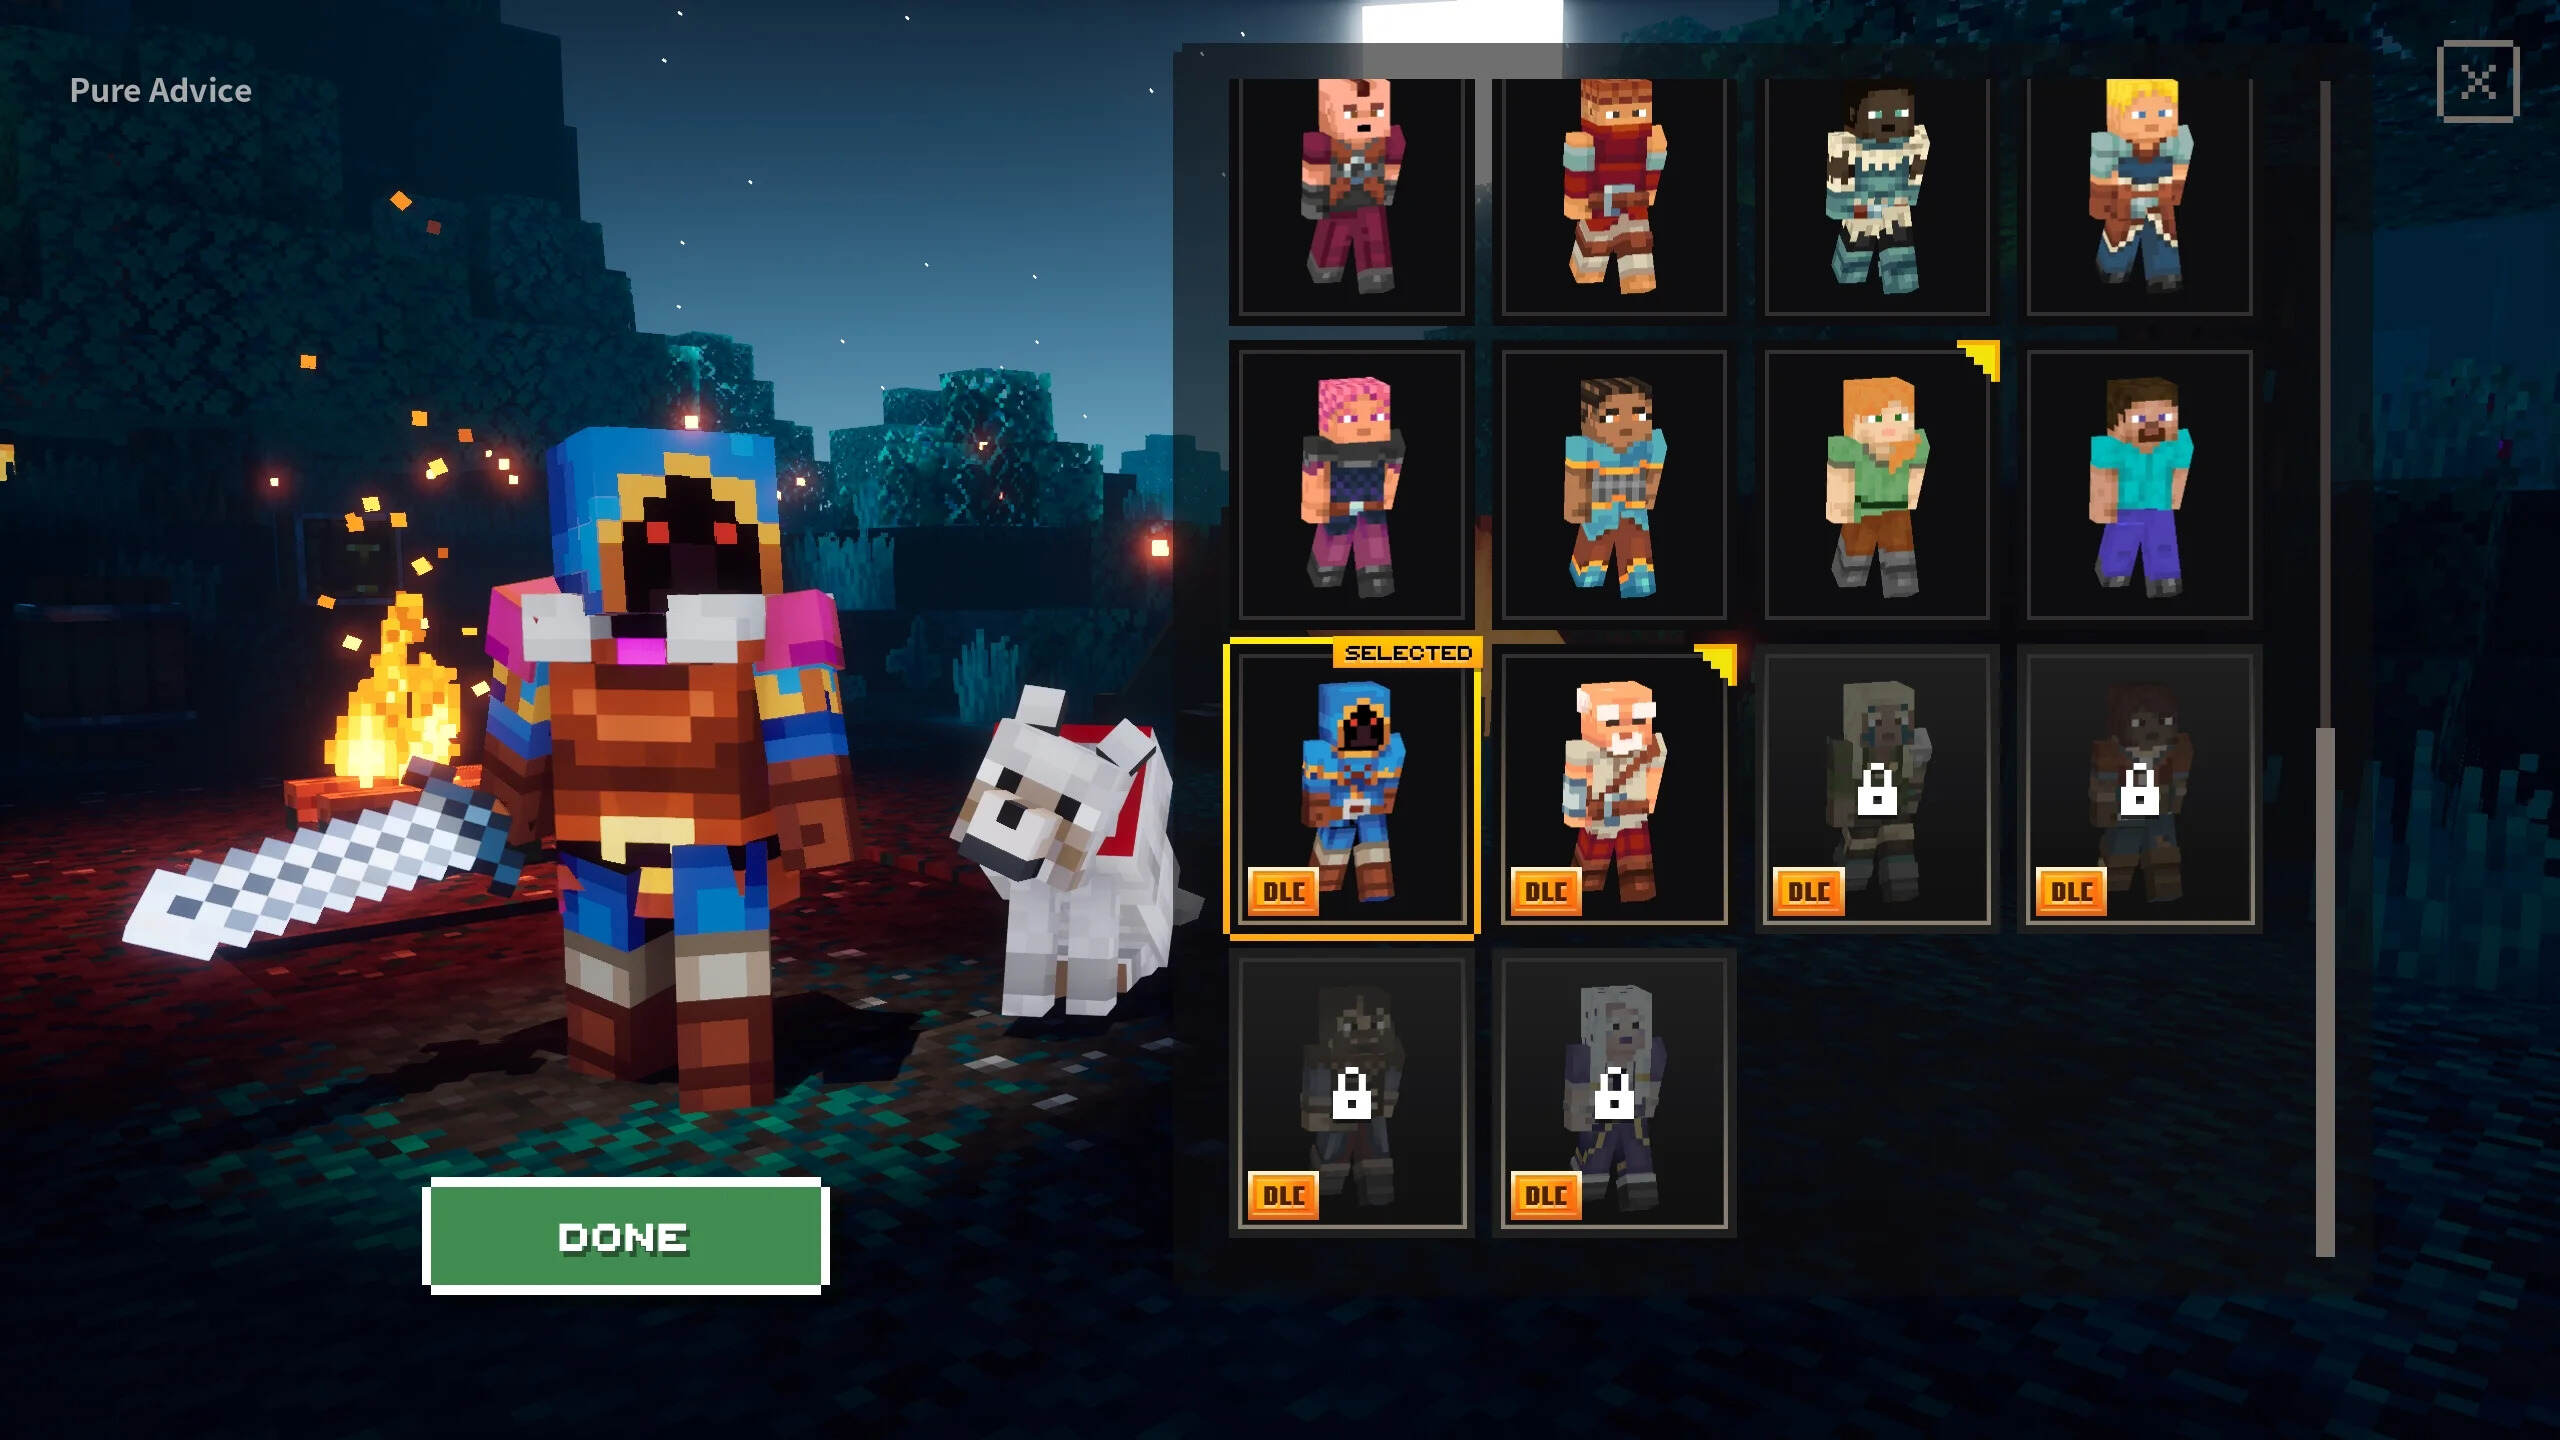
- From the Minecraft Education Edition main menu, click "Character Creator" (the button with a person icon).
- In the Character Creator, look for the "Owned" tab at the top of the screen. Click it.
- Scroll through the list of owned items. You will see your imported skin pack listed there, usually with a small icon of the skin.
- Click on your skin to select it. A preview of your character with the skin will appear on the right side of the screen.
- Click the "Apply" button (or checkmark) to confirm. Your character now wears the custom skin.
- Exit the Character Creator and enter any world. Your character will appear with the new skin.
Troubleshooting skin import issues in Education Edition
MCPACK file not importing
If double-clicking the MCPACK file does nothing or shows an error, first re-download the MCPACK file from the converter tool, sometimes the download gets corrupted. Then, check your file association: right-click the MCPACK file, choose "Open With," and manually select Minecraft Education Edition. If the game still won't open it, try moving the MCPACK file to your Desktop and double-clicking it again.
Skin displaying oddly in-game
If your skin looks glitchy, has missing pixels, or appears as a black or white box, the PNG file you started with may be incompatible. Re-convert the PNG using a different converter tool. Also, verify that your original PNG is exactly 64x64 pixels (the standard skin size). If it's larger or smaller, use any free image editor (like Paint or Pixlr) to resize it to 64x64 before converting again.
Verifying game version supports custom skins
Not all versions of Minecraft Education Edition allow custom skins. Check your game version by going to the main menu and looking at the bottom-left corner. You need version 1.14 or higher for MCPACK skin support. If you have an older version, update the game through your school's software center or the Microsoft Store.
Additional tips for Education Edition skins
Note that the Education Edition is not available on Nintendo Switch, it only runs on Windows, Mac, and iPad. For those devices, the MCPACK method above is the only official way. Also, remember that skins are purely cosmetic, they do not affect gameplay stats, movement speed, or abilities. Students can change skins as often as they like by repeating Steps 1-4, and teachers can create a library of themed skins for different lessons. Always download skins from reputable sites to avoid malware, and never share your personal skin files with strangers online. If you also want to download duolingo lessons, the same care with official sources applies.