How to Add a Skin to Minecraft: Step-by-Step Guide
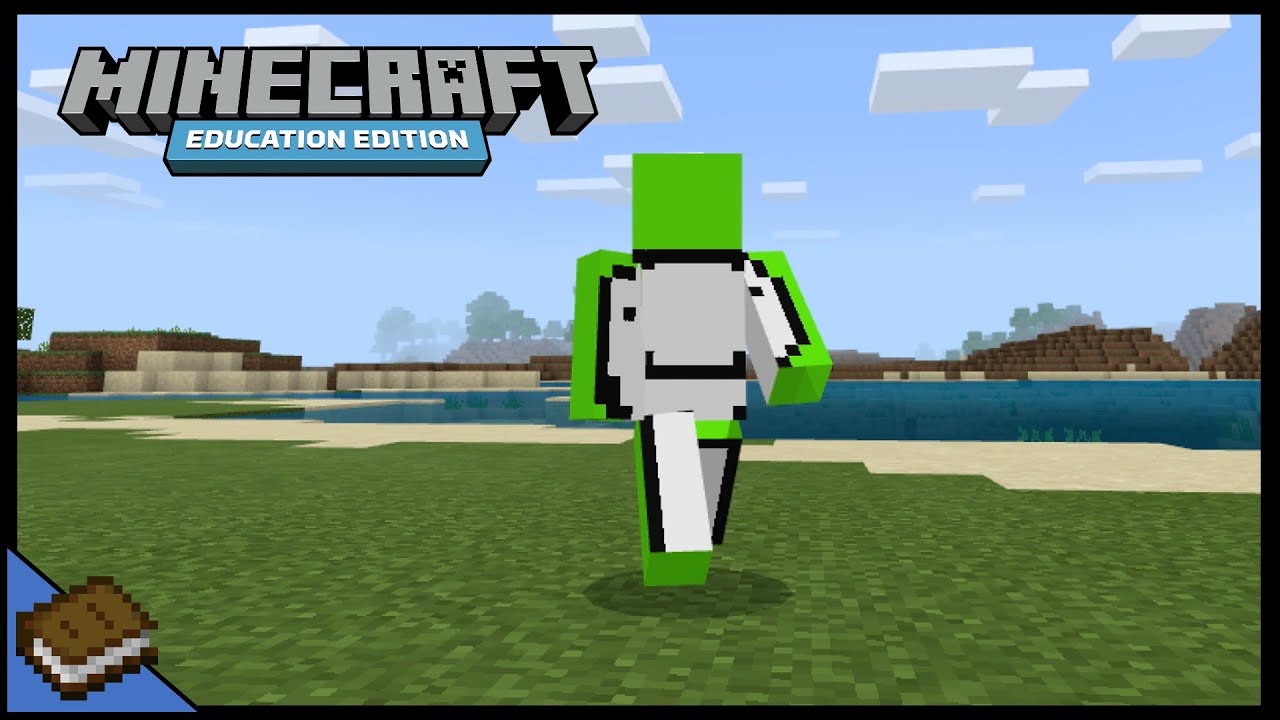
Are you a Minecraft enthusiast looking to add some personal flair to your in-game character? Well, you’re in luck! Adding a skin to your Minecraft avatar is a fun and simple way to personalize your gaming experience. Whether you want to transform into your favorite superhero or don a spiky dinosaur suit, this guide will take you through the process step-by-step. So, let’s dive right in and learn how to add a skin to Minecraft!
Key Takeaways:
- Adding a skin to Minecraft allows you to customize the appearance of your in-game character.
- You can create your own skin using image editing software like Photoshop or choose from a wide range of pre-made skins available online.
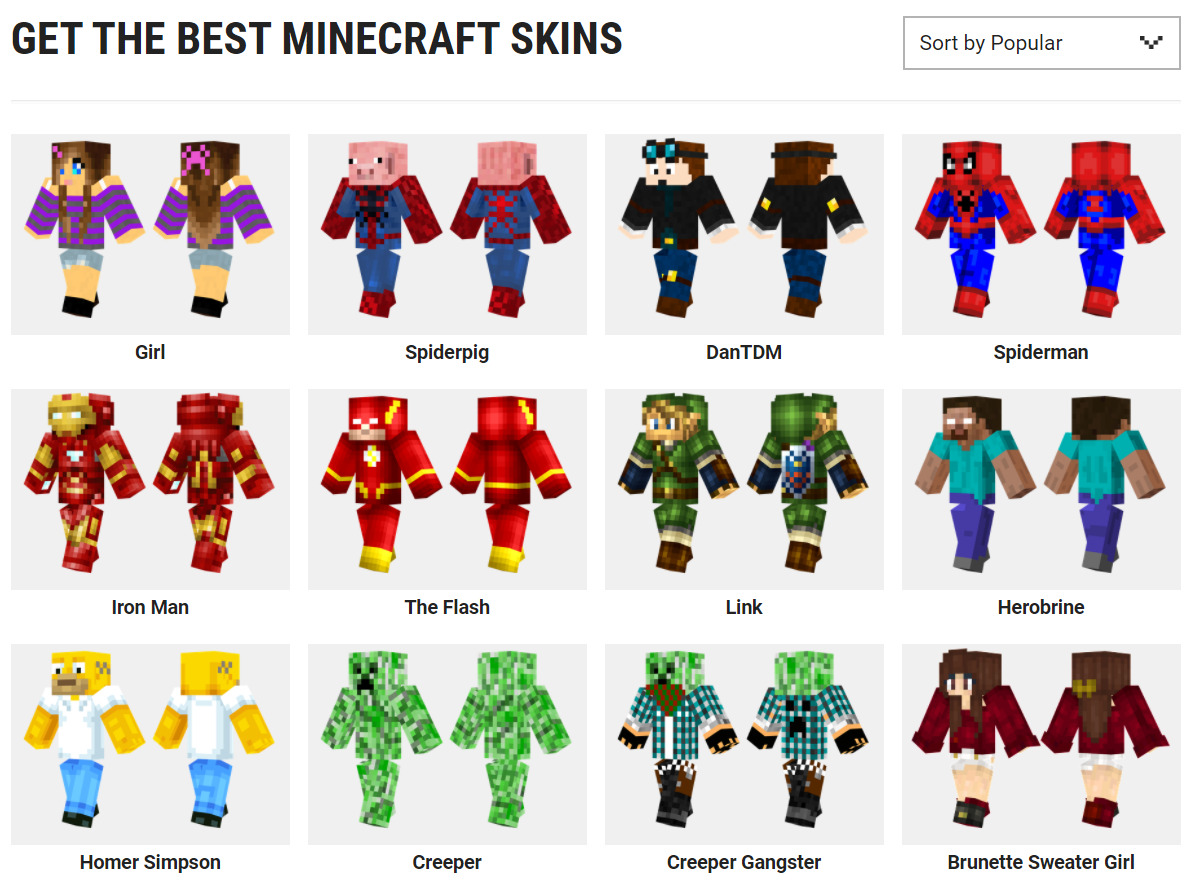
Step 1: Find or Create Your Skin
The first step in adding a skin to Minecraft is finding or creating the perfect skin for your avatar. Here’s how:
- Search for pre-made skins: There are numerous websites where you can find a vast collection of pre-made Minecraft skins. Browse through these websites, use keywords related to your desired theme or character, and choose the one that catches your eye.
- Create your own skin: If you have a specific vision for your Minecraft character, you can create your own skin from scratch. To do this, you can use image editing software like Photoshop or opt for simpler online editors specifically designed for creating Minecraft skins.
Step 2: Download or Save Your Skin
Once you have found or created your preferred skin, it’s time to download or save it to your device. Follow these steps:
- If you found a skin online, look for a download button or a direct link to the image file. Right-click on the download button or the image itself and choose “Save Image As” to download it to your computer or mobile device.
- If you created your own skin, save it in a location where you can easily find it later.
Step 3: Open the Minecraft Website
Now that you have your skin ready, head over to the official Minecraft website to apply it. Just follow these instructions:
- Open your preferred web browser and go to the official Minecraft website.
- If you’re not already signed in, click on the “Log In” button at the top-right corner of the page and enter your Minecraft account credentials to sign in.
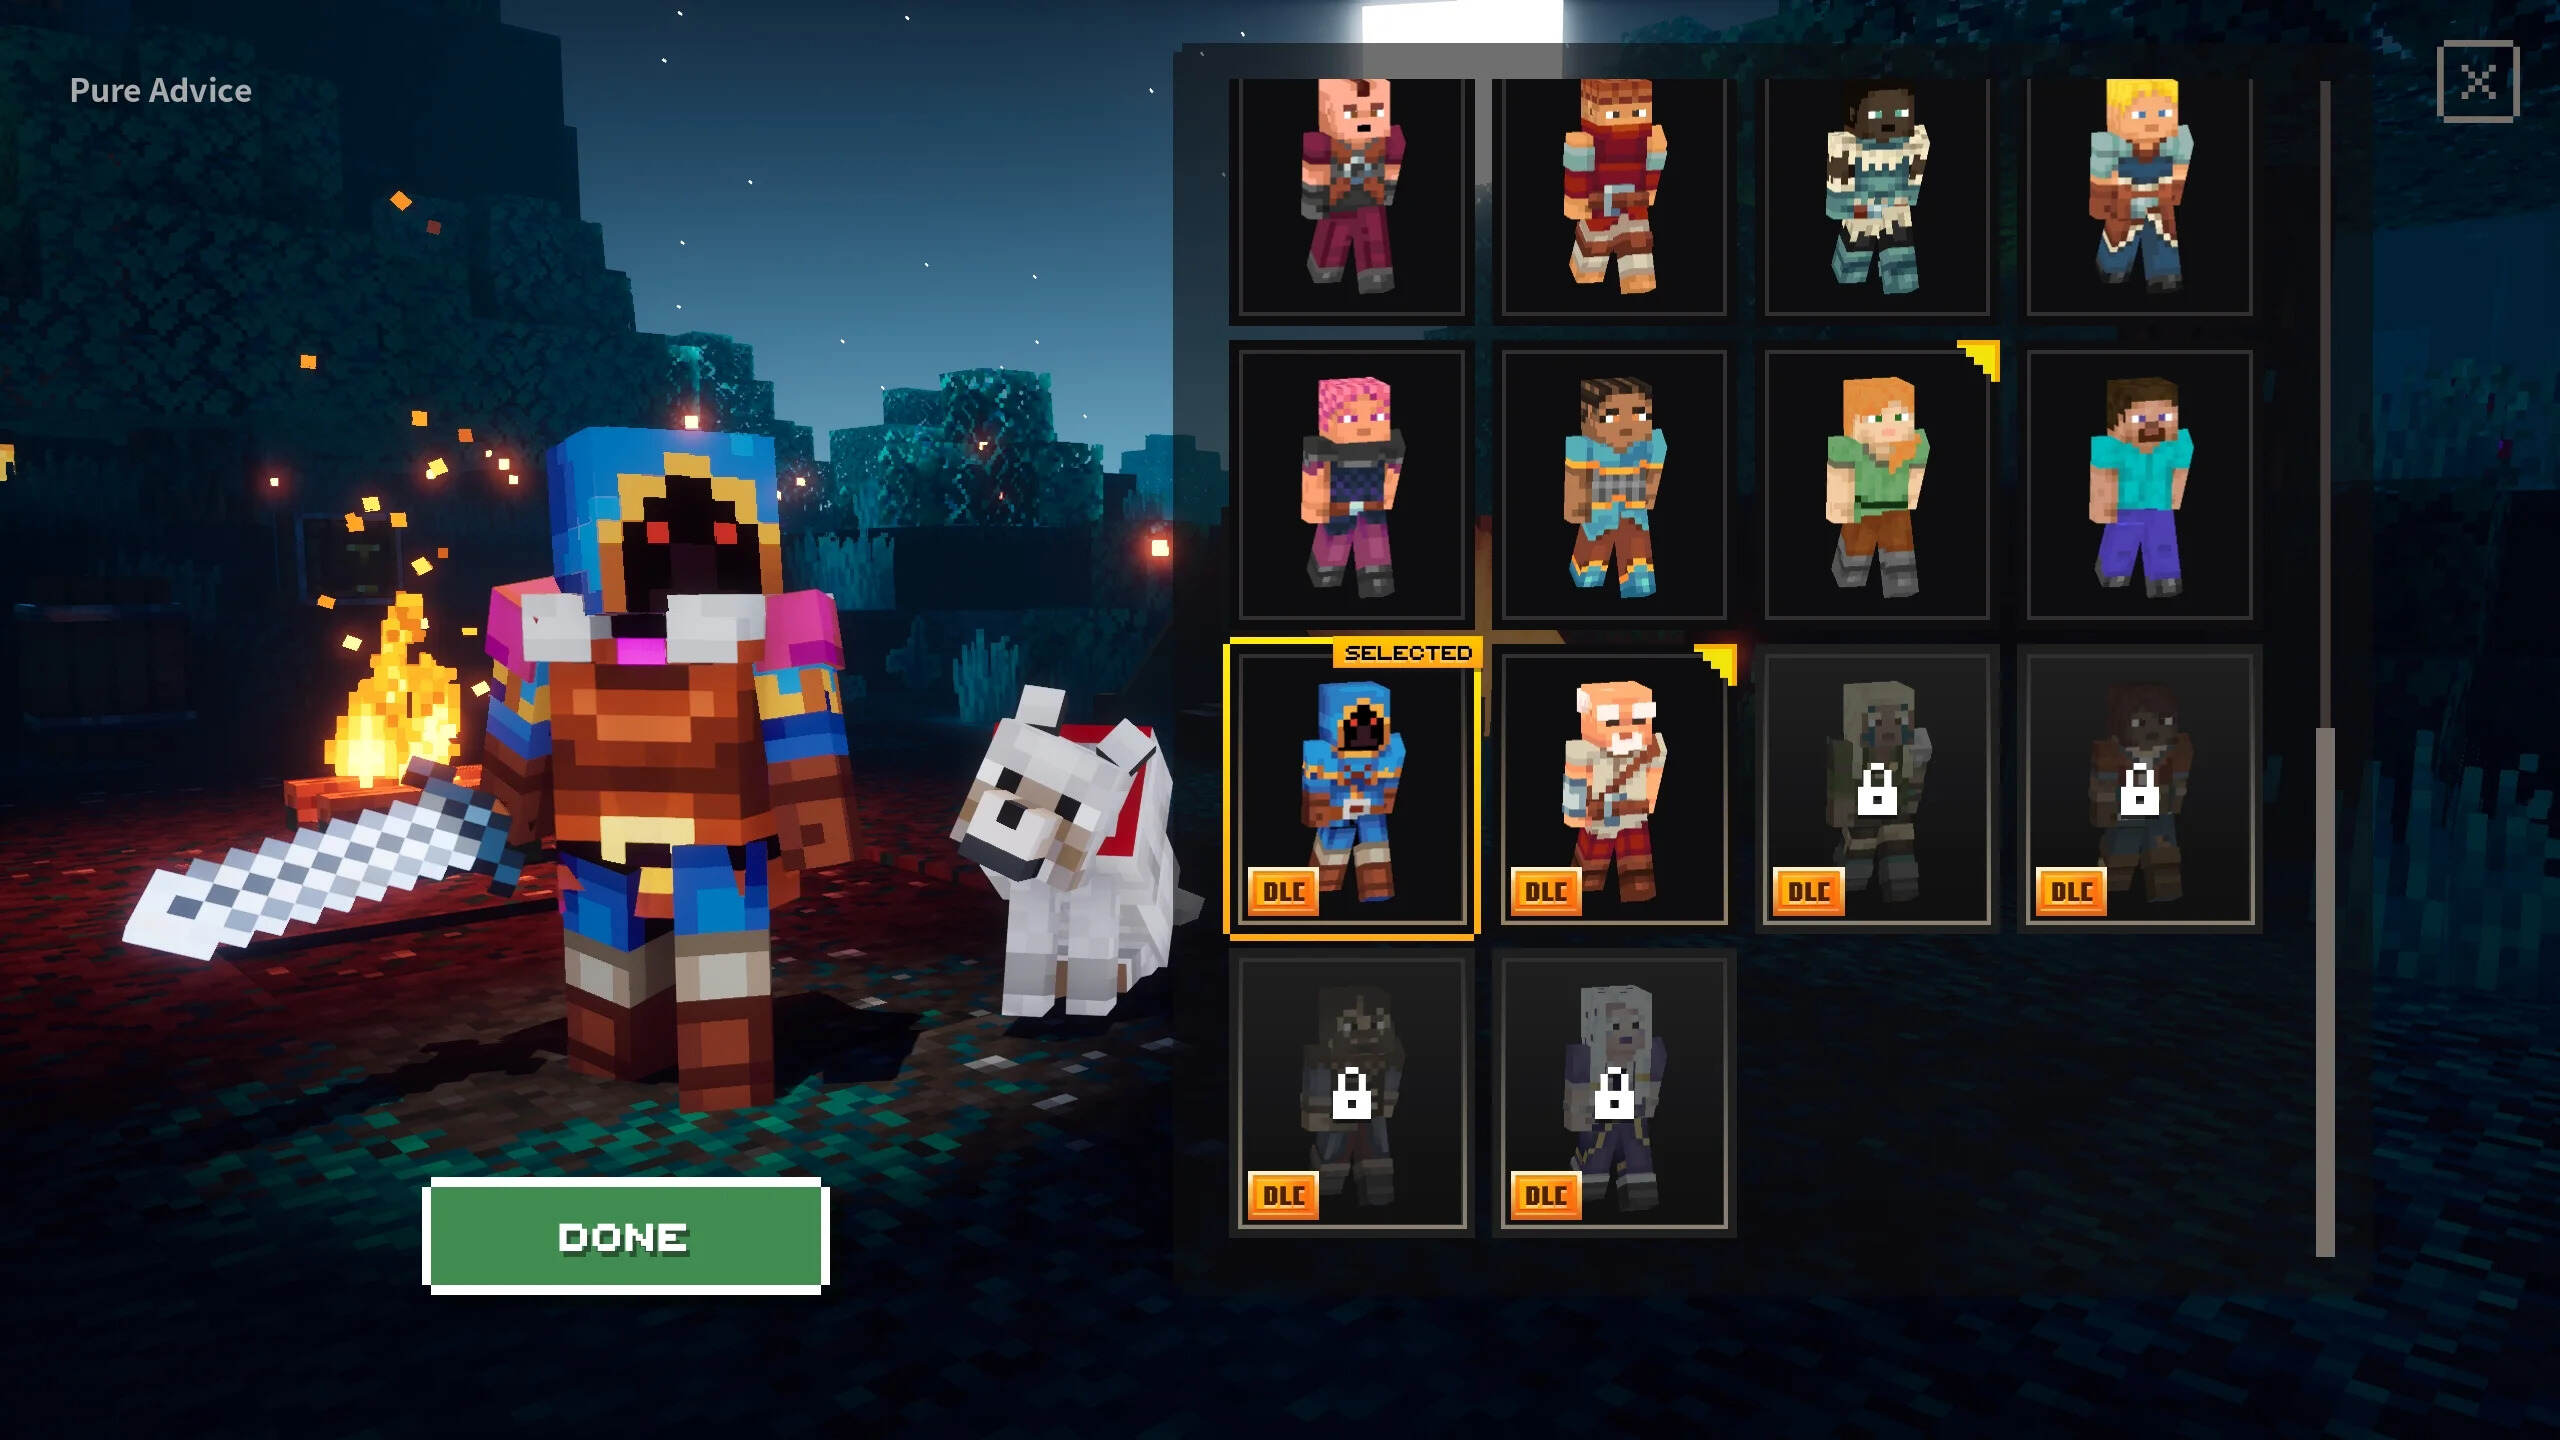
Step 4: Access Your Profile
Once you’re signed in, it’s time to access your Minecraft profile and upload your newly acquired skin.
- Click on your profile name or avatar image at the top-right corner of the page, then select “Profile” from the dropdown menu.
- On your profile page, you’ll find an option to select a new skin. Click on the “Browse” button or “Choose File” button, depending on your browser, to upload your downloaded or saved skin from your device.
- Select the skin file from the appropriate location on your device and click “Open” or “Choose” to confirm your selection.
Step 5: Apply Your New Skin
You’re almost there! Now it’s time to apply your new skin to your Minecraft avatar. Follow these final steps:
- Once you have chosen your skin, click on the “Upload” or “Change Skin” button on your profile page to apply the changes.
- Wait for the page to update, and voila! Your Minecraft avatar will now be donning the new skin you added.
Adding a skin to Minecraft is a fantastic way to express your creativity and make your gameplay experience more enjoyable. Whether you’re masquerading as a magical wizard, a cunning ninja, or simply want to sport your favorite colors, personalizing your Minecraft character is easy and accessible to everyone. So why not give it a try and stand out from the crowd in the exciting world of Minecraft?
For more Minecraft tips, tricks, and tutorials, make sure to check out our “GAMING” category on our page where you’ll find an array of insightful content to level up your gaming skills!