How to Upload Skins to Minecraft: A Step-by-Step Guide
Are you a passionate Minecraft player looking to add a touch of personalization to your gaming experience? If so, you’ve come to the right place! In this blog post, we will walk you through the process of uploading your very own skin to Minecraft. So, grab your favorite beverage, sit back, and get ready to customize your character with a unique look that reflects your style and personality.
Key Takeaways:
- Customizing your Minecraft skin allows you to express your creativity and stand out in the virtual world.
- Before uploading a skin, ensure it meets the required dimensions and file format to avoid any issues during the process.
Step 1: Choose or Create Your Skin
The first step is deciding on the perfect skin for your Minecraft character. You have a few options here:
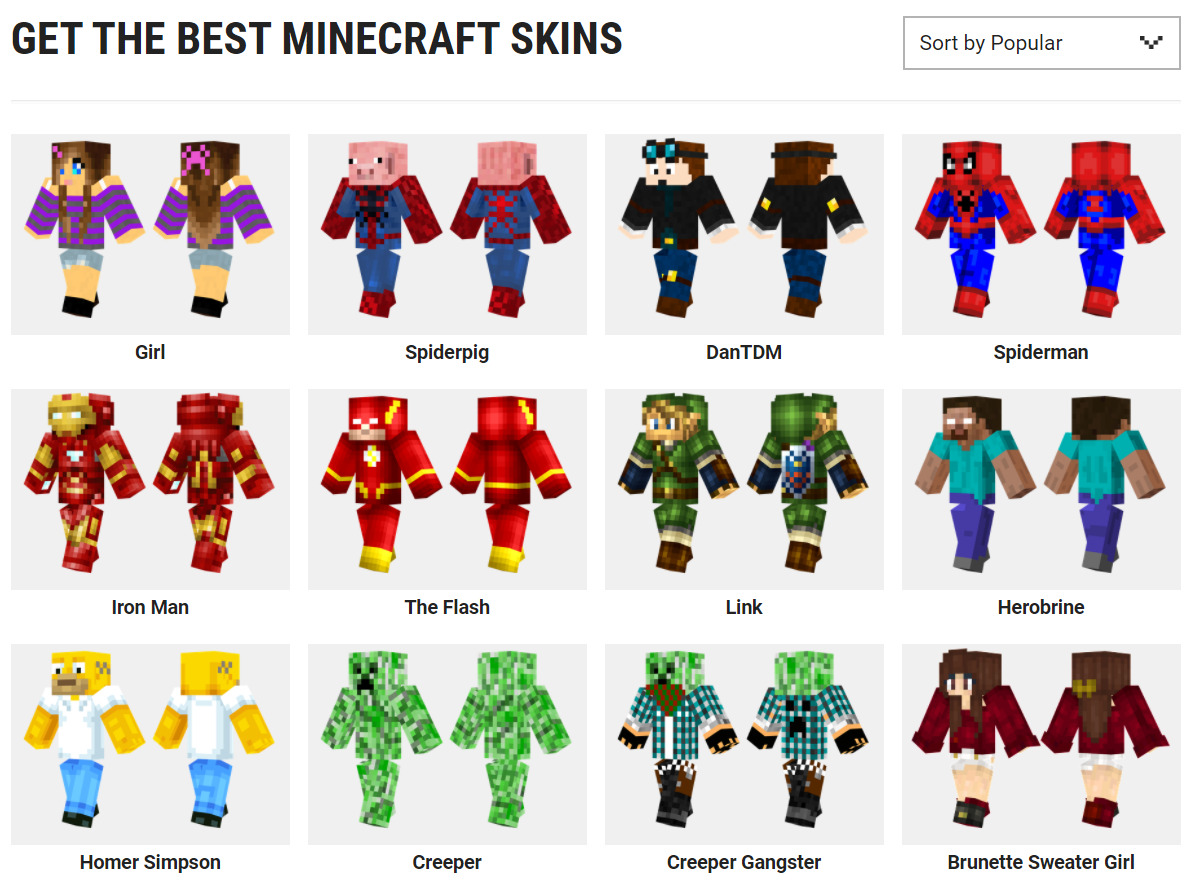
- Default Skins: Minecraft offers a variety of pre-installed skins for you to choose from. Browse through the available options and select the one that appeals to you the most.
- Download Skins: There are numerous websites that provide a wide range of Minecraft skins created by the community. Explore these sites and download a skin that resonates with your style.
- Create Your Own: If you have a knack for design, unleash your creativity and craft a personalized skin using image editing software like Photoshop or GIMP. This option allows you to have a truly unique appearance in the game.
Step 2: Ensure Proper Dimensions and File Format
Before uploading your chosen or created skin, verify that it meets the necessary dimensions and file format requirements:
- Dimensions: Minecraft skins should have dimensions of 64×64 pixels, ensuring a perfect fit for your character.
- File Format: Save your skin as a PNG file to ensure compatibility with Minecraft.
Step 3: Access Minecraft Skins
Now that you have your skin ready, it’s time to navigate to the Minecraft website to access the skin upload feature. Here’s how:
- Visit the official Minecraft website.
- Login to your account or create a new one if you haven’t already.
- Once logged in, click on your profile name in the top right corner of the page and select “Profile” from the dropdown menu.
- In the profile tab, scroll down until you find the “Change how you look in Minecraft” section.
Step 4: Upload and Apply Your Skin
Here’s the moment you’ve been waiting for! Follow these simple steps to upload and apply your newly chosen or created skin:
- Click on “Choose File” in the “Change how you look in Minecraft” section to select the PNG skin file from your device.
- Once you’ve selected the file, click on the “Upload” button to proceed.
- Wait for the upload process to complete. Once finished, you will see a preview of how your character will appear with the new skin.
- To save and apply the skin, click on the “Save” button at the bottom of the page.
That’s it! You have successfully uploaded your skin to Minecraft, giving your character a fresh and unique look. Now, launch the game and enjoy seeing your customized avatar in action!
Remember, your Minecraft skin is a great way to express yourself and distinguish your character within the Minecraft community. Let your creativity soar, and don’t be afraid to experiment with different skins to find the one that perfectly represents you. Happy gaming!