Introduction
Minecraft is a popular sandbox game that allows players to create and explore virtual worlds. One of the unique features of Minecraft is the ability to customize your character’s appearance with different skins. Skins can transform the default Steve or Alex character models into anything you can imagine, from superheroes to animals to famous video game characters.
If you’re playing Minecraft on your mobile device and want to change your skin, you’re in luck. There are various methods available to download and install Minecraft skins, giving you the opportunity to express your creativity and stand out from the crowd.
In this guide, we will walk you through the process of downloading and installing Minecraft skins on your mobile device. Whether you want to download a pre-made skin from a website, use a dedicated Minecraft skin app, or even create your own custom skin, we’ve got you covered.
Before we delve into the step-by-step instructions, it’s important to note that the process may vary slightly depending on the version of Minecraft you’re using. Minecraft has different editions, including the Bedrock Edition, Pocket Edition, and Java Edition. We will cover the installation methods for each edition, ensuring that you can follow along regardless of your Minecraft version.
So, if you’re ready to give your Minecraft character a fresh new look, let’s get started on downloading and installing Minecraft skins on your mobile device.
Step 1: Choosing a Minecraft Skin
Before you can download and install a Minecraft skin on your mobile device, you’ll need to decide on a skin that suits your style and preferences. Luckily, there are countless Minecraft skin websites and apps that offer a wide variety of skins to choose from. Here are a few options to help you find the perfect skin:
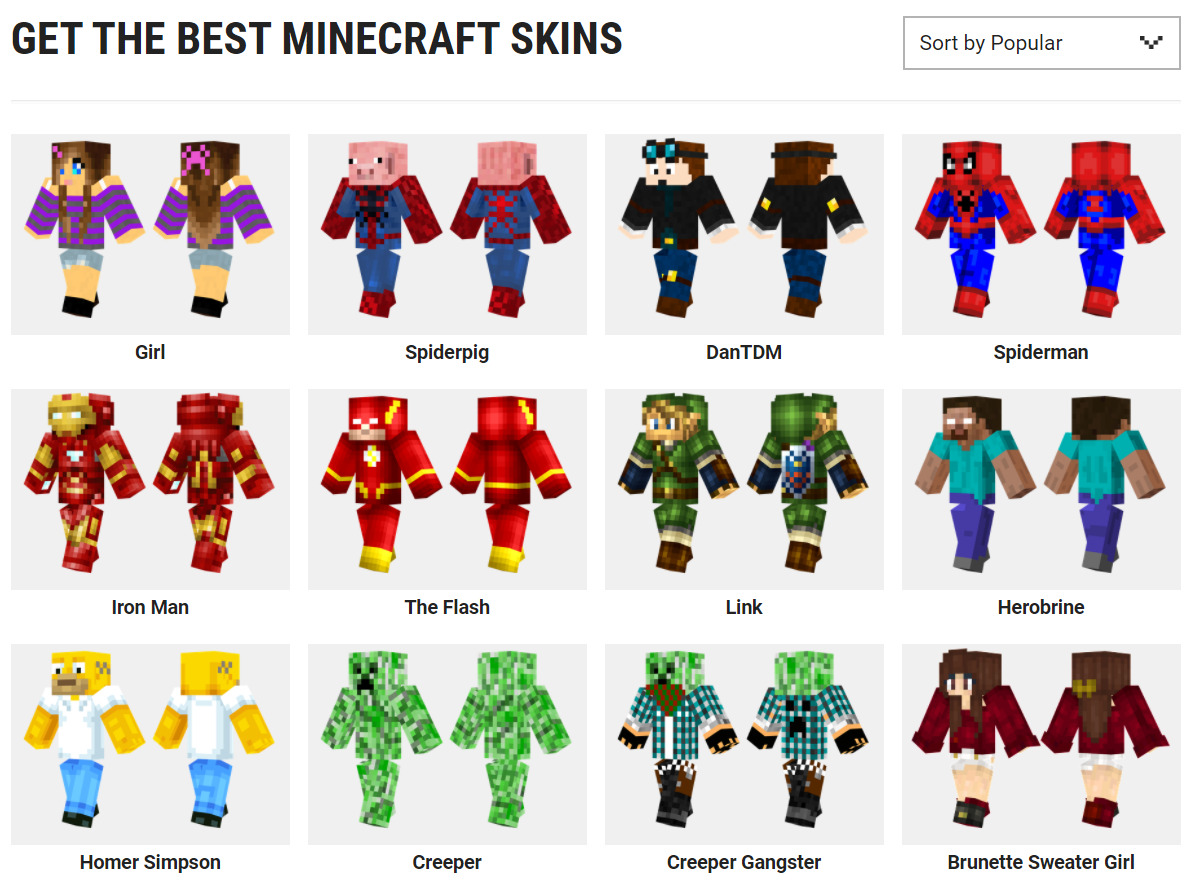
- Skindex Websites: One popular way to find Minecraft skins is through Skindex websites. These websites feature a vast collection of user-generated skins that you can browse and download for free. Some popular Skindex websites include Planet Minecraft, MinecraftSkins.net, and NameMC.
- Minecraft Skin Apps: If you prefer to browse and download skins directly on your mobile device, you can use Minecraft skin apps available on app stores. These apps provide a user-friendly interface where you can search for skins based on categories, such as animals, superheroes, or movies. Some popular Minecraft skin apps include Skinseed, Minecraft Skins Pro, and Nova Skin.
- Create Your Own Skin: If you have a specific design in mind that you can’t find on existing websites or apps, you can create your own Minecraft skin. There are online skin editors and tools available that allow you to customize every aspect of your character’s appearance, from head to toe. You can draw your skin from scratch or modify existing templates to bring your vision to life.
When choosing a Minecraft skin, consider your personal preferences and the image you want to project in the Minecraft world. Whether you want to blend in with the environment, showcase your creativity, or emulate your favorite characters, there’s a skin out there for everyone.
Take your time to explore different websites or apps and find a skin that truly resonates with you. Once you’ve found the perfect skin, we can move on to the next step: downloading the Minecraft skin on your mobile device.
Step 2: Downloading a Minecraft Skin
Now that you’ve chosen the perfect Minecraft skin for your character, it’s time to download it onto your mobile device. The process may vary slightly depending on whether you’re using a Skindex website, a Minecraft skin app, or creating your own skin. Let’s explore the different options:
Option 1: Using a Skindex Website:
If you’ve found a Minecraft skin on a Skindex website, follow these steps to download it:
- Click on the skin you want to download. This will open the skin’s page.
- Look for the download button, usually located near the skin preview image.
- Click on the download button to save the skin to your device.
Your downloaded skin will usually be in a .png format.
Option 2: Downloading from Minecraft Skin Apps:
If you’re using a Minecraft skin app, here’s how you can download a skin:
- Search for the skin you want within the app. You can use categories or keywords to narrow down your search.
- Select the skin you like and tap on the download or save button.
The skin will be saved directly to your device, ready for installation.
Option 3: Creating Your Own Minecraft Skin:
If you’ve designed your own Minecraft skin using a skin editor or tool, you’ll need to save it to your device before installation. The steps may vary depending on the specific editor or tool you’re using, but generally, you’ll follow these steps:
- Once you’re satisfied with your custom skin, look for the option to save or download it.
- Choose a location on your device where you want to save the skin.
- Tap on the save or download button to store the skin on your device.
No matter which method you choose, make sure to remember the location where you saved the downloaded skin. This will be important in the installation process, which we’ll cover in the next step.
Option 1: Using a Skindex Website
If you have chosen to download a Minecraft skin from a Skindex website, here’s a step-by-step guide on how to do it:
- Visit the Skindex website of your choice, such as Planet Minecraft, MinecraftSkins.net, or NameMC.
- Use the search bar or browse through the various categories to find a skin that suits your style.
- Click on the skin you want to download to open its dedicated page.
- On the skin’s page, take a moment to preview the skin and ensure it’s the one you want.
- Look for the download button, typically located near the skin preview image or underneath it.
- Click on the download button to initiate the download process.
Depending on your web browser and device settings, the skin will be saved to a default folder or prompt you to choose a location to save it. Make a note of the location where the skin is saved on your device for easy access.
It’s worth mentioning that some Skindex websites may require you to create an account or go through a verification process before allowing you to download skins. Follow the prompts and provide the necessary information to complete the process.
Once you have successfully downloaded the skin from the Skindex website, you’re ready to proceed with the installation process. The next step will guide you through the different methods of installing Minecraft skins depending on the edition you’re playing.
Option 2: Downloading from Minecraft Skin Apps
If you prefer to download Minecraft skins directly from dedicated skin apps, here’s how you can do it:
- Open the Minecraft skin app of your choice on your mobile device. Some popular apps include Skinseed, Minecraft Skins Pro, and Nova Skin.
- Use the search or browse function within the app to find a skin that catches your interest.
- Once you’ve found the skin you want, tap on it to view more details and a larger preview.
- If you’re satisfied with the skin, look for the “Download” or “Save” button within the app’s interface.
- Tapping the download button will save the skin directly to your device.
The downloaded Minecraft skin will usually be saved in a specific folder or location within your device’s storage. Some skin apps may have a built-in organizer that allows you to manage and access your downloaded skins conveniently.
It’s important to note that certain skin apps may offer additional features, such as the ability to customize or edit skins within the app itself. If you’re interested in personalizing your skin further, explore the app’s options and settings to see what’s available.
Once you have successfully downloaded the Minecraft skin from the app, you’re now ready to proceed with the installation process. In the next step, we will cover the various methods of installing Minecraft skins based on the edition you’re playing.
Option 3: Creating Your Own Minecraft Skin
If you want to add a personal touch to your Minecraft character, you have the option to create your own custom skin. Here’s how you can go about it:
- First, choose a skin editor or tool that suits your needs. There are several online editors available that provide a user-friendly interface for customizing Minecraft skins.
- Open the skin editor and start designing your skin. You can choose to draw your skin from scratch or modify existing templates. The editor will typically provide tools and features to help you customize different aspects of the skin, such as colors, patterns, and accessories.
- Take your time to perfect your design, making sure it matches your vision for your Minecraft character.
- Once you’re satisfied with your custom skin, look for the option to save or download it. The location or format of the save option may vary depending on the specific skin editor you’re using.
- Choose a location on your device where you want to save the skin. It’s recommended to choose a folder or location that you can easily access later.
- Tap on the save or download button to store the skin on your device.
After you have successfully created and saved your custom Minecraft skin, you’re now ready to proceed with the installation process. In the next step, we will guide you through the different methods of installing Minecraft skins based on the edition you’re playing.
Creating your own Minecraft skin allows you to unleash your creativity and make a unique statement in the Minecraft world. You can design a skin that represents your personality, interests, or simply showcases your artistic skills. Don’t be afraid to experiment and have fun during the skin creation process!
Step 3: Installing a Minecraft Skin
Now that you have downloaded or created your desired Minecraft skin, it’s time to install it on your mobile device. The installation process may vary depending on the edition of Minecraft you are playing. Here are the installation methods for different editions:
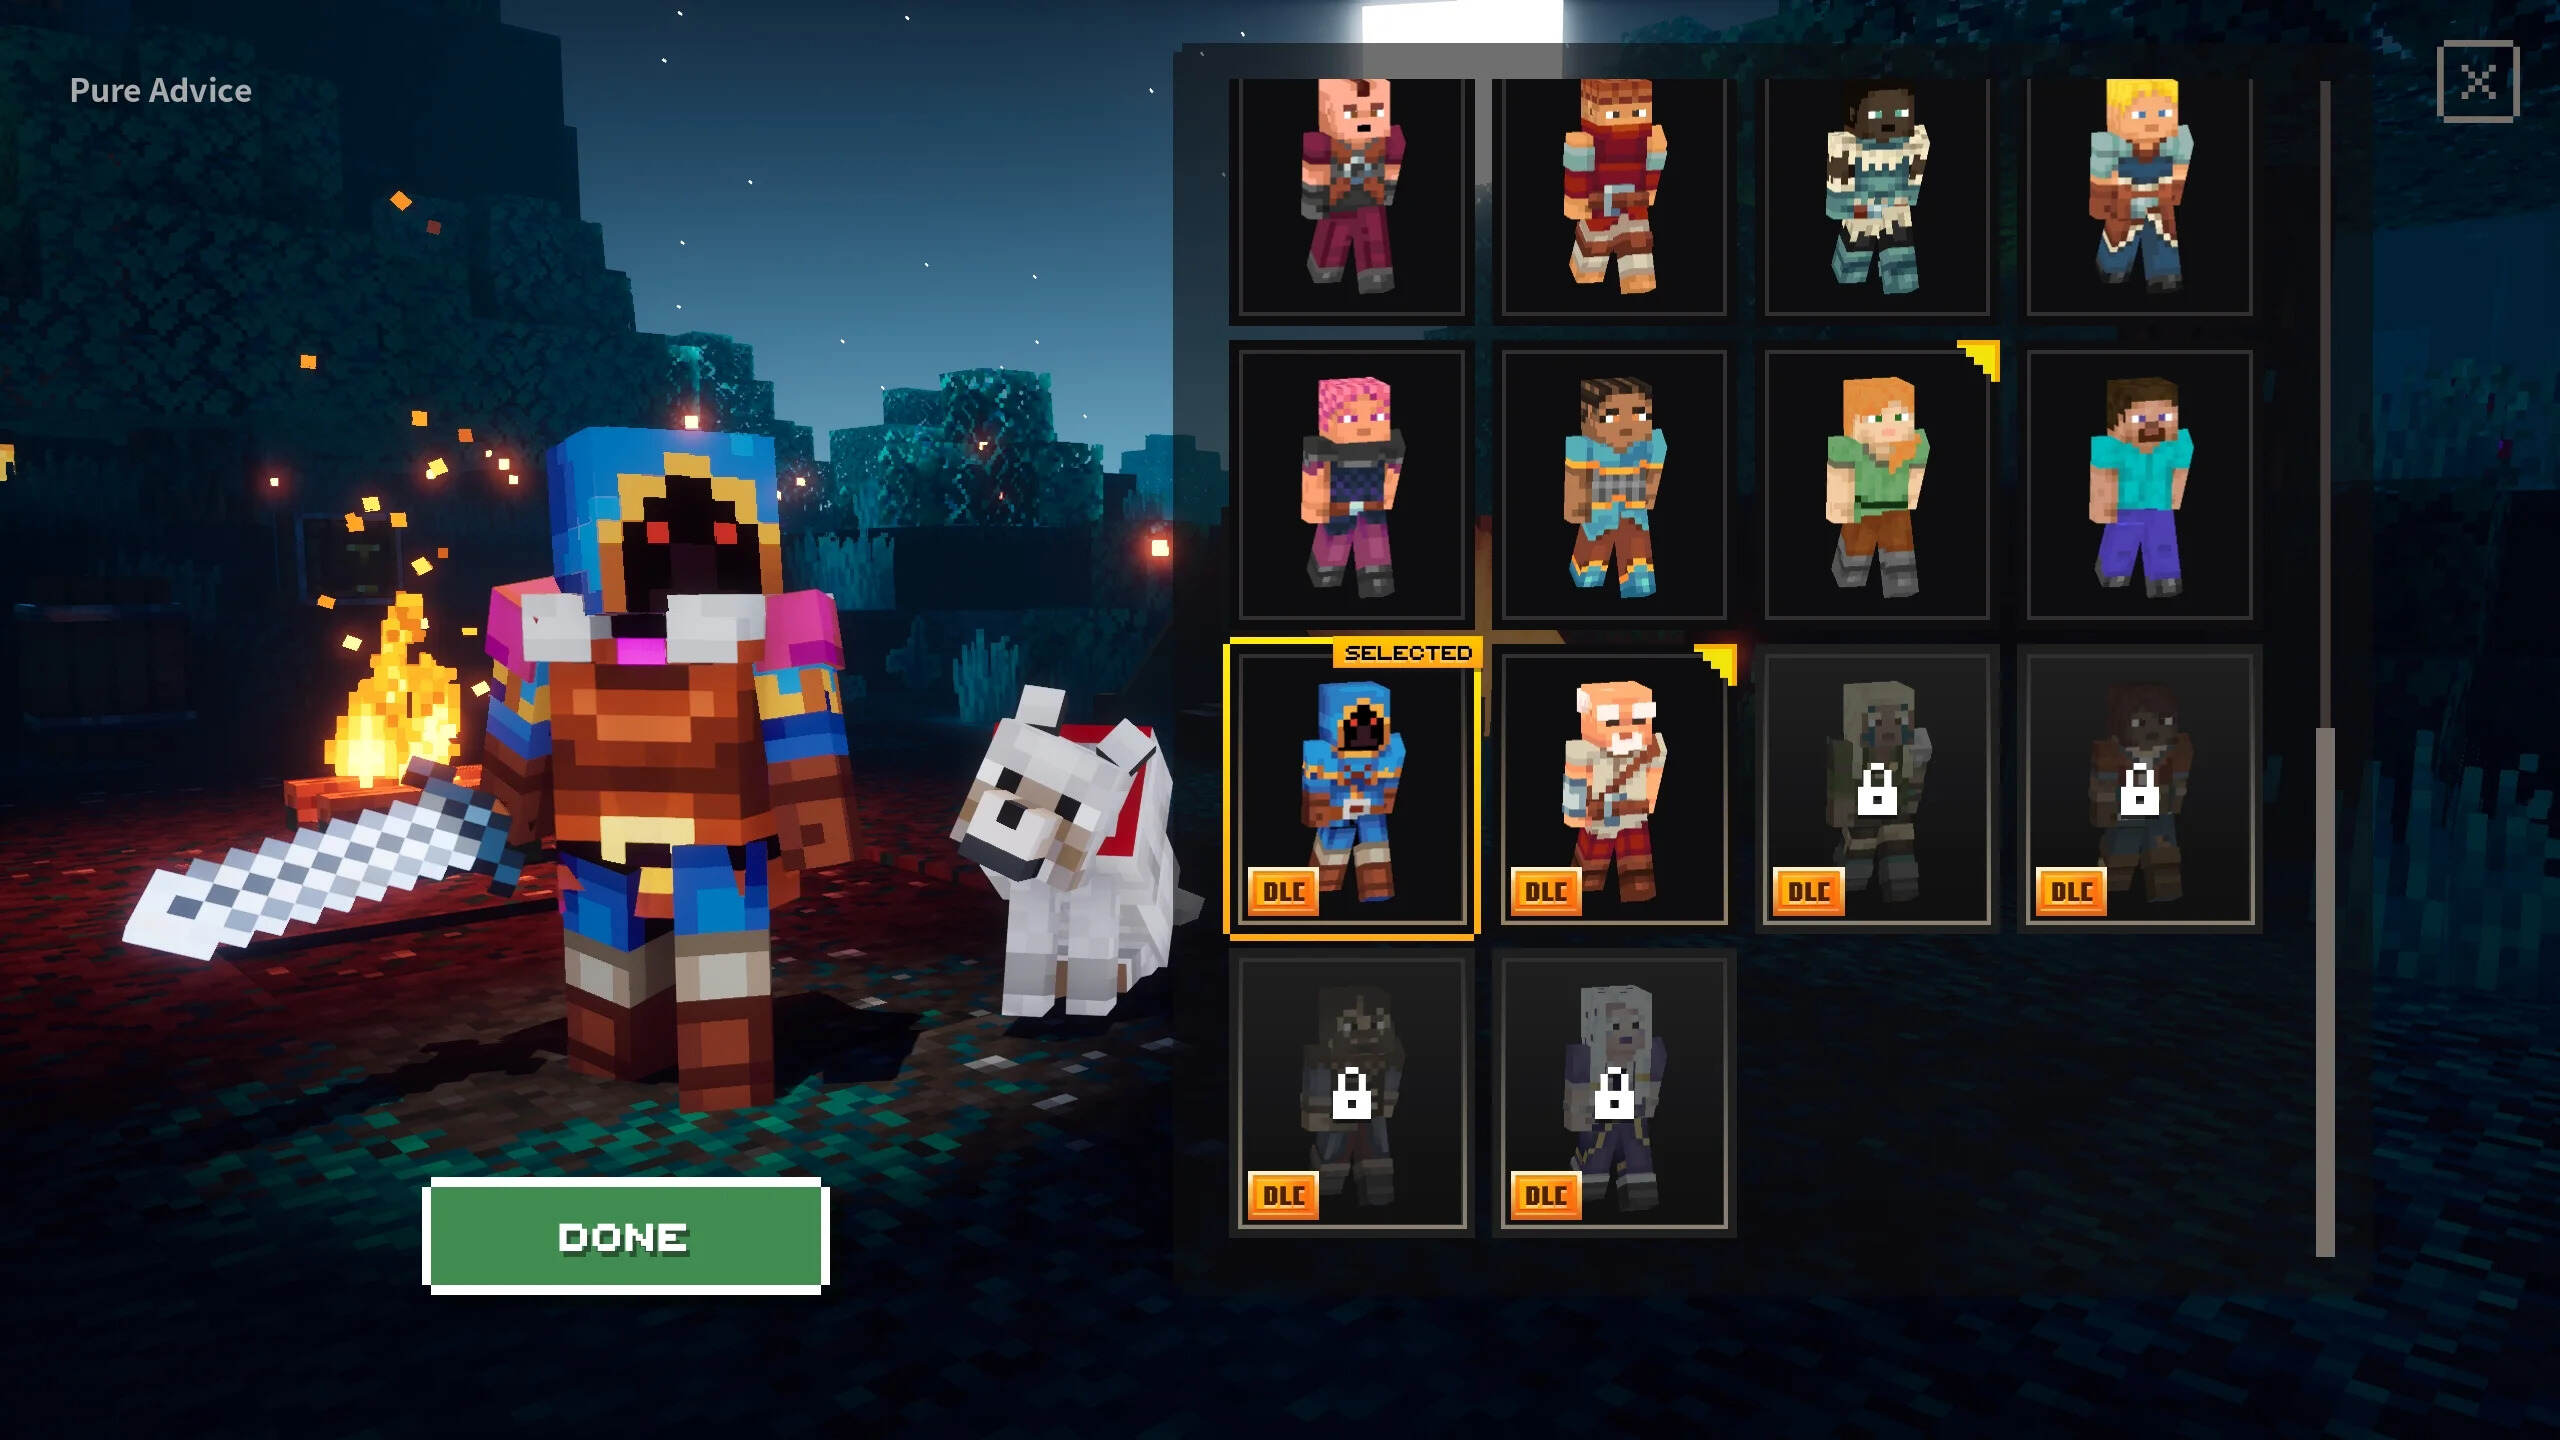
Option 1: Installing via Bedrock Edition:
- Open Minecraft on your mobile device and go to the main menu.
- Click on “Skins” or “Profile,” depending on your version of Minecraft.
- Click on “Browse” or “Choose New Skin” to open the skin selection menu.
- Locate the folder or location where you saved the skin.
- Select the downloaded skin and click “Apply” or “Confirm” to set it as your character’s skin.
Option 2: Installing via Pocket Edition:
- Launch Minecraft Pocket Edition on your mobile device.
- Tap on the “Settings” or “Options” menu.
- Select “Profile” or “Account” to access your Minecraft profile.
- Tap on “Customize” or “Edit Character” to open the skin customization settings.
- Choose “Browse” or “Select Skin” to locate the downloaded skin.
- Select the skin and tap “Apply” or “Save” to set it as your character’s skin.
Option 3: Installing via Java Edition:
- Open Minecraft Java Edition on your computer.
- Click on “Skins” or “Profile” to access the skin management section.
- Choose “Browse” or “Select Skin” to locate the downloaded skin.
- Select the skin file and click “Open” or “Apply” to set it as your character’s skin.
After following the above steps, your new Minecraft skin will be applied to your character, allowing you to showcase your unique style and creativity in the game.
Remember that you can change your Minecraft skin at any time by repeating the installation process with a different skin. Explore different skins and have fun personalizing your character’s appearance!
Option 1: Installing via Bedrock Edition
If you’re playing Minecraft on the Bedrock Edition, the installation process for a new skin is straightforward. Here’s how you can install a Minecraft skin via the Bedrock Edition:
- Launch Minecraft on your mobile device and navigate to the main menu.
- Click on the “Skins” or “Profile” button, depending on your version of Minecraft.
- In the skin selection menu, you’ll find options to browse or choose a new skin.
- Select the “Browse” or “Choose New Skin” button to open the skin selection interface.
- Locate the folder or location where you saved the downloaded skin.
- Choose your desired skin from the list and click on “Apply” or “Confirm” to set it as your character’s skin.
The Bedrock Edition allows you to easily browse through the available skins and apply your desired skin with a few simple clicks. Make sure to select the skin that you downloaded and saved on your mobile device in the previous step.
By following these steps, your newly installed Minecraft skin will be visible when you enter the game. Other players in your world will also see your character with the new skin, allowing you to showcase your unique style and personality.
Feel free to explore different skins and change your character’s appearance whenever you want. The Bedrock Edition provides a seamless and user-friendly experience for installing and applying new Minecraft skins on your mobile device.
Option 2: Installing via Pocket Edition
If you’re playing Minecraft on the Pocket Edition, installing a Minecraft skin is a simple process. Here’s a step-by-step guide on how to install a skin via the Pocket Edition:
- Launch Minecraft Pocket Edition on your mobile device.
- Tap on the “Settings” or “Options” menu, usually represented by a gear icon.
- Look for the “Profile” or “Account” section and tap on it.
- In the profile settings, you’ll find an option to customize or edit your character’s appearance.
- Select “Customize” or “Edit Character” to access the skin customization settings.
- Within the skin customization settings, tap on “Browse” or “Select Skin” to locate the downloaded skin on your device.
- Select the skin that you want to apply to your character.
- Tap “Apply” or “Save” to set the new skin as your character’s appearance.
The Pocket Edition provides a straightforward interface to customize your character’s skin. By following these steps and selecting the downloaded skin from your device, you’ll be able to apply the new skin to your character in the Pocket Edition of Minecraft.
Once the installation is complete, you’ll be able to see your character with the new skin when you enter the game. Other players in the same world will also see your character with the new skin, allowing you to express your individuality and showcase your chosen appearance.
Don’t hesitate to explore different skins and change your character’s appearance to suit your preferences. The Pocket Edition makes it easy to install and switch between Minecraft skins, giving you the freedom to customize your character to your heart’s content.
Option 3: Installing via Java Edition
If you’re playing Minecraft on the Java Edition, installing a Minecraft skin requires a few simple steps. Here’s how you can install a skin via the Java Edition:
- Open the Minecraft Java Edition on your computer.
- From the main menu, click on the “Skins” or “Profile” button to access the skin management section.
- In the skin management interface, you’ll find options to browse or select a new skin.
- Choose “Browse” or “Select Skin” to open the file explorer window.
- Navigate to the folder or location where you saved the downloaded skin on your computer.
- Select the skin file and click “Open” or “Apply” to set it as your character’s skin.
Ensure that you have downloaded the skin and saved it to a location that you can easily access on your computer. When selecting the skin file, make sure it is in a compatible format for Java Edition, such as a .png file.
By following these steps, the Java Edition of Minecraft will recognize the selected skin file and apply it to your character. When you enter the game, your character will be displayed with the new skin that you installed.
It’s important to note that the new skin will only be visible to other players if they also have the same skin installed or if they are using the default Steve or Alex skin. Otherwise, they will see your character with their own chosen skin or default appearance.
Feel free to experiment with different skins and change your character’s appearance to suit your style. The Java Edition allows for custom skin installations, allowing you to personalize your in-game avatar to your liking.
Conclusion
Customizing your Minecraft character with unique skins adds a fun and personalized touch to your gaming experience. Whether you’re using a Skindex website to download pre-made skins, a Minecraft skin app for convenience, or creating your own skin from scratch, the possibilities to express your creativity are endless.
In this guide, we walked you through the step-by-step process of downloading and installing Minecraft skins on your mobile device. We covered different options, including using Skindex websites to find skins, downloading from skin apps, and even creating your own custom skin. We also provided installation instructions for different editions of Minecraft, including Bedrock Edition, Pocket Edition, and Java Edition.
By following the instructions outlined in this guide, you can easily change your Minecraft character’s appearance and stand out from the crowd in the virtual world. Whether you want to become a mysterious hero, a cute animal, or a famous video game character, the power to transform your character is in your hands.
Remember to have fun exploring the vast collection of Minecraft skins available, and be sure to follow any specific instructions provided by the skin websites or apps you choose. With your new Minecraft skin installed, get ready to impress your friends, express your uniqueness, and fully immerse yourself in the Minecraft universe!