Introduction
Nintendo Switch has become a popular console among gamers thanks to its versatility and extensive game library. One highly sought-after game on the Nintendo Switch is Minecraft, the sandbox game that allows players to create and explore virtual worlds. Part of the fun of playing Minecraft is customizing your character, and one way to do that is by downloading and applying new skins.
Skins in Minecraft are like virtual costumes for your character, allowing you to change their appearance to something more to your liking. Nintendo Switch users can easily download and apply new skins to their Minecraft characters directly from the Minecraft Marketplace. If you’re new to the console or are unsure about how to access and download skins on your Nintendo Switch, don’t worry – we’ve got you covered.
In this guide, we will walk you through the steps to download Minecraft skins on your Nintendo Switch. Whether you want to look like a medieval knight, a futuristic cyborg, or your favorite game character, we’ll show you how to find, download, and apply the perfect skin to personalize your Minecraft experience on the Nintendo Switch. So grab your Joy-Cons and get ready to level up your Minecraft style!
Step 1: Accessing the Minecraft Marketplace on Nintendo Switch
To begin the process of downloading Minecraft skins on your Nintendo Switch, you’ll need to access the Minecraft Marketplace. Here’s how to do it:
- Start by launching Minecraft on your Nintendo Switch. You can find it on the home screen or in the game library.
- Once the game is loaded, select “Play” from the main menu. This will take you to the world selection screen.
- From the world selection screen, navigate to the right until you reach the “Marketplace” tab. It’s represented by an icon that looks like a shopping cart.
- Click on the “Marketplace” tab to enter the Minecraft Marketplace. Here, you’ll find a wide array of skins, texture packs, maps, and other downloadable content.
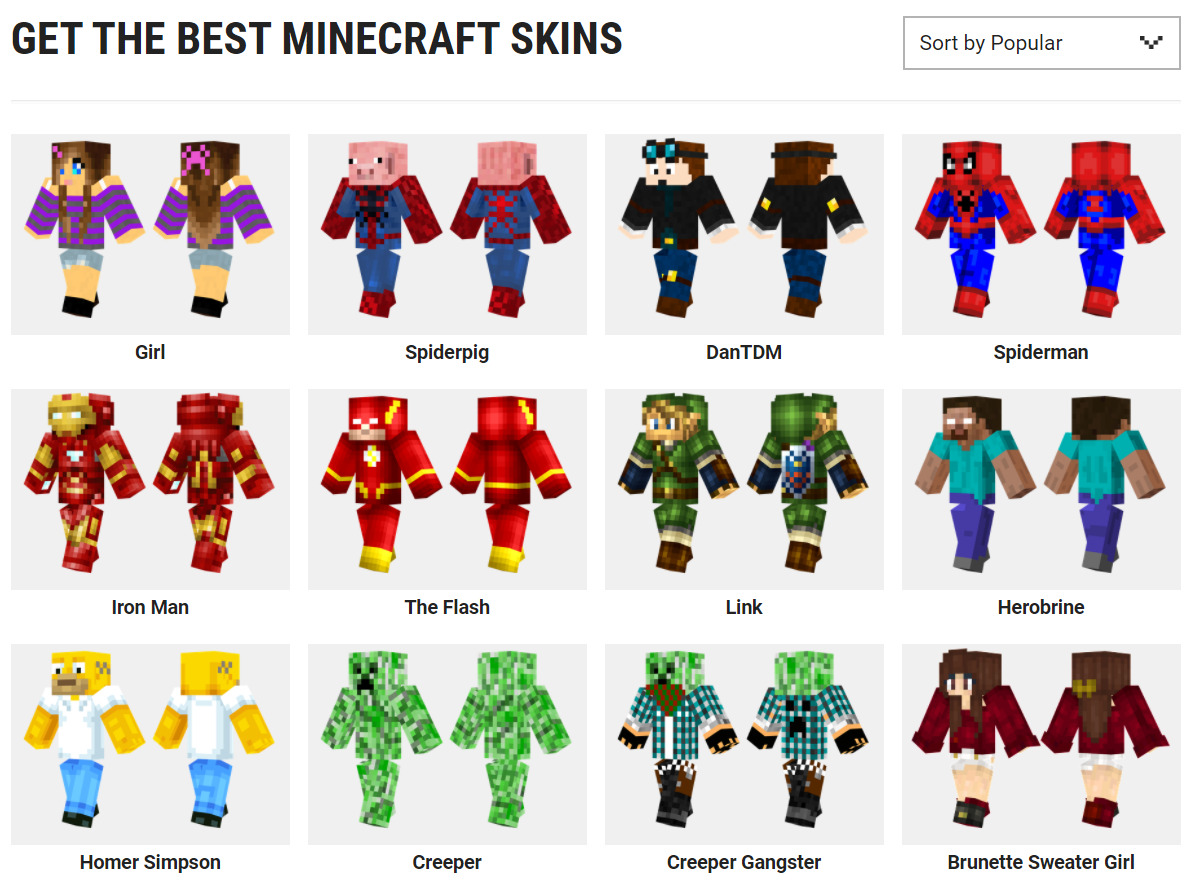
The Minecraft Marketplace offers a vast collection of skins created by both Mojang Studios and community creators. You’ll find everything from popular game characters to mythical creatures, superheroes, and more. Take your time to explore and find a skin that suits your style and expresses your personality in the virtual world of Minecraft.
It’s worth noting that some Minecraft skins may require purchase using Minecraft Coins, the in-game currency. If you don’t have any coins, you can purchase them using the Nintendo eShop with real money. However, there are also plenty of free skins available, so don’t worry if you’re not looking to make any purchases.
Now that you know how to access the Minecraft Marketplace on your Nintendo Switch, let’s move on to the next step: browsing and selecting a skin.
Step 2: Browsing and Selecting a Skin
Once you’ve accessed the Minecraft Marketplace on your Nintendo Switch, it’s time to browse through the wide selection of skins and choose the one that catches your eye. Here’s how to browse and select a skin:
- Within the Minecraft Marketplace, you’ll find different categories to help narrow down your search. These categories may include popular skins, new releases, featured content, and more. Browse through these categories to discover the latest and most popular skins.
- Alternatively, if you have a specific theme or character in mind, you can use the search bar in the top-right corner. Enter keywords related to the desired skin, such as “pirate” or “superhero,” to see all relevant options.
- Scroll through the available skins and click on a thumbnail to view more details. This will allow you to see a larger preview of the skin, read its description, and learn about any special features it may have.
- If you’re unsure about a skin, take advantage of the “Try” or “Demo” button, if available. This will let you test out the skin on a character model so you can see how it looks in action before making a final decision.
- Once you’ve found the perfect skin, click on the “Download” button to add it to your collection. If the skin is free, it will be downloaded immediately. If it requires purchase using Minecraft Coins, you’ll be prompted to confirm the transaction.
Remember that you’re not limited to just one skin. Feel free to download multiple skins and switch between them depending on your mood or the situation in the game. Experimenting with different skins is part of the fun and allows you to express your creativity within the Minecraft universe.
Now that you’ve selected your preferred skin, let’s move on to the next step: previewing the skin to make sure it meets your expectations.
Step 3: Previewing the Selected Skin
Once you’ve downloaded a skin from the Minecraft Marketplace on your Nintendo Switch, it’s essential to preview it before applying it to your character. This step ensures that the selected skin meets your expectations and looks exactly how you envisioned it. Follow these steps to preview the skin:
- After downloading the skin, you’ll be taken back to the Minecraft Marketplace screen. From there, navigate to the “Skins” tab, which is usually located at the top of the screen.
- Within the “Skins” tab, you’ll find a collection of all the skins you have downloaded. Scroll through the list until you find the skin you want to preview.
- Select the skin by clicking on it. This will bring up a larger preview of the skin, allowing you to see all the details and textures up close.
- Take your time to examine the skin from different angles and evaluate how it looks on the character model. Pay attention to small details, such as colors, patterns, or unique features that attracted you to the skin in the first place.
- If you’re satisfied with the preview and feel it’s the right skin for you, proceed to the next step. If not, don’t worry – you can easily go back to the marketplace and choose another skin that better matches your preferences.
Previewing the skin gives you the opportunity to ensure that it aligns with your vision for your Minecraft character. It’s the final chance to confirm that the skin truly represents the look and style you want to achieve within the game. If the preview doesn’t match your expectations, don’t be afraid to continue searching for the perfect skin that truly reflects your individuality.
Now that you’ve previewed and confirmed your skin selection, let’s move on to the next step: downloading the skin to your Nintendo Switch.
Step 4: Downloading the Skin to Your Nintendo Switch
Now that you’ve previewed the skin and are satisfied with your selection, it’s time to download it to your Nintendo Switch. Follow these simple steps to successfully download the skin:
- Go back to the Minecraft Marketplace screen and locate the skin you want to download in the “Skins” tab.
- Select the skin by clicking on it. This will bring up a more detailed description of the skin and additional information.
- Look for the “Download” button or icon and click on it. This will prompt the skin to start downloading to your Nintendo Switch.
- Depending on the size of the skin and your internet connection speed, the download may take a few seconds to complete. Be patient and ensure that your Nintendo Switch remains connected to the internet throughout the download process.
- Once the download is finished, you’ll receive a confirmation message indicating that the skin has been successfully downloaded.
It’s important to note that the downloaded skin will be stored within your Minecraft game on the Nintendo Switch. This means that you won’t have to re-download the skin every time you launch the game, as it will be readily available in your collection of downloaded skins. This allows for quick and convenient customization of your Minecraft character whenever you desire a new look or feel like switching things up.
Now that you’ve successfully downloaded the skin to your Nintendo Switch, let’s move on to the final step: applying the downloaded skin to your Minecraft character.
Step 5: Applying the Downloaded Skin on Minecraft
Congratulations! You’ve reached the final step of the process – applying the downloaded skin to your Minecraft character on the Nintendo Switch. Follow these steps to give your character a fresh new look:
- Launch Minecraft on your Nintendo Switch and navigate to the main menu.
- Select “Skins” from the main menu, usually located near the options for “Play” and “Settings.”
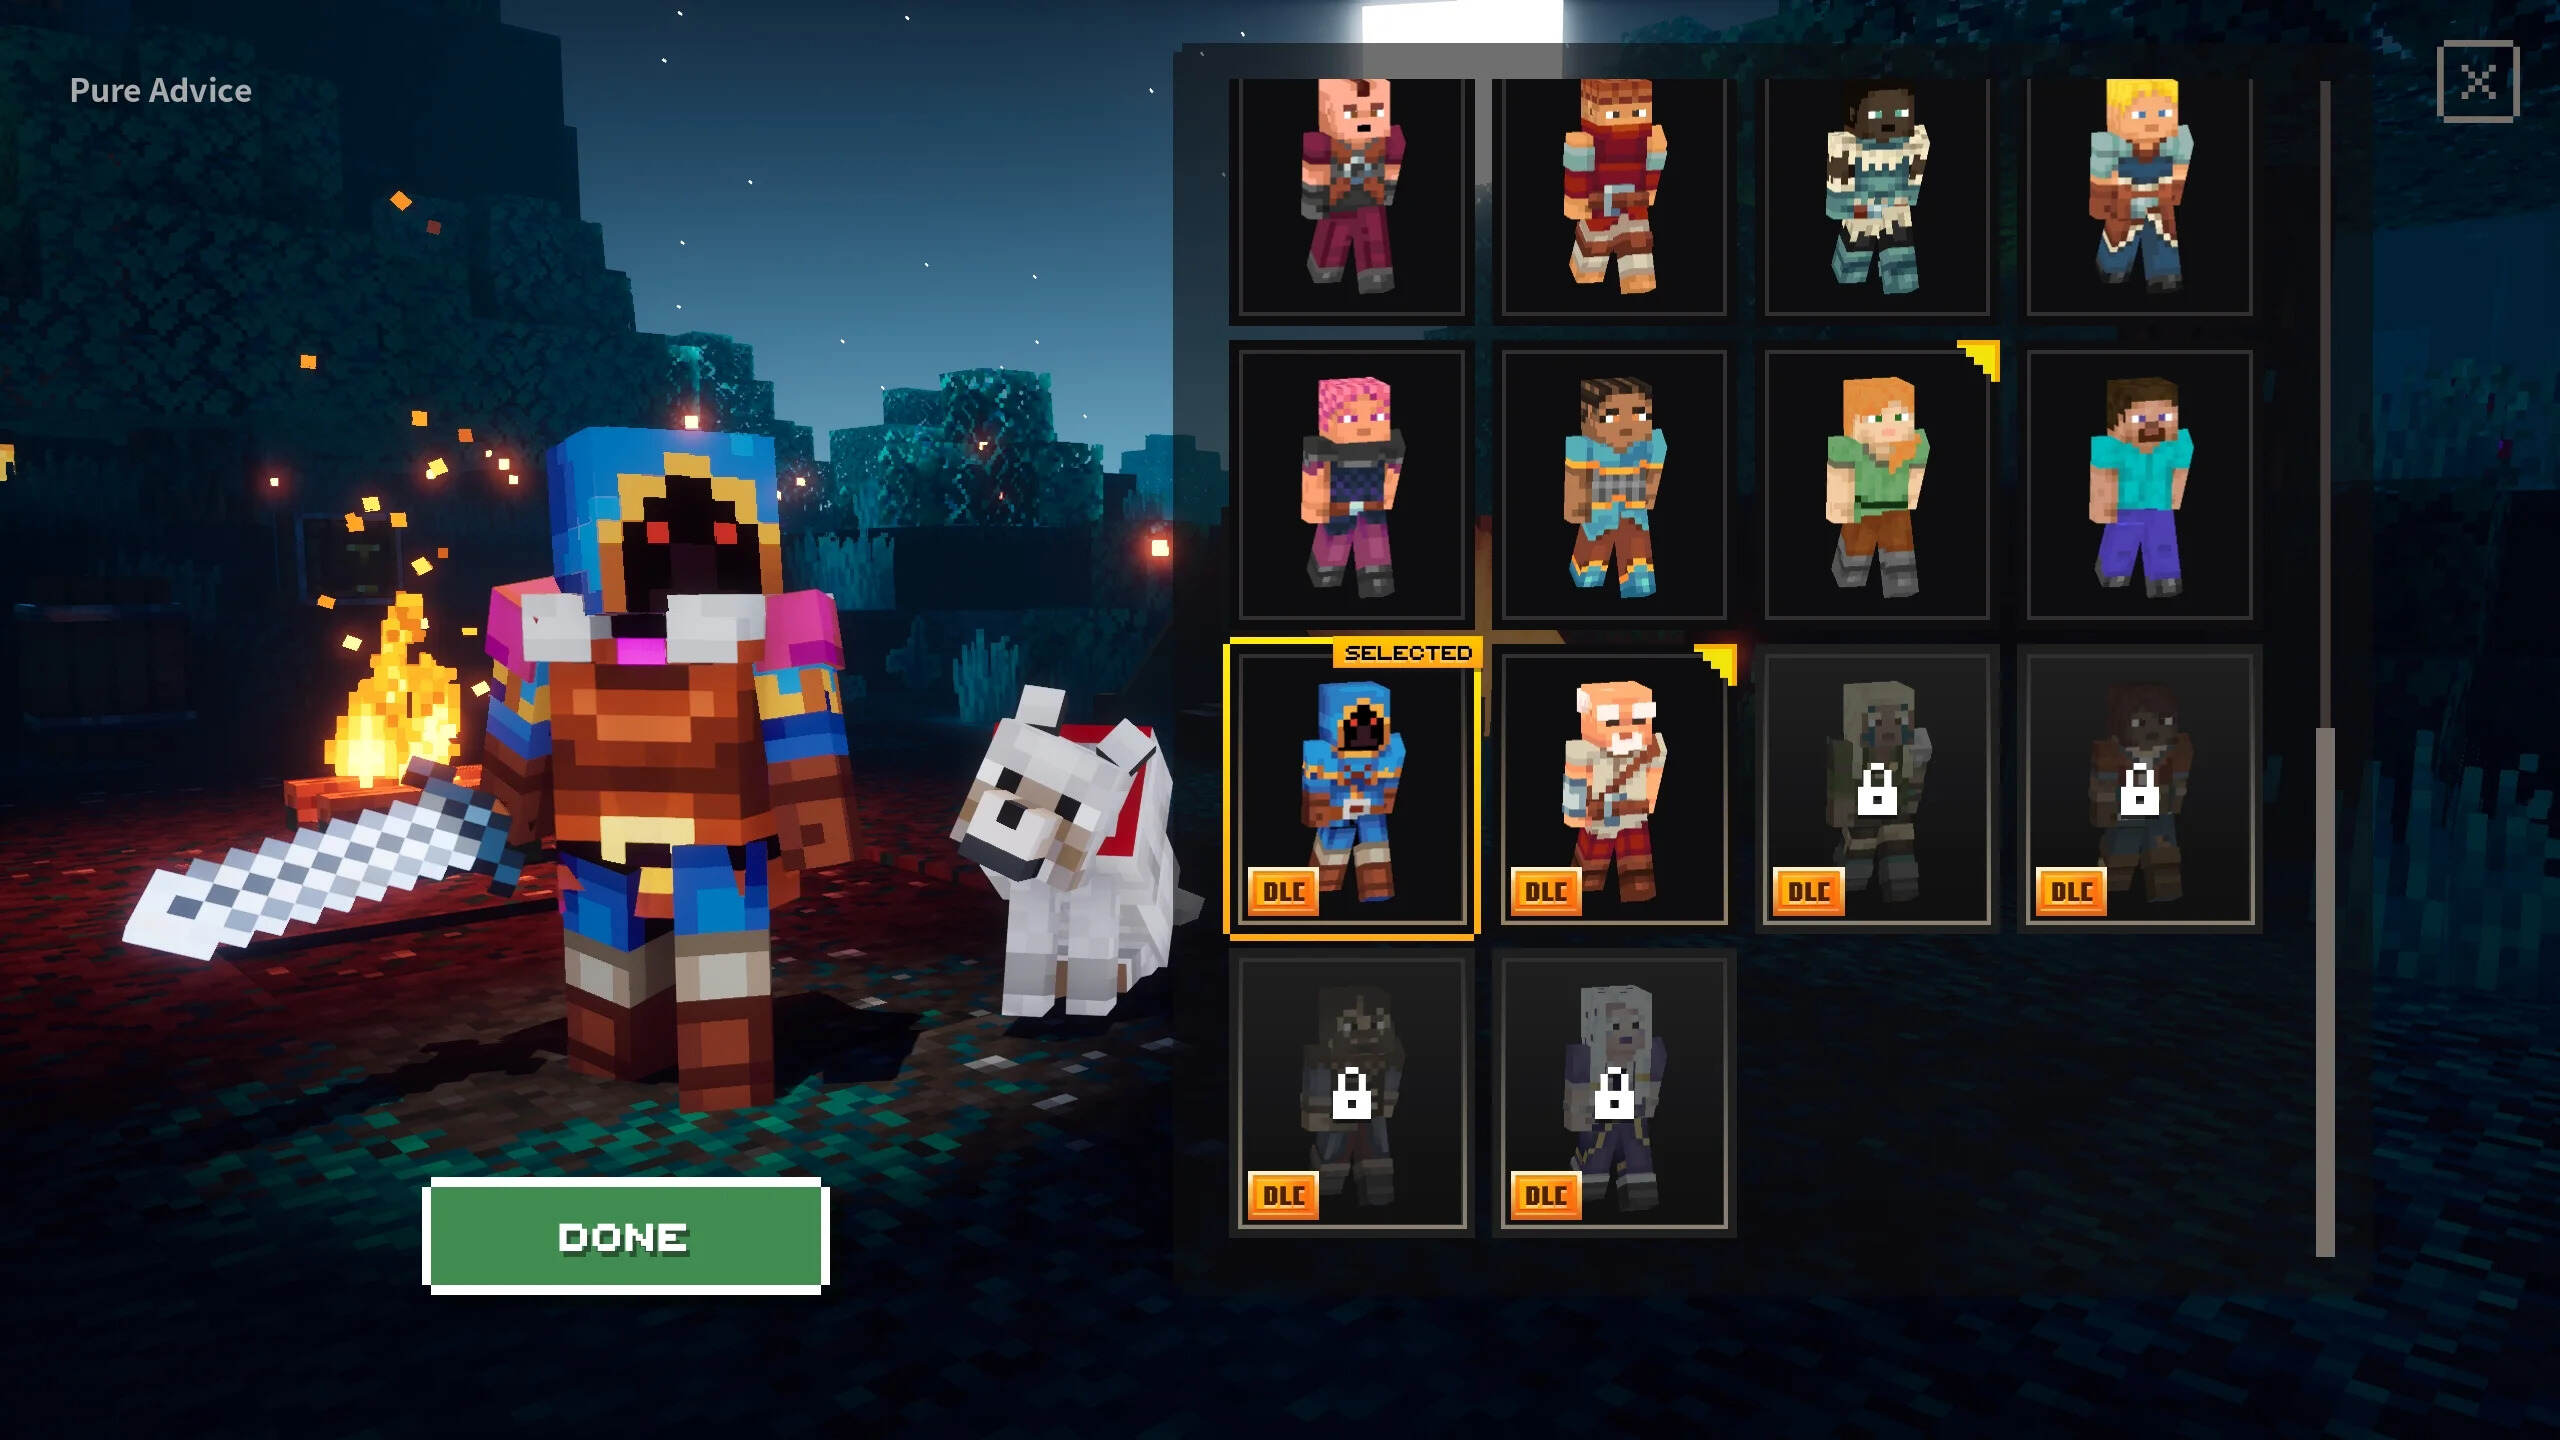
- In the “Skins” menu, you’ll find a list of all the skins you have downloaded and available for use. Locate the skin you want to apply to your character and select it.
- A preview of the skin will appear on the screen, allowing you to confirm that it’s the one you intended to apply.
- If you’re satisfied with the selected skin, choose the “Apply” or “Equip” option. This will immediately update your Minecraft character’s appearance with the newly downloaded skin.
Once the skin is applied, you can start playing Minecraft with your customized character right away. Take a moment to admire your character’s new look, whether you’ve transformed into a fearsome warrior, a cute animal, or your favorite video game character. Enjoy exploring the vast Minecraft world with your unique style.
Remember that you can always go back to the “Skins” menu and change your character’s appearance by selecting a different downloaded skin. Experiment with various combinations to find the perfect look that suits your mood or the specific adventure you’re undertaking in the game.
Now that you’ve successfully applied the downloaded skin to your Minecraft character on the Nintendo Switch, you’re ready to embark on exciting and personalized Minecraft adventures!
Conclusion
Customizing your Minecraft character with unique and exciting skins adds a whole new dimension to your gameplay experience. By following the steps outlined in this guide, you can easily access the Minecraft Marketplace on your Nintendo Switch, browse and select the perfect skin, preview it to ensure it meets your expectations, download it to your console, and finally apply it to your Minecraft character.
The vast selection of skins available in the Minecraft Marketplace allows you to truly express your creativity and individuality within the virtual world of Minecraft. Whether you prefer a fantastic creature, a stylish superhero, or a familiar gaming character, there is a skin to suit every taste and personality.
Remember to take your time when browsing through the available skins, utilizing the preview feature and trying out different options until you find the perfect one. And don’t be afraid to change your character’s appearance as often as you like, as the downloaded skins are stored within your Minecraft game on the Nintendo Switch and can be easily switched out whenever you want.
With each new skin you download and apply, your Minecraft gameplay experience will be enhanced, allowing you to immerse yourself in the virtual world with a character customized to your liking. So go ahead, explore the vast Minecraft Marketplace, discover the multitude of skins available, and make your mark on the world of Minecraft!