Introduction
Welcome to the world of Minecraft, where players have the power to transform and customize their gaming experience. One of the most popular ways to personalize your game is by using texture packs. Texture packs allow you to change the look and feel of the game’s graphics, giving it a fresh and unique visual appeal.
In this article, we will guide you through the process of downloading and installing texture packs for Minecraft 1.8. Whether you’re a seasoned player looking to refresh your gaming experience or a newbie wanting to explore the vast world of Minecraft with a new visual twist, this guide is for you.
Before we dive into the technicalities, let’s clarify what exactly texture packs are. Texture packs, also known as resource packs, are bundles of files that alter the game’s textures, sound effects, and other visual elements. They can completely transform the look of the game, from the blocks and items to the user interface and the environment.
Now that we understand what texture packs are, the next step is finding compatible texture packs for Minecraft 1.8. With a vast array of options available online, it can be overwhelming to choose the right one. However, fear not! We will show you how to easily discover and select texture packs that are designed specifically for Minecraft version 1.8.
After finding the perfect texture pack, we will guide you through the process of downloading it to your computer. We will provide step-by-step instructions on how to safely obtain the texture pack files, ensuring a smooth and secure downloading experience.
Once you have downloaded the texture pack, the next step is installing it in your Minecraft game. We will walk you through the process, detailing the necessary steps to properly place the texture pack files in the correct directory so that they are recognized by the game.
Finally, we will show you how to activate the newly installed texture pack in Minecraft. Activating a texture pack is a simple process that can be done within the game’s settings, allowing you to instantly see the stunning visual changes you’ve made.
If you encounter any issues or have trouble with your texture packs, we have you covered too. We will provide troubleshooting tips and solutions to common problems that may arise during the process.
So, whether you’re looking to add a touch of realism, immerse yourself in a fantasy realm, or simply give your Minecraft experience a personal touch, texture packs are the way to go. Let’s embark on this journey and discover the limitless possibilities of Minecraft customization!
Understanding Texture Packs
Before delving into the world of texture packs, it’s important to have a solid understanding of what they are and what they can do for your Minecraft game. Put simply, texture packs are bundles of files that alter the visual aspects of the game. They have the power to completely transform the look and feel of Minecraft, giving it a fresh and unique aesthetic.
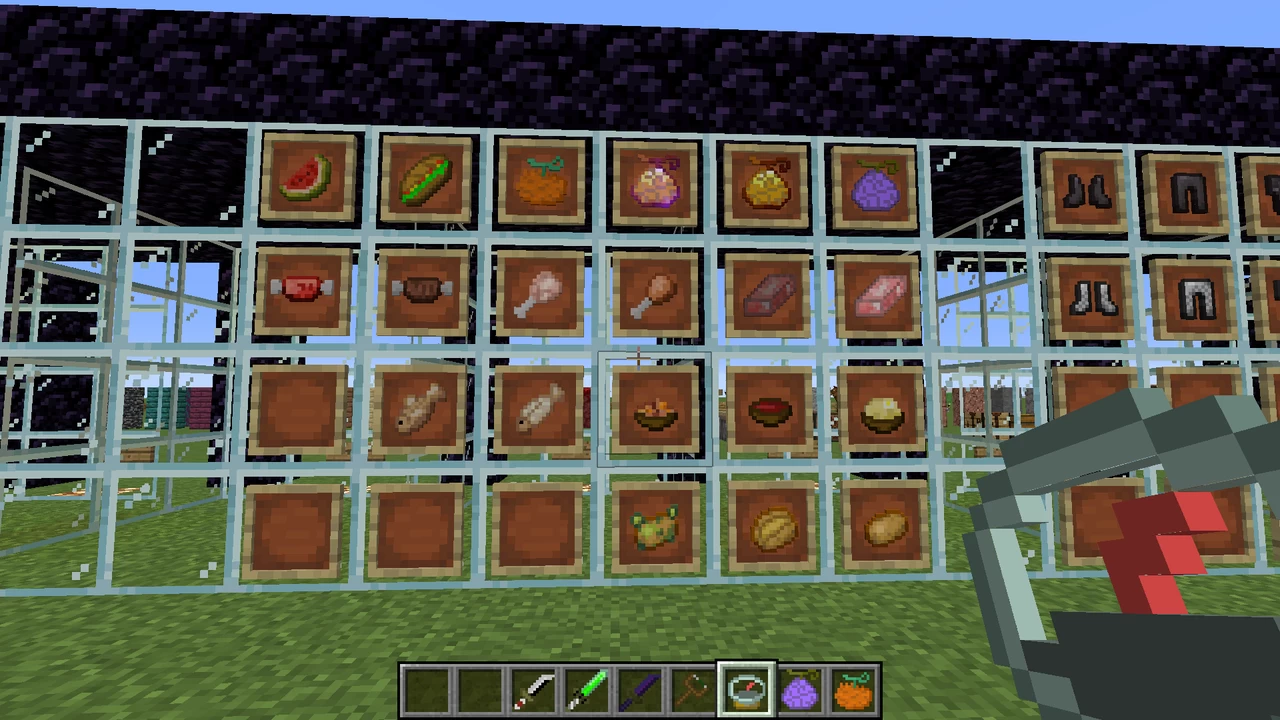
Texture packs can change everything from the textures of blocks, items, and mobs to the colors and shading of the game’s environment. They can also modify the user interface, menu screens, and even the sound effects in some cases. The possibilities are endless, allowing players to create a truly personalized gaming experience.
One of the most important things to note about texture packs is that they do not affect gameplay mechanics. They are purely cosmetic modifications and will not grant you any gameplay advantages or changes. Texture packs are a means of artistic expression and creative customization, enabling players to make Minecraft truly their own.
There are a variety of different types of texture packs available, each with their own unique style and theme. Some texture packs aim to enhance the realism of the game, while others focus on creating a more cartoon-like or fantasy-inspired environment. There are texture packs that mimic the look of popular video games or movies, giving your Minecraft world a familiar and nostalgic feel.
Texture packs can be created by the Minecraft community, ranging from individual creators to large teams of developers. They are typically shared online through various platforms and websites. Players can browse through these platforms to find texture packs that match their preferences and desired visual style.
It is important to note that texture packs need to be compatible with the version of Minecraft that you are using. This means that if you are playing Minecraft version 1.8, you will need to find texture packs specifically designed for that version. Using texture packs that are not compatible with your game version can lead to visual glitches or errors.
Some texture packs may require additional modifications, such as OptiFine or MCPatcher, to fully utilize their features and ensure optimal performance. These modifications enhance the capabilities of Minecraft’s rendering engine and allow for more advanced textures and visual effects.
Now that you have a better understanding of what texture packs are, it’s time to explore the vast world of options available. In the next section, we will guide you through the process of finding compatible texture packs for Minecraft 1.8.
Finding Compatible Texture Packs
With a plethora of texture packs available online, finding the perfect one for your Minecraft 1.8 game can be an exciting but daunting task. Fortunately, there are several reliable platforms and websites where you can easily discover and download compatible texture packs.
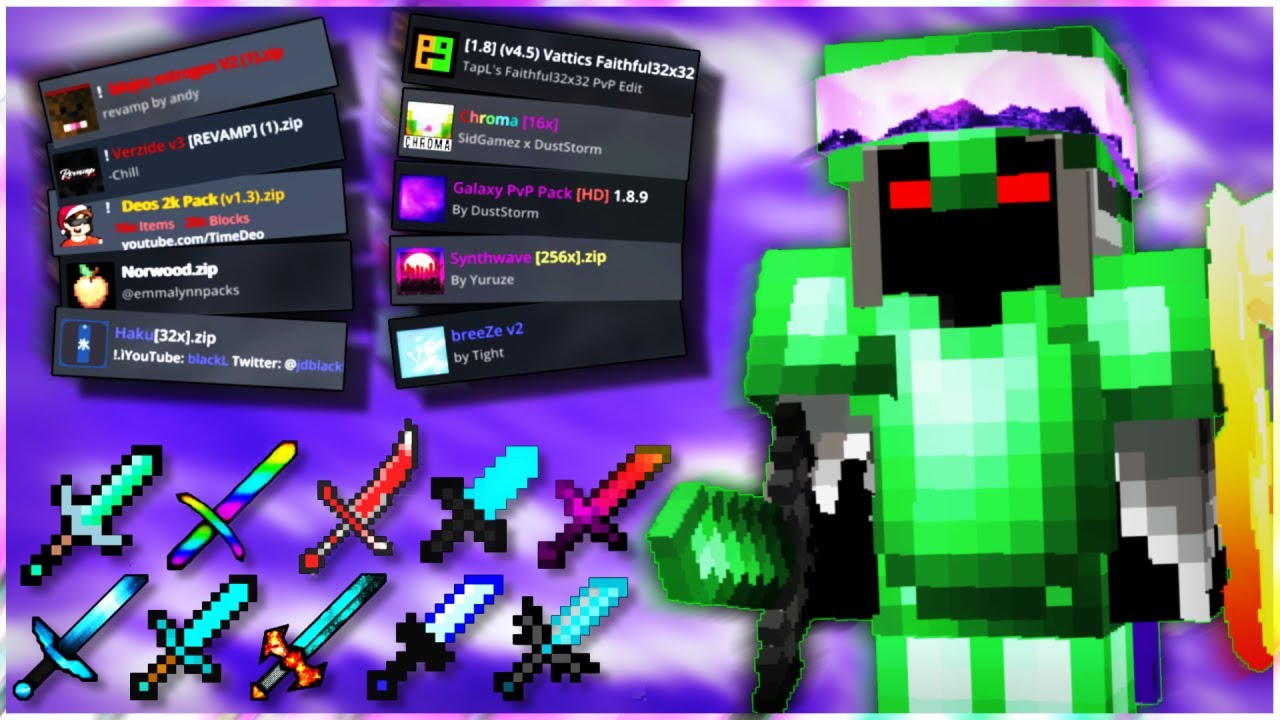
One of the most popular platforms for Minecraft texture packs is Planet Minecraft. This website provides a vast collection of texture packs, allowing you to filter and search specifically for Minecraft 1.8 compatible packs. You can browse through different categories, such as realistic, cartoon, medieval, and more, to find a style that appeals to you.
Another great resource is the Minecraft Forum. Here, you can find texture packs created by the Minecraft community, with dedicated sections for each Minecraft version. Within the 1.8 section, you’ll find various threads and discussions where users share and showcase their texture packs.
In addition to these platforms, there are several curated lists and compilations available on YouTube, showcasing the best texture packs for Minecraft 1.8. Many content creators provide in-depth reviews and demonstrations, giving you a better understanding of how the texture pack will look and feel in the game.
When searching for texture packs, it’s important to consider factors such as the pack’s resolution and compatibility. Most packs come in different resolutions, ranging from 16×16 to 512×512, with higher resolutions offering more detailed and visually stunning textures. However, keep in mind that higher resolution packs require more processing power, so make sure your computer can handle it.
Additionally, check if the texture pack is compatible with any required modifications, such as OptiFine or MCPatcher. Some packs may rely on these modifications to utilize advanced features or achieve certain visual effects. Make sure to read the pack’s description or installation instructions to avoid any compatibility issues.
Reading user reviews and comments can also provide valuable insights into the quality and performance of a texture pack. Pay attention to feedback regarding performance impact, bugs, and glitches, as well as how well the pack matches the advertised style and theme.
Once you’ve found a compatible texture pack that suits your preferences, it’s time to download and install it. In the next section, we will guide you through the process of safely obtaining the texture pack files and preparing them for installation in your Minecraft 1.8 game.
Downloading Texture Packs
Now that you have found a compatible texture pack for Minecraft 1.8, it’s time to download it and prepare it for installation. The process is relatively straightforward and can be done in just a few simple steps.
First, locate the download link for the texture pack. Often, texture packs are shared as ZIP files, containing all the necessary files and folders. Ensure that you are downloading the texture pack from a reputable source to prevent any potential security risks or malware.
Once you have found a trusted source, click on the download link. Your browser will initiate the download process, and the ZIP file will be saved to your designated download folder on your computer.
Before proceeding, it’s always a good idea to scan the downloaded ZIP file with your antivirus software to ensure it is safe and free from any potential threats.
Next, navigate to the folder where the ZIP file was downloaded. Right-click on the file, and select the “Extract All” option from the context menu. Choose a destination folder where you want to extract the contents of the ZIP file, and click the “Extract” button.
After the extraction is complete, you should see a new folder containing the files and folders of the texture pack. Take note of the name of this folder, as it will be important for the subsequent installation process.
Now that you have the texture pack files extracted and ready, it is recommended to move the folder to a convenient location on your computer, such as the desktop or a designated Minecraft texture pack directory.
It’s important to keep the texture pack files organized and easily accessible, as you may want to switch between different packs or make adjustments to the files in the future.
With the downloading process completed, you are one step closer to transforming your Minecraft 1.8 experience with the new texture pack. In the next section, we will walk you through the process of installing the texture pack in your Minecraft game.
Installing Texture Packs
Once you have downloaded a compatible texture pack for Minecraft 1.8 and extracted its contents, you are ready to install it in your Minecraft game. Installing texture packs is a simple process and can be done by following a few straightforward steps.
First, open the Minecraft game launcher on your computer. Before launching the game, navigate to the “Options” or “Settings” menu, depending on your launcher version. In this menu, locate and select the “Resource Packs” or “Texture Packs” option.
In the texture pack menu, you will see a list of available packs, including the default Minecraft textures. To add a new texture pack, click on the “Open Pack Folder” or “Open Resource Pack Folder” button. This will open the resource pack directory on your computer.
Now, locate the folder that contains the texture pack files that you extracted earlier. It should be in a separate folder with the name of the texture pack. Simply drag and drop this folder into the resource pack directory. Alternatively, you can also copy and paste the folder into the directory.
Once the texture pack folder has been placed inside the resource pack directory, you can close the folder window and return to the Minecraft game launcher. Refresh the texture pack list by clicking the “Done” or “Back” button and then re-entering the texture pack menu.
You should now see the newly installed texture pack listed in the available packs. Click on the texture pack to select it and move it to the “Selected” section. The selected texture pack will determine the visual style of Minecraft when you enter the game.
It’s important to note that the order of the texture packs in the list can affect how they are prioritized and displayed in the game. If you have multiple packs selected, you can use the up and down arrows within the texture pack menu to adjust the order.
Once you have configured the selected texture pack to your liking, click “Done” or “Back” to exit the texture pack menu. Your new texture pack is now installed and activated in your Minecraft 1.8 game.
With the texture pack installed, launch Minecraft and enter a world to see the visual changes in action. You should notice the updated textures, colors, and visuals that the texture pack provides.
If you decide to switch texture packs or return to the default textures, simply revisit the resource pack menu and select a different pack or remove the currently selected pack from the list.
Congratulations! You have successfully installed a texture pack in your Minecraft 1.8 game. In the next section, we’ll provide some troubleshooting tips in case you encounter any issues during the process.
Activating Texture Packs
Now that you have installed a new texture pack for Minecraft 1.8, it’s time to activate it and see the visual changes come to life in your game. Activating a texture pack is a simple process that can be done within the game’s settings.
To activate a texture pack, launch Minecraft and enter a world. Once you are in the game, press the “Esc” key on your keyboard to open the pause menu. From the menu options, select “Options” and then click on “Resource Packs” or “Texture Packs”.
In the texture pack menu, you will see a list of available texture packs. Locate the texture pack you want to activate and click on it to select it. Once selected, the texture pack will be moved to the “Selected” section of the menu, indicating that it is now active in your game.
If you have multiple texture packs selected, you can use the up and down arrows to adjust the order in which they are applied. The texture packs at the top of the list will take precedence over those below, meaning that their textures will be prioritized when displaying in the game.
Once you have selected and ordered your desired texture packs, click the “Done” or “Back” button to exit the texture pack menu. Your game will automatically apply the chosen texture pack, and you will be able to see the visual changes immediately.
It’s important to note that activating a texture pack does not require you to restart the game. The changes take effect instantly, allowing you to switch between texture packs and see their impact in real-time.
While exploring the Minecraft world, you will notice that textures, colors, and visual elements have been transformed according to the activated texture pack. Take your time to appreciate and enjoy the new look and feel of the game.
If you decide to change or deactivate the texture pack, simply revisit the texture pack menu from the game’s options and select a different pack or remove the currently selected pack from the list. This will revert the game back to the default Minecraft textures.
Experimenting with different texture packs can be a fun way to breathe new life into your Minecraft 1.8 game. It allows you to customize the visual experience and tailor it to your personal taste and preferences.
Congratulations! You have successfully activated a texture pack in your Minecraft 1.8 game. In the next section, we will provide some troubleshooting tips to help you if you encounter any issues with your texture packs.
Troubleshooting Texture Packs
While installing and activating texture packs in Minecraft 1.8 is generally a smooth process, sometimes you may encounter issues or unexpected results. Don’t worry! We have compiled some troubleshooting tips to help you resolve common problems and enjoy your texture pack experience.
If you notice that the textures in your game are not displaying correctly or appear distorted, the first step is to verify that the texture pack you downloaded is compatible with Minecraft 1.8. Double-check the version requirements of the texture pack and ensure that you are using the correct version.
Another potential issue could be compatibility with other modifications or resource packs. Some texture packs may require specific modifications like OptiFine or MCPatcher to function properly. Make sure you have installed any necessary modifications and that they are compatible with the texture pack you are using.
It’s also important to ensure that you have extracted the texture pack files correctly and placed them in the correct folder. Double-check the file structure of the texture pack to ensure that the resource pack folder is directly inside the “resourcepacks” directory and not nested inside any other folders.
Occasionally, conflicts may arise between different texture packs or modifications. If you are using multiple texture packs, try disabling or removing one at a time to identify if there are any conflicts causing the issue.
If the problem still persists, try clearing Minecraft’s cache. Open Minecraft and go to the options menu, then select “Resource Packs” or “Texture Packs”. Click on the “Open Pack Folder” button. From there, navigate to the “.minecraft” folder and locate the “assets” folder. Delete the “indexes” and “objects” folders. Relaunch Minecraft and reapply your texture pack to see if the issue is resolved.
In some cases, outdated or incompatible graphics card drivers may cause problems with texture packs. Make sure that your graphics card drivers are up to date by visiting the manufacturer’s website and downloading the latest drivers for your specific graphics card model.
Lastly, always make sure that the texture pack you are downloading is from a reputable source. Avoid downloading texture packs from suspicious or unknown websites, as they may contain viruses, malware, or other harmful elements that can affect your computer and game performance.
By following these troubleshooting tips, you should be able to overcome most texture pack-related issues and enjoy a visually enhanced Minecraft 1.8 experience. However, if you still encounter difficulties, it is recommended to seek assistance from the Minecraft community forums or support channels for further guidance.
Now that you are armed with troubleshooting knowledge, you can confidently navigate any hurdles that may come your way and continue enjoying the personalized and visually stunning world of Minecraft with your chosen texture packs.
Conclusion
Texture packs offer an exciting and creative way to personalize your Minecraft 1.8 gaming experience. By altering the visual aesthetics of the game, texture packs can breathe new life into the cubic world you explore. Throughout this guide, we have explored the process of downloading, installing, and activating texture packs.
We began by understanding what texture packs are and how they can transform the look and feel of Minecraft. We then discussed the importance of finding compatible texture packs, learning where to search for them and how to ensure they are suitable for Minecraft 1.8.
Next, we explored the process of downloading texture packs, highlighting the importance of choosing reliable sources and scanning files to prevent any security risks. We also discussed the steps of extracting the downloaded ZIP file and organizing the texture pack files for easy access.
Following that, we provided a clear and concise walkthrough of the installation process. By copying the texture pack folder to the appropriate directory, players can seamlessly incorporate the new visuals into their Minecraft 1.8 game.
Finally, we covered the activation of texture packs within the game itself. By accessing Minecraft’s resource pack menu, players can easily enable and configure their desired texture packs, witnessing the immediate impact on the game’s visuals.
In case any issues arise, we also discussed troubleshooting tips such as verifying compatibility, ensuring correct installation, resolving conflicts, clearing cache, and updating graphics card drivers. These steps can help overcome common challenges and ensure a smooth experience with texture packs.
With the knowledge and understanding gained from this guide, you can now venture into the vast world of Minecraft with a renewed visual experience. Whether you prefer realistic textures, whimsical designs, or something entirely unique, texture packs allow you to customize and shape your Minecraft 1.8 adventure to suit your personal preferences.
So, go ahead and explore the vibrant community of texture pack creators, discover new styles and themes, and enrich your Minecraft gameplay with stunning visuals. Embrace the endless possibilities that texture packs offer and make your Minecraft world truly your own!