Introduction
Minecraft is a popular sandbox game that allows players to create and explore virtual worlds. One of the key features that make Minecraft so captivating is the ability to customize the game’s appearance using texture packs. Texture packs can completely transform the look and feel of the game, adding new textures, colors, and visual effects.
If you’re new to Minecraft or simply want to refresh your game’s appearance, downloading and installing texture packs is a straightforward process. This guide will walk you through the steps necessary to download and install texture packs in Minecraft.
Before we get started, it’s important to note that texture packs are also commonly referred to as resource packs. They serve the same purpose and are used interchangeably in Minecraft.
Whether you’re looking for a realistic, medieval, futuristic, or cartoonish aesthetic, there’s a texture pack out there to suit your style. With thousands of texture packs available for download, the possibilities are virtually endless.
In this guide, we’ll cover everything you need to know to successfully download and install texture packs in Minecraft. We’ll discuss where to find reliable sources for downloading texture packs, how to choose the right pack for your preferences, and the steps to install and activate the pack in Minecraft.
So, let’s dive in and transform your Minecraft gaming experience with exciting new texture packs!
Step 1: Understand Texture Packs
Before diving into the world of texture packs, it’s important to have a clear understanding of what they are and how they work. Texture packs are files that alter the look and feel of the Minecraft game. They replace the default textures, such as blocks, items, and creatures, with new custom-designed textures.
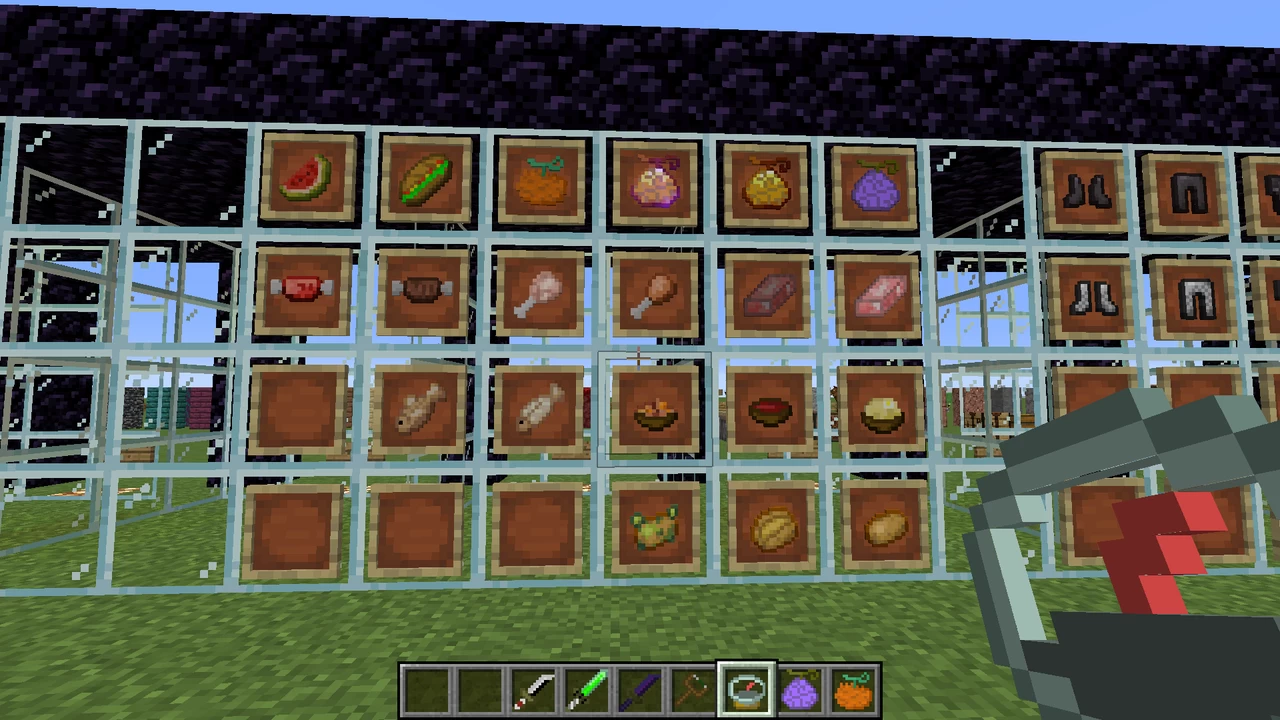
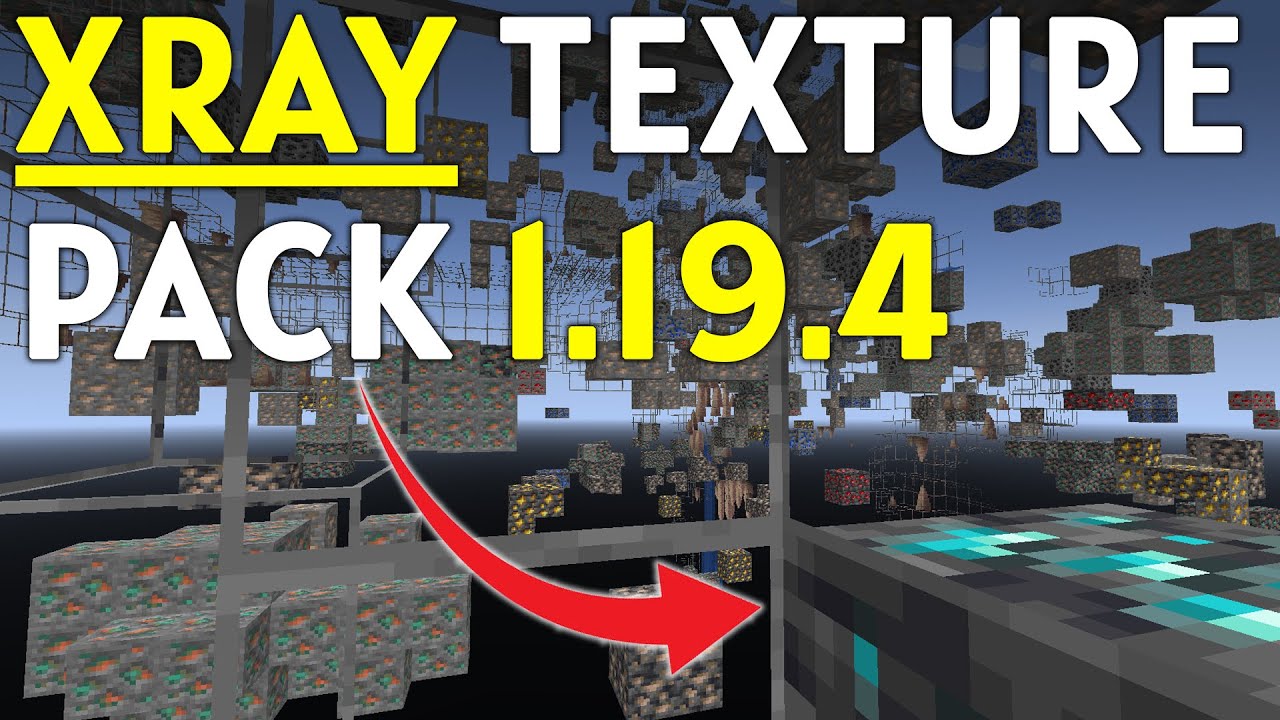
Texture packs can range from simple modifications to complete overhauls of the game’s visuals. They can enhance realism, create a more vibrant and colorful environment, or give your game a unique and artistic style. Some texture packs focus on specific themes, such as medieval, futuristic, or cartoonish, while others aim for a more natural or immersive experience.
Texture packs come in different resolutions, such as 16×16, 32×32, 64×64, and even higher. Higher-resolution texture packs offer more detailed and crisp visuals but may require a more powerful computer to run smoothly. On the other hand, lower-resolution packs are great for older computers or players looking for a more nostalgic Minecraft experience.
It’s essential to choose a texture pack that supports the version of Minecraft you’re playing. Texture packs are typically designed for specific Minecraft versions, such as 1.16 or 1.17. Using an incompatible texture pack may result in visual glitches or even crashes. Therefore, always check the compatibility of the texture pack before downloading and installing it.
Another important consideration is the usage rights of the texture packs. Some packs are released under a Creative Commons license, allowing for modification and redistribution, while others have stricter copyright restrictions. Make sure to respect the author’s terms of use and follow any guidelines for attribution or redistribution if required.
To better understand a texture pack before downloading, many reliable websites provide screenshots or videos showcasing the pack in action. This allows you to preview how the pack will change the Minecraft visuals and decide whether it aligns with your preferences before committing to the download.
Now that you have a solid understanding of what texture packs are and what to consider when choosing one, let’s move on to the next step: finding a reliable source for downloading texture packs.
Step 2: Find a Reliable Source for Downloading Texture Packs
To ensure a safe and smooth experience when downloading texture packs for Minecraft, it’s crucial to find a reliable source. Here are some tips to help you find a trusted website to download your desired texture packs:
1. Official Minecraft Websites: The official Minecraft website, as well as the official forums and marketplace, are excellent sources for discovering and downloading texture packs. These platforms typically curate high-quality texture packs that are compatible with the latest versions of Minecraft. Additionally, using official sources ensures that you’re getting legitimate and safe downloads.
2. Popular Minecraft Community Websites: There are several reputable Minecraft community websites where users can upload and share their own texture packs. Platforms like Planet Minecraft, Minecraft CurseForge, and Minecraft Forum have extensive libraries of texture packs created by the Minecraft community. These websites often have rating systems and user reviews that can help you gauge the quality and popularity of the texture packs.
3. Trusted Resource Pack Creators: Many talented resource pack creators have their own dedicated websites or profiles on community platforms. These creators are often well-established and known for their high-quality texture packs. If you have a favorite texture pack creator or have come across their work, it’s worth visiting their website or profile to explore more of their creations.
4. Check for Trust Signals: Look for trust signals on the website, such as security badges, trusted partner logos, or user reviews. These indicators can give you confidence that the website is reputable and trustworthy.
5. Avoid Sketchy Websites: Exercise caution when encountering unfamiliar websites or websites that appear untrustworthy. Avoid downloading texture packs from websites that offer excessive ads, require suspicious downloads, or have a poor site design. These websites may contain malware or low-quality texture packs that could harm your computer or negatively impact your Minecraft experience.
Remember, it’s always a good practice to have antivirus software installed and up-to-date when downloading files from the internet.
By using reputable sources, you can ensure that the texture packs you download are safe, high-quality, and suited for the version of Minecraft you’re playing on. Now that you know where to find them, let’s move on to the next step: choosing and downloading a texture pack.
Step 3: Choose and Download a Texture Pack
Now that you’ve found a reliable source for downloading texture packs, it’s time to choose the pack that best suits your preferences. Follow these steps to select and download a texture pack for Minecraft:
1. Browse Through Texture Packs: Explore the collection of texture packs available on the website or platform you’ve chosen. Use the search or filter options to narrow down the selection based on your desired theme, resolution, or Minecraft version compatibility.
2. Preview the Texture Packs: Many websites provide preview images, screenshots, or videos of the texture packs to give you a glimpse of how they will change the look of Minecraft. Take the time to examine these previews and consider whether the pack aligns with your aesthetic preferences.
3. Read User Feedback and Ratings: Check out the user feedback and ratings for the texture packs you’re interested in. Reviews and comments can provide valuable insights into the pack’s quality, performance, and compatibility with different systems. Pay attention to both positive and negative feedback to make an informed decision.
4. Click on the Download Button: Once you’ve chosen a texture pack, locate the download button or link associated with it. Simply click on it to initiate the download. Some websites may offer multiple download options, such as different resolutions or versions of the texture pack. Choose the one that suits your needs.
5. Save the Texture Pack: After clicking the download button, your browser will ask you where to save the texture pack file. Choose a location on your computer where you can easily find it, such as the Downloads folder. Make sure to take note of the file name and its format, typically a .zip file.
6. Scan the Downloaded File: Before proceeding with the installation, it’s a good practice to scan the downloaded file with antivirus software. This extra step ensures that the file is safe and free from any potential threats.
Once you’ve completed these steps, you have successfully chosen and downloaded a texture pack for Minecraft. Now it’s time to locate the Minecraft resource pack folder where the downloaded pack will be installed in the next step.
Step 4: Locate the Minecraft Resource Pack Folder
Before you can install the downloaded texture pack in Minecraft, you need to locate the Minecraft resource pack folder on your computer. Follow these steps to find the resource pack folder:
1. Open Minecraft: Launch the Minecraft Java Edition on your computer. Make sure you are signed in with the same account that you use to play the game.
2. Open Options: Once you’re in the Minecraft main menu, click on “Options.” It is typically represented by a gear icon.
3. Go to Resource Packs: In the Options menu, click on “Resource Packs.” This will open the Resource Packs screen where you can manage your installed packs.
4. Click on “Open Resource Pack Folder”: On the Resource Packs screen, you will see the “Open Pack Folder” button. Click on it to open the folder where Minecraft stores its resource packs. This will open the folder in your computer’s file explorer.
5. Locate the Resource Pack Folder: In the file explorer window, you will see the Minecraft resource pack folder. It is the folder where you will move or copy the downloaded texture pack file. Keep the folder open, as you will need it for the next step.
It’s important to note that the location of the resource pack folder may vary depending on your operating system:
- For Windows: The resource pack folder is typically located in %AppData%\.minecraft\resourcepacks.
- For Mac: The resource pack folder is usually found at ~/Library/Application Support/minecraft/resourcepacks.
- For Linux: The resource pack folder should be in ~/.minecraft/resourcepacks.
If you’re having trouble locating the resource pack folder, consult the Minecraft documentation or community forums specific to your operating system for further assistance.
Now that you have successfully located the Minecraft resource pack folder, you can proceed to the next step: installing the downloaded texture pack.
Step 5: Install the Downloaded Texture Pack
With the Minecraft resource pack folder open and ready, you can now proceed to install the downloaded texture pack. Follow these steps to complete the installation:
1. Move or Copy the Texture Pack File: In the file explorer window displaying the Minecraft resource pack folder, locate the downloaded texture pack file. It is usually a .zip file. Move or copy this file into the resource pack folder.
2. Do Not Extract the .zip File: It’s important to note that you should not extract the .zip file. Minecraft recognizes and uses texture packs in their compressed .zip format, so leave the file as it is.
3. Close the File Explorer Window: Once you’ve moved or copied the texture pack file into the resource pack folder, close the file explorer window. You no longer need it for the installation.
4. Open Minecraft: Switch back to the Minecraft game window. If it was open previously, close and reopen Minecraft to ensure it detects the newly installed texture pack.
5. Go to Resource Packs: From the Minecraft main menu, navigate to the “Options” menu and click on “Resource Packs” again.
6. Select the Texture Pack: On the Resource Packs screen, you should now see the newly installed texture pack listed. Select it by clicking on its name to highlight it.
7. Move the Texture Pack to the Selected Column: Use the arrow button in the middle of the screen to move the selected texture pack from the Available Packs column to the Selected Packs column. This indicates that you want to activate the texture pack.
8. Confirm and Apply Changes: Once the texture pack is in the Selected Packs column, review the list to ensure it’s the only texture pack you want to use. Click on “Done” to apply the changes and close the Resource Packs screen.
That’s it! You have successfully installed the downloaded texture pack in Minecraft. The next step is to activate the texture pack and start enjoying the new visuals in the game.
Step 6: Activate the Texture Pack in Minecraft
Now that you have installed the texture pack in Minecraft, it’s time to activate it and experience the new visuals within the game. Follow these steps to activate the texture pack:
1. Launch Minecraft: Start the Minecraft Java Edition on your computer and log in with your Minecraft account.
2. Go to Options: Once you’re in the Minecraft main menu, click on “Options.” It is usually represented by a gear icon.
3. Access Resource Packs: In the Options menu, select “Resource Packs.” This will open the Resource Packs screen where you manage your installed packs.
4. Enable the Texture Pack: On the Resource Packs screen, you will see the texture pack you installed listed in the Selected Packs column. Make sure the checkbox next to the texture pack’s name is checked. This indicates that the texture pack is enabled.
5. Arrange the Loading Order (Optional): If you have multiple texture packs installed and want to adjust the loading order, you can use the up and down buttons on the right side of the screen to rearrange them. The top texture pack in the list has the highest priority and will be loaded first.
6. Apply Changes: Once the texture pack is enabled and the loading order is set, click on “Done” to apply the changes and return to the main menu.
7. Start Playing: You’re now ready to start playing Minecraft with the activated texture pack. Whether you’re exploring the vast landscapes, constructing impressive structures, or engaging in exciting adventures, the new visuals will immerse you in a fresh and captivating gaming experience.
If you decide to change or disable the texture pack in the future, simply repeat these steps, uncheck the checkbox next to the texture pack, and click on “Done” to apply the changes.
Enjoy your new texture pack in Minecraft and have fun discovering all the fantastic details and enhancements it brings to the game!
Step 7: Troubleshooting Common Issues
While installing and activating texture packs in Minecraft is generally a straightforward process, you may encounter some common issues along the way. Here are a few troubleshooting tips to help you resolve these issues:
1. Compatibility Issues: Ensure that the texture pack you downloaded is compatible with the version of Minecraft you’re playing. Using a texture pack designed for a different Minecraft version can cause visual glitches or crashes. Double-check the compatibility information provided by the texture pack creator.
2. Resource Pack Order: If you have multiple texture packs installed and notice that some textures are not showing correctly, try rearranging the loading order. Access the Resource Packs screen and use the up and down buttons to adjust the order. Place the desired texture pack higher in the list to give it priority during loading.
3. File Format: Ensure that the texture pack file is in the correct format. Minecraft utilizes .zip files for texture packs, so make sure not to extract the file. If you accidentally extracted the file, compress it back into a .zip format before placing it in the resource pack folder.
4. Resource Pack Resolution: If you experience performance issues or low FPS after installing a high-resolution texture pack, consider using a lower-resolution version. Higher-resolution packs require more system resources to render, which can put a strain on older or lower-end computers.
5. Outdated Texture Pack: If you’re using an older texture pack that has not been updated for the latest Minecraft version, it may not work correctly. Check the texture pack’s page for any updates or newer versions that are compatible with your Minecraft version.
6. Clear Minecraft Cache: Sometimes texture pack-related issues can be resolved by clearing the Minecraft cache. In the Minecraft launcher, go to “Settings” > “Open Game Directory.” From there, navigate to the “cache” folder and delete all the files inside. Launch Minecraft again, and it will rebuild the cache.
7. Corrupt Texture Pack: If you’re experiencing unusual problems, such as missing textures or graphical glitches, there may be an issue with the texture pack file itself. Try redownloading the pack from a trusted source and re-installing it.
If you’ve tried these troubleshooting tips and are still encountering issues, consider seeking help from the Minecraft community forums or the support channels provided by the website where you downloaded the texture pack. Remember to provide detailed information about the problem and any error messages you’ve encountered to receive accurate assistance.
By troubleshooting common issues, you can ensure a smoother experience when using texture packs in Minecraft. Enjoy your customized Minecraft world!
Conclusion
Congratulations! You have successfully learned how to download and install texture packs in Minecraft. By following the steps outlined in this guide, you can now customize your Minecraft world with visually stunning textures that suit your personal preferences and enhance your gaming experience.
We started by understanding what texture packs are and the various options available, such as different themes, resolutions, and compatibility. Then, we discussed how to find trusted sources for downloading texture packs, including official Minecraft websites, popular community platforms, and trusted resource pack creators.
Next, we explored the process of choosing and downloading texture packs, including browsing through packs, previewing them, and making an informed decision based on user feedback and ratings. We emphasized the importance of not only finding visually appealing packs but also ensuring they are compatible with your Minecraft version.
We then moved on to installing the downloaded texture packs by locating the Minecraft resource pack folder and moving or copying the pack files into it. It was essential to remember not to extract the pack files but to leave them in their compressed .zip format.
After successfully installing the texture pack, we discussed how to activate it in Minecraft. We navigated through the Options menu to find the Resource Packs section, enabled the desired texture pack, and adjusted the loading order if necessary. By doing so, we were able to enjoy the new visual experience within Minecraft.
Finally, we covered troubleshooting common issues that may arise during the installation process. By following the troubleshooting tips provided, you can address compatibility issues, ensure correct file formats, resolve resource pack order conflicts, and more.
Now that you have a solid understanding of how to download, install, and activate texture packs in Minecraft, you can unleash your creativity and transform your Minecraft world into a visually captivating and personalized space. Don’t be afraid to explore different texture packs, experiment with combinations, and create a unique gaming experience.
Have fun and enjoy the countless possibilities of texture packs in Minecraft!