How to Download a Minecraft Skin: Step-by-Step Guide
Gaming enthusiasts around the world love Minecraft for its endless possibilities and creative gameplay. One of the most exciting features of this popular game is the ability to customize your character’s appearance by downloading and applying Minecraft skins.
Key Takeaways:
- Customizing your Minecraft character with a unique skin adds a personal touch to your gameplay experience.
- Downloading Minecraft skins is a simple process that allows you to choose from a vast collection of designs.
So, if you’re wondering how to download a Minecraft skin, you’ve come to the right place! In this step-by-step guide, we’ll walk you through the process of acquiring and applying a new skin to your Minecraft character.
Step 1: Find a Trustworthy Minecraft Skins Website
There are numerous websites available that offer a wide range of Minecraft skins for download. However, it’s important to ensure you choose a trustworthy website to avoid any security risks or low-quality skins. Look for well-known and reputable websites like MinecraftSkins.net or MinecraftSkins.com.
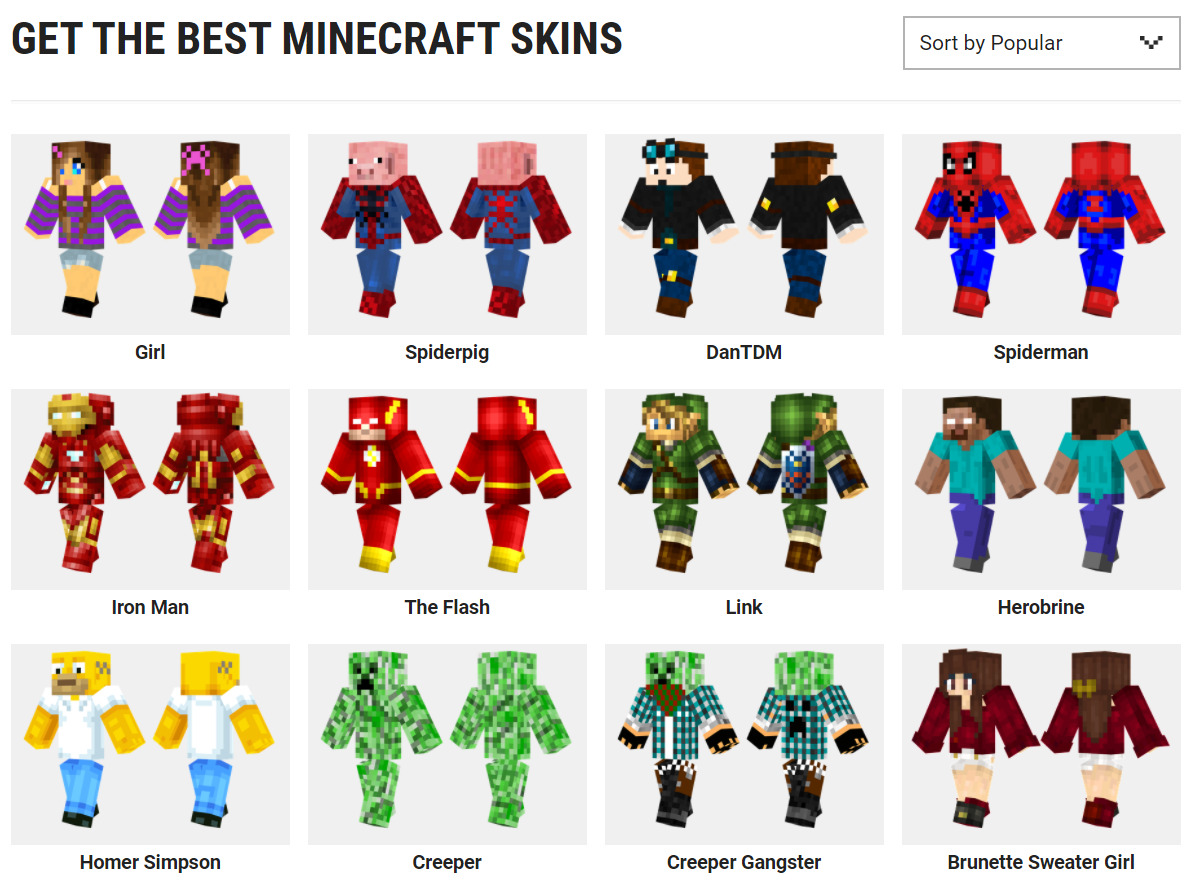
Step 2: Browse and Choose Your Desired Skin
Once you’ve found a reliable website, it’s time to explore the collection of Minecraft skins. Most websites categorize skins based on themes, such as TV shows, movies, superheroes, animals, or fantasy creatures. Browsing through these categories can help you find a skin that matches your preferences and showcases your individuality.
Step 3: Download the Skin File
After selecting the perfect Minecraft skin, you’ll typically find a download button or link provided on the website. Click on it to start the download process. The skin file is usually in a .png format.
Step 4: Access the Minecraft Skins Folder
Now that you have the skin file downloaded, it’s time to navigate to the Minecraft skins folder on your computer. The location of this folder varies depending on your operating system:
- For Windows users: Open the Start menu, type “%appdata%”, and hit Enter. Then open the “.minecraft” folder and locate the “versions” folder.
- For Mac users: Open Finder, click “Go” in the menu bar, select “Go to Folder”, type “~/Library/Application Support/minecraft”, and press Enter.
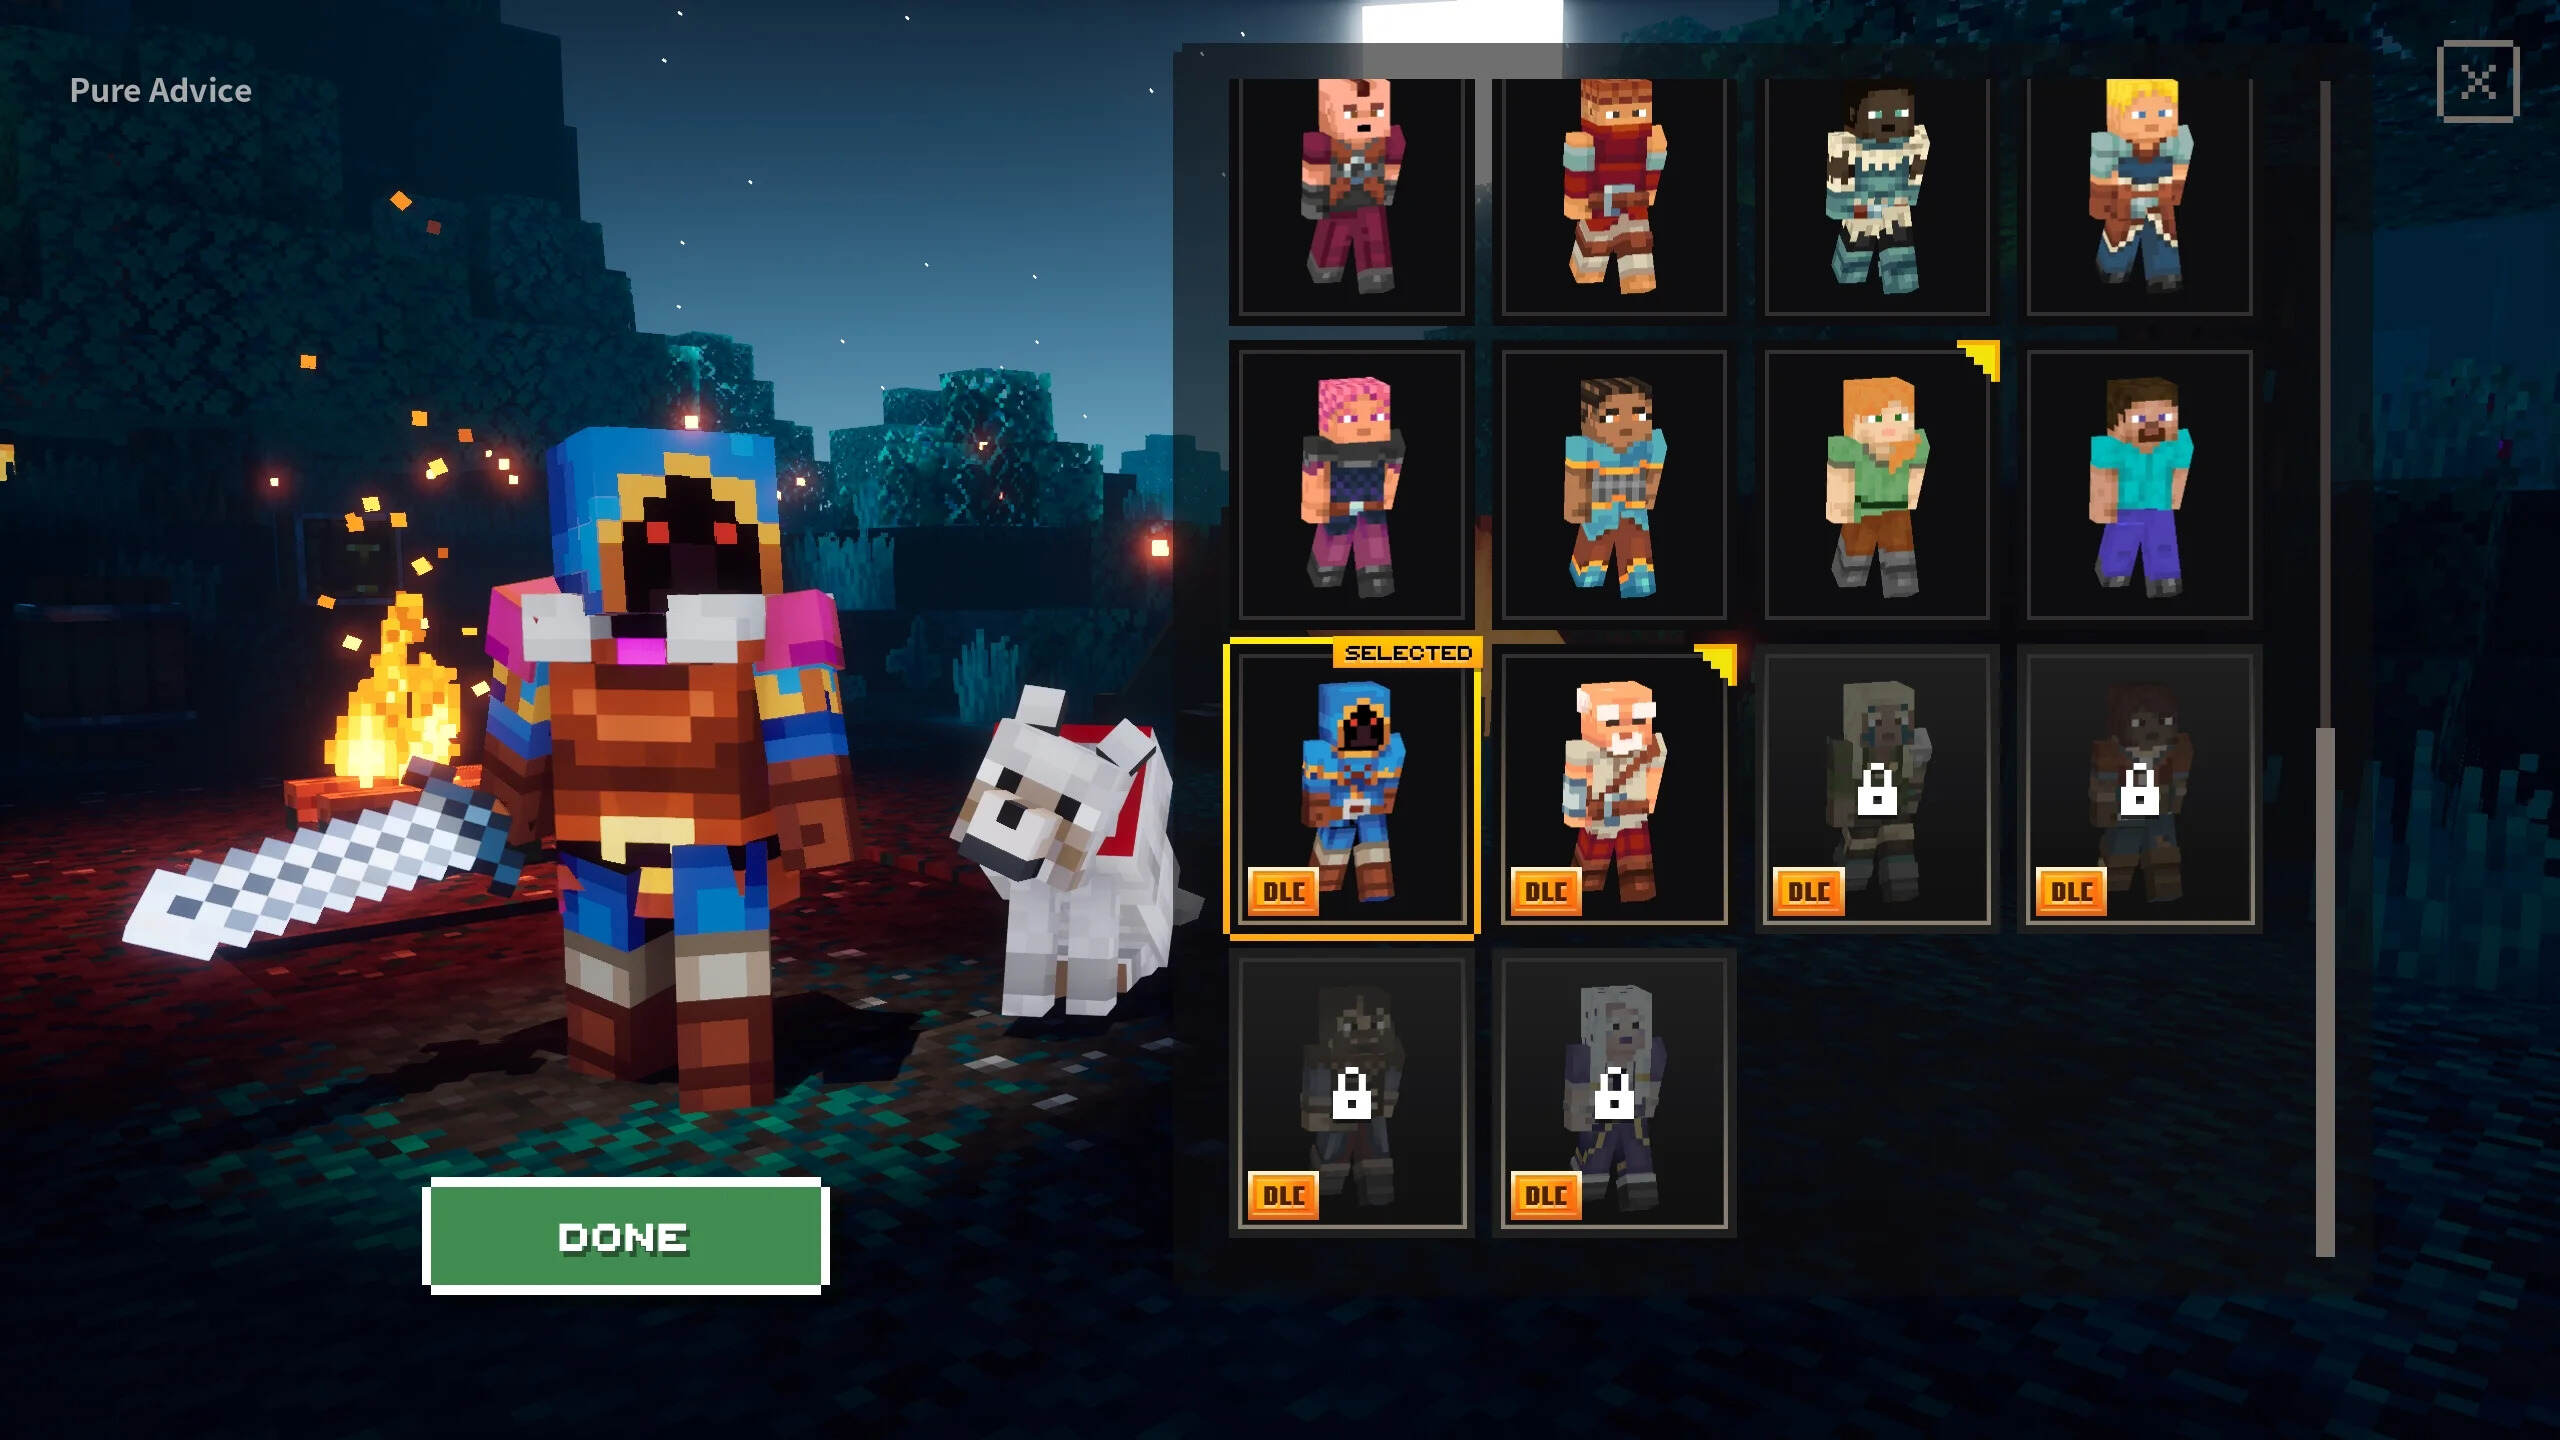
Step 5: Apply the Skin to Your Minecraft Character
Once you’re in the “versions” folder, locate the folder corresponding to the current version of Minecraft you’re playing (e.g., 1.17.1), and open it. Inside, you’ll find another folder with the same version number. Open it as well.
Look for a file named “minecraft.jar” or “minecraft.json” and open it using a text editor. Inside the file, find the line that says “model” and replace the existing skin file name with the name of the skin file you downloaded (e.g., “myawesome_skin.png”).
Save the changes you made to the file and close it. Launch Minecraft, and you’ll find your character sporting the brand-new skin you downloaded and applied!
Now that you know how to download and apply Minecraft skins, you can express your creativity and style through your in-game character. Whether you prefer to play as a fearsome dragon, a friendly robot, or even your favorite celebrity, the possibilities are endless.
Key Takeaways:
- Customizing your Minecraft character with a unique skin adds a personal touch to your gameplay experience.
- Downloading Minecraft skins is a simple process that allows you to choose from a vast collection of designs.
So, what are you waiting for? Start exploring the vast world of Minecraft skins today and let your imagination run wild!